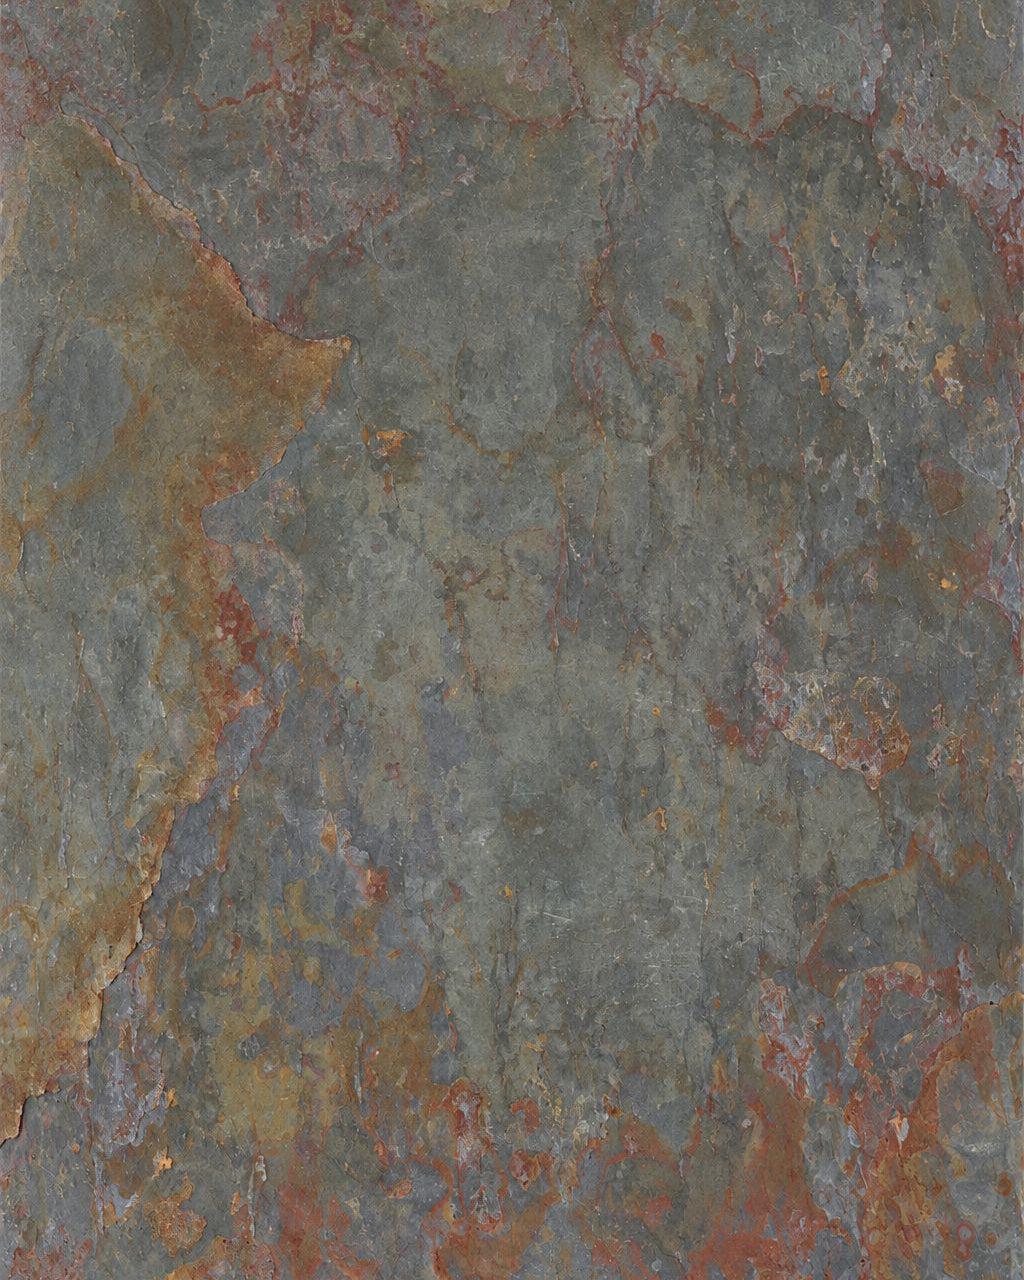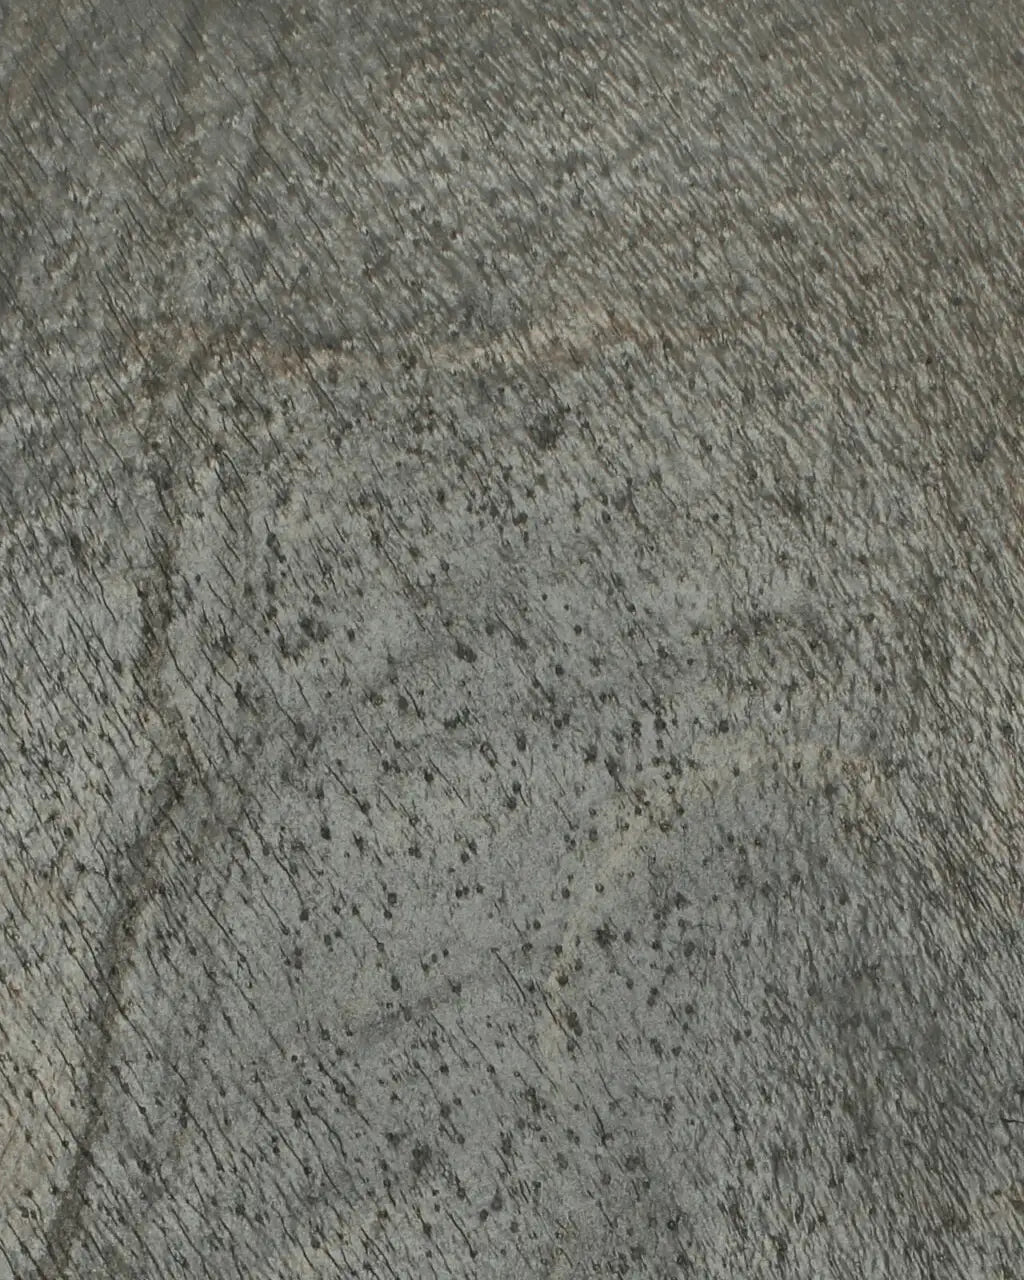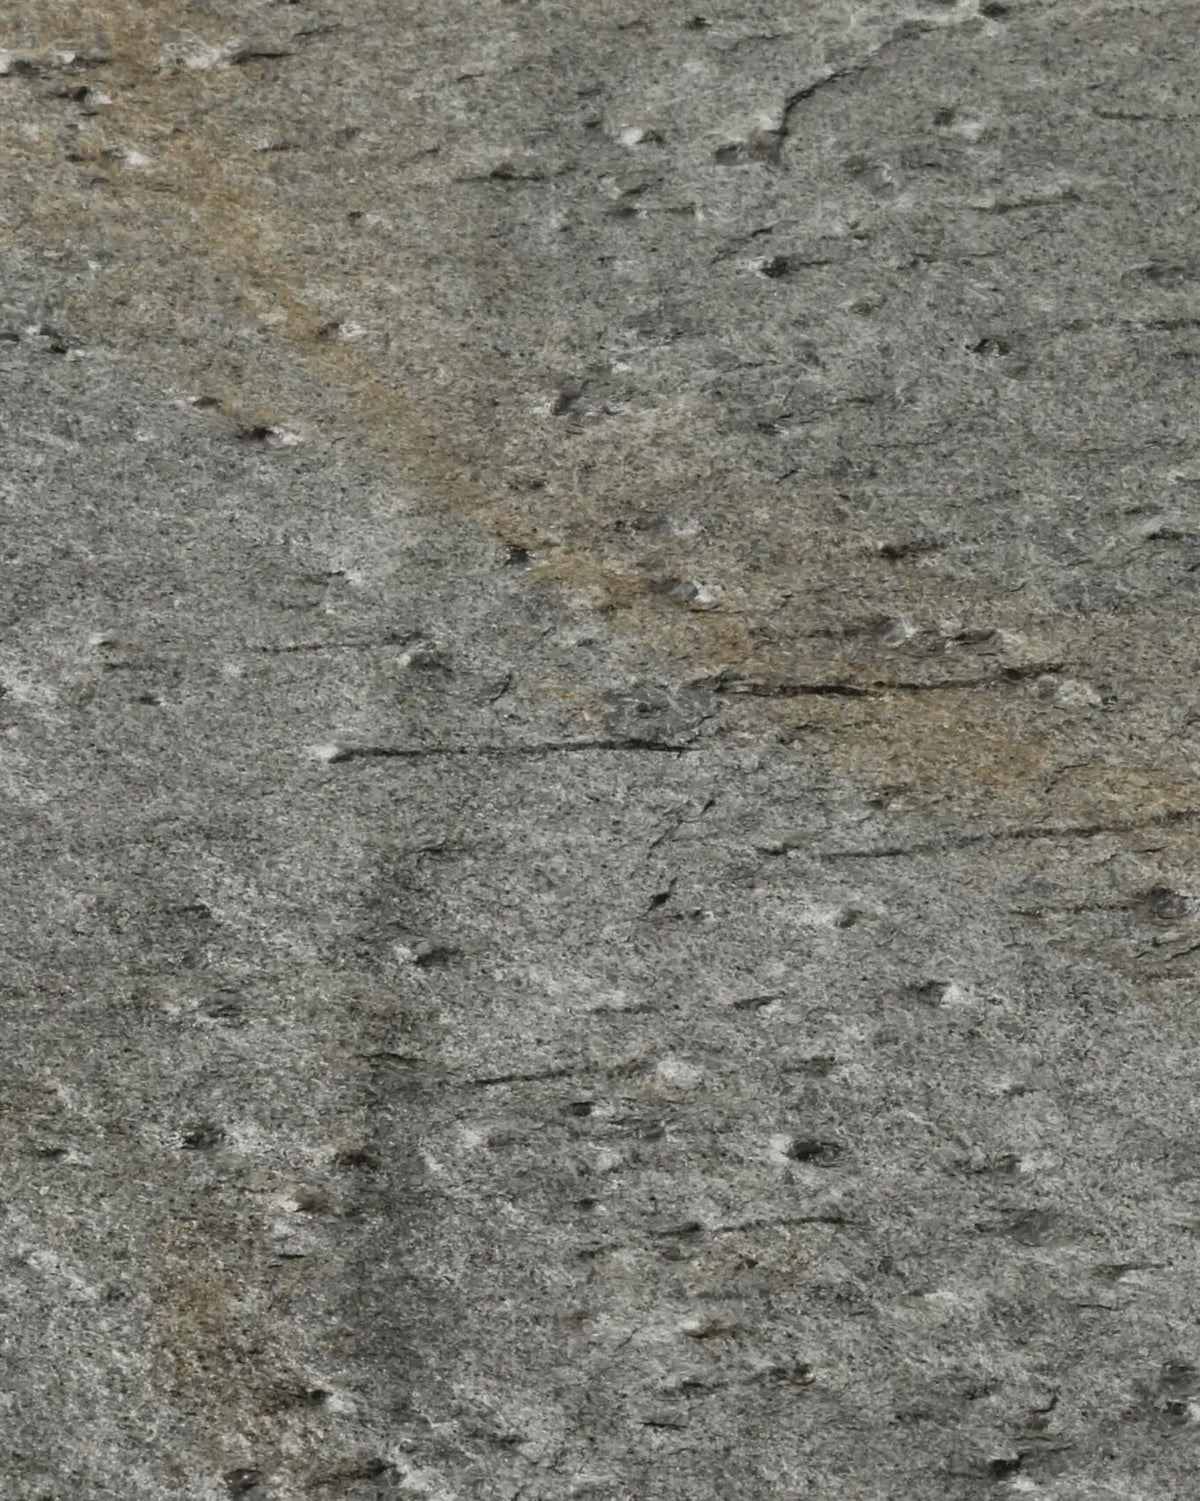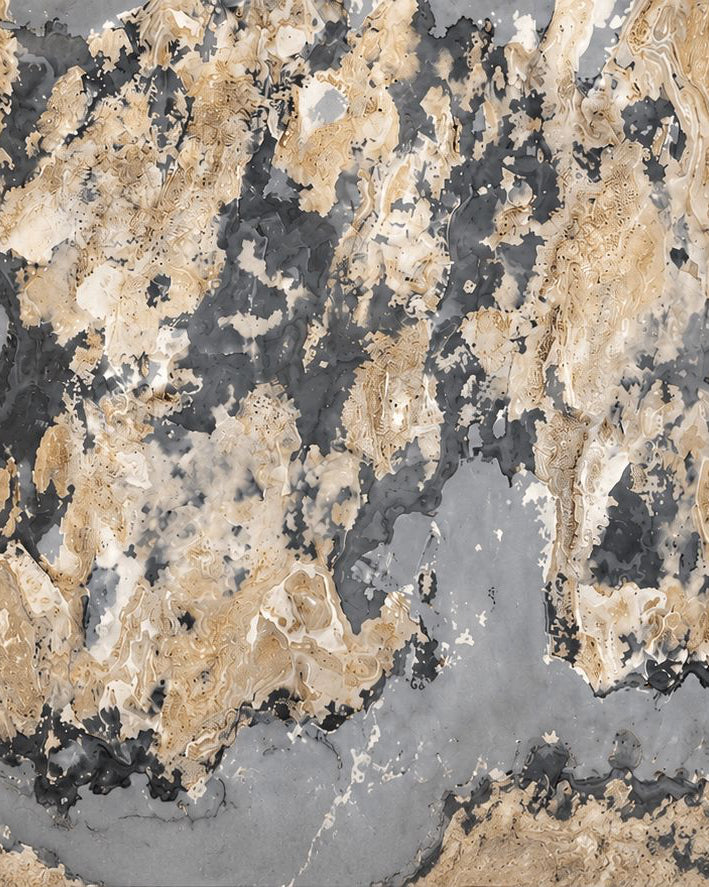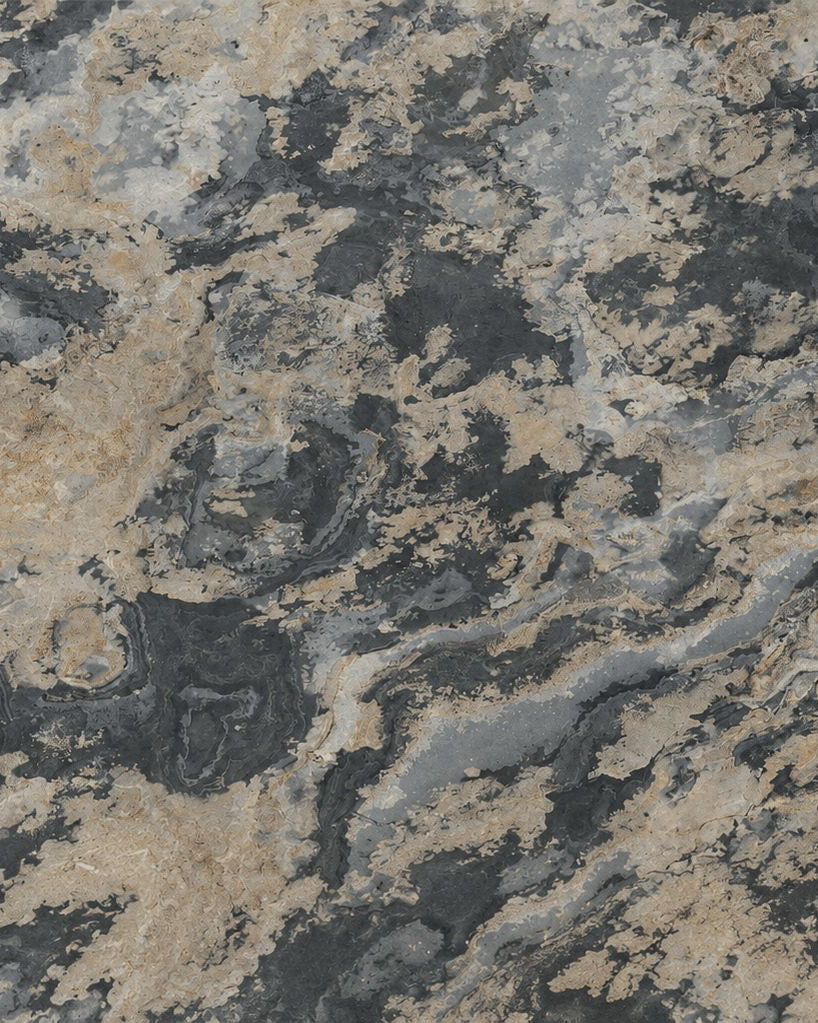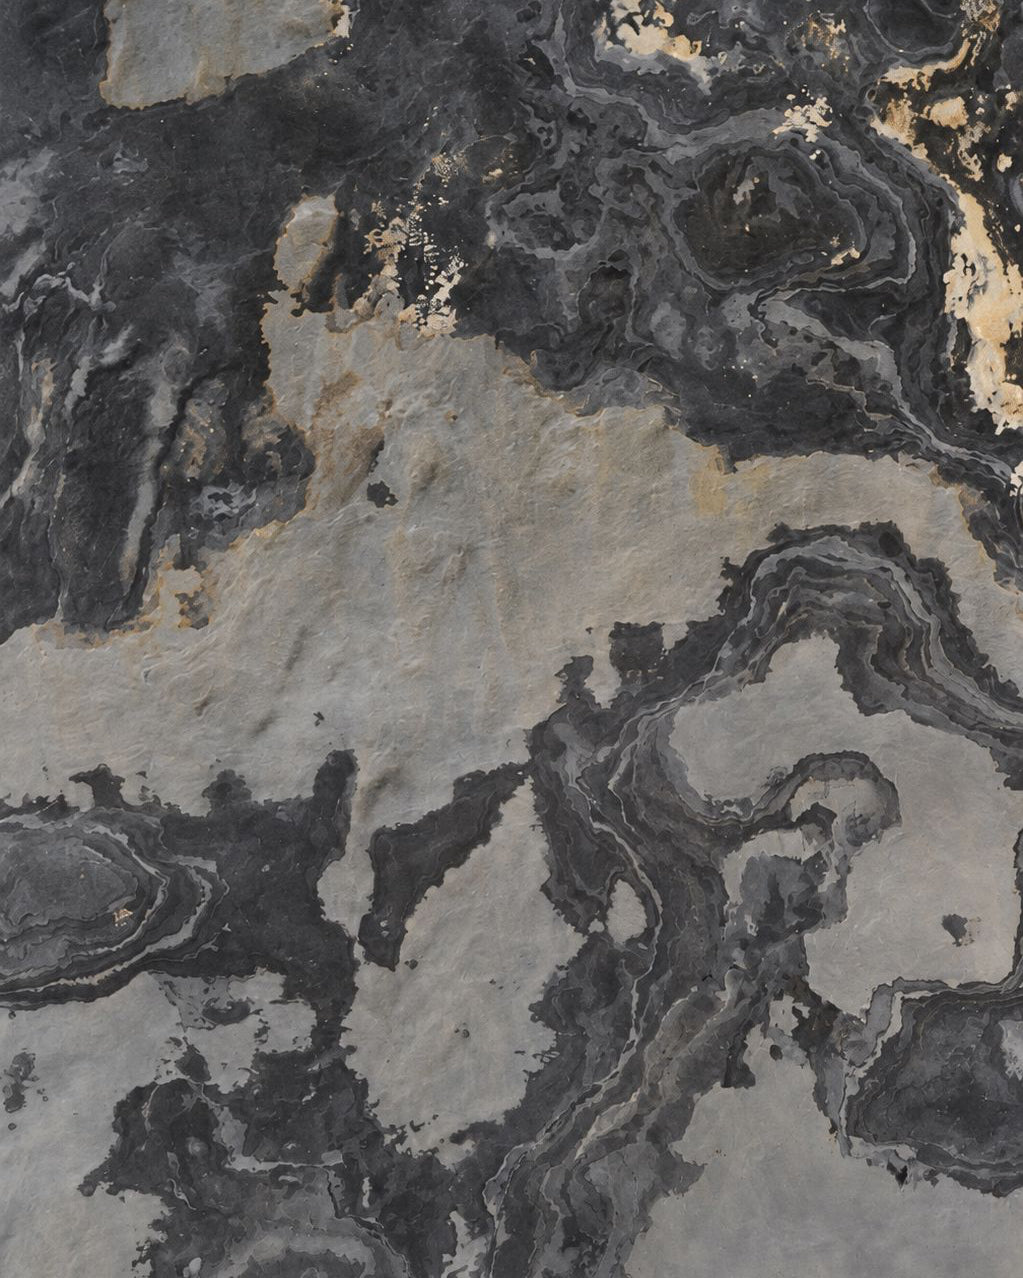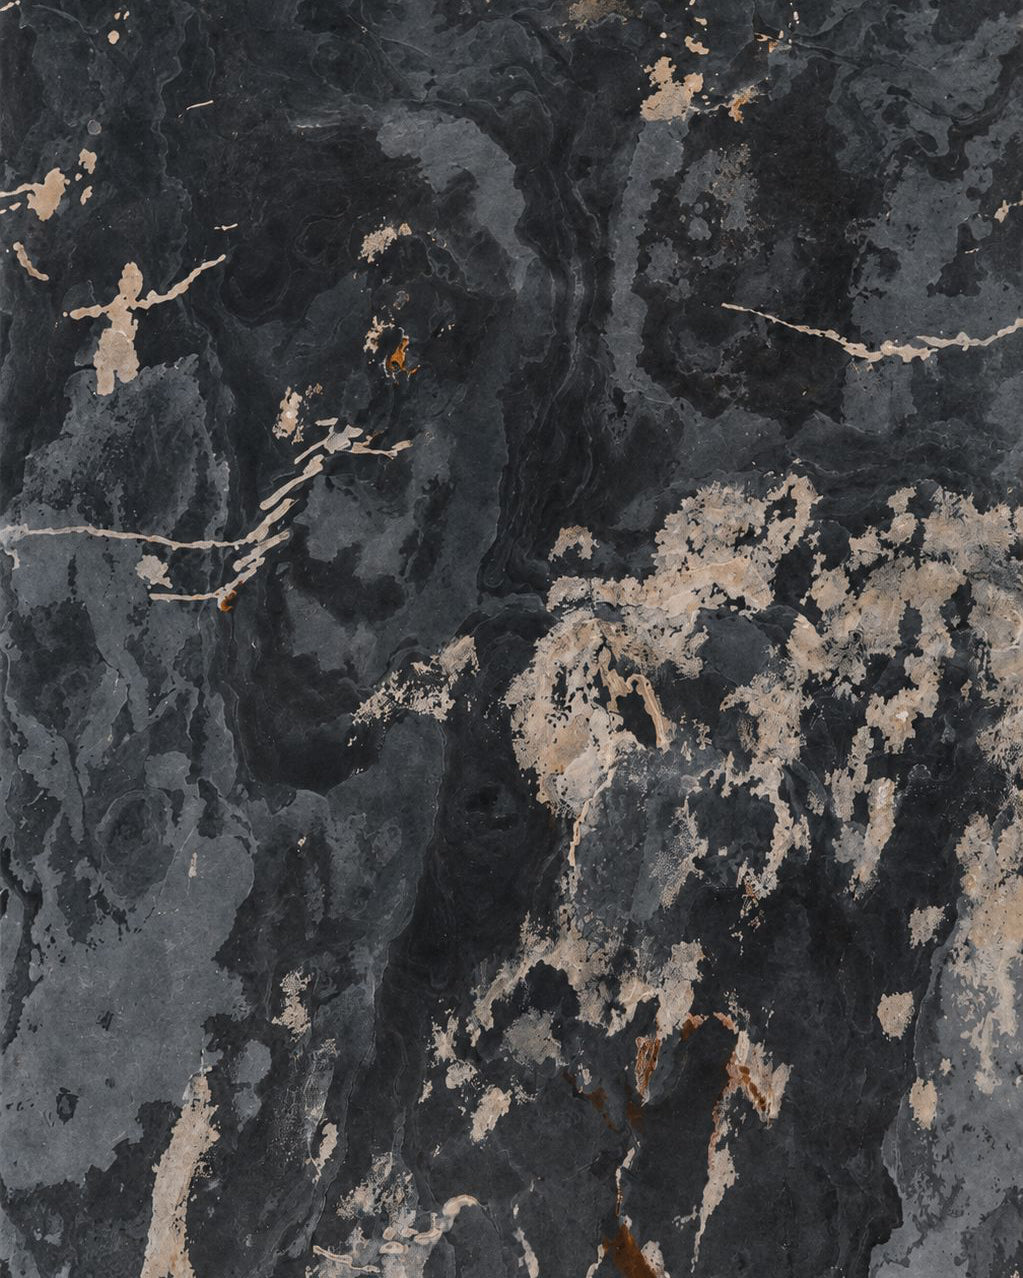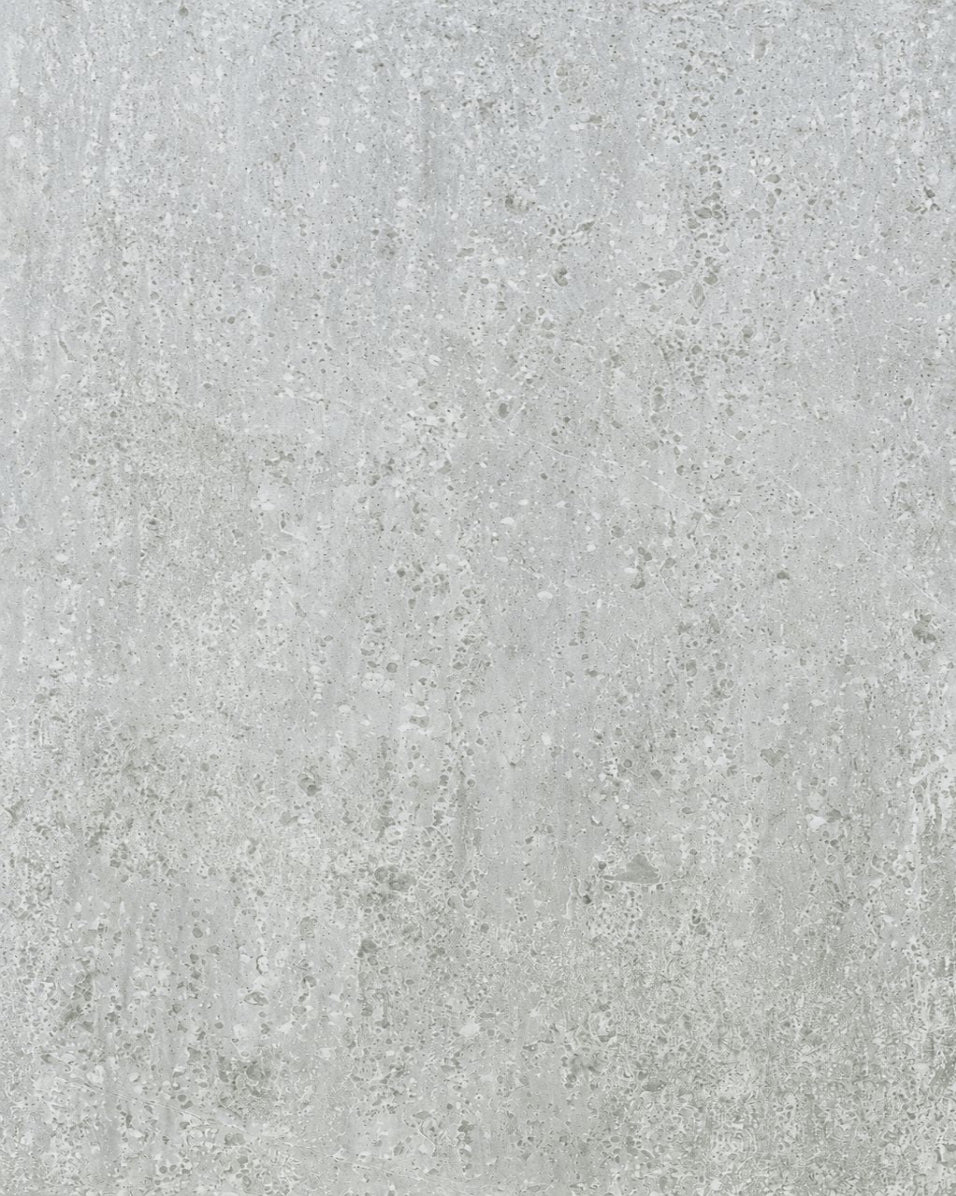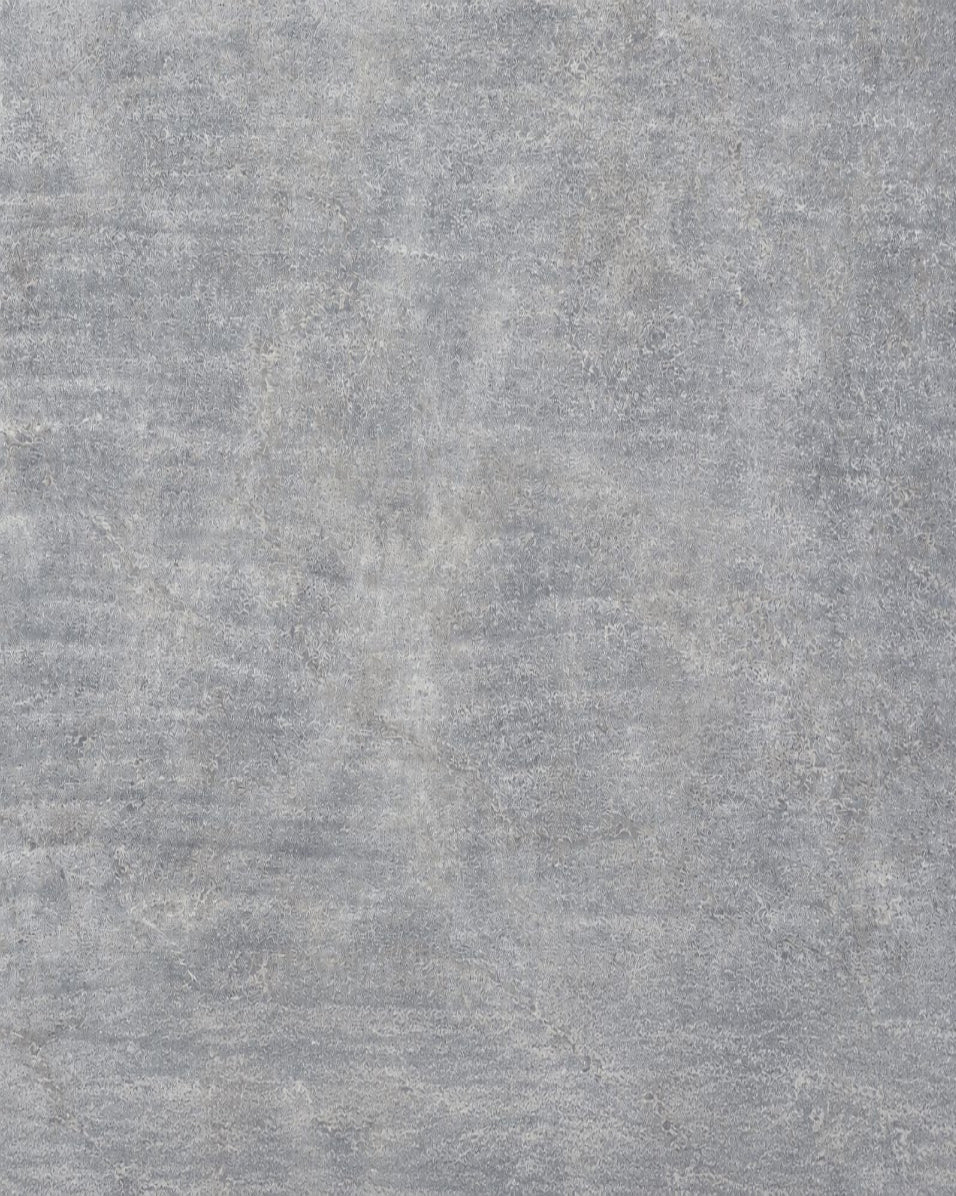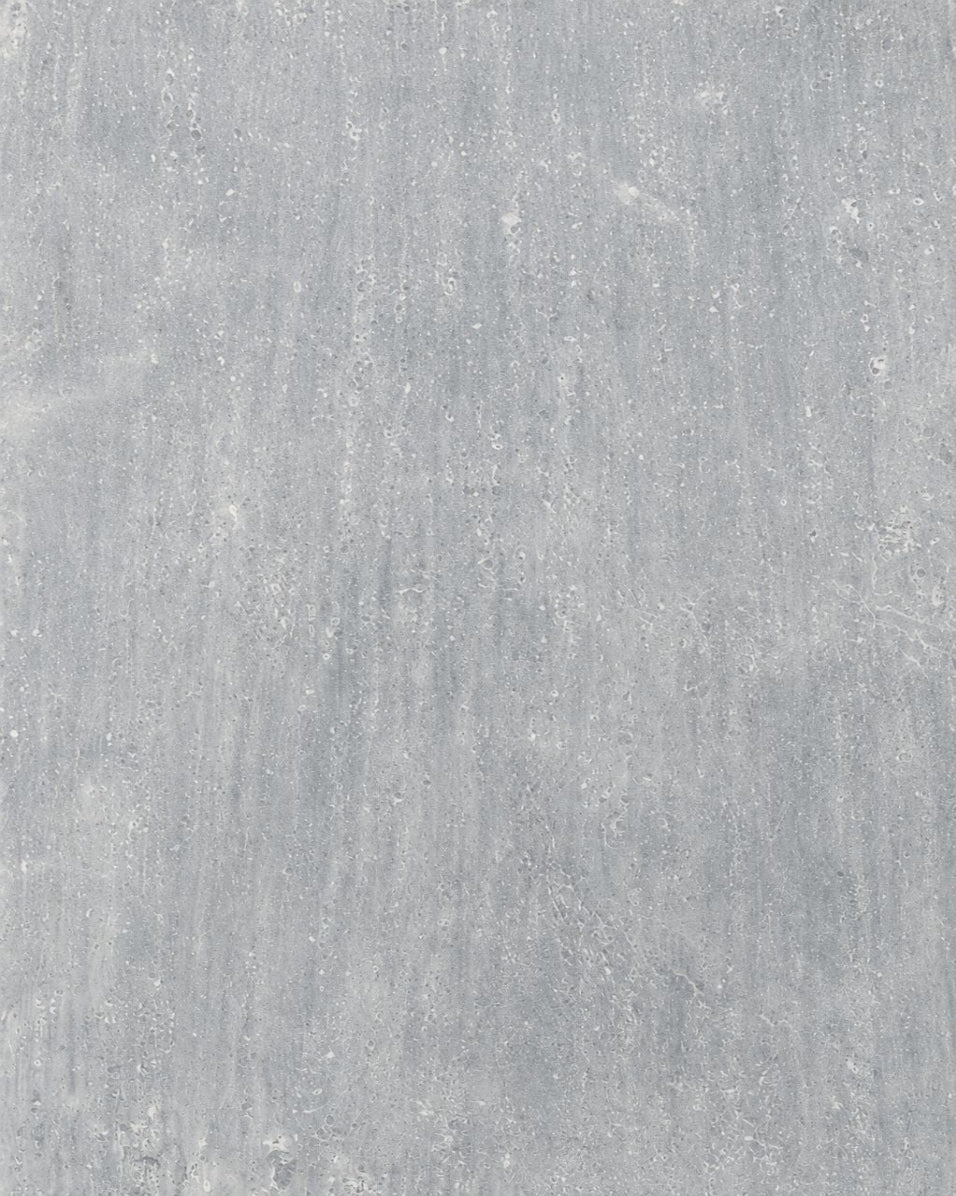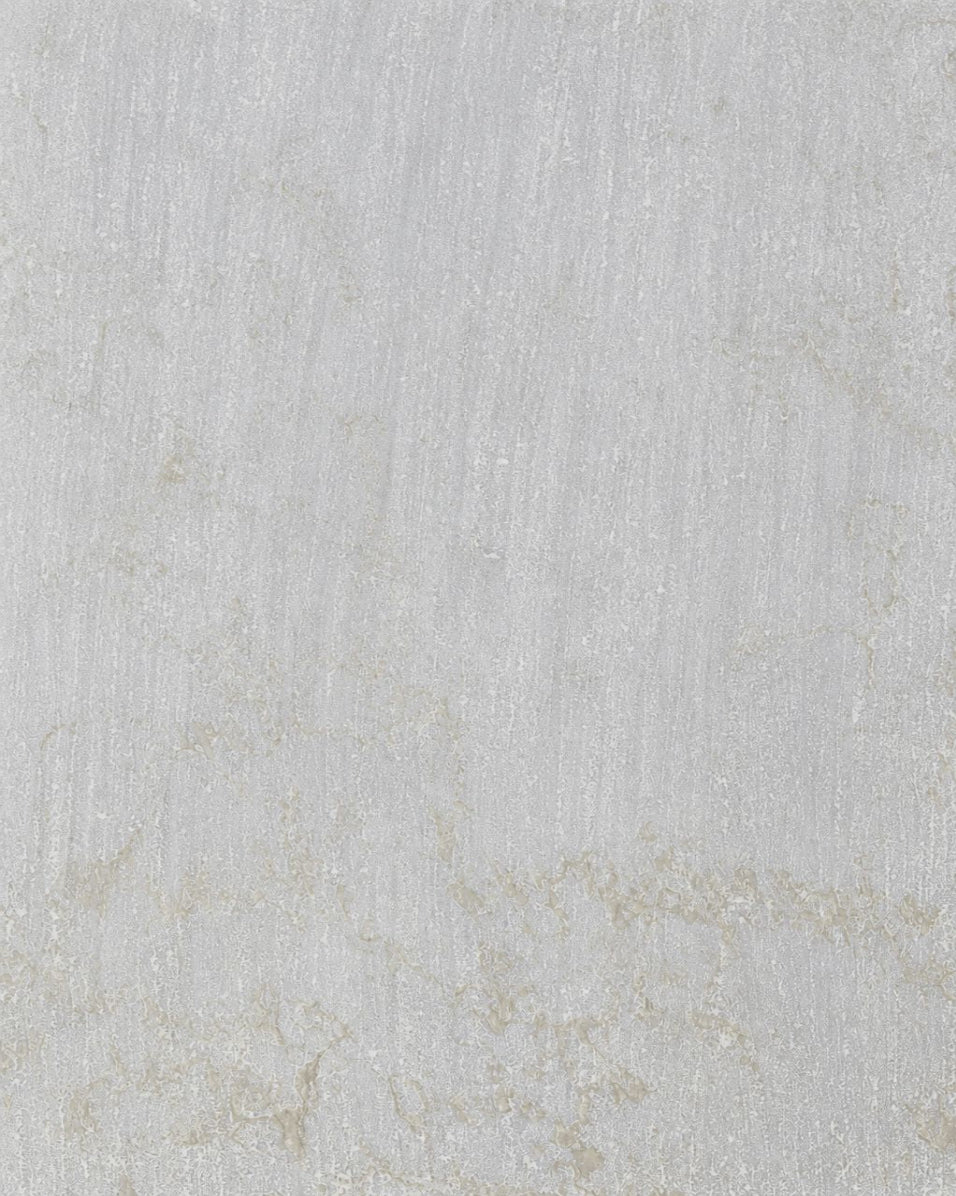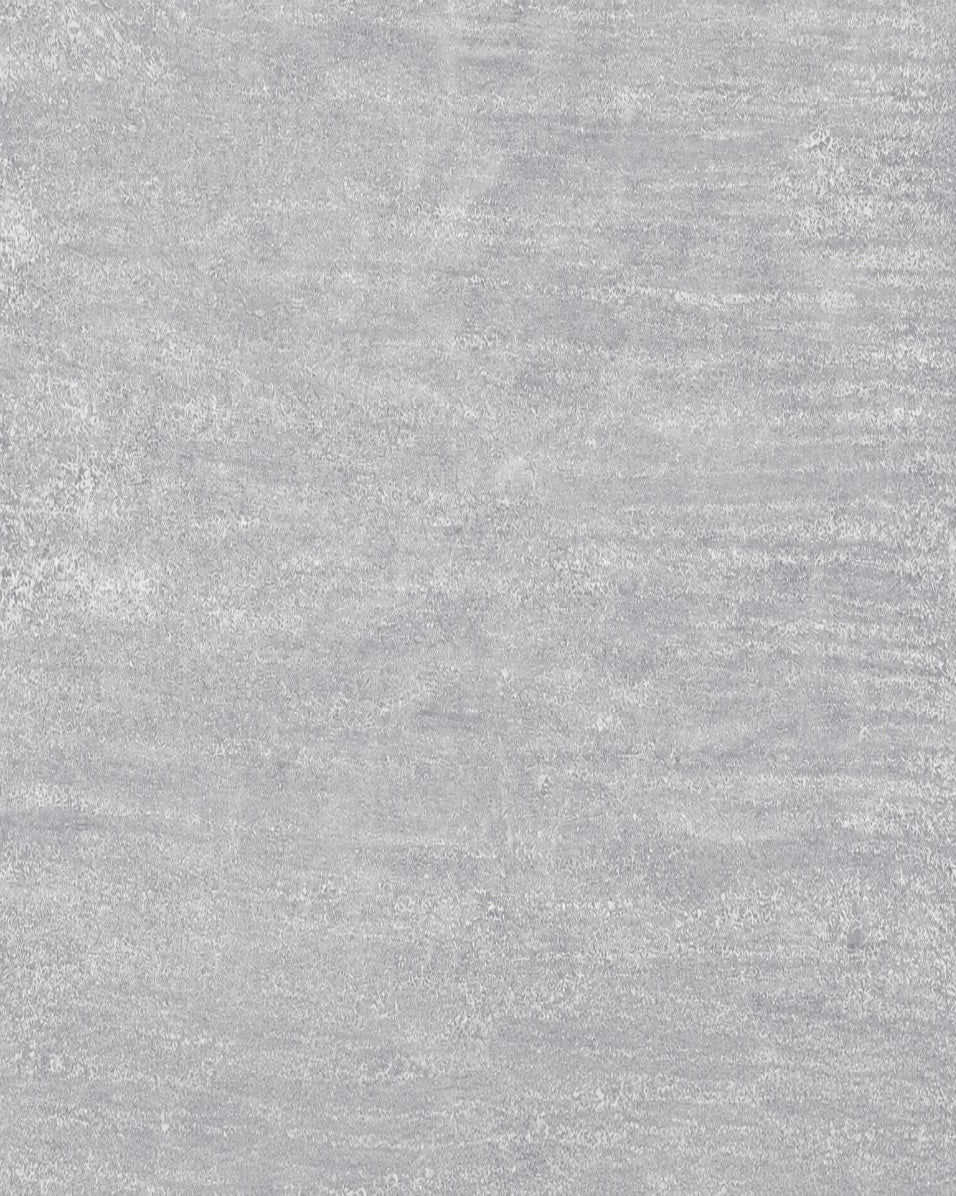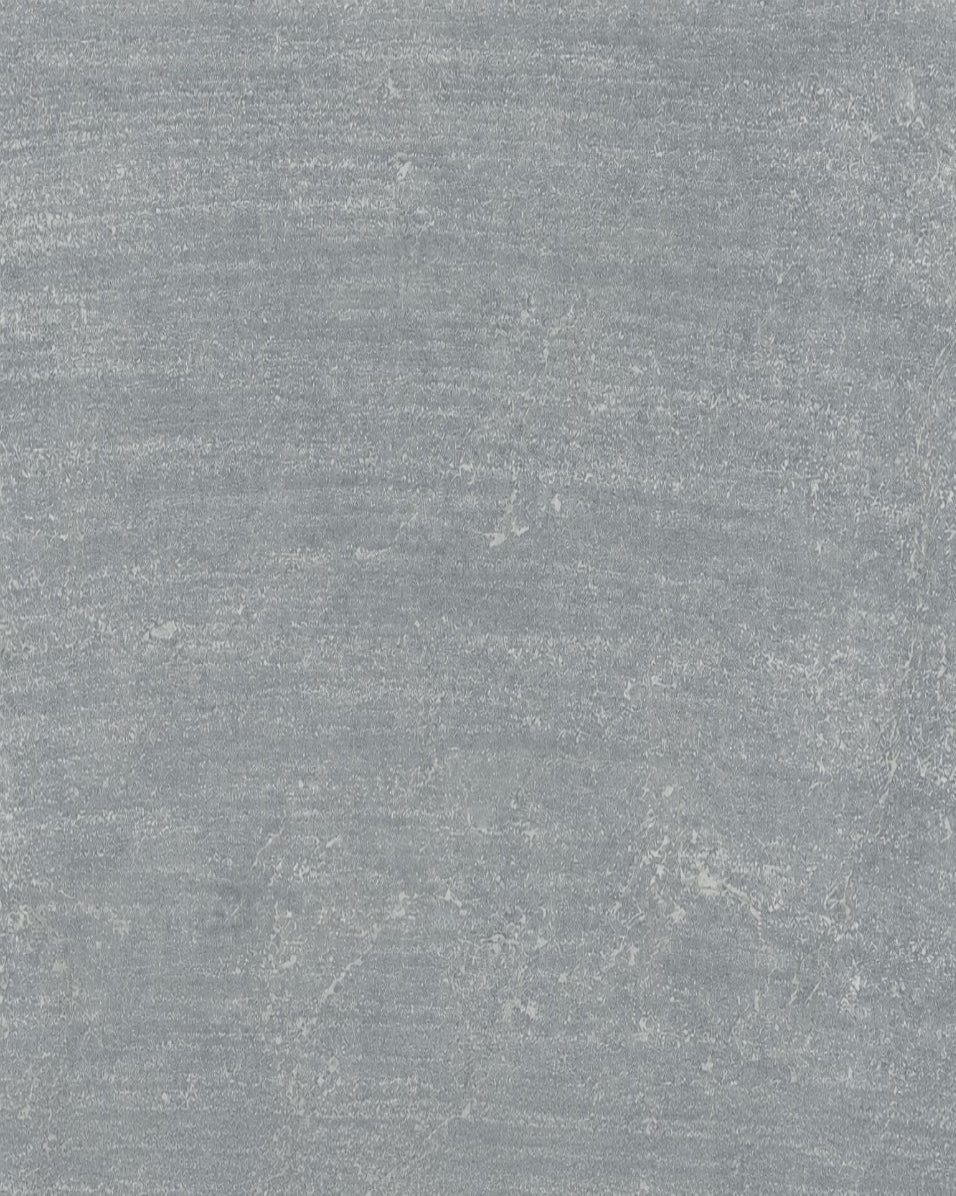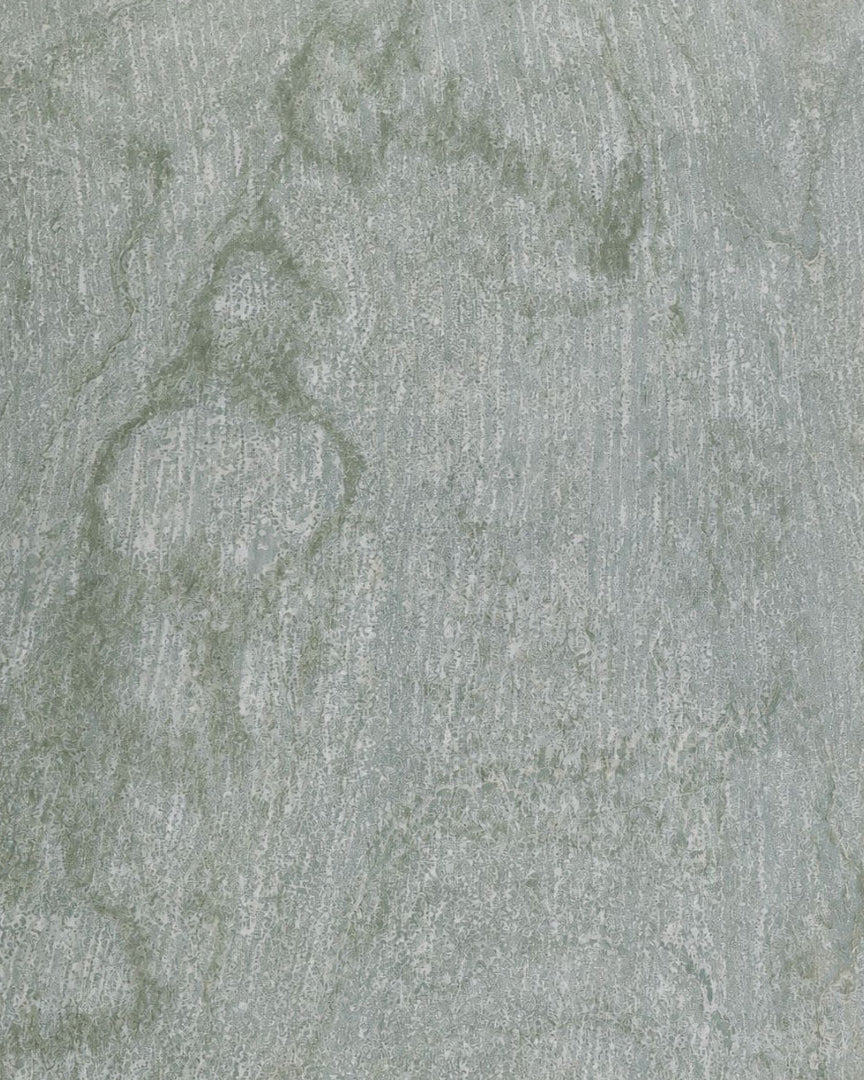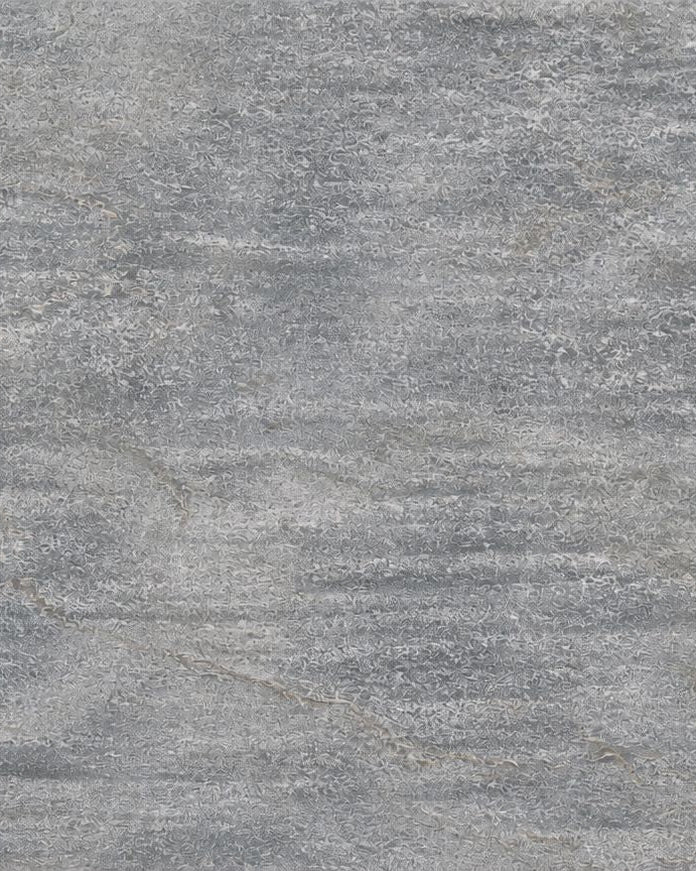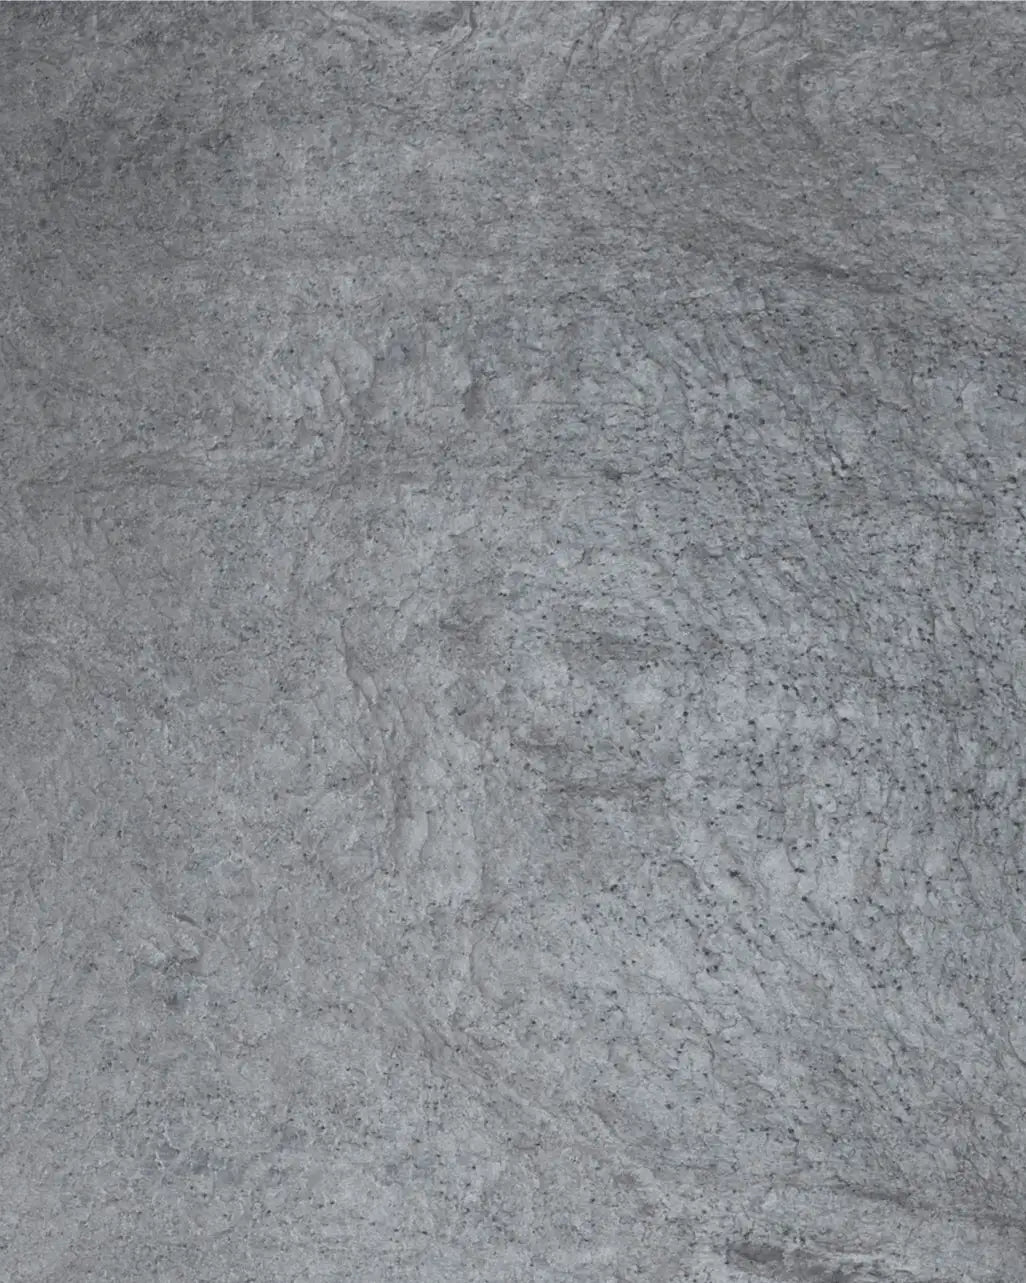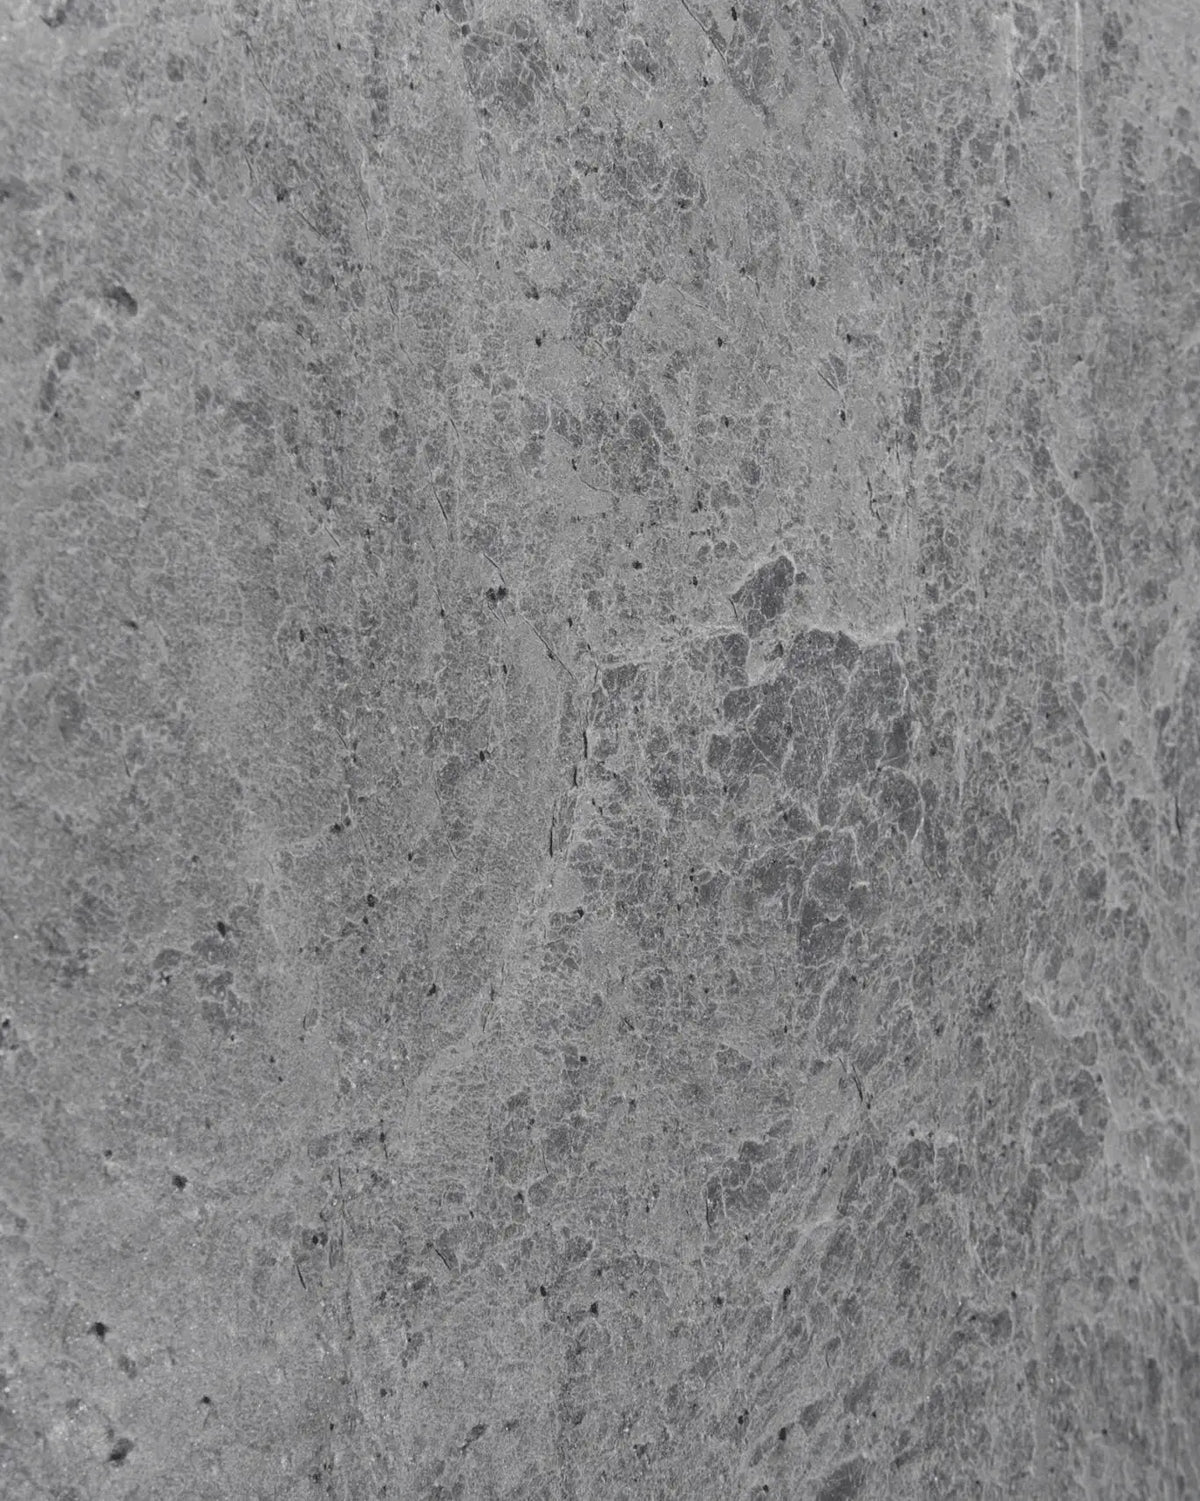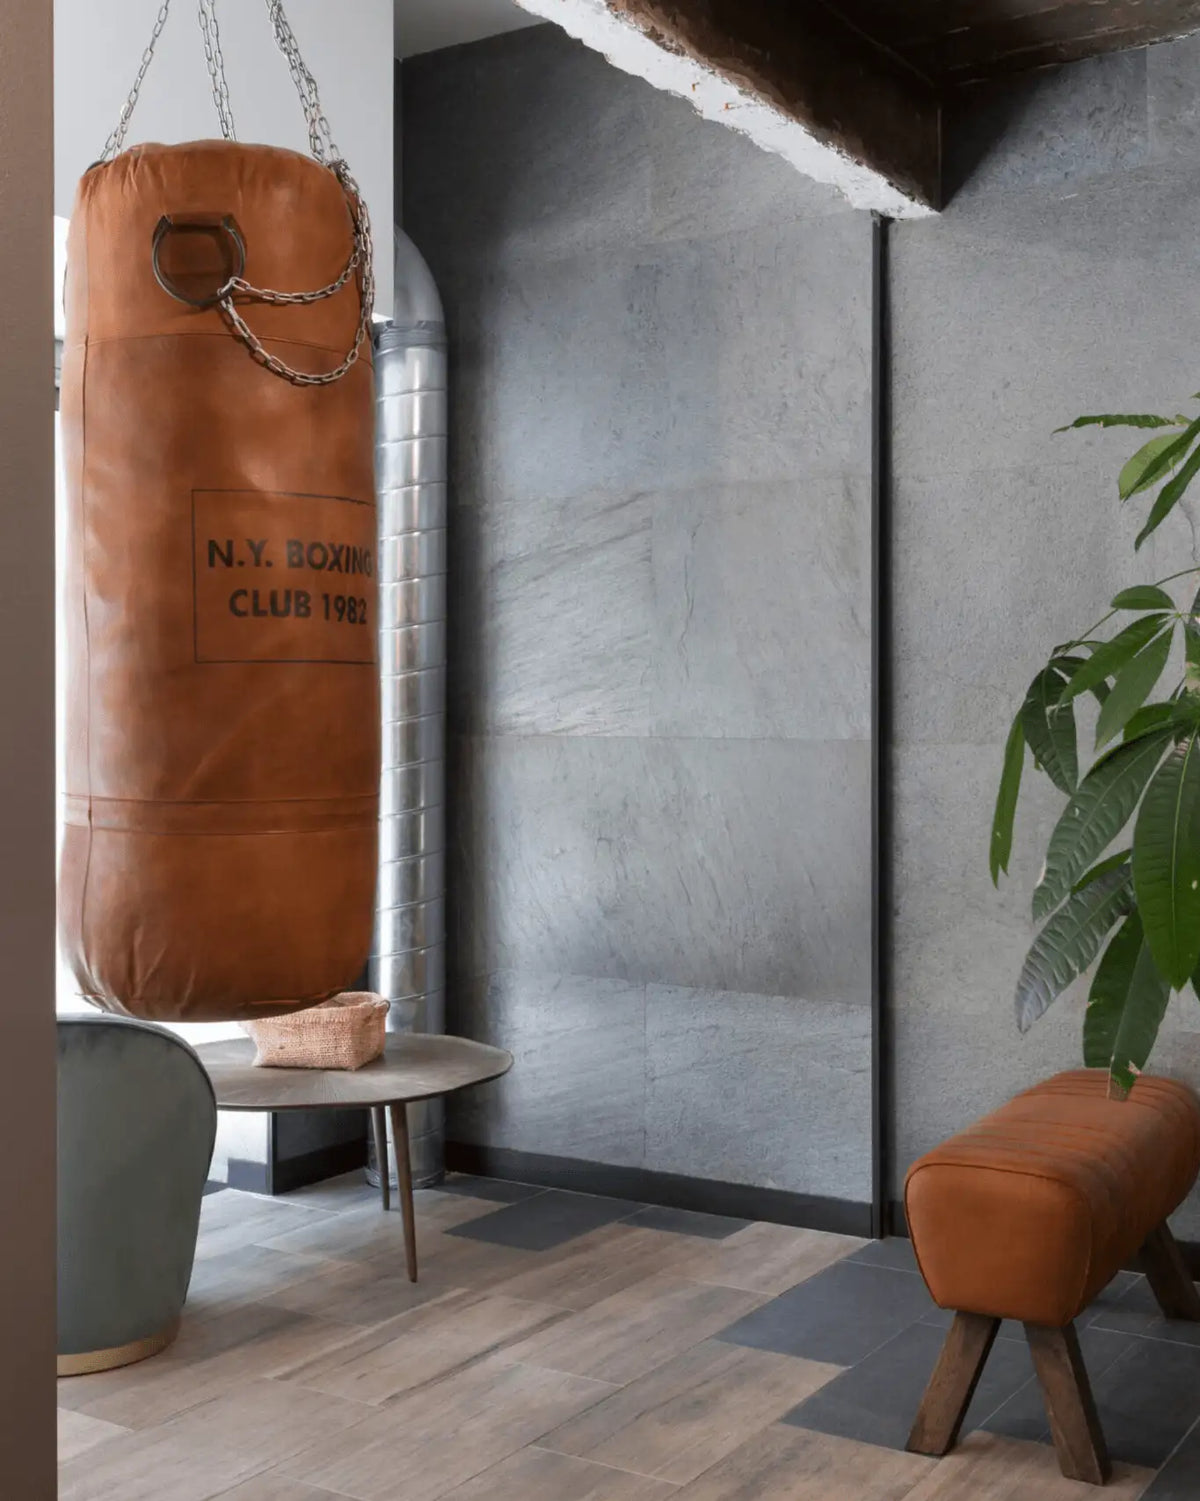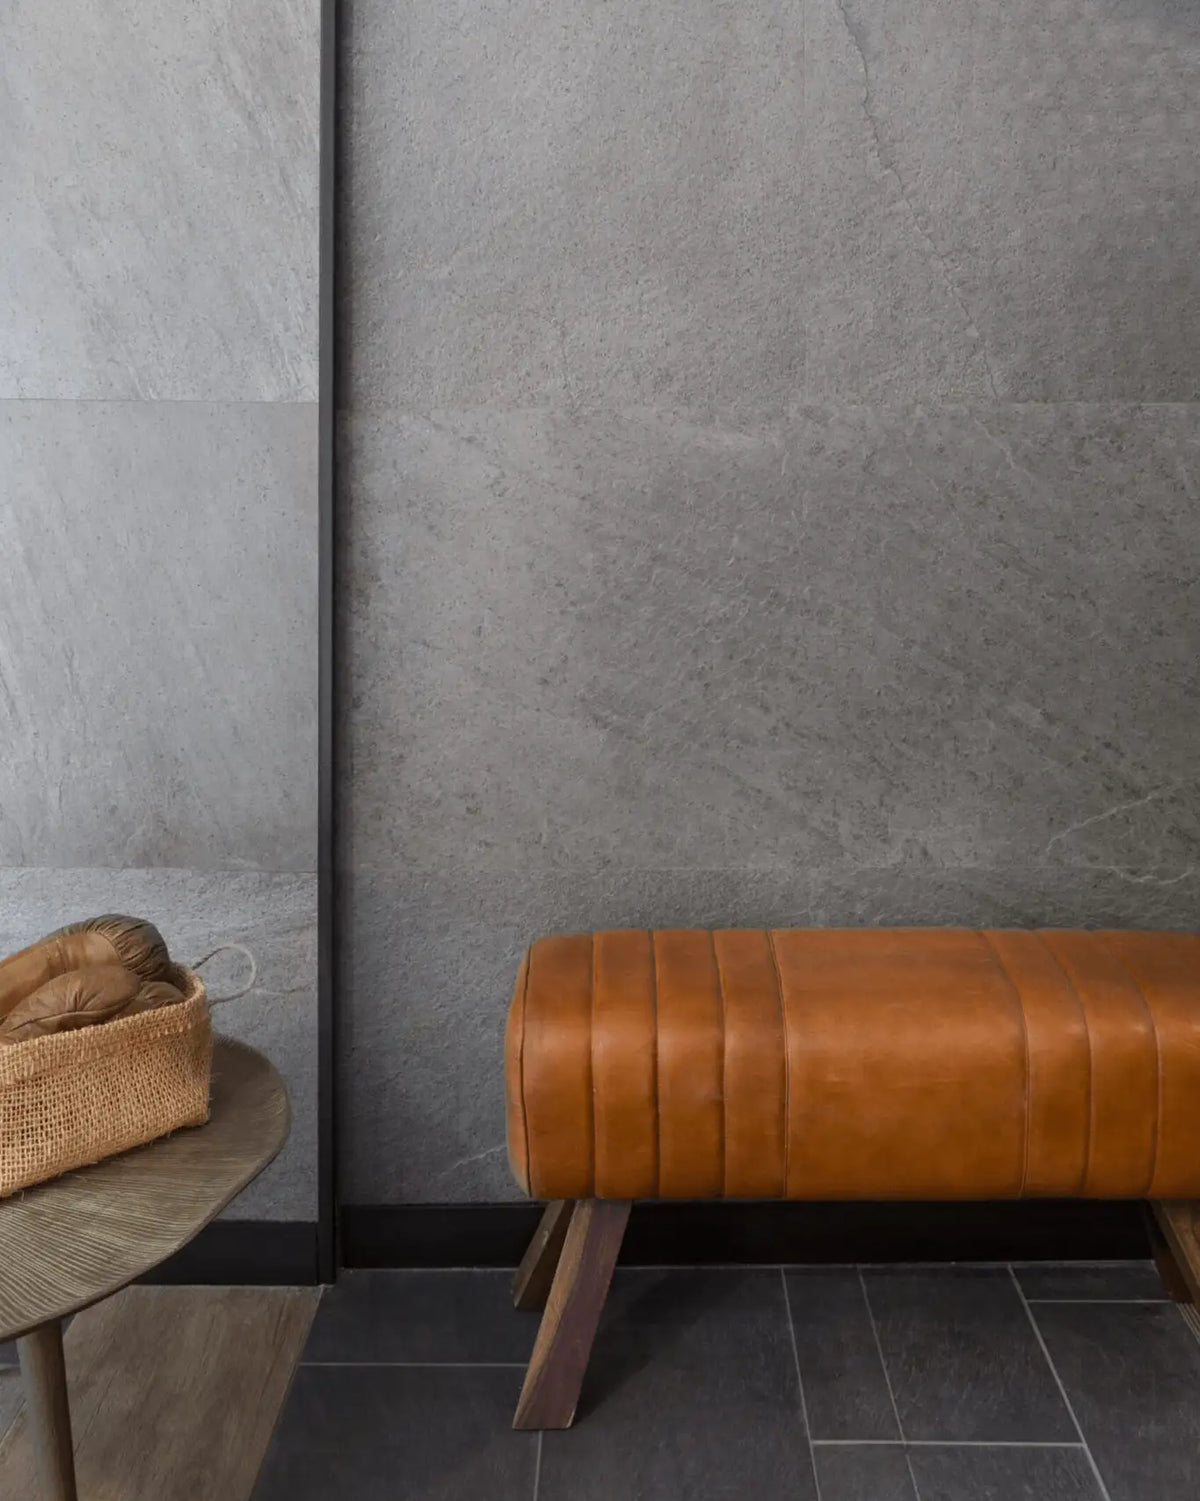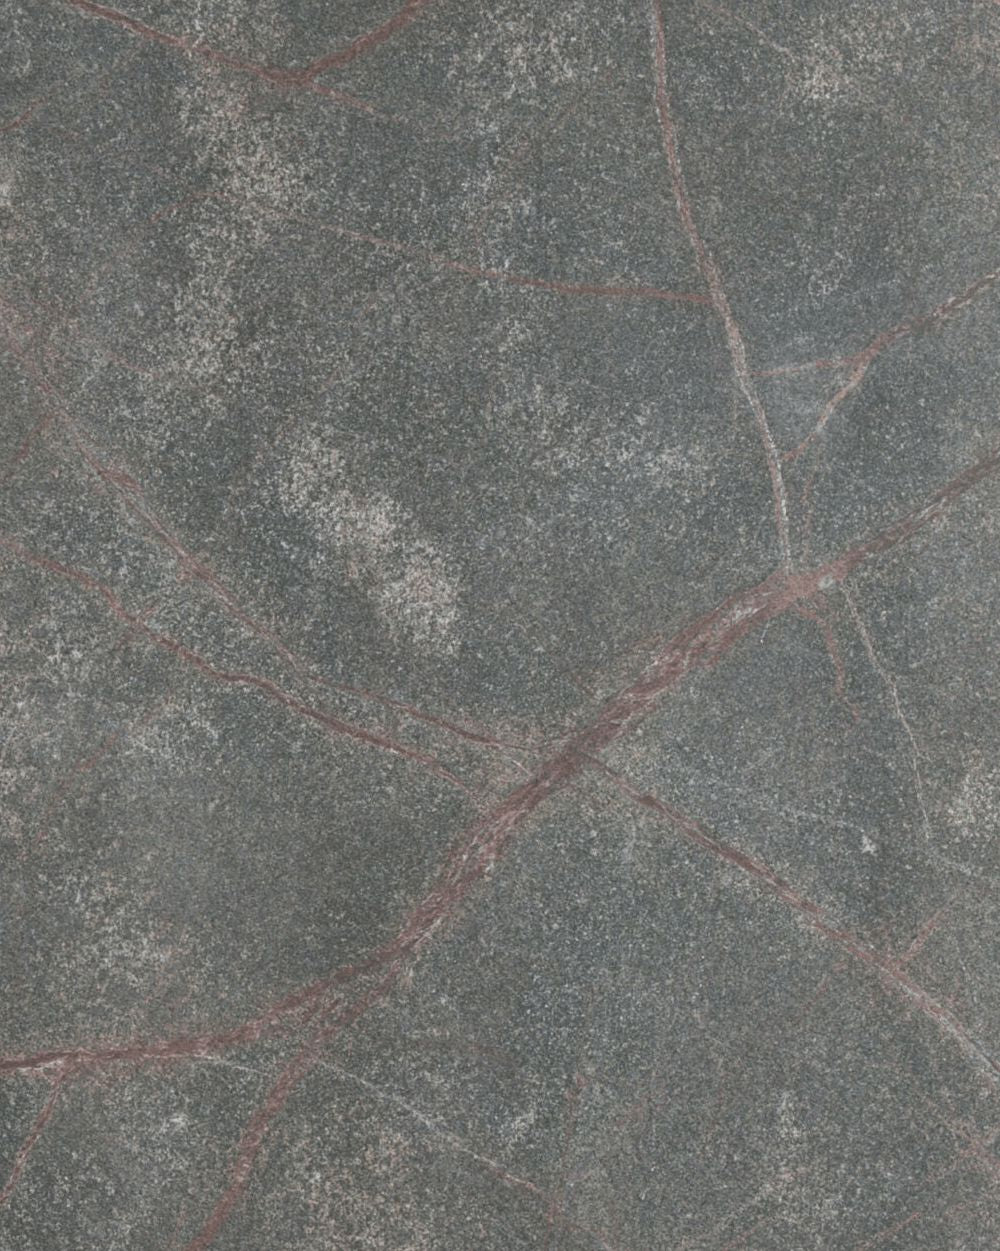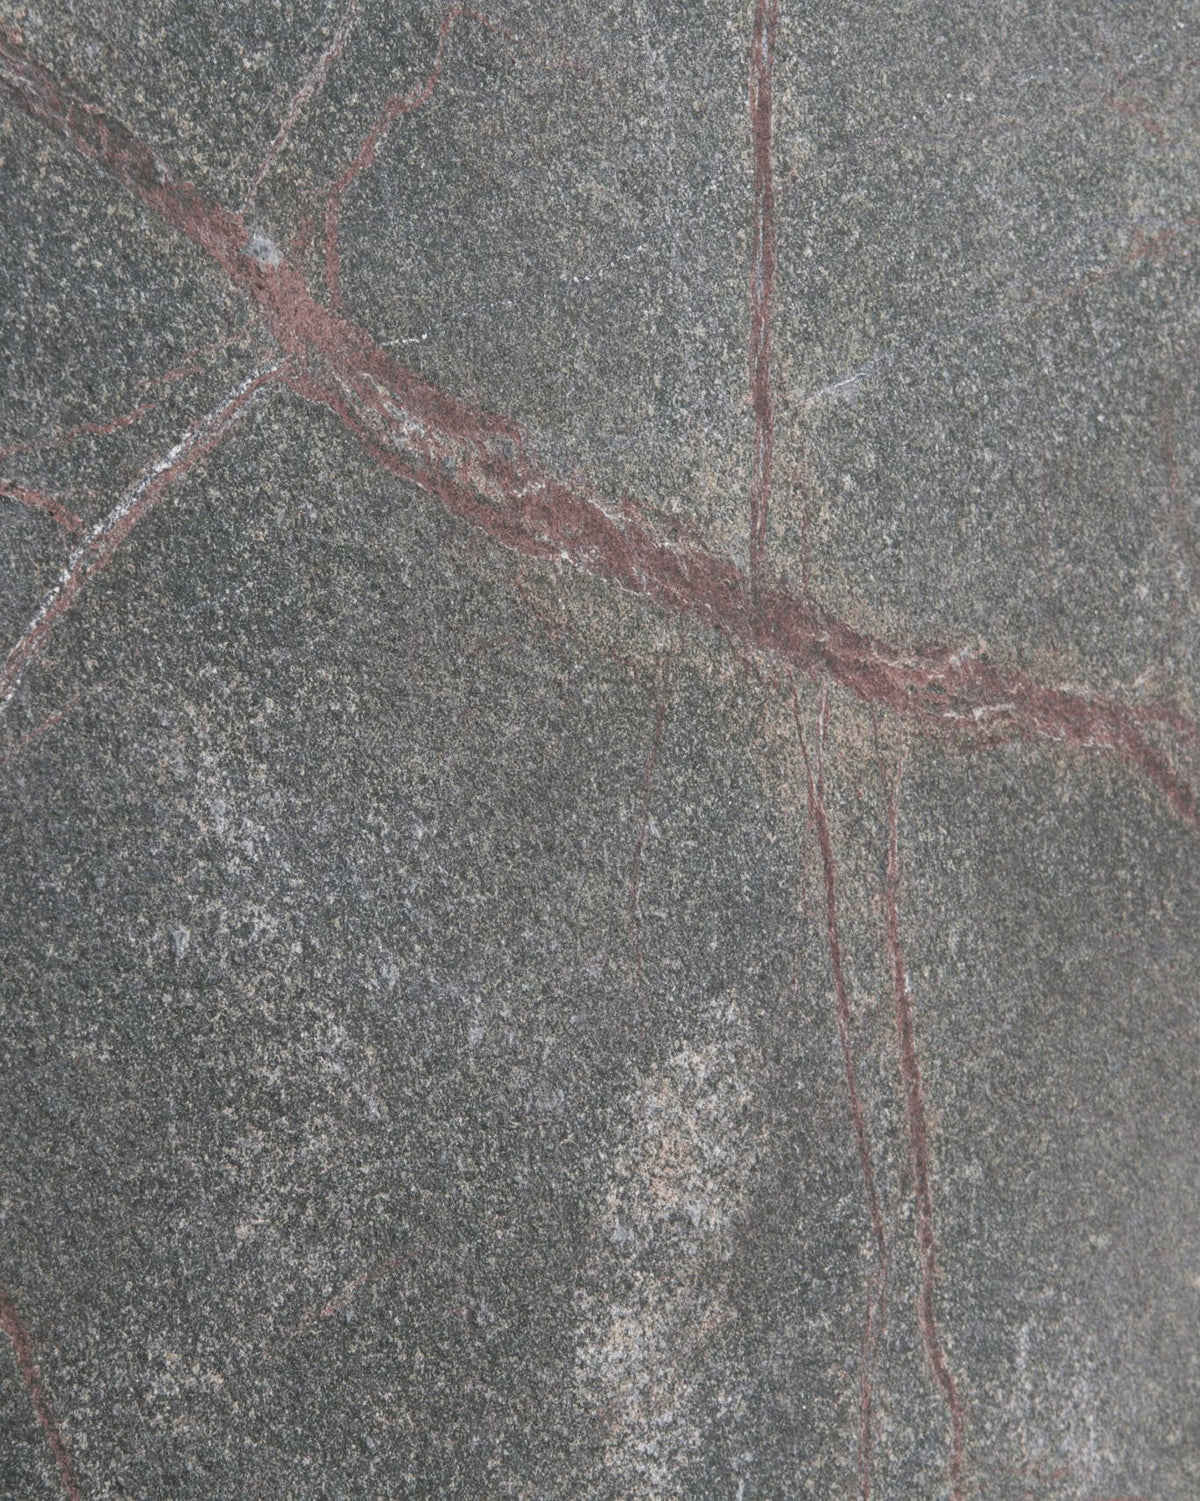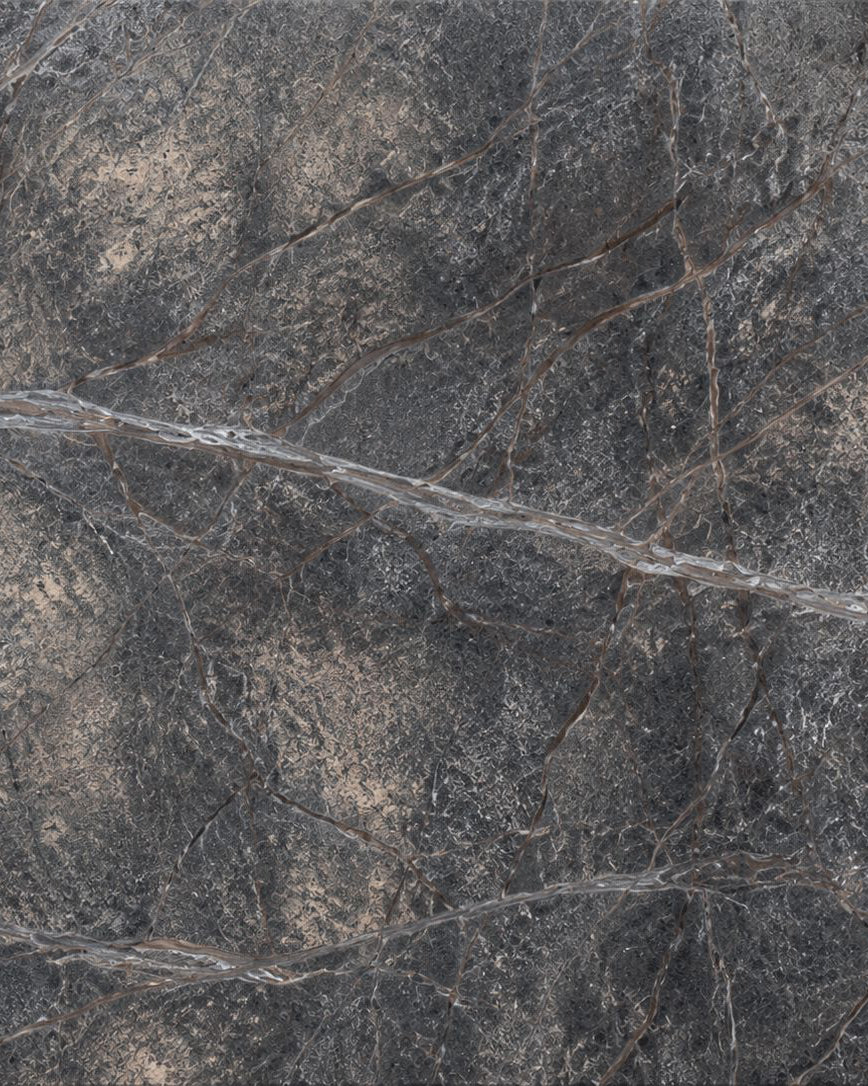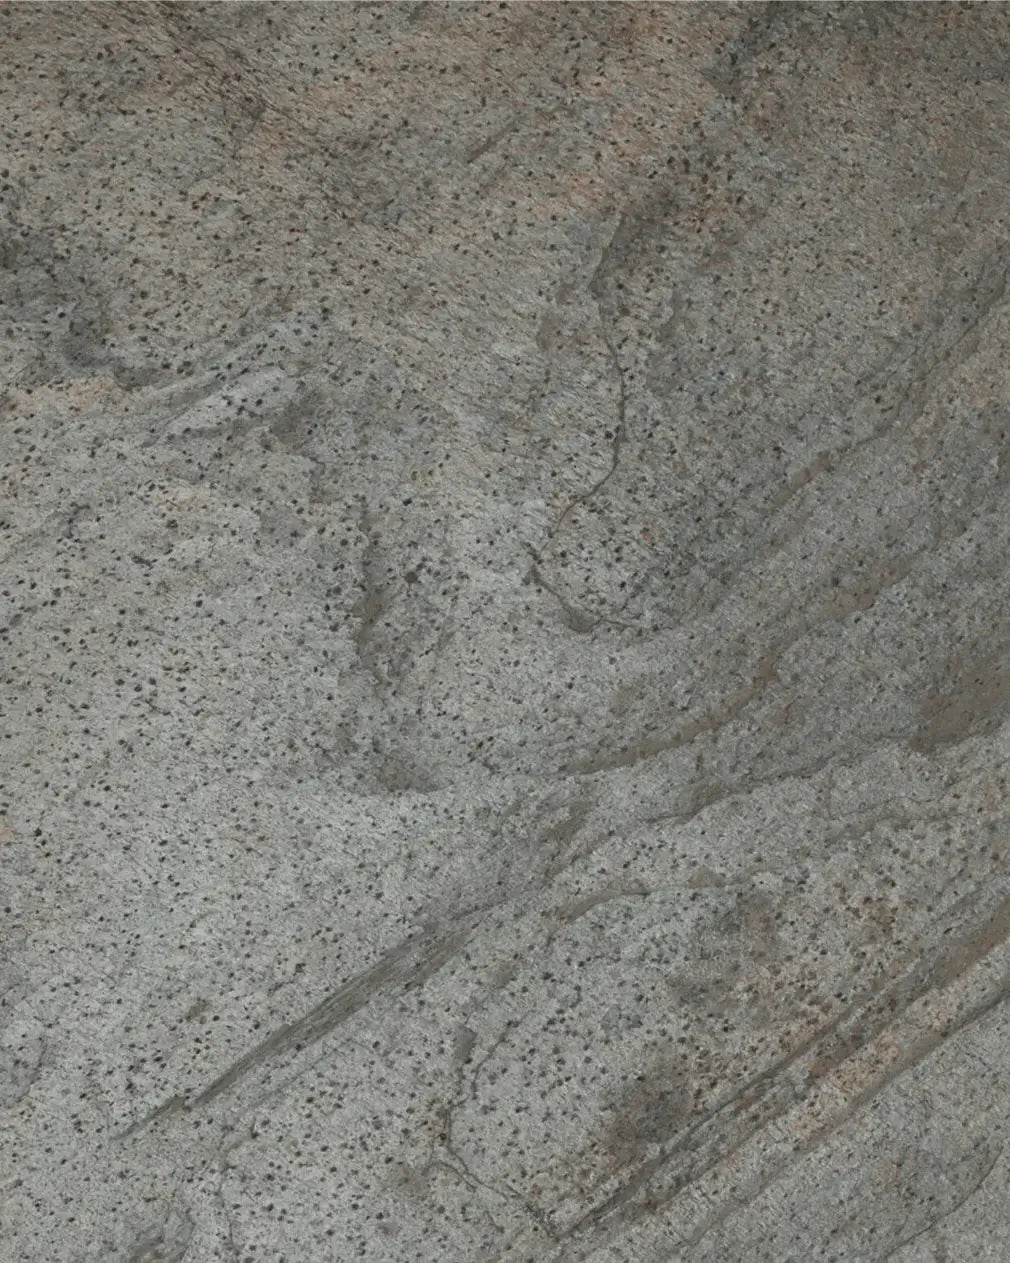
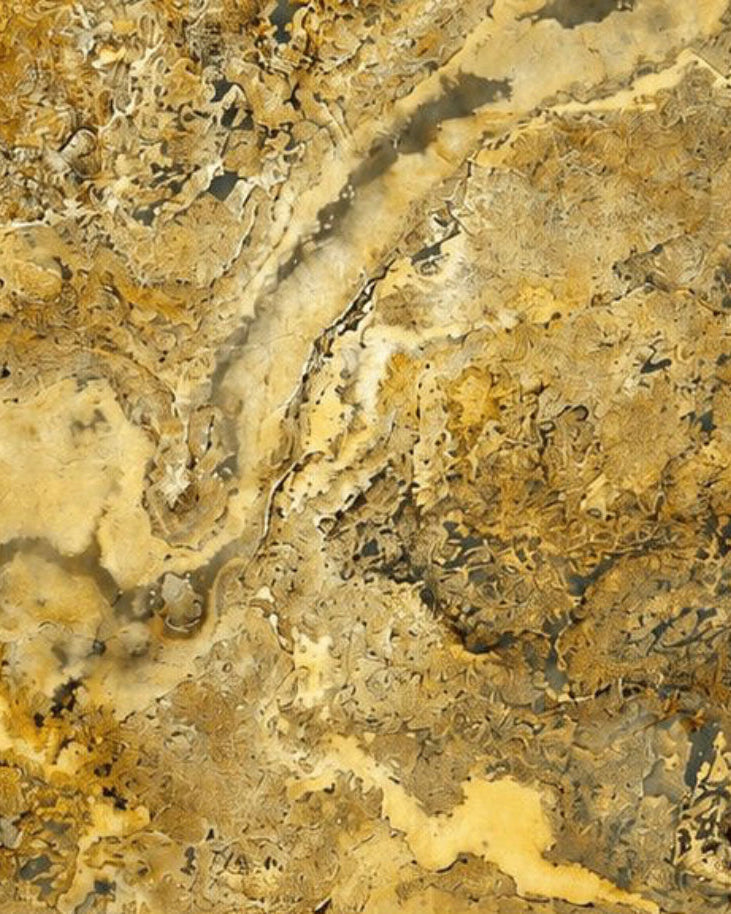
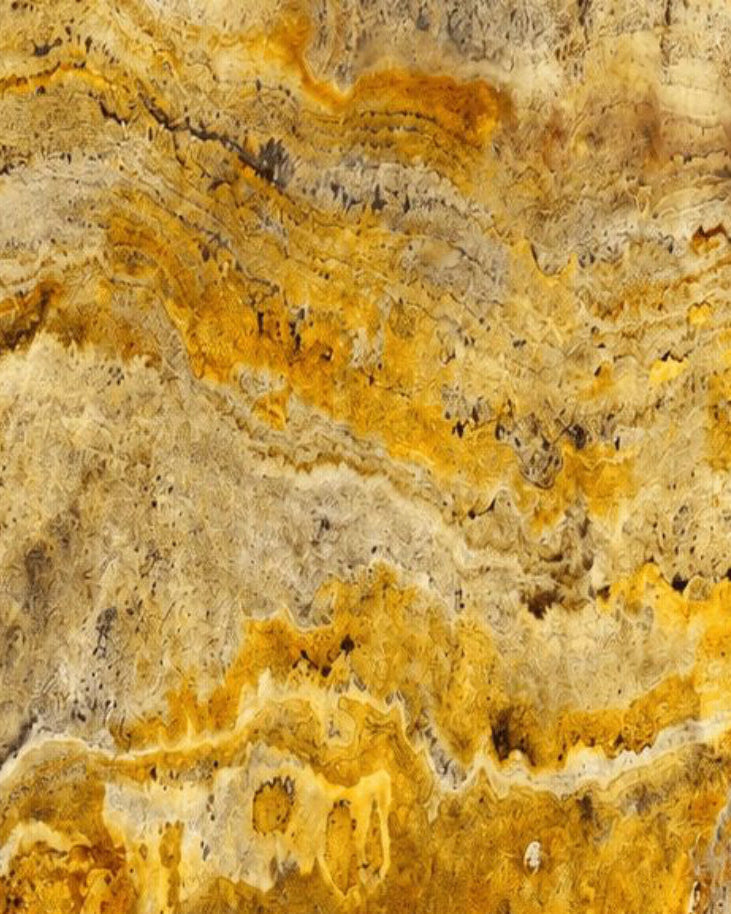
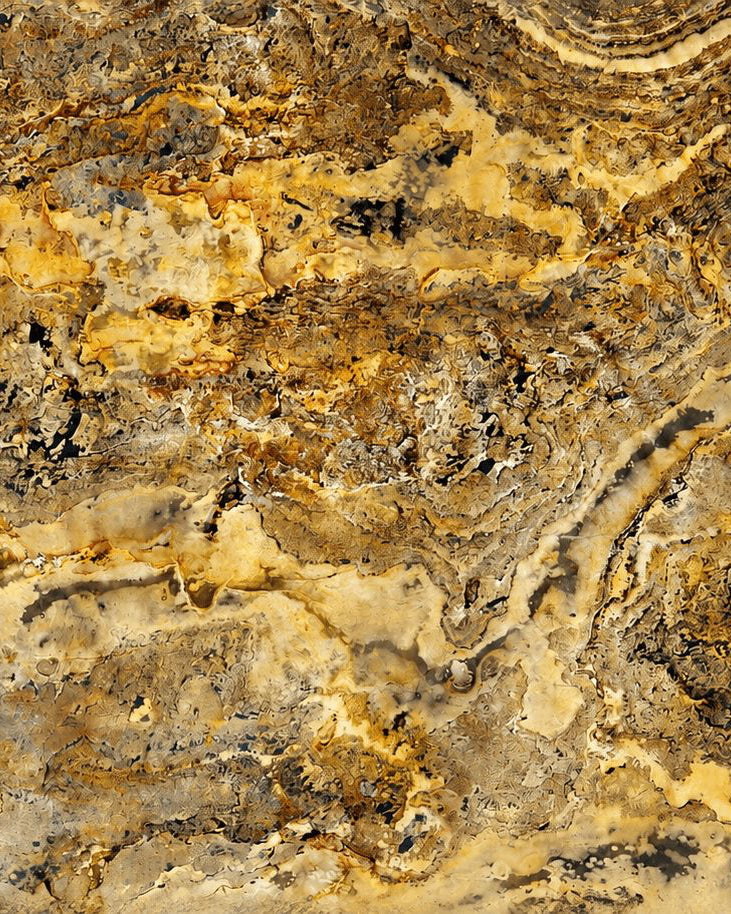
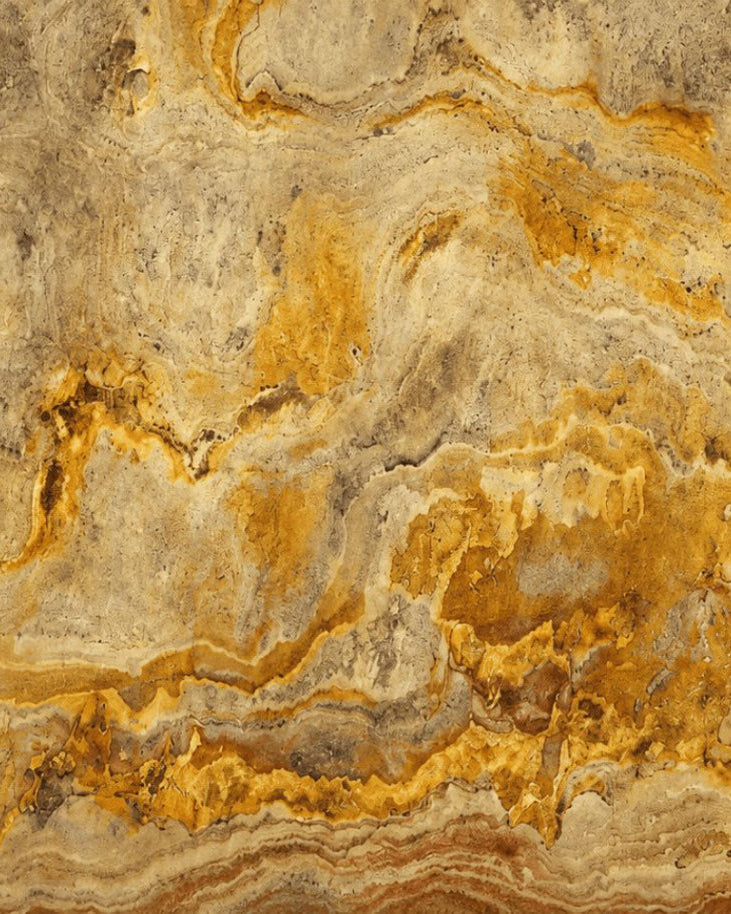

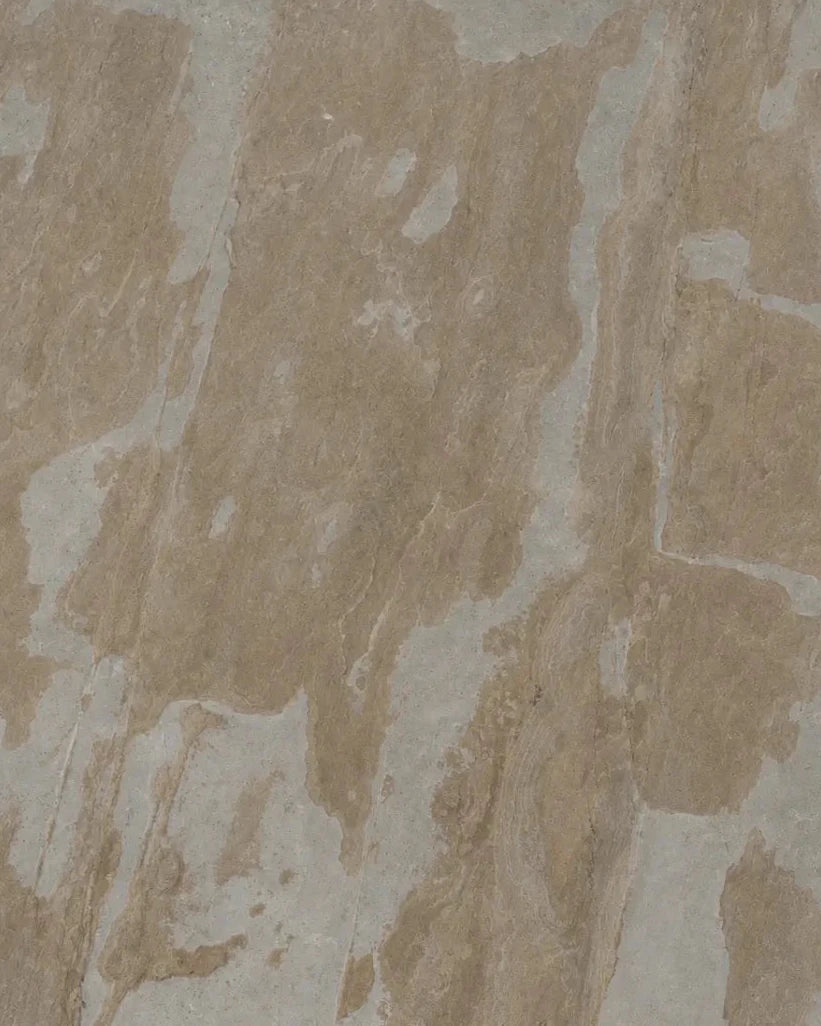
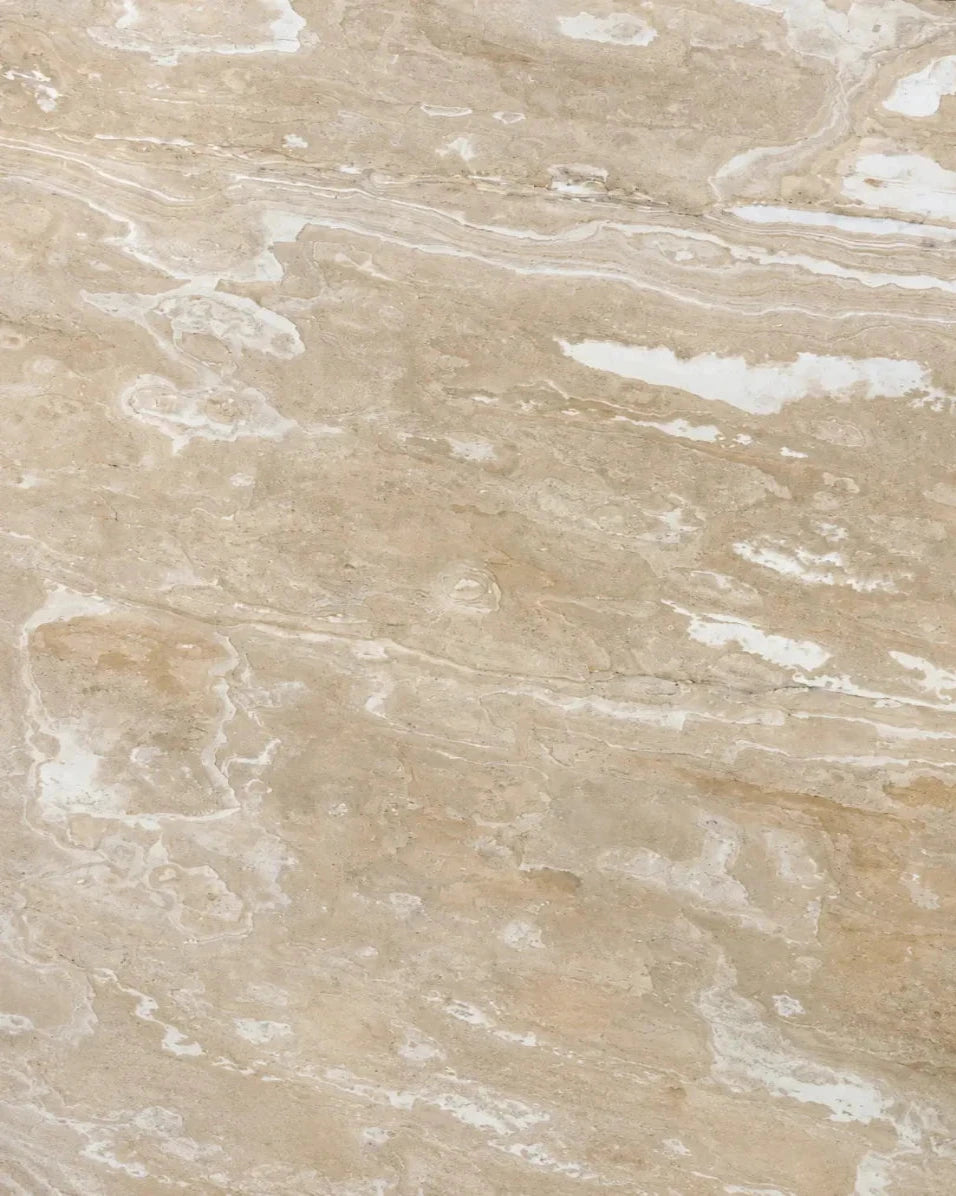
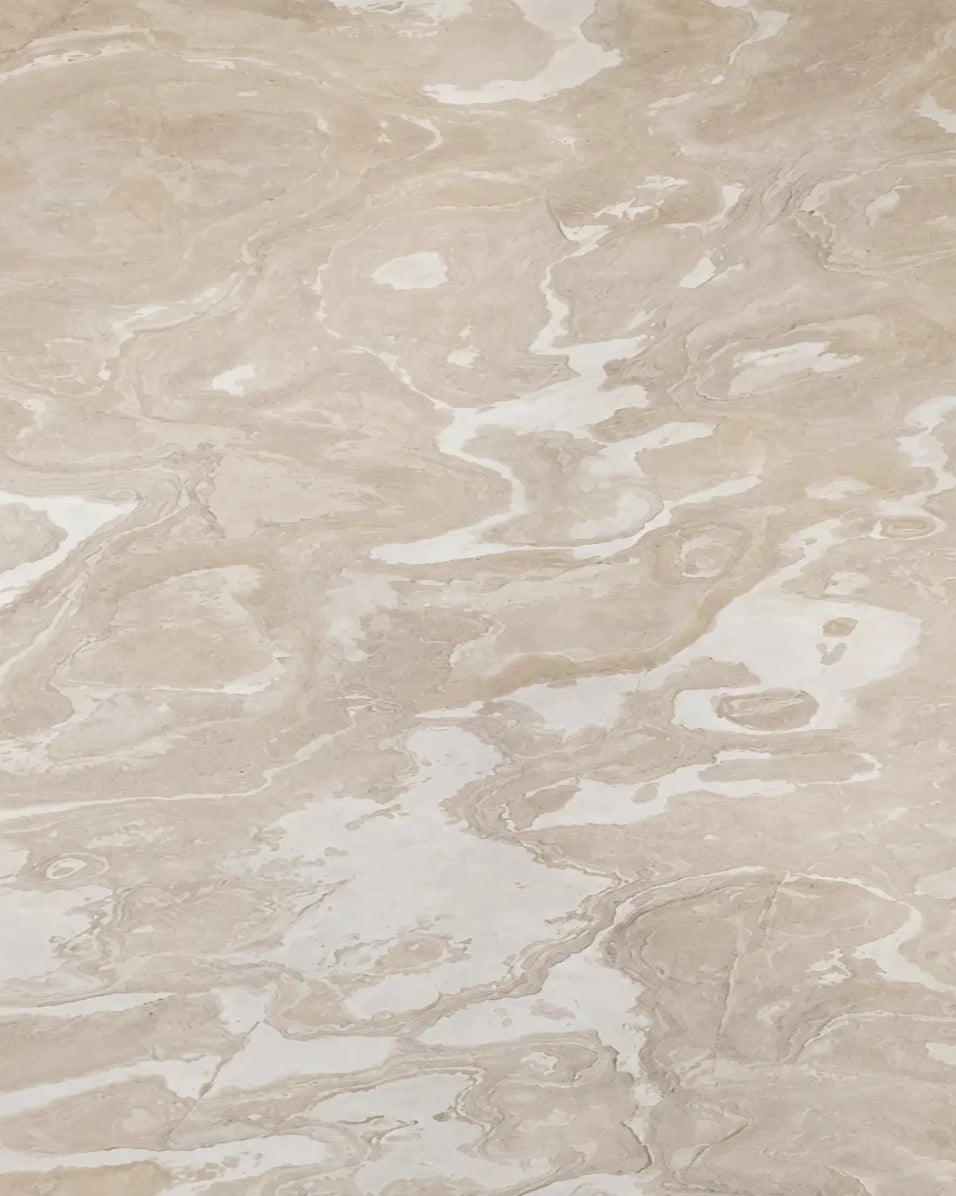
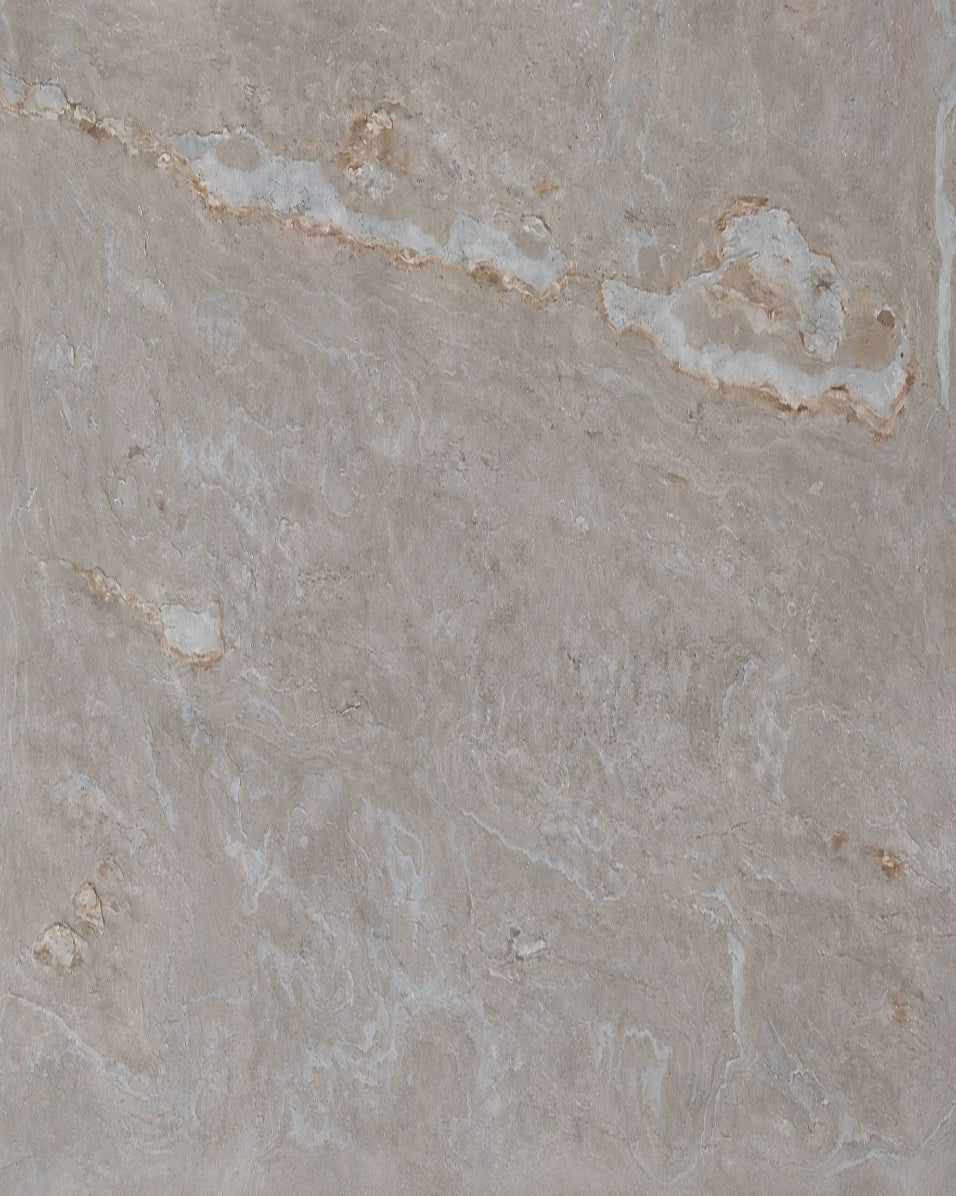
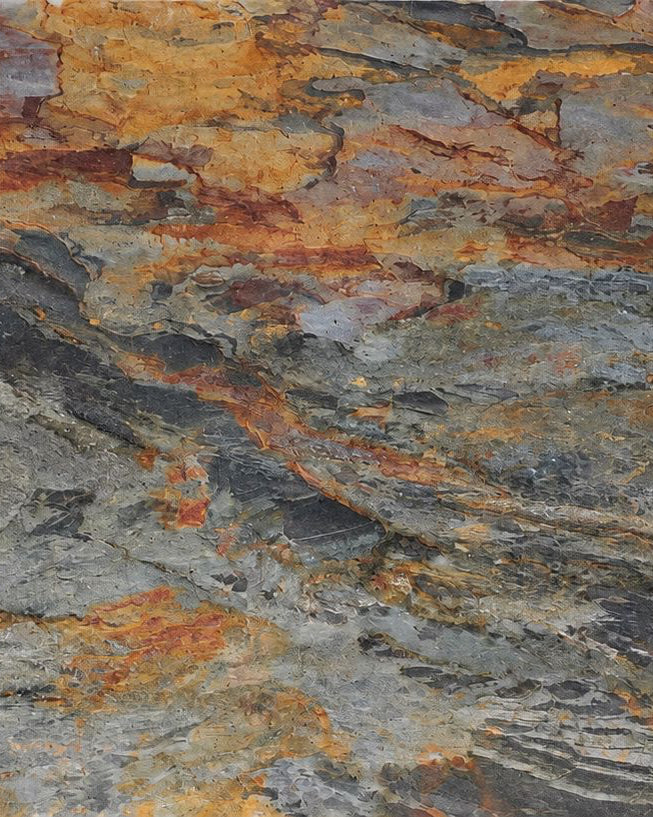
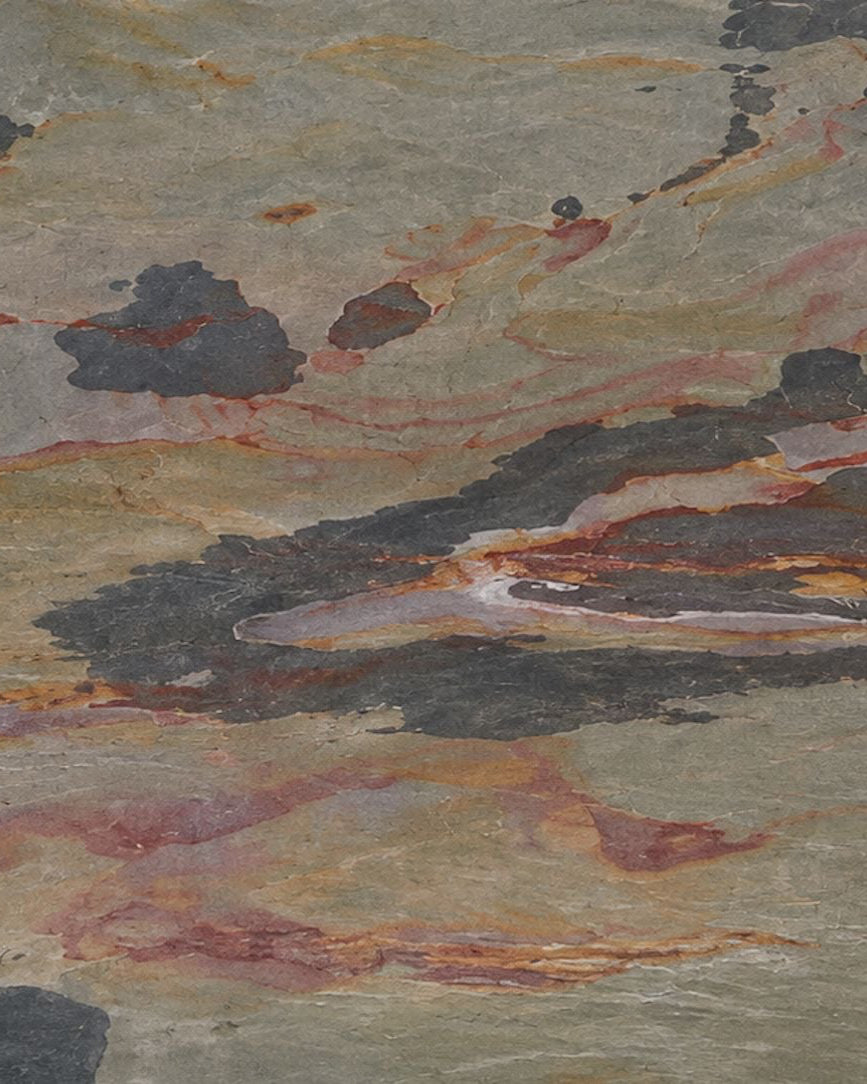
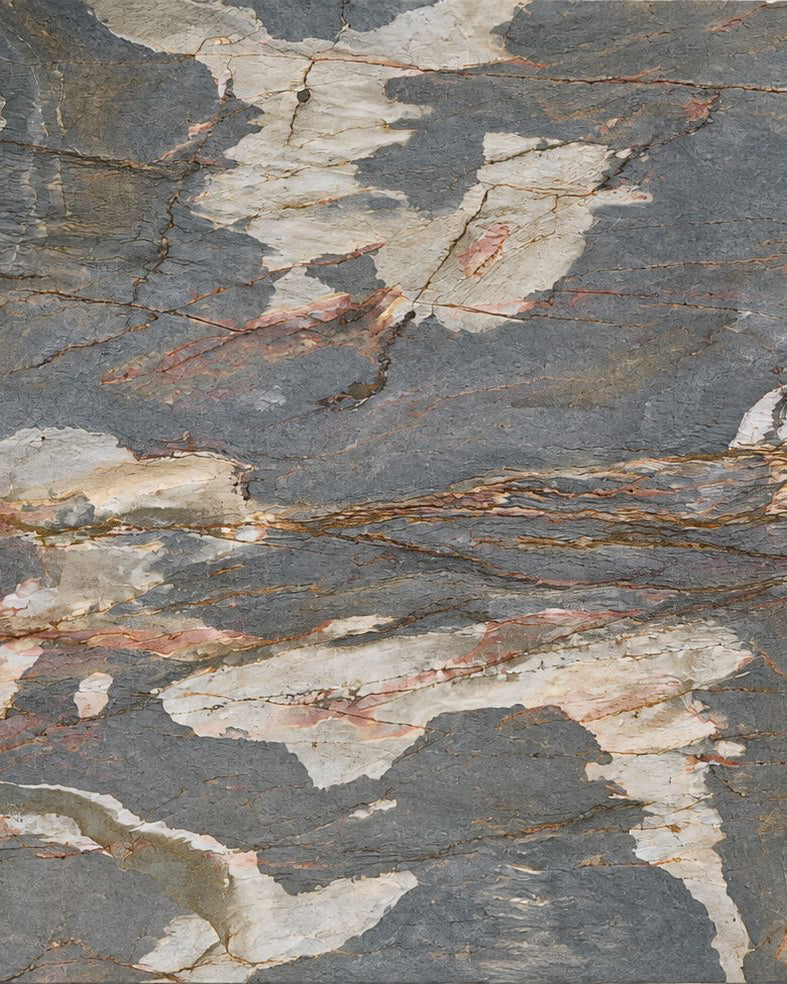
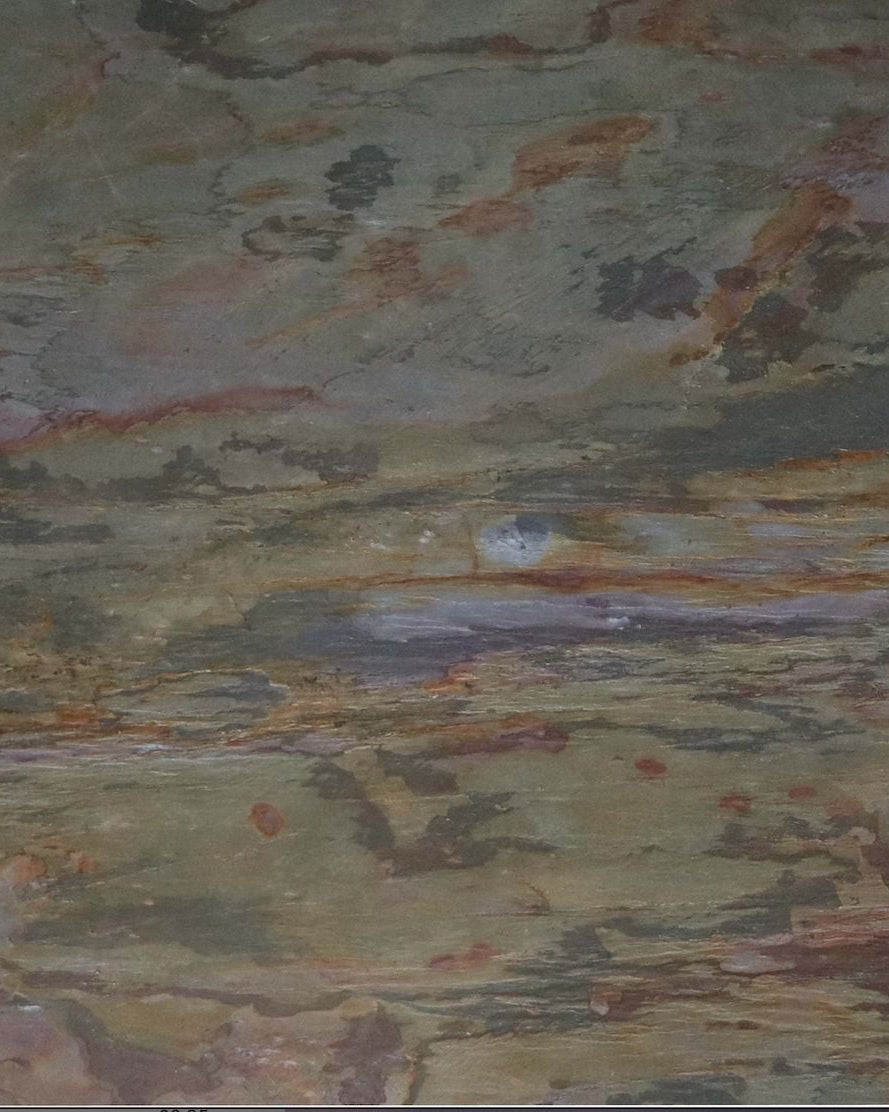
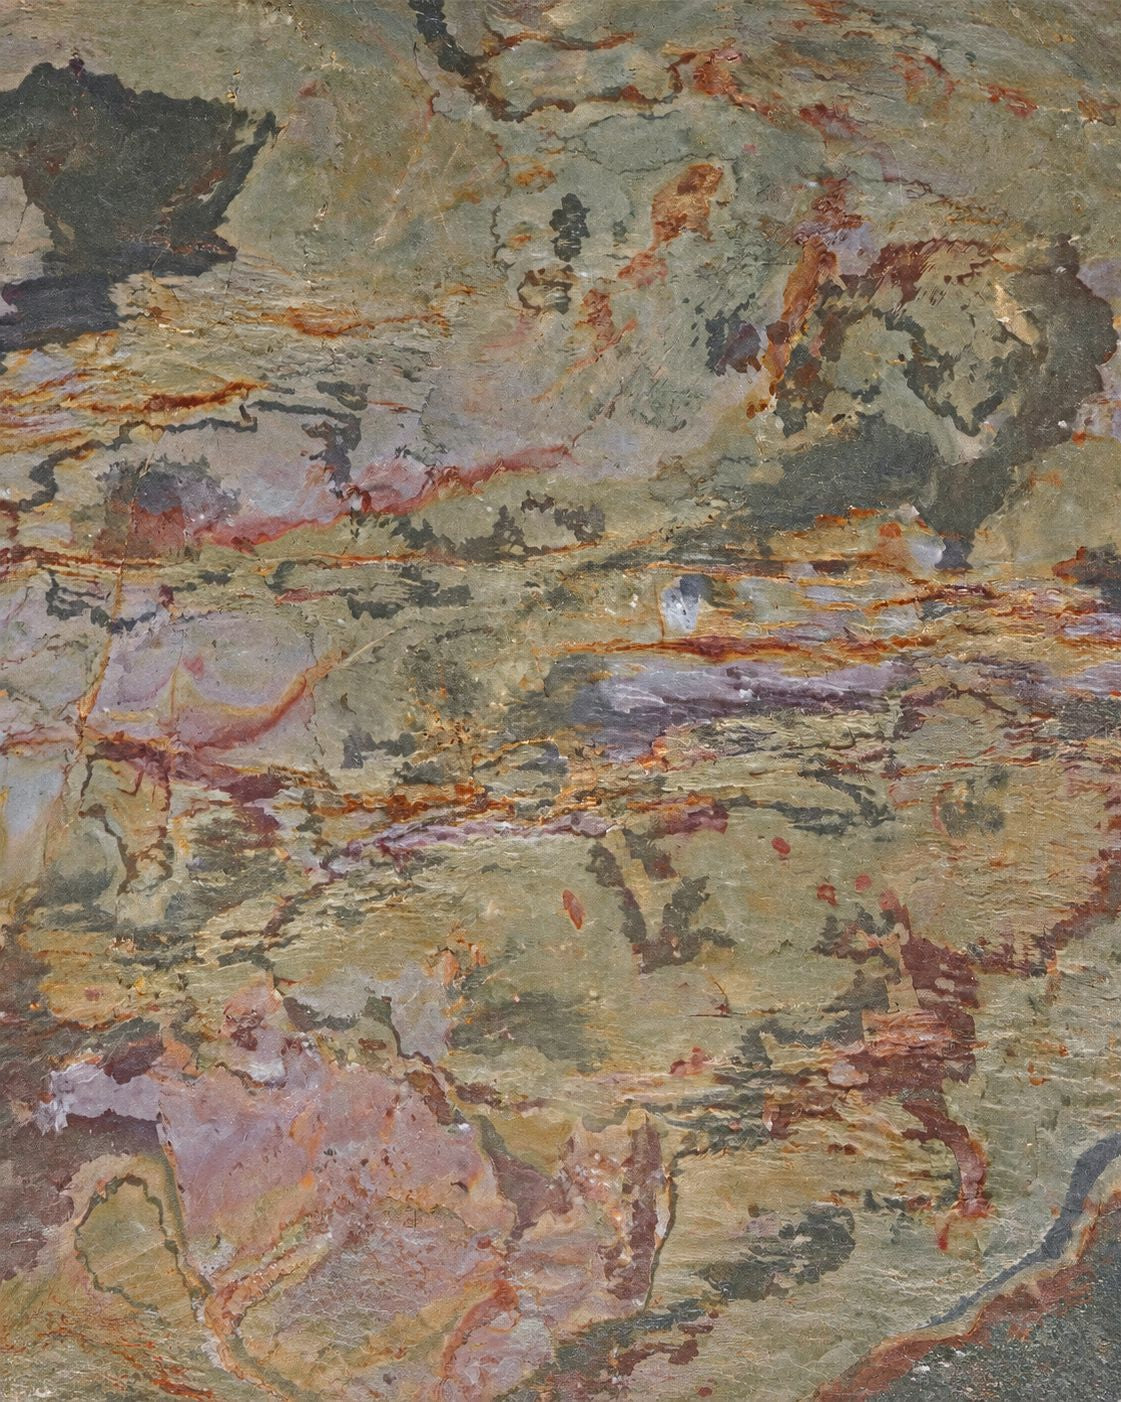


Stone veneer for a unique flooring
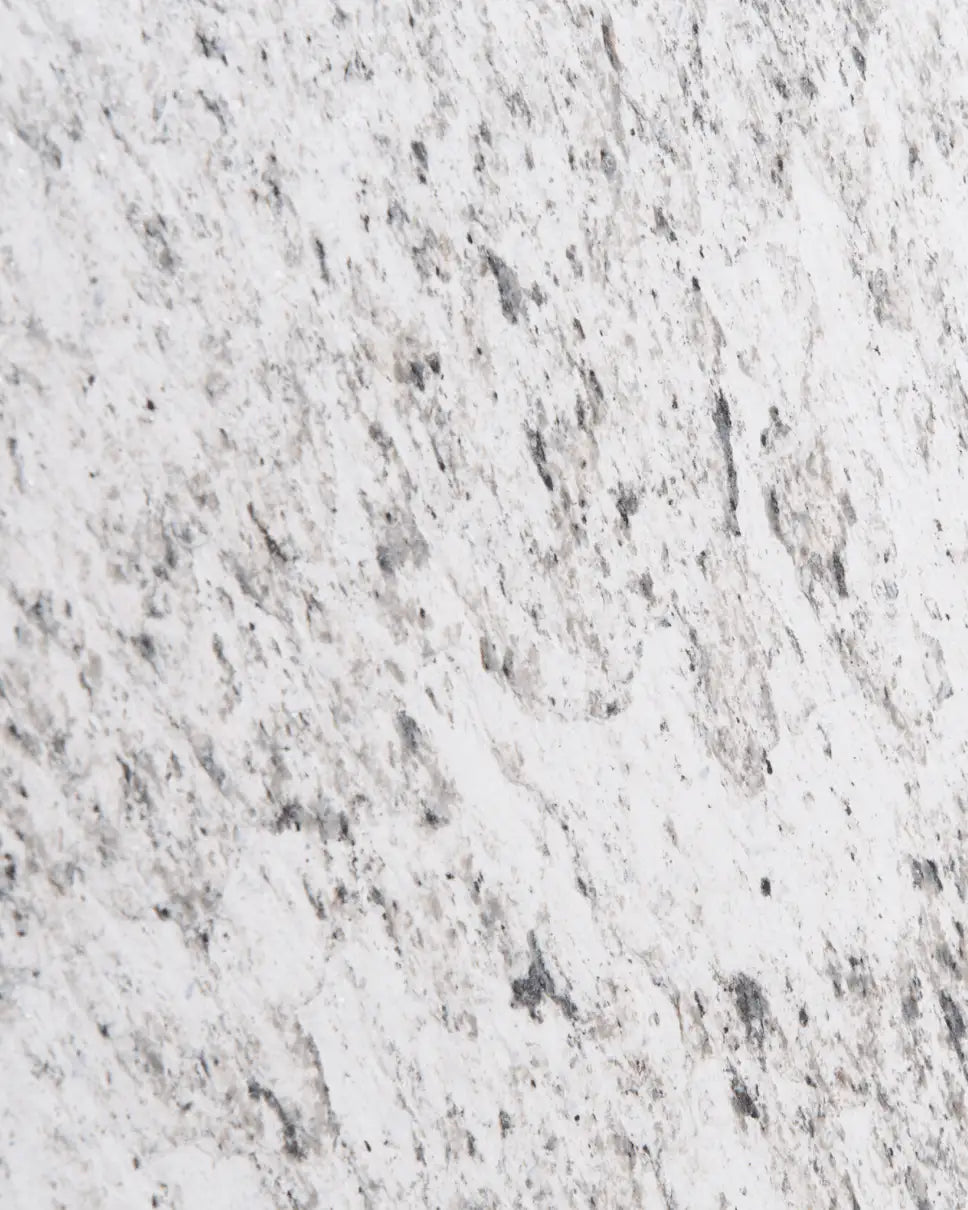
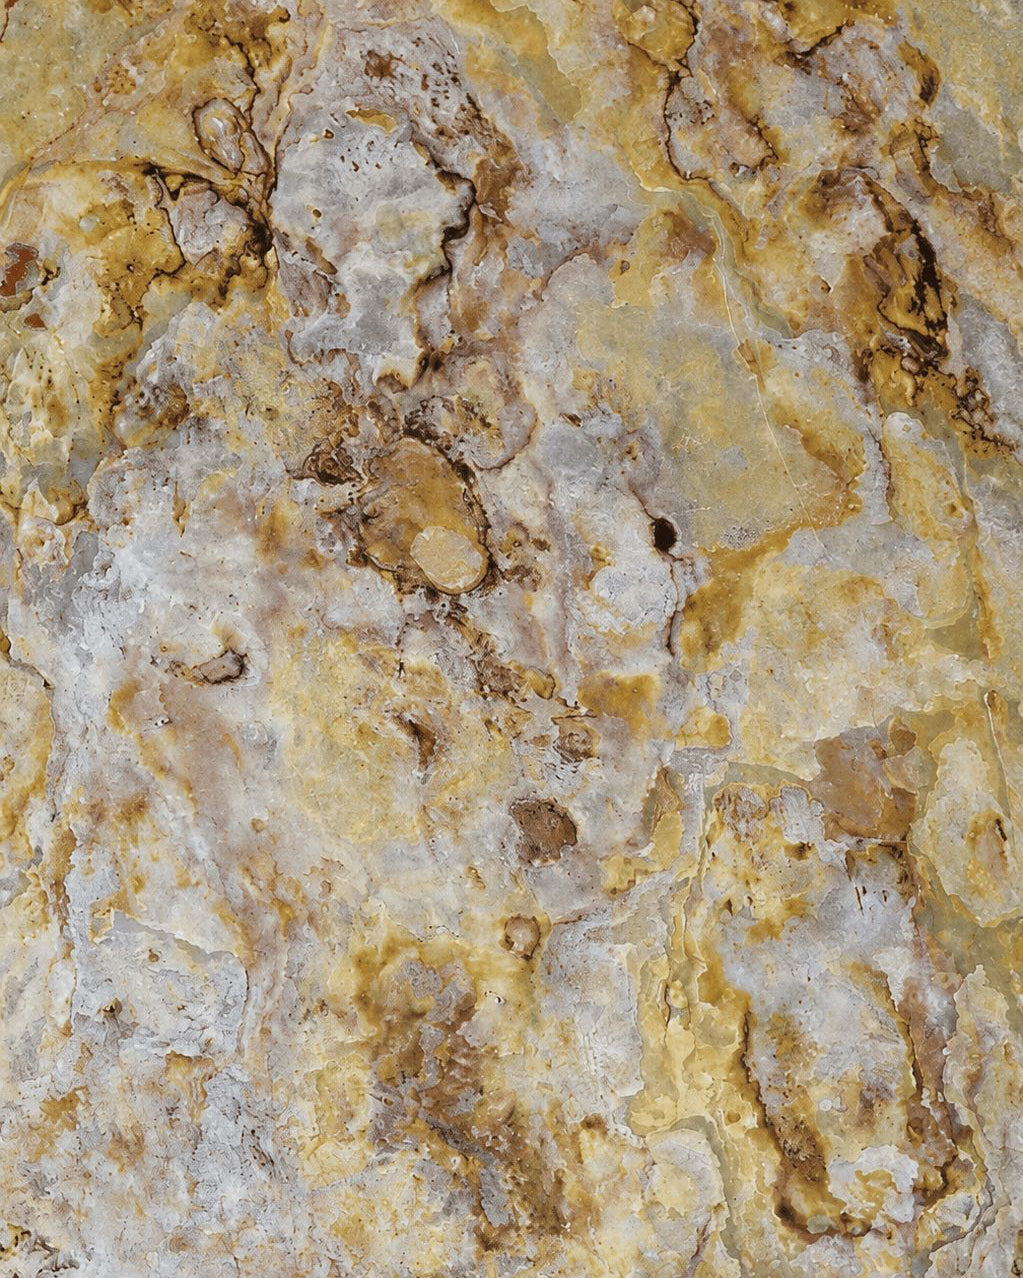
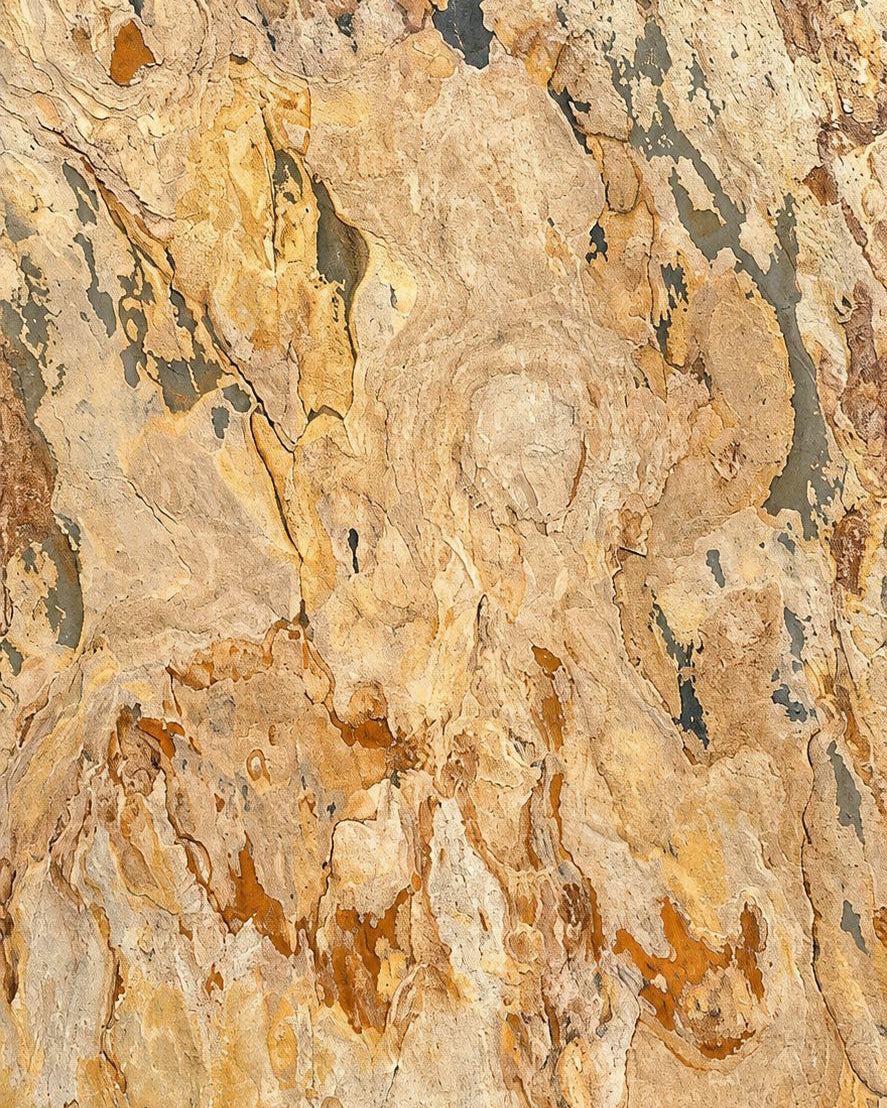
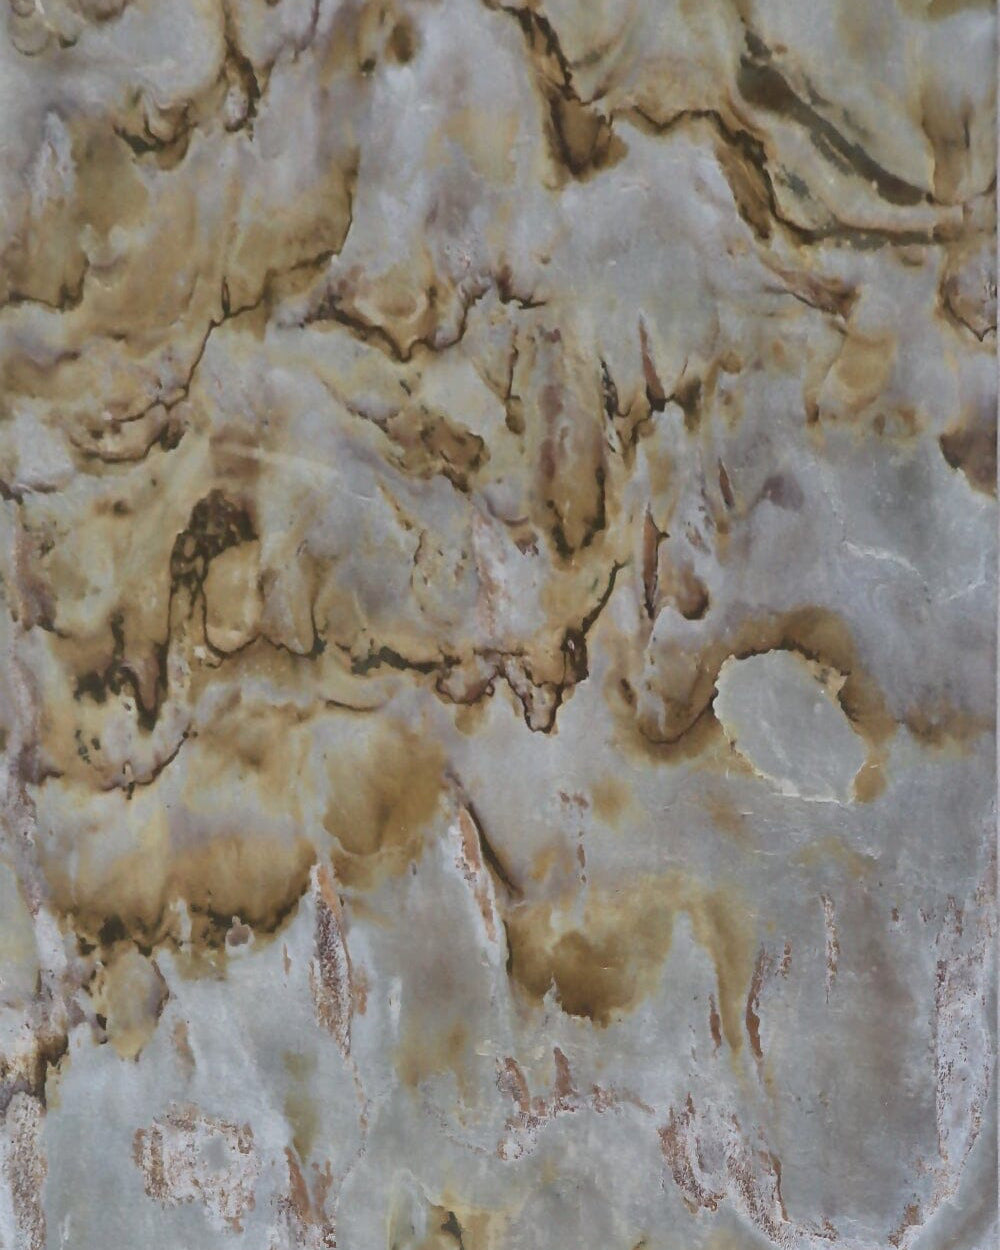
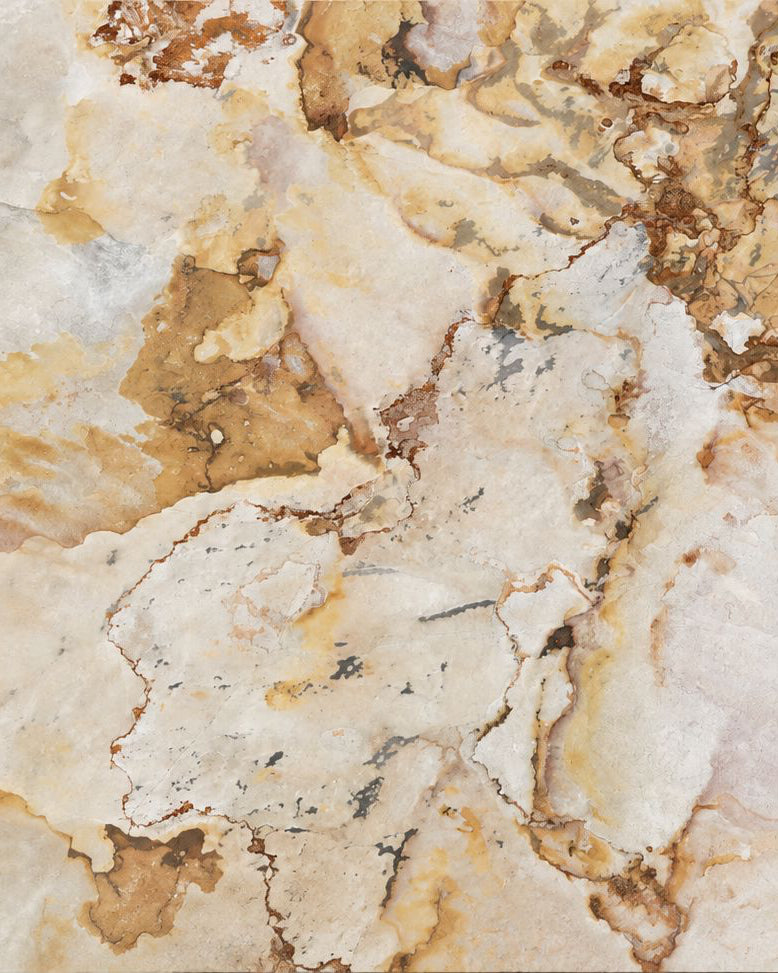
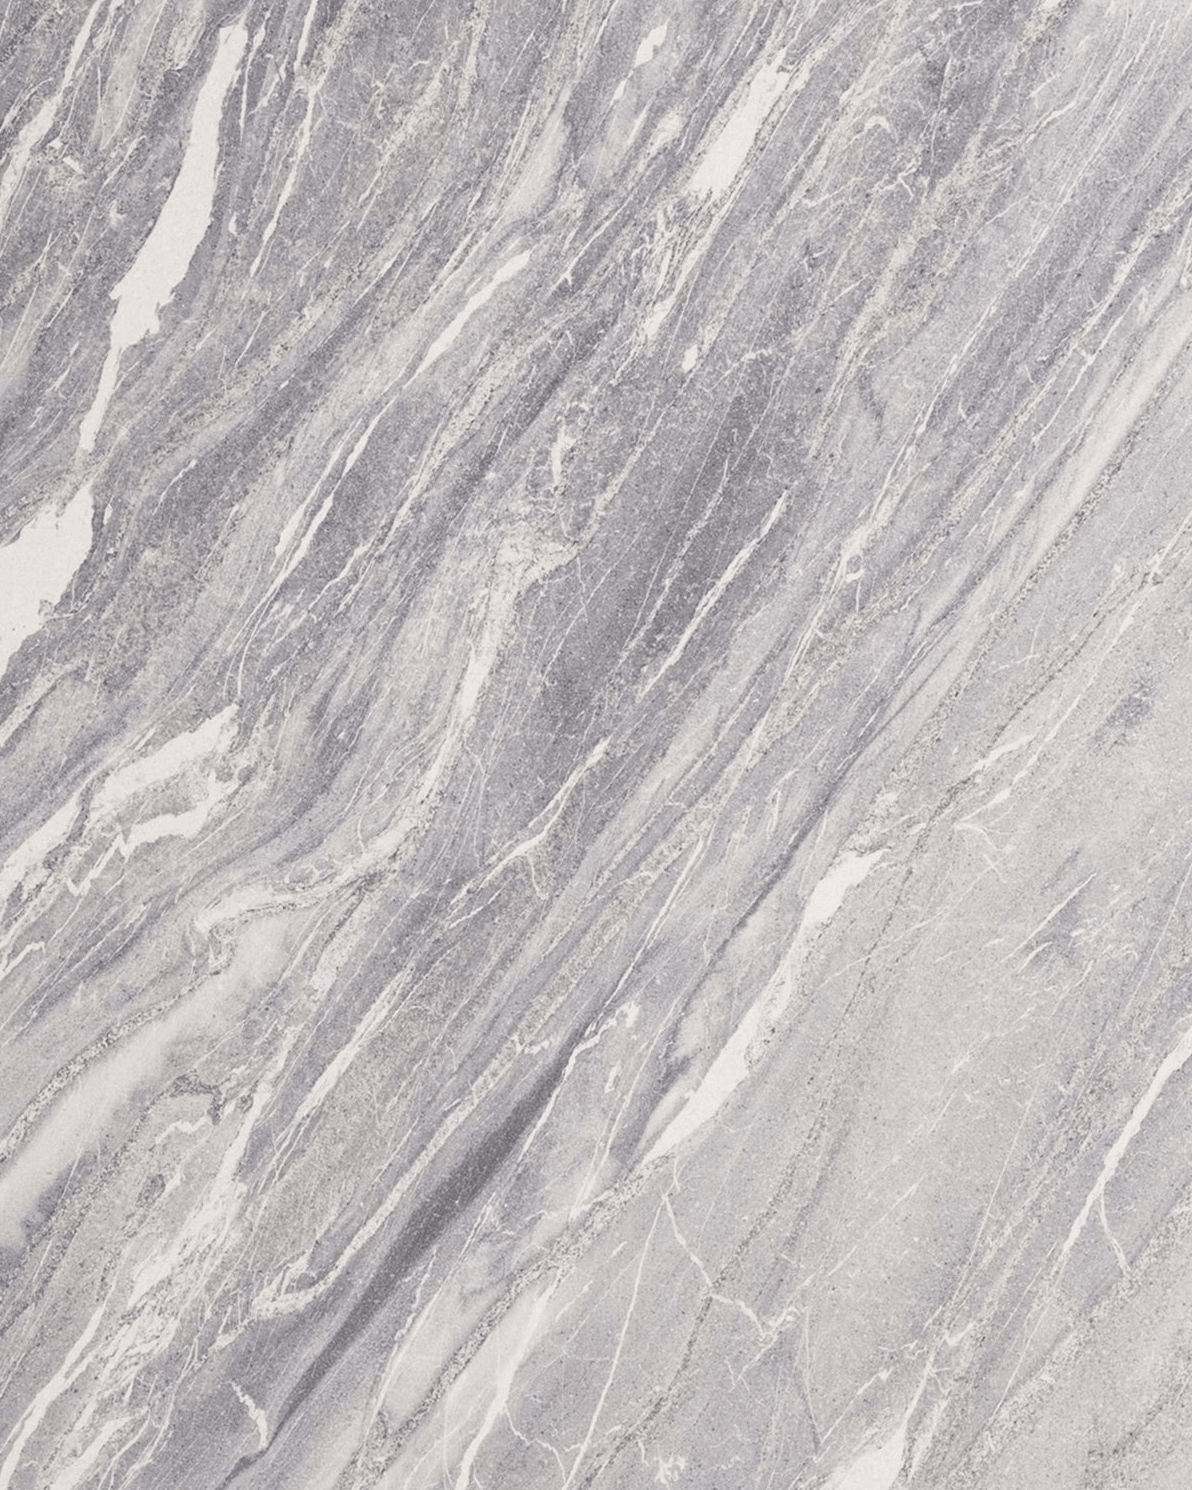
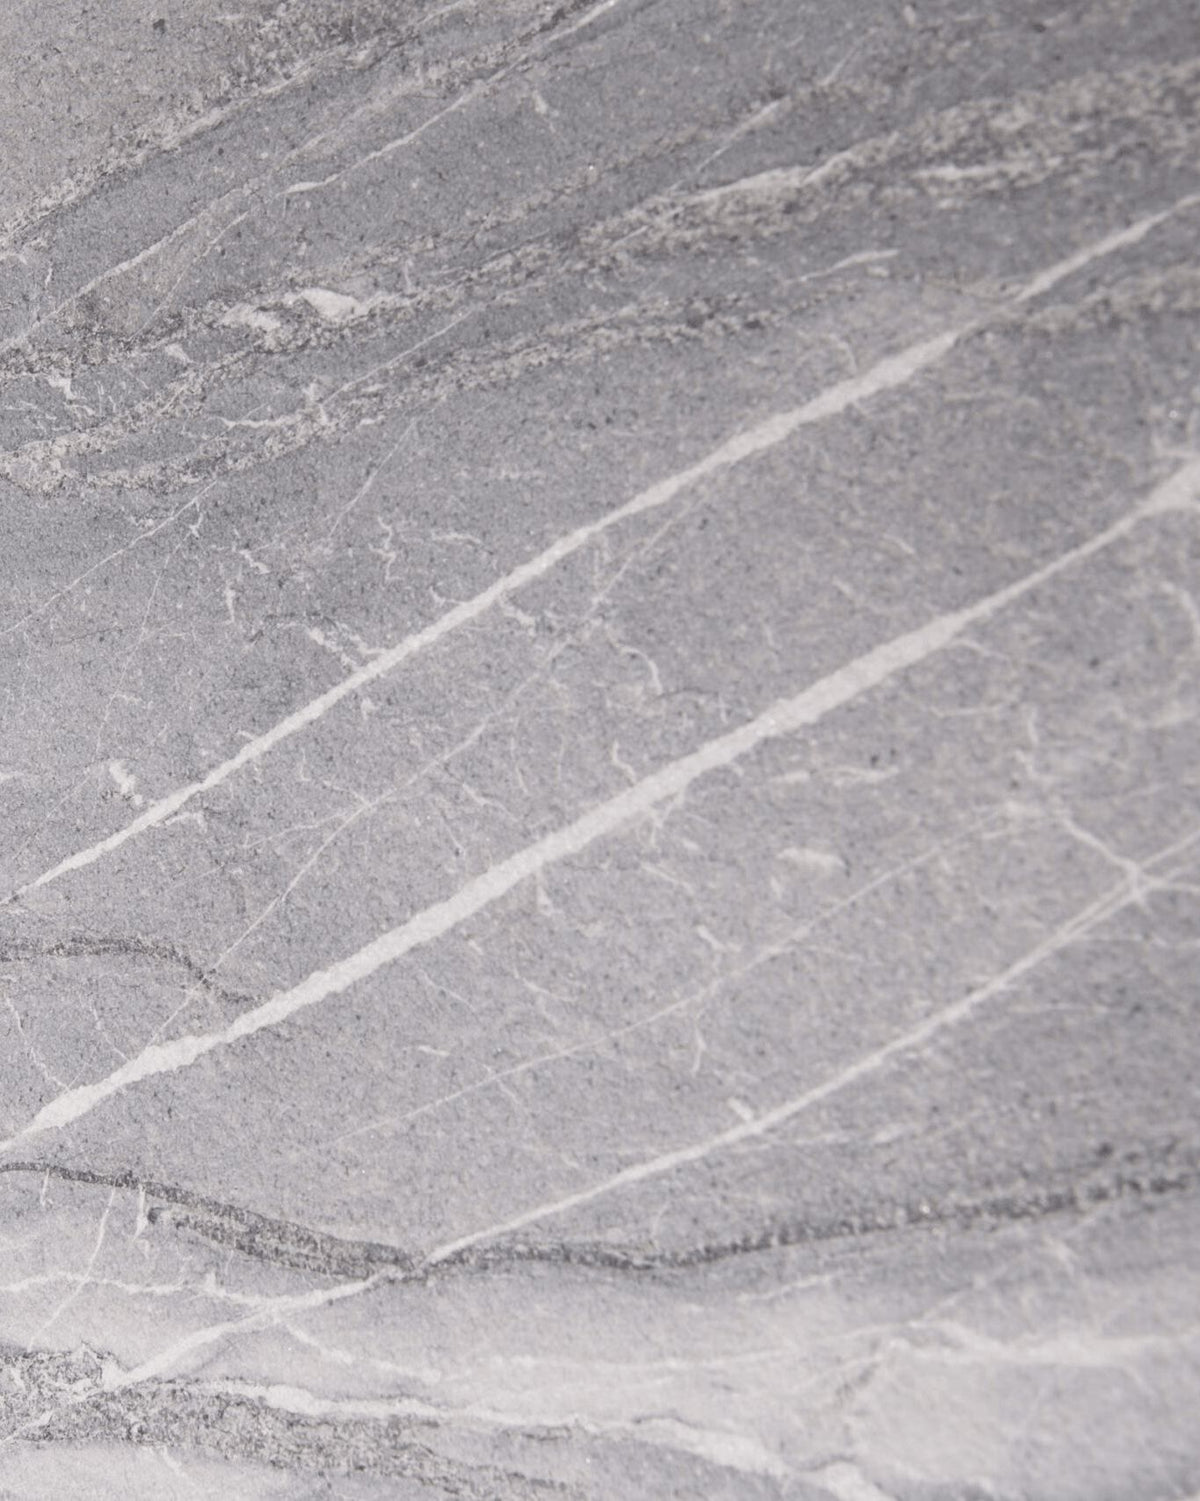
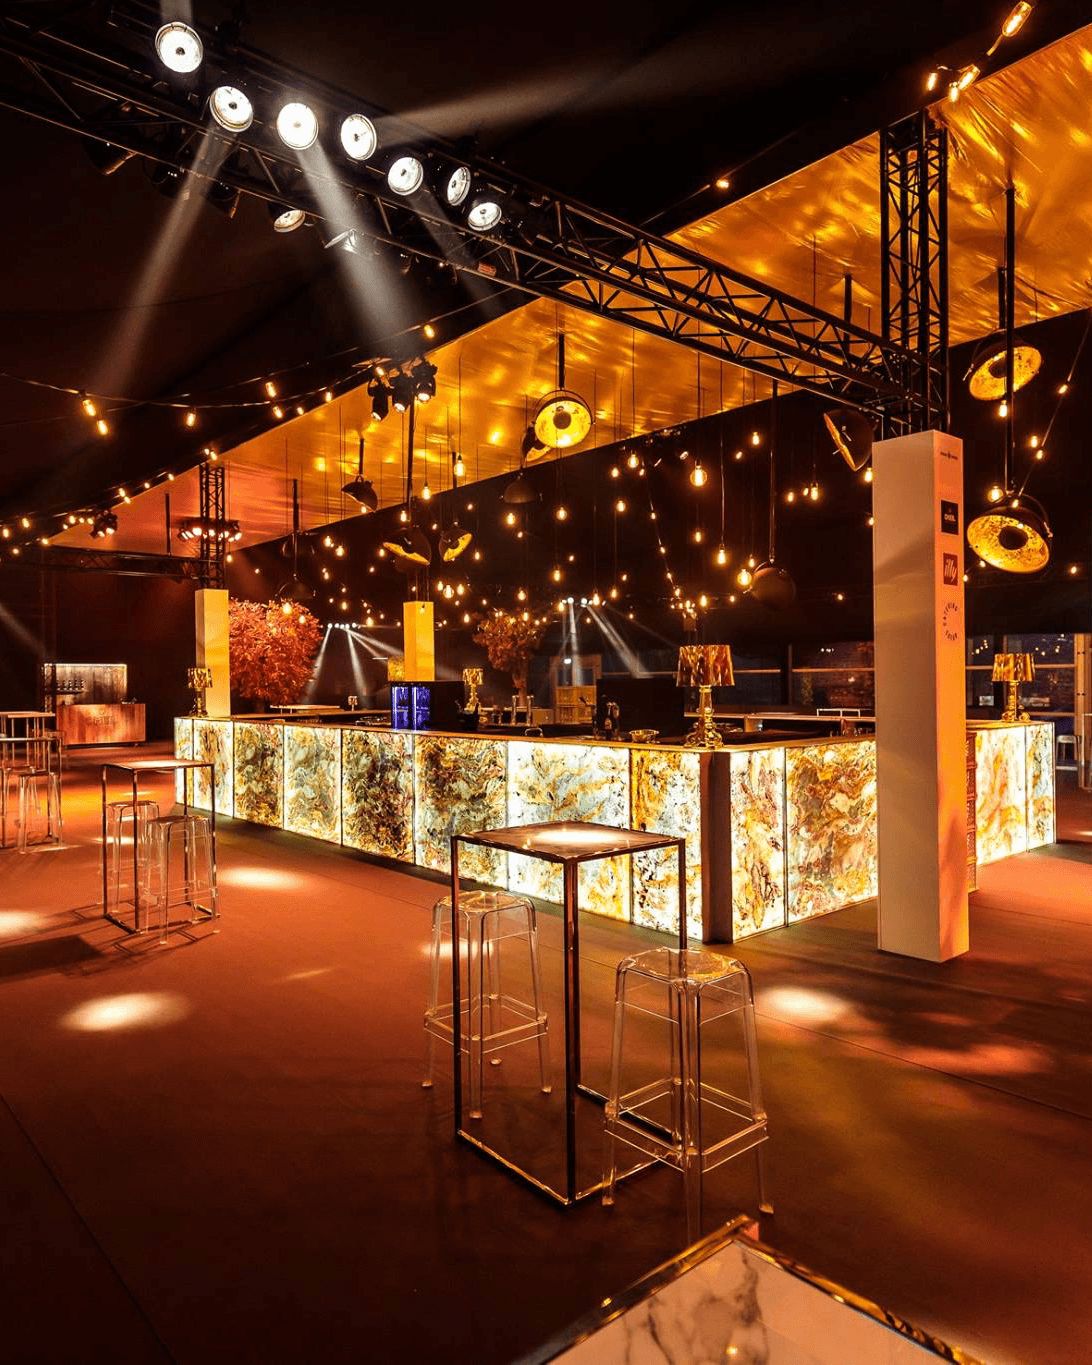
Natural stone veneer flooring: a perfect solution with Stoneleaf.
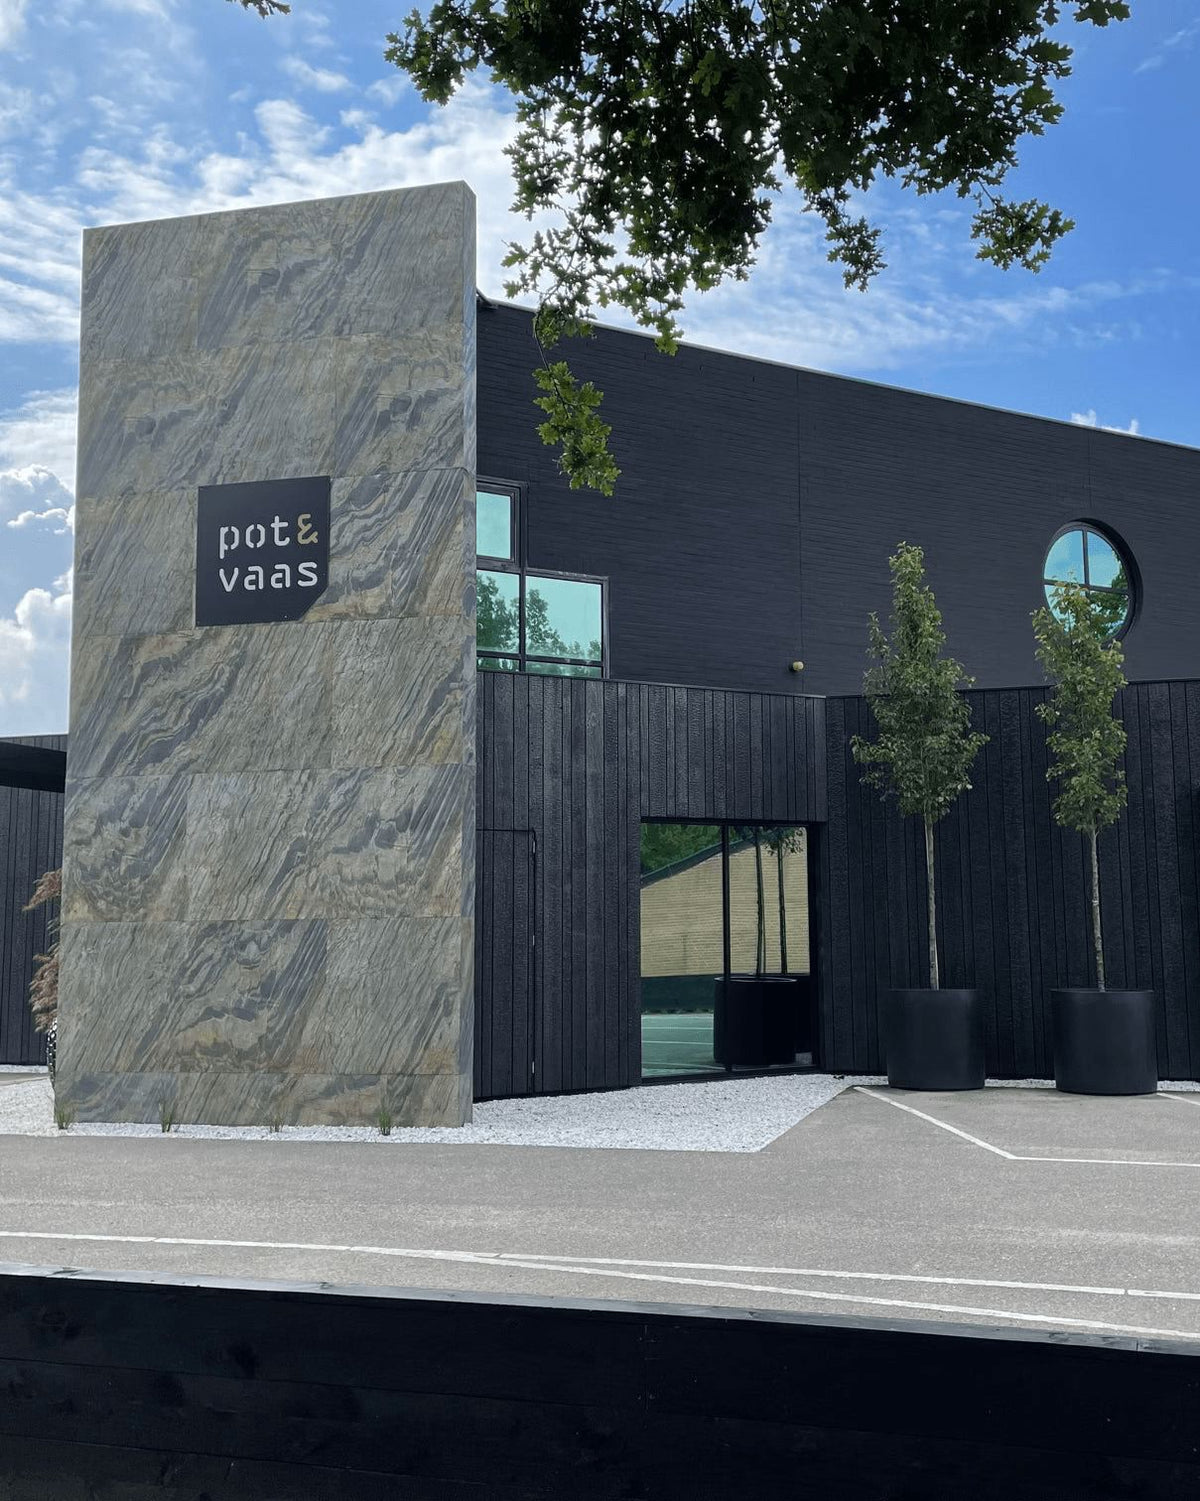
Stone has always existed, but it has only recently found its way into our interiors, thanks to Stoneleaf's innovation, especially for flooring.
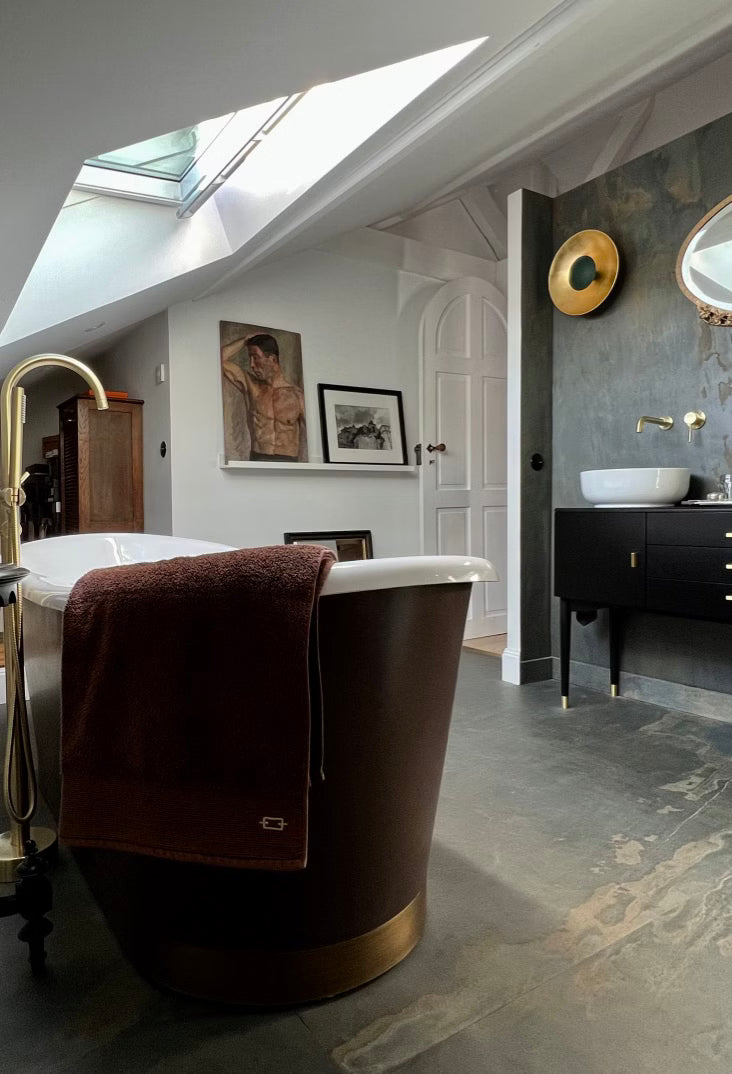
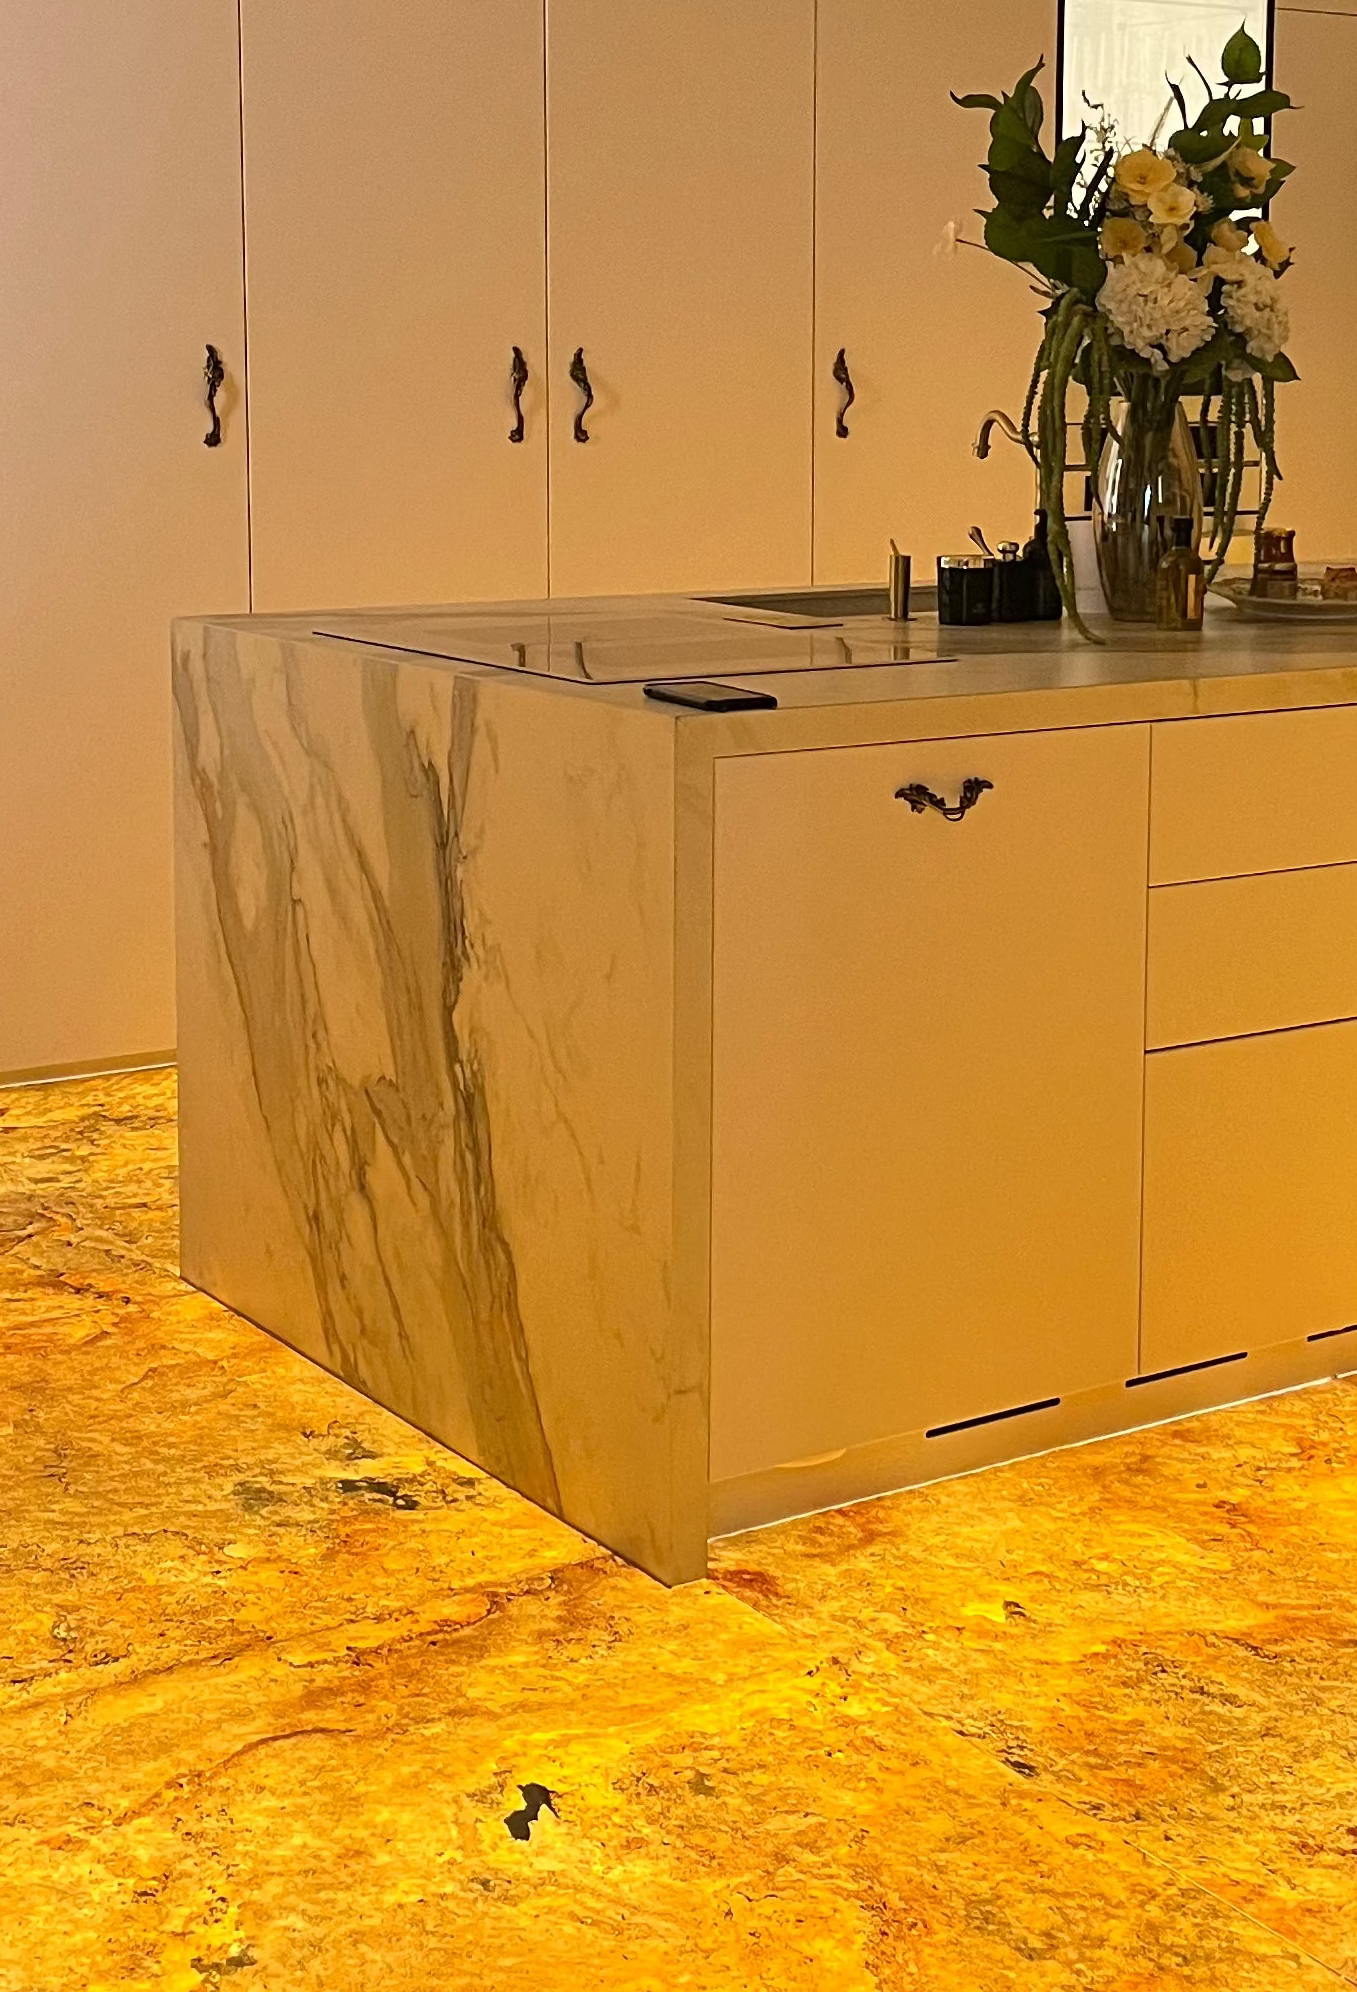
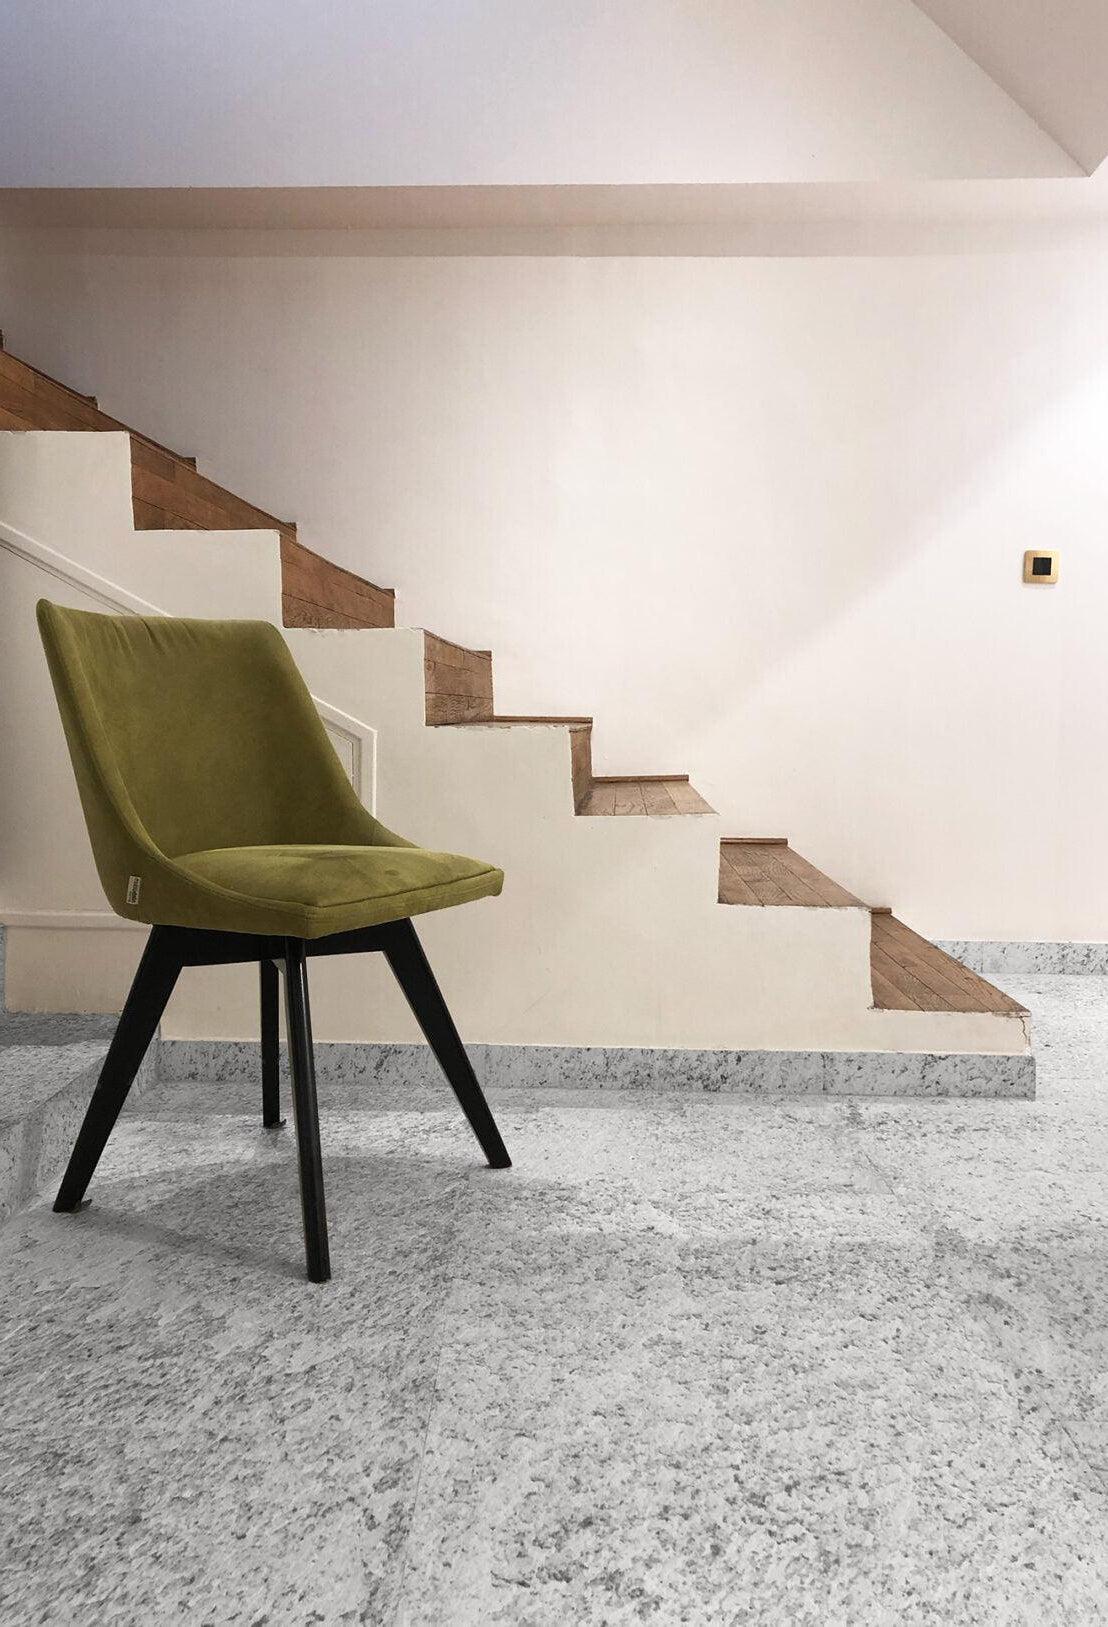
How to lay our stone sheets on the floor?
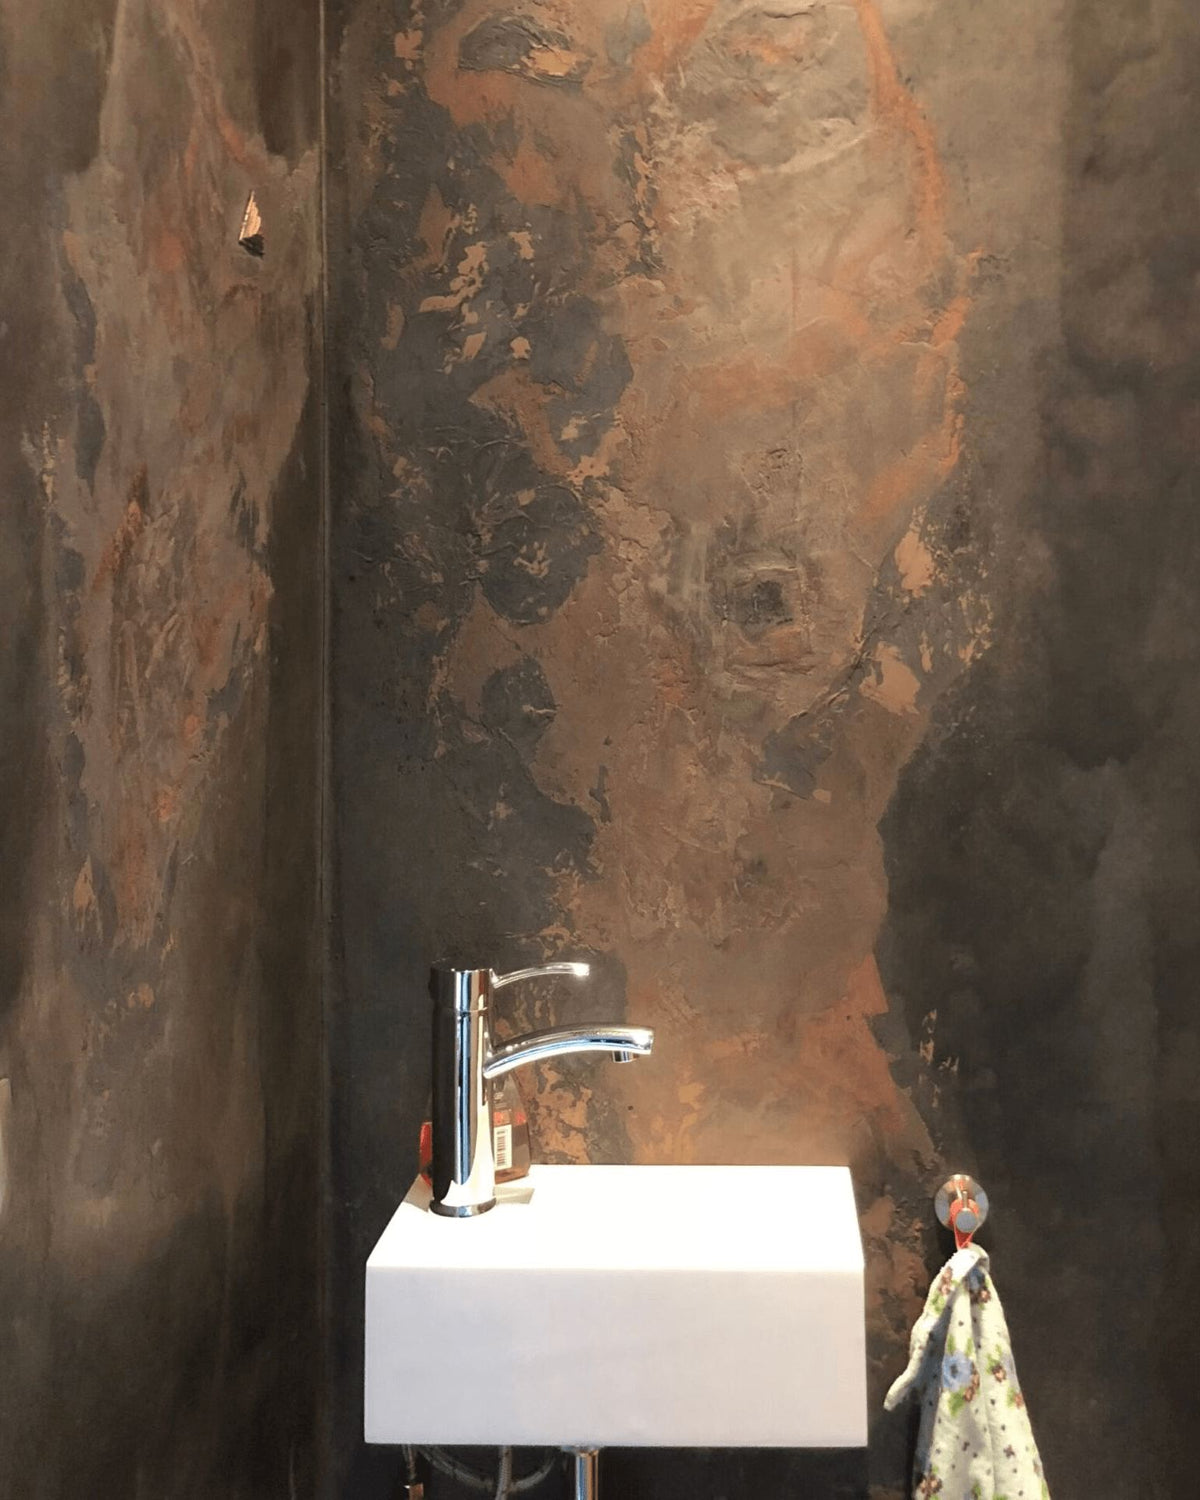
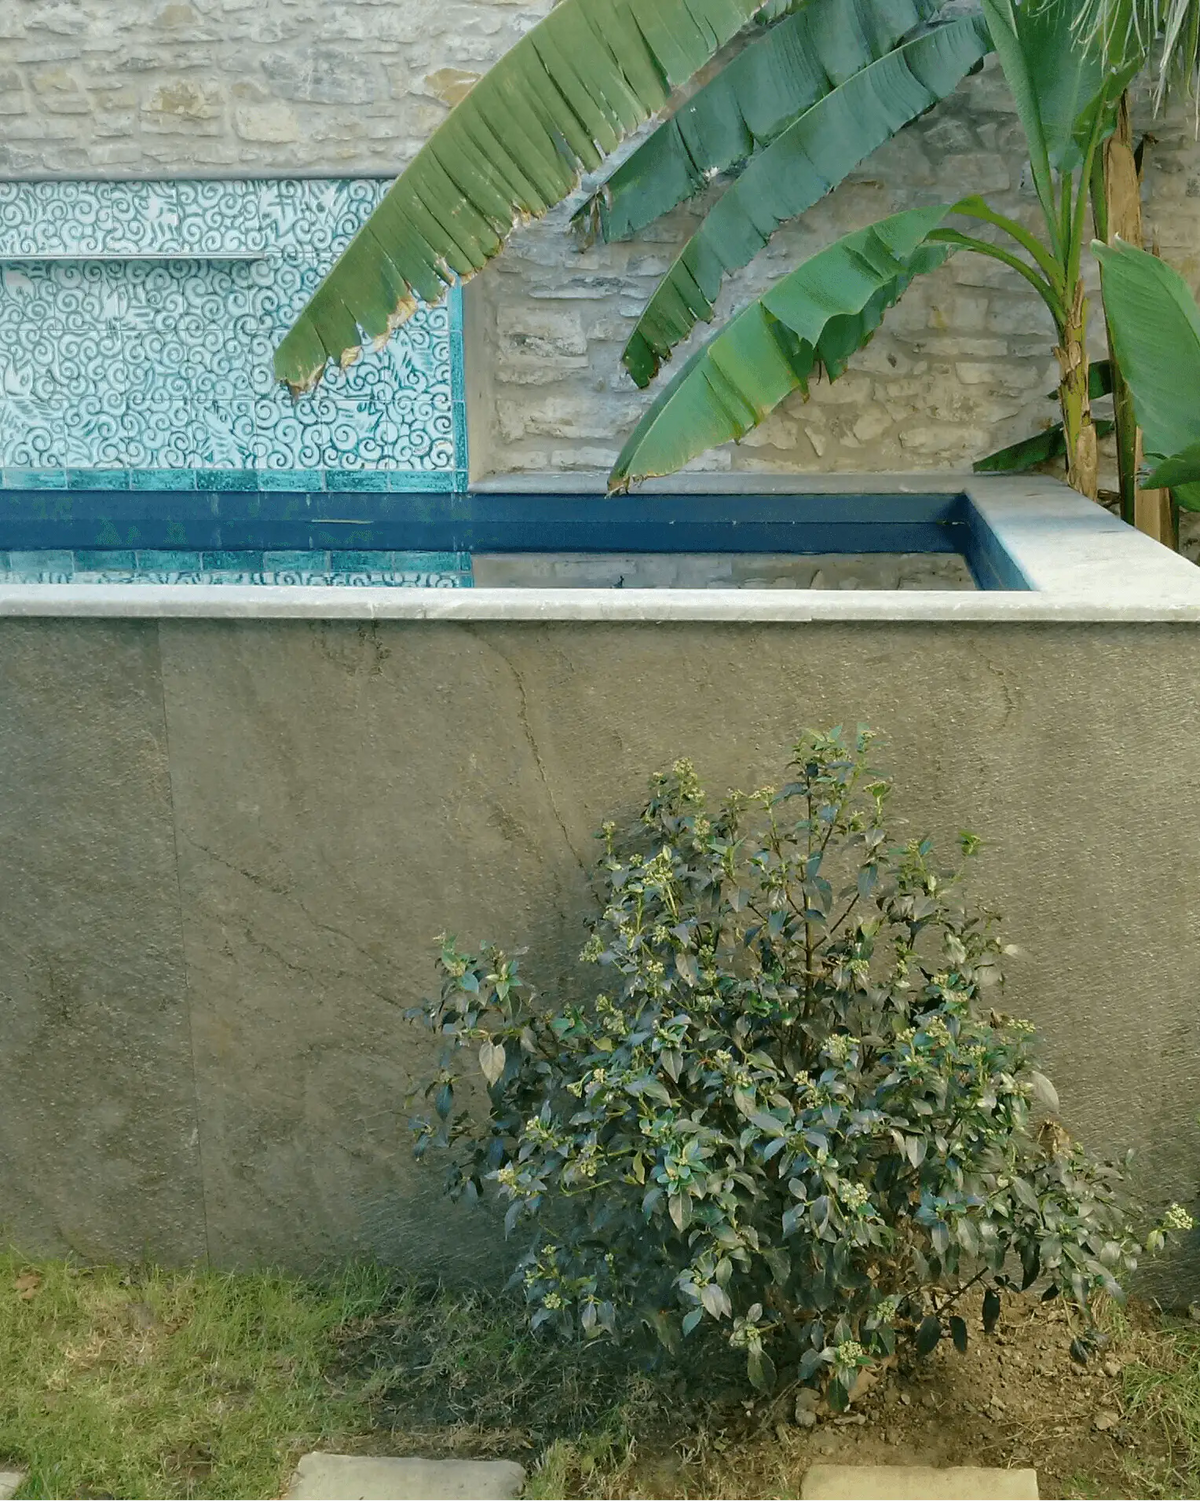
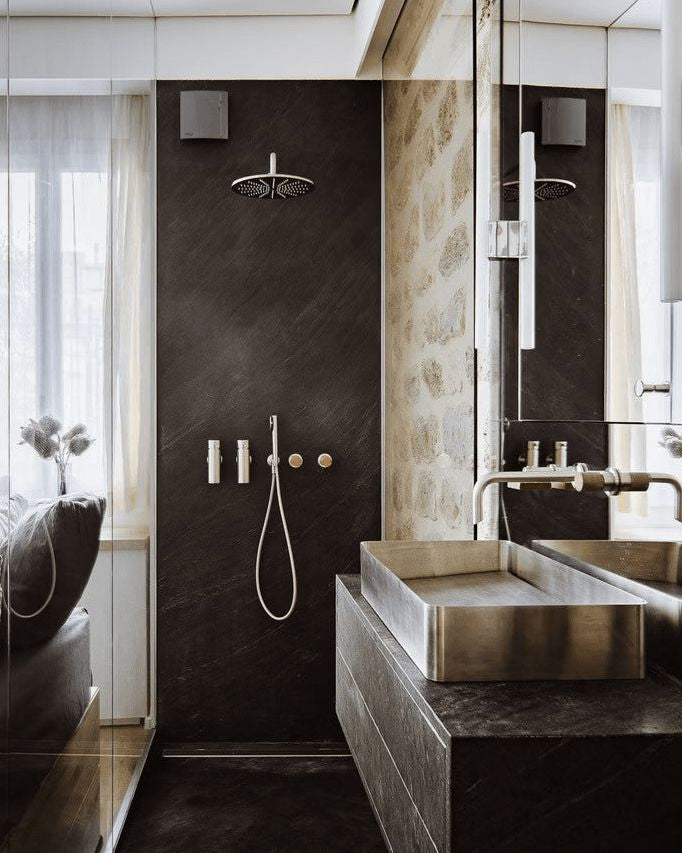
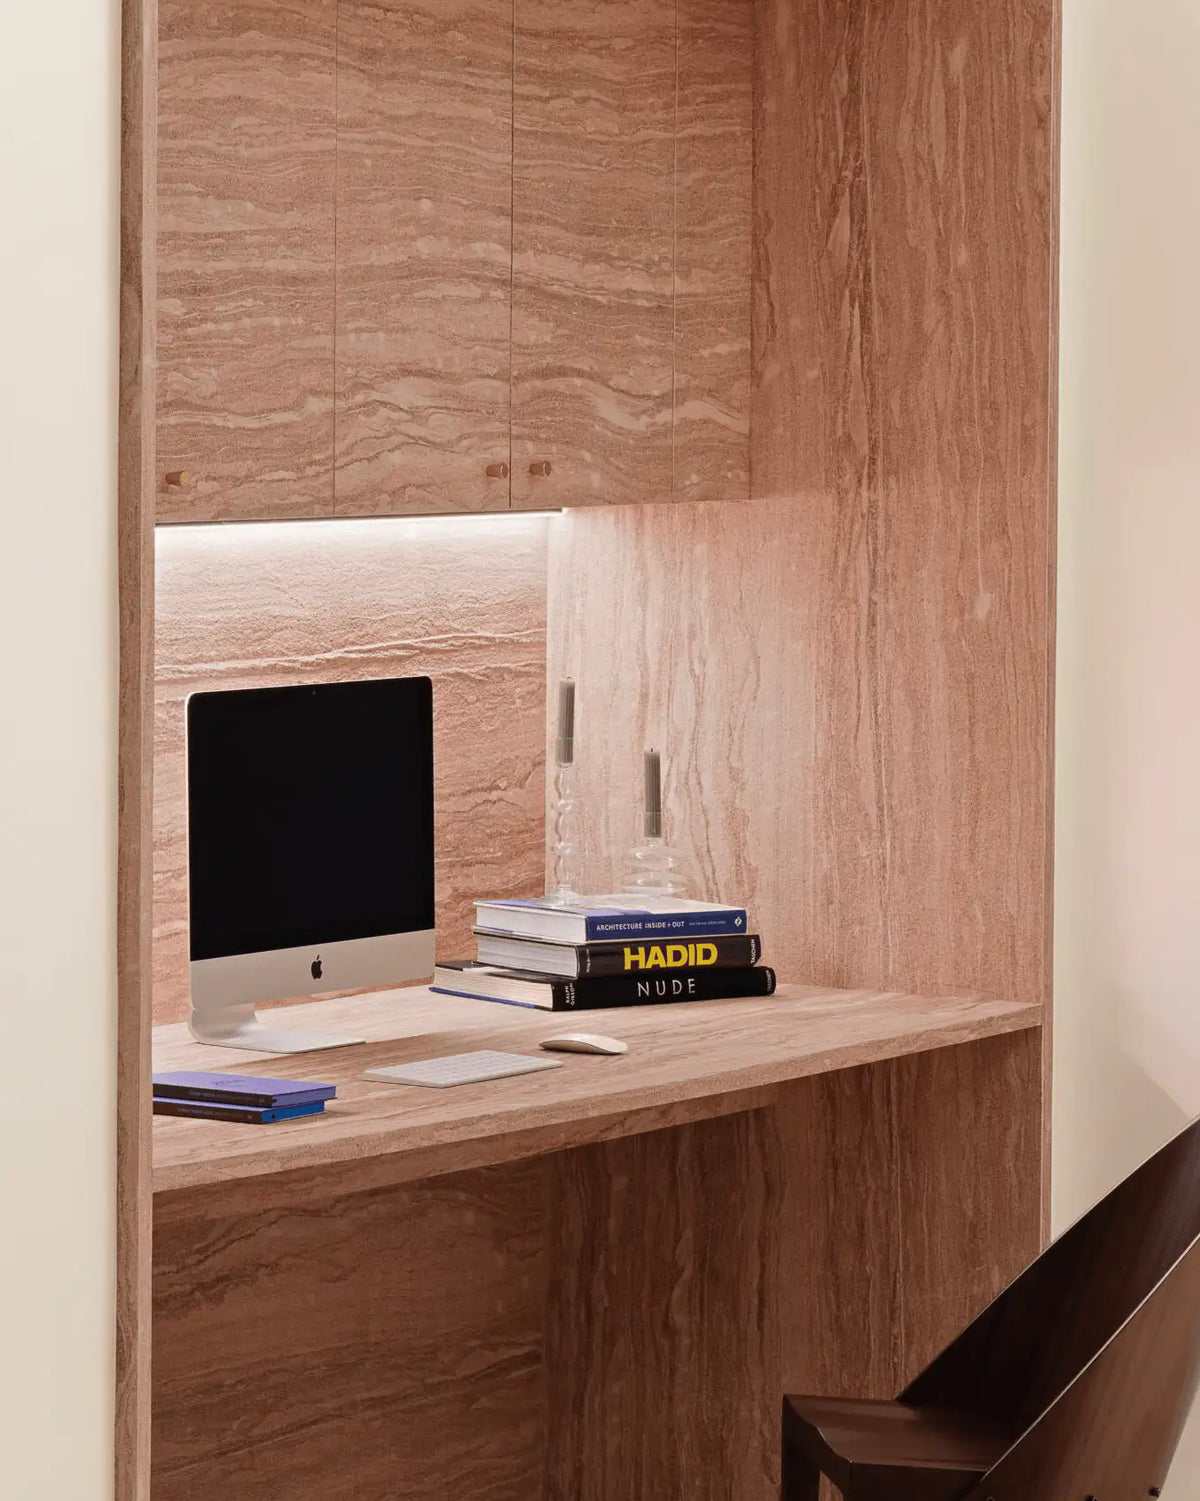
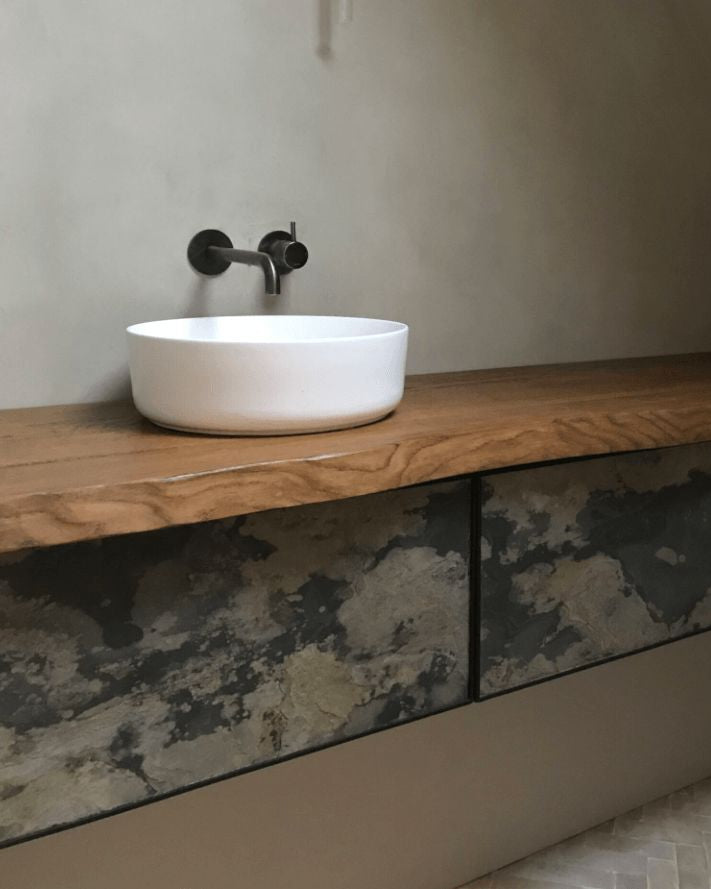
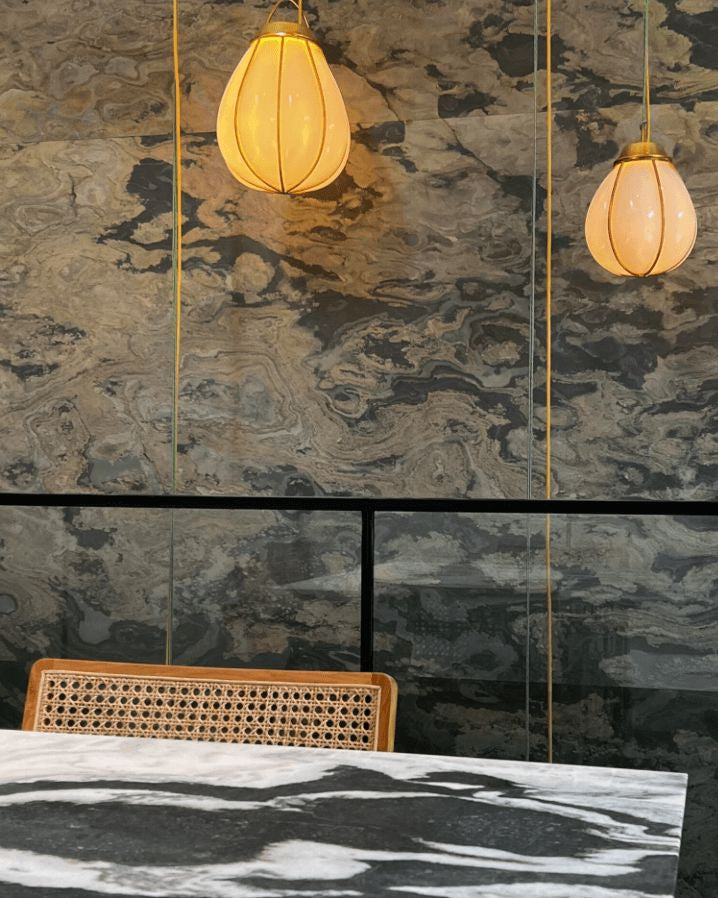
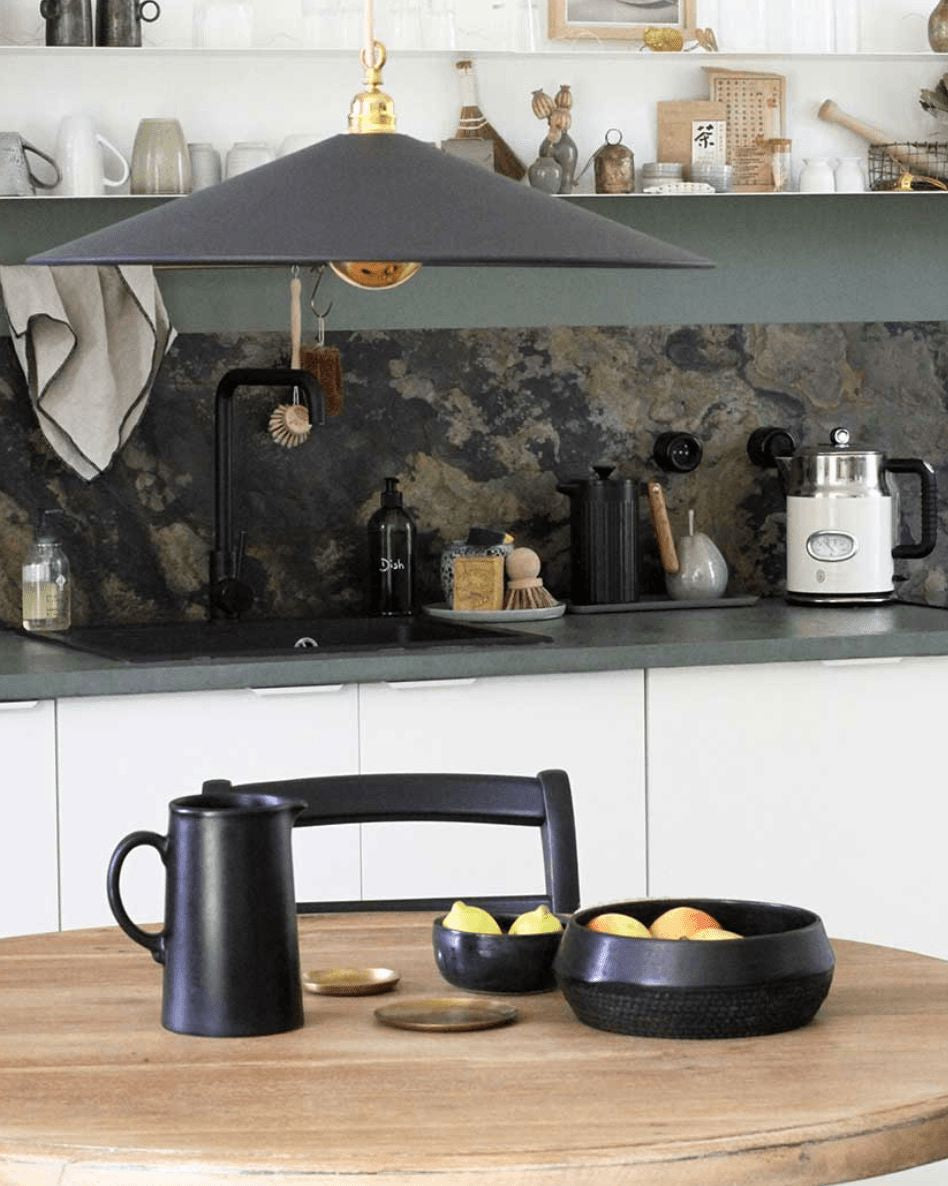
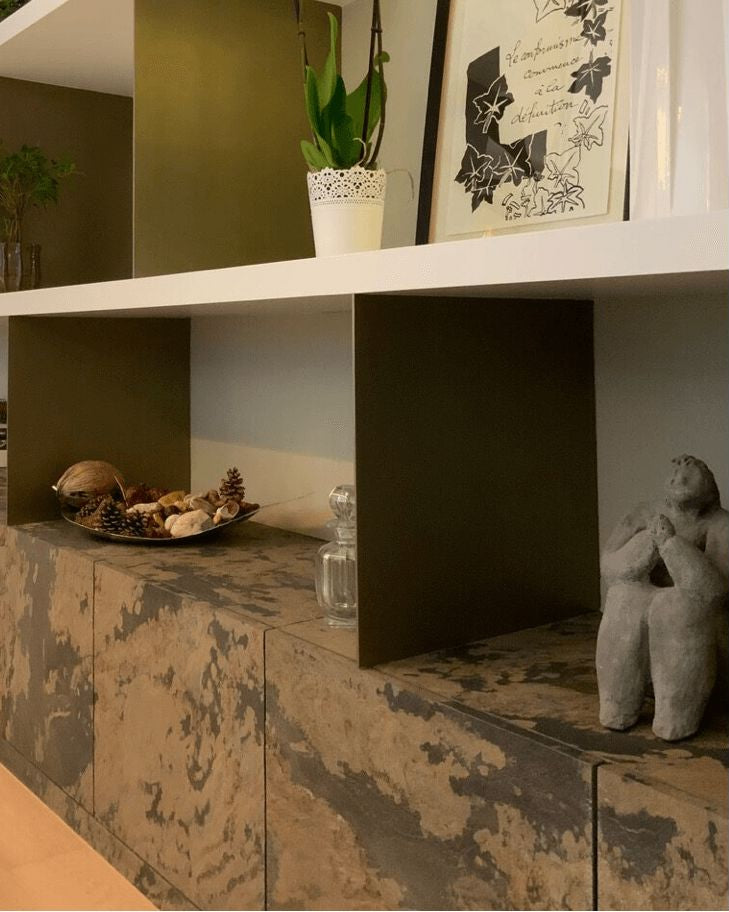
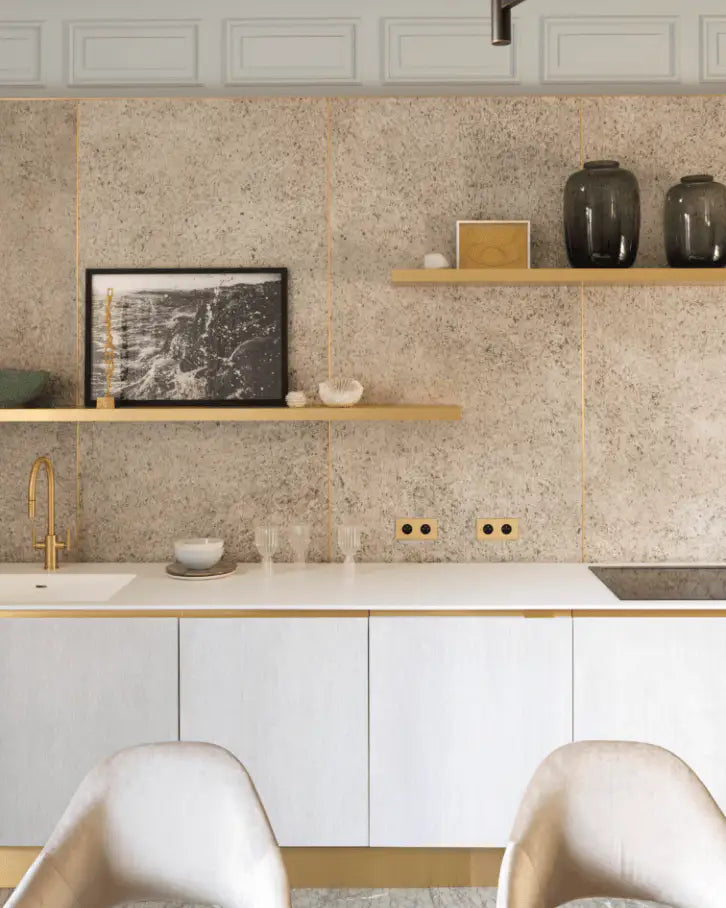
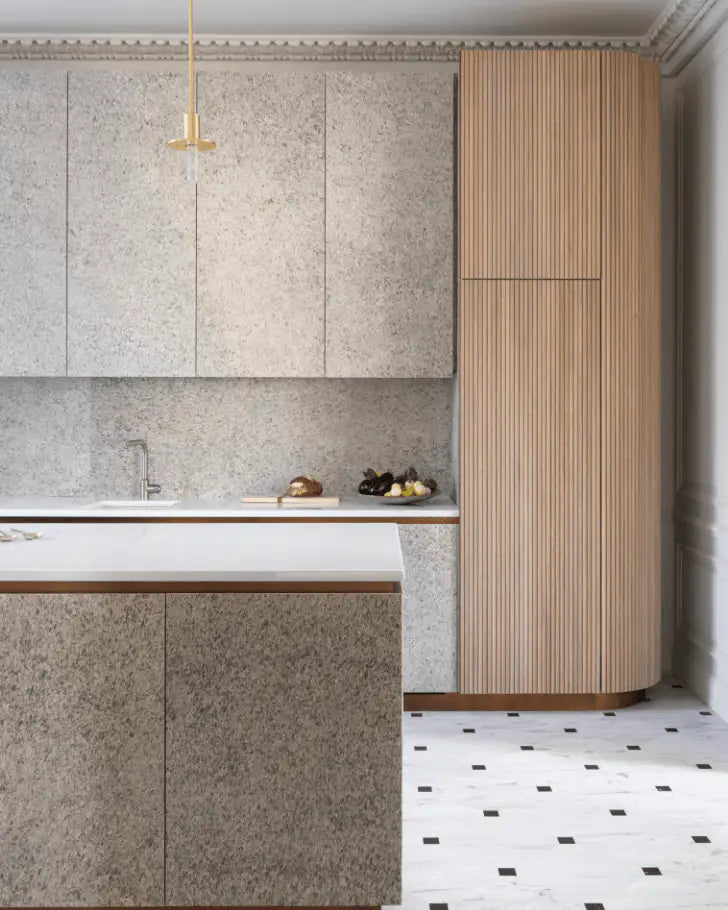
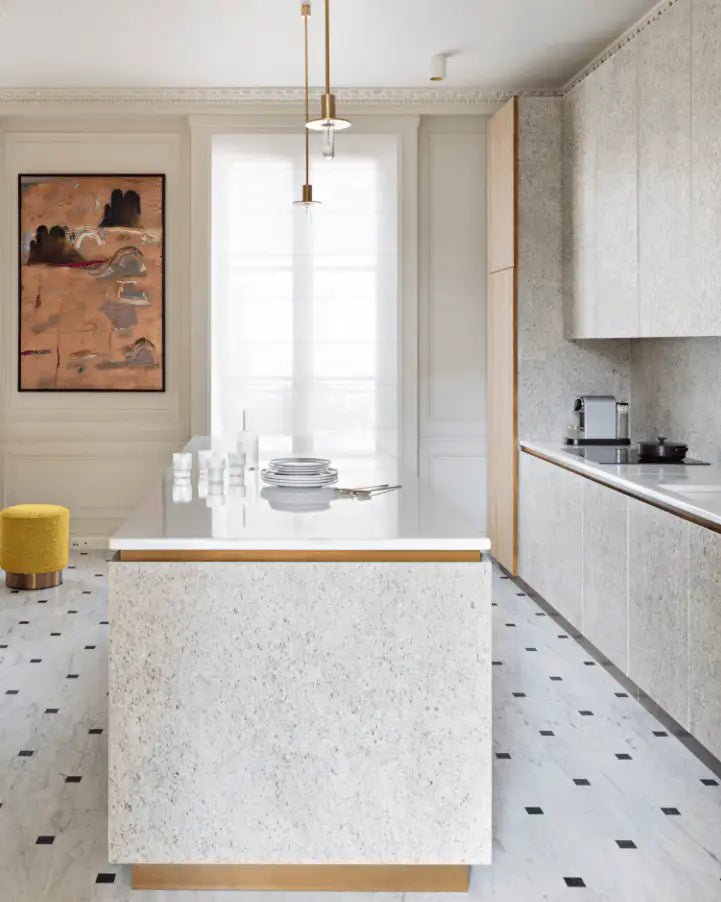
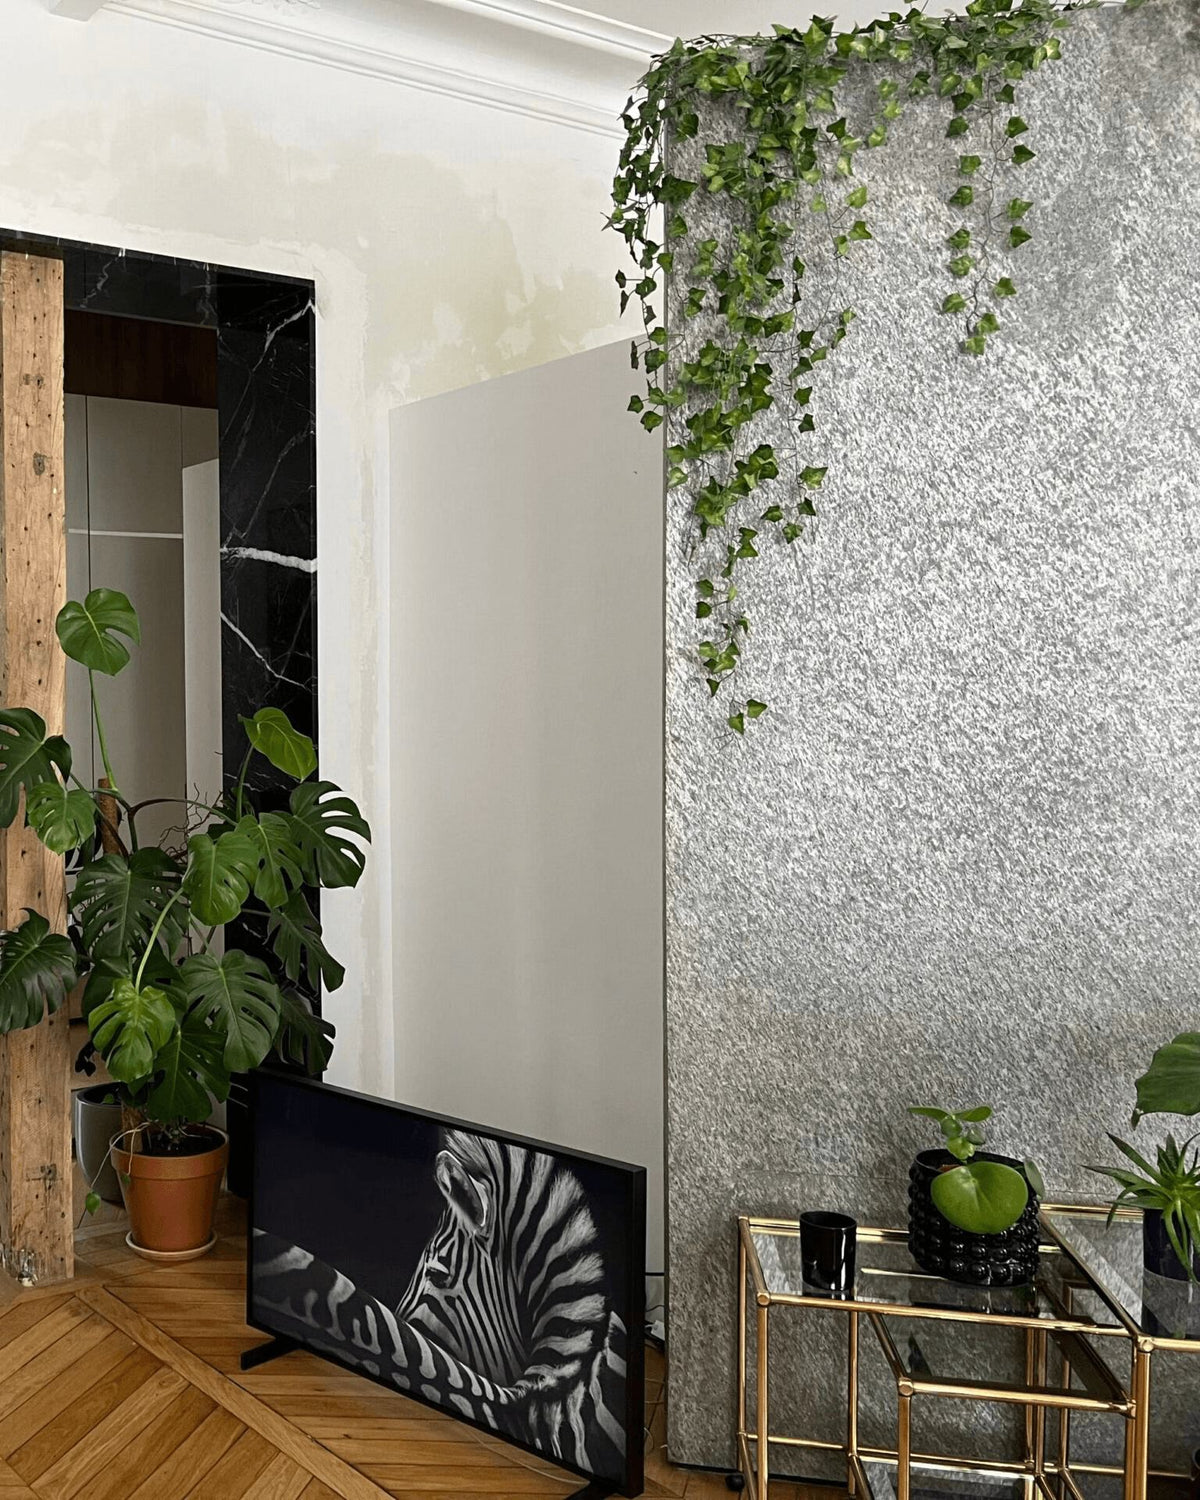
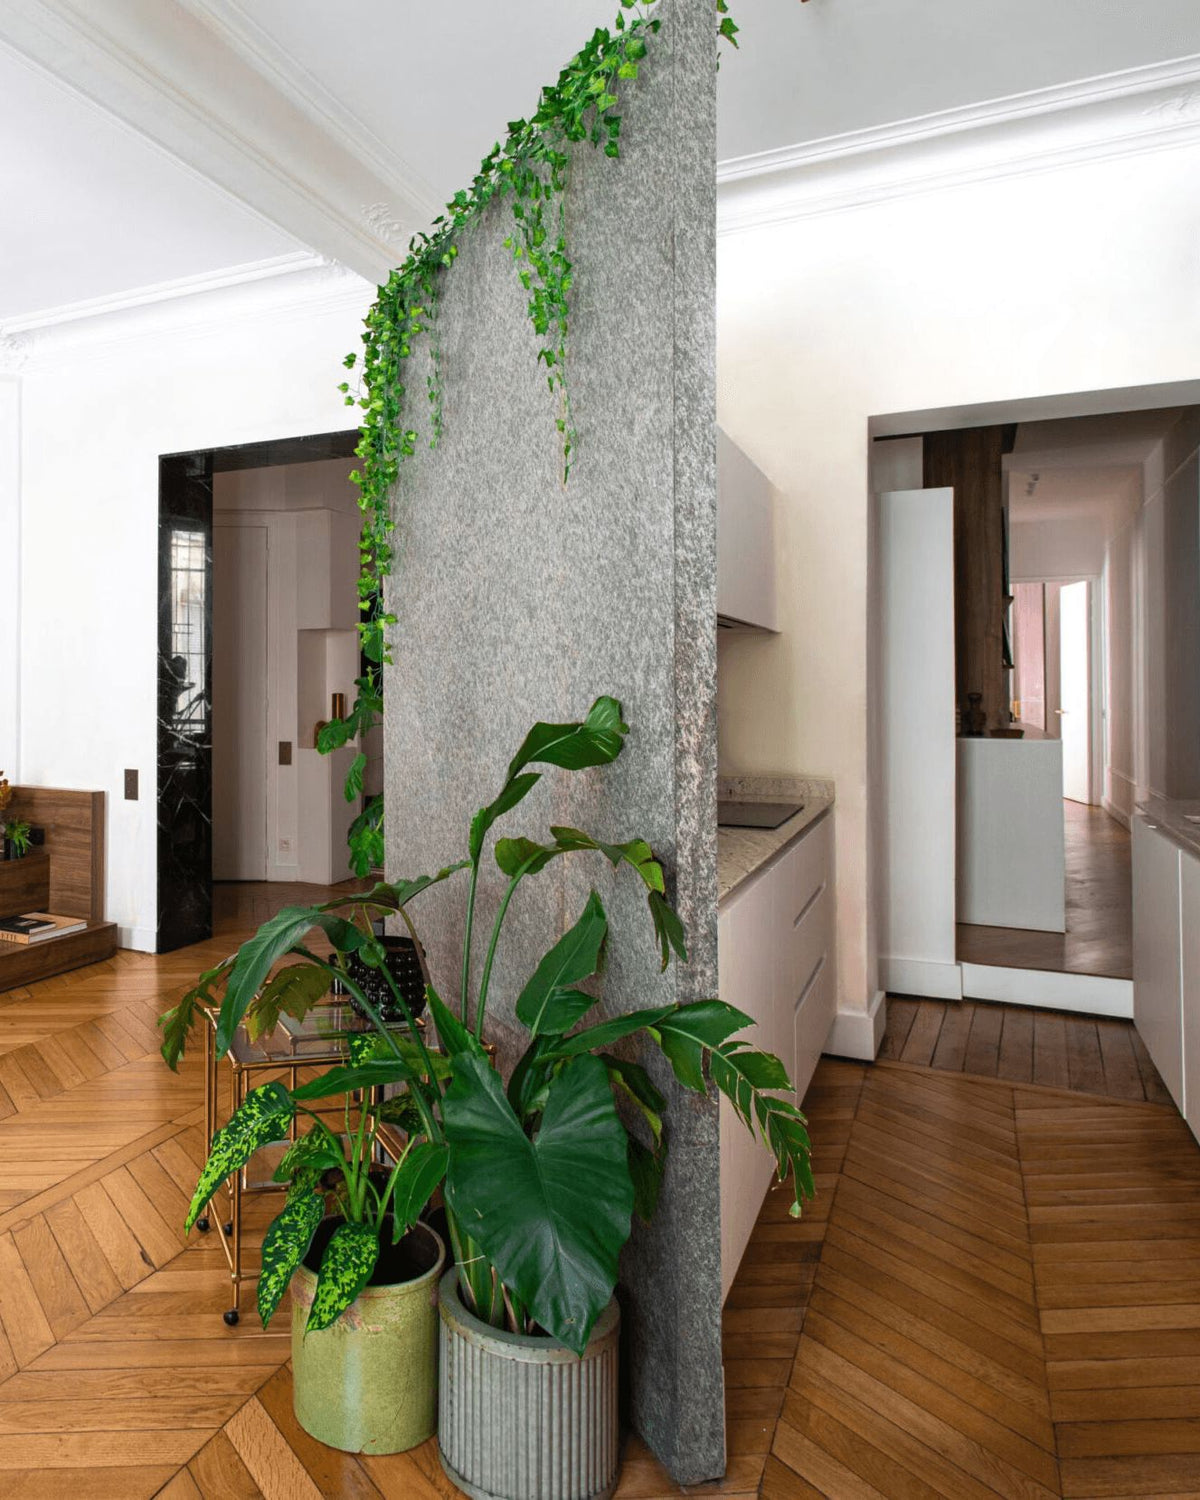
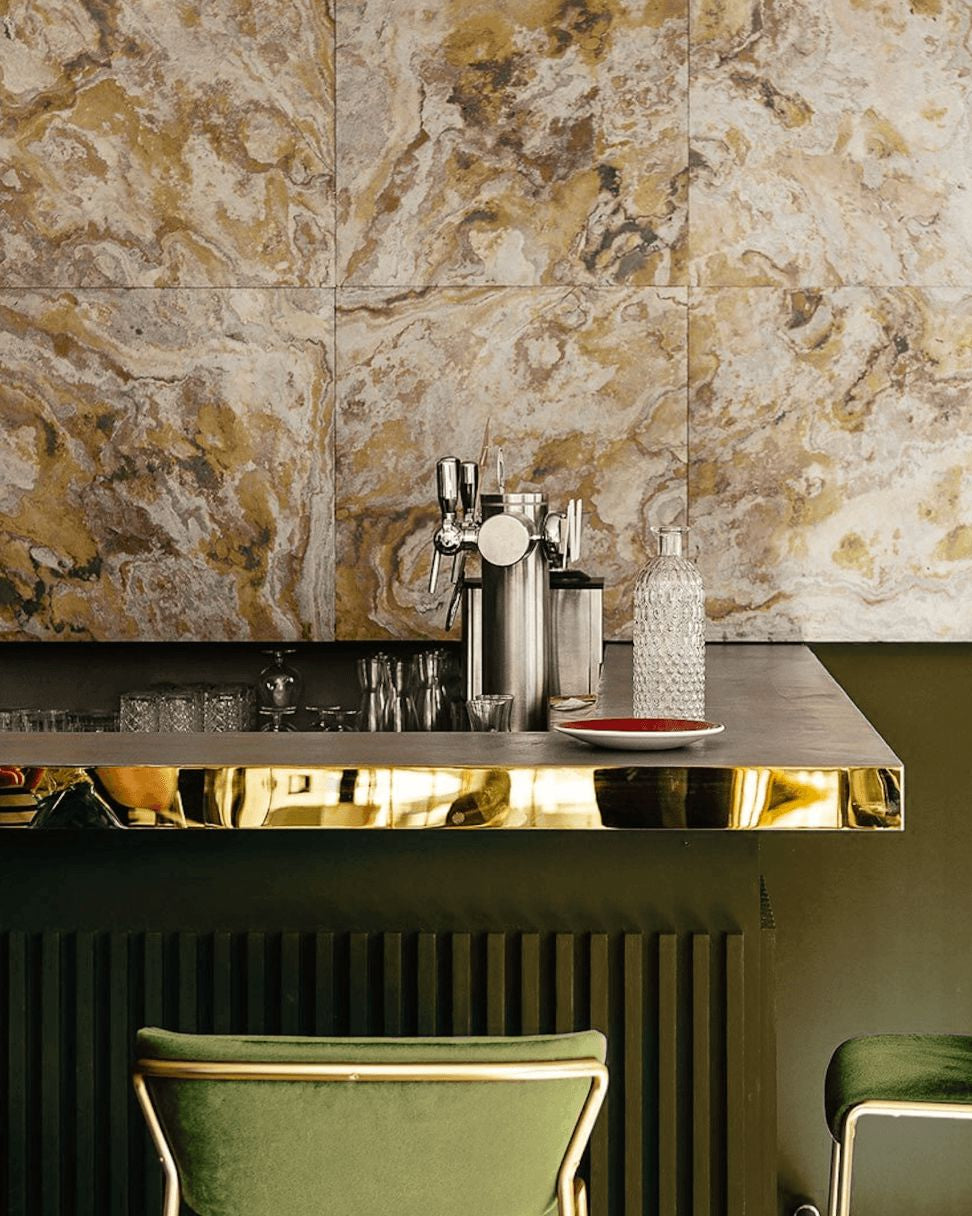
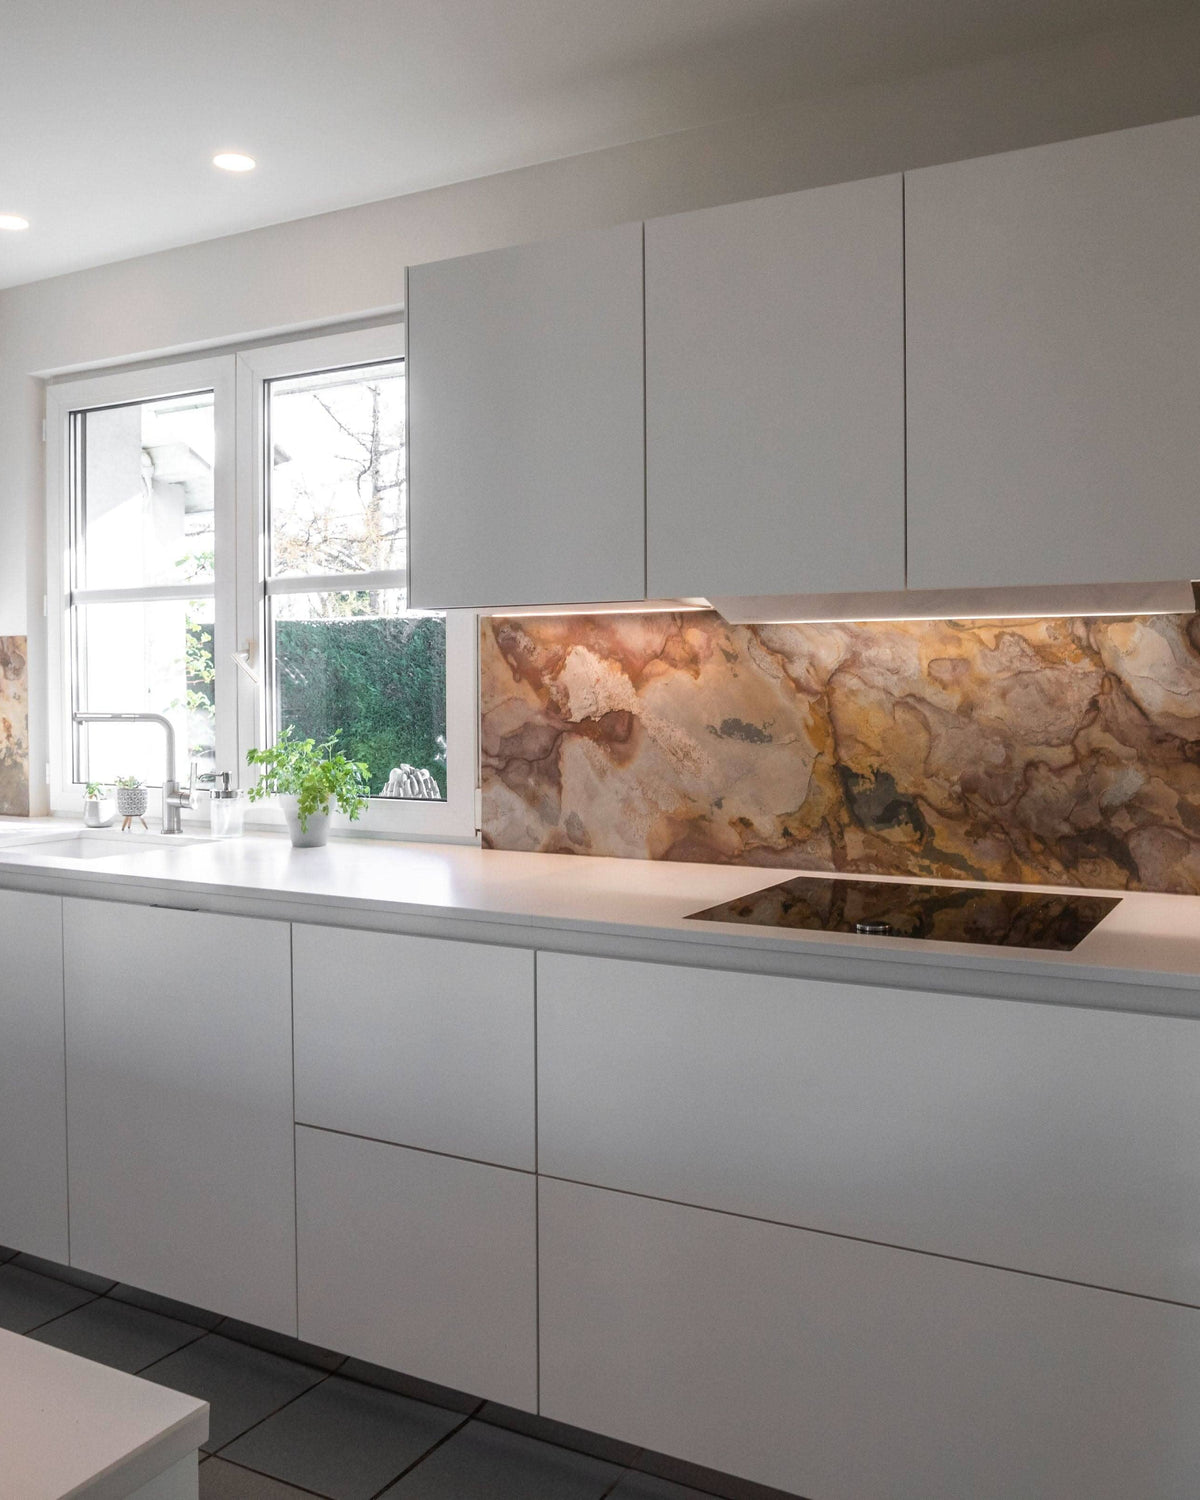
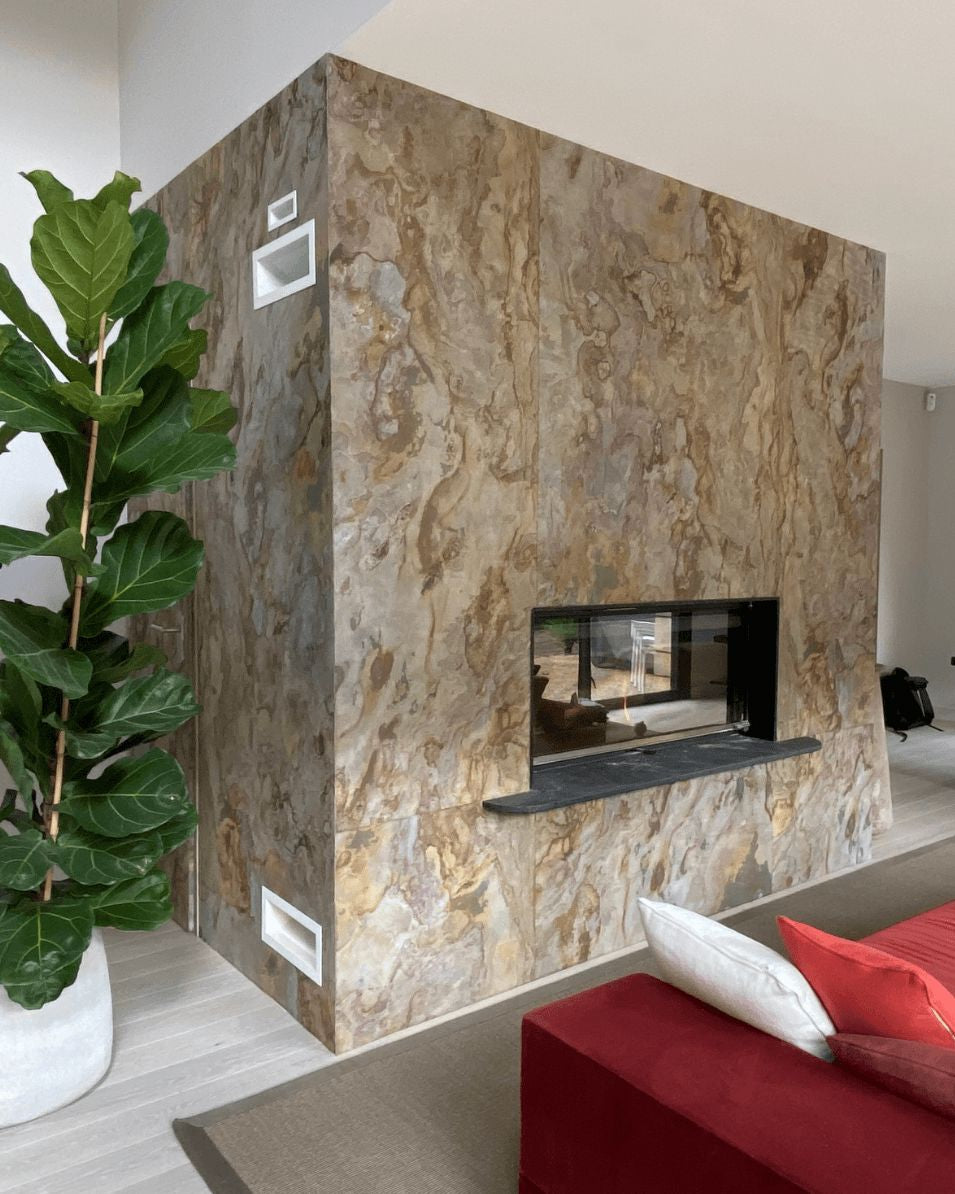
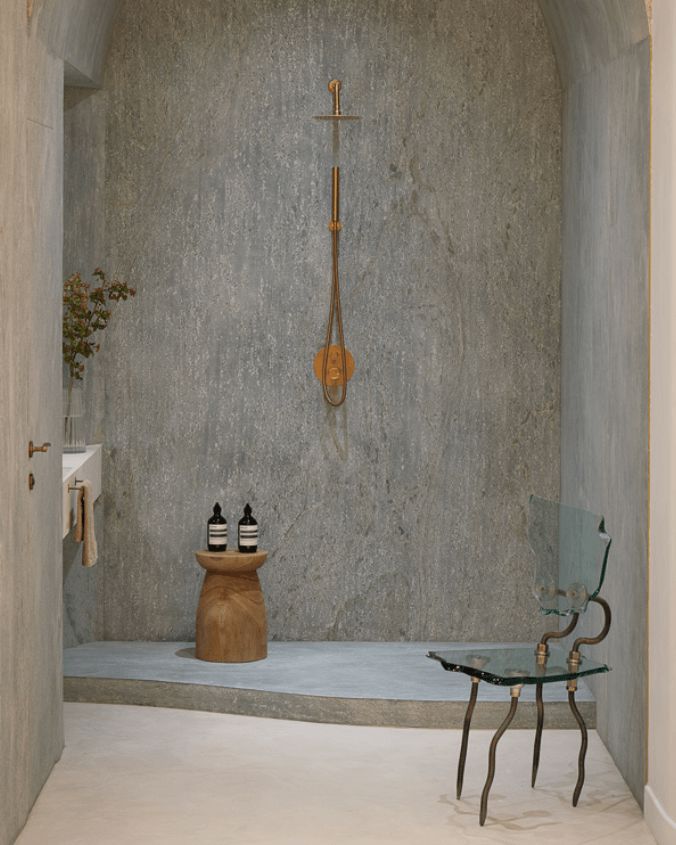
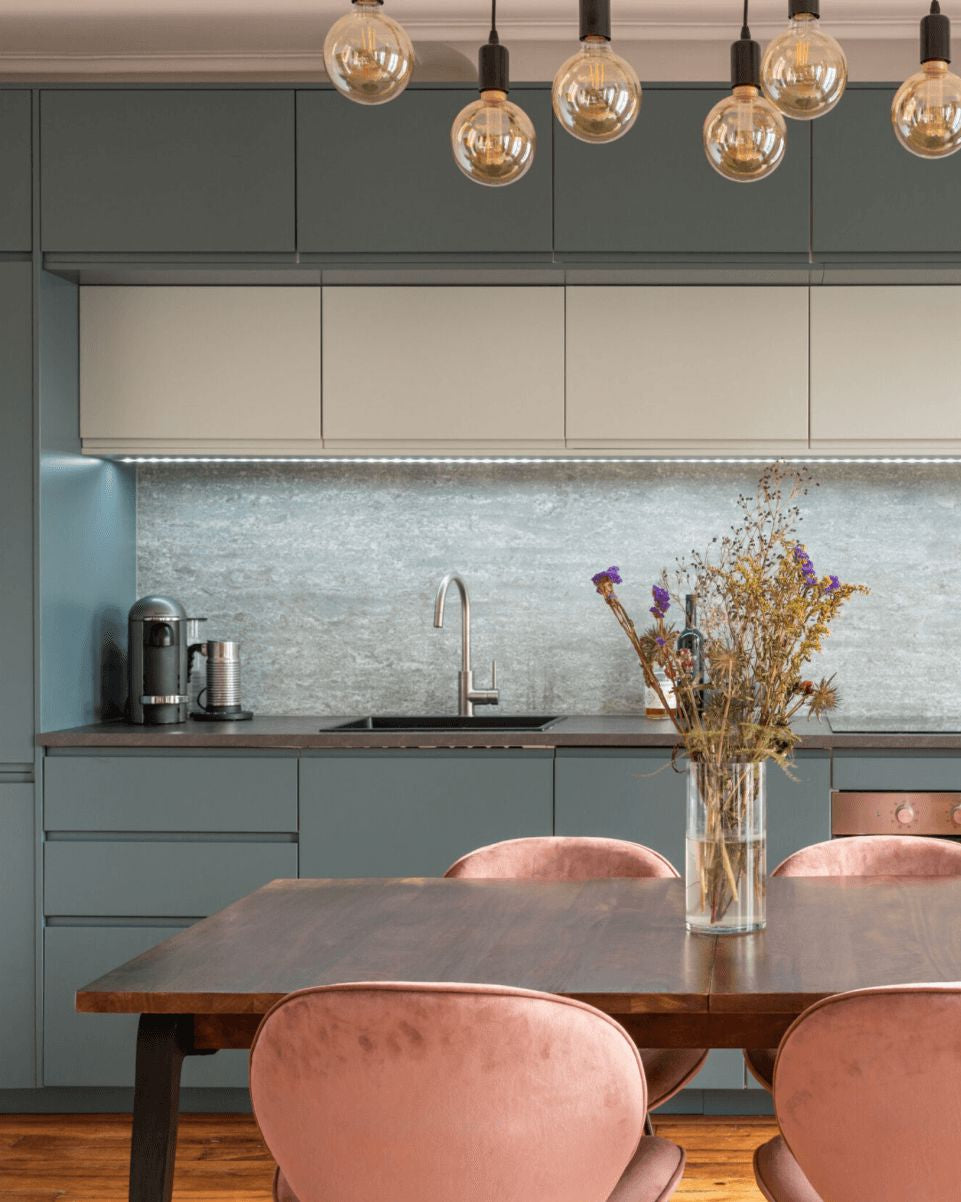
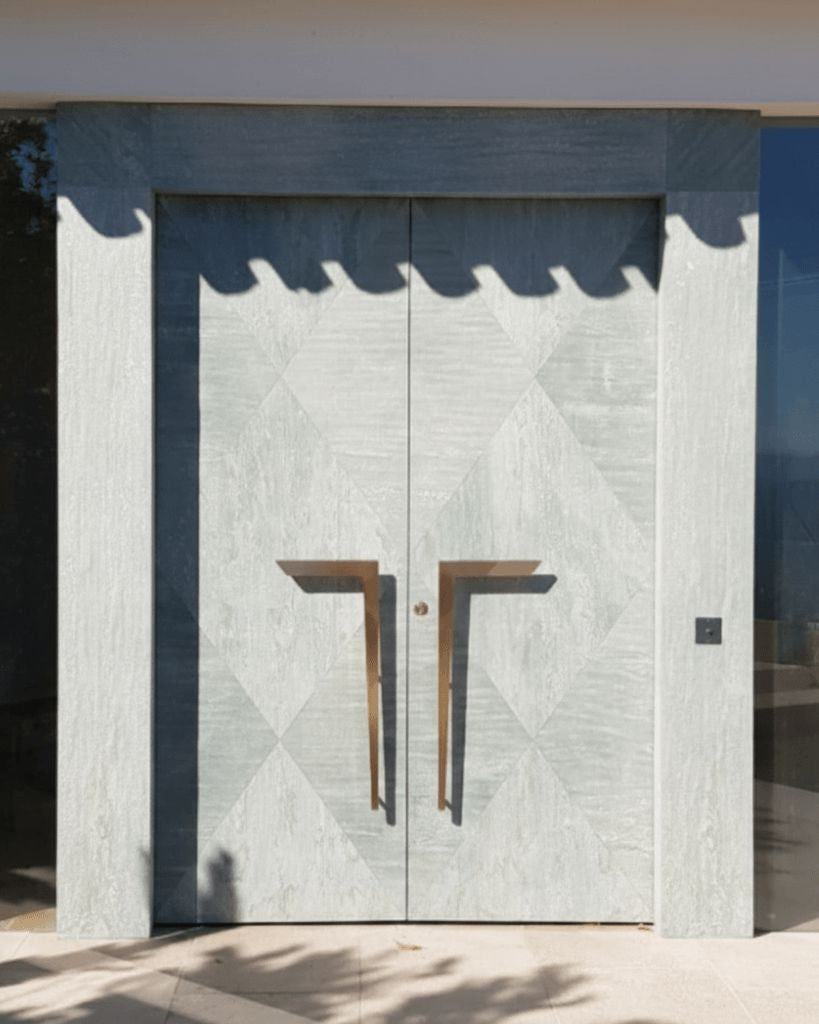
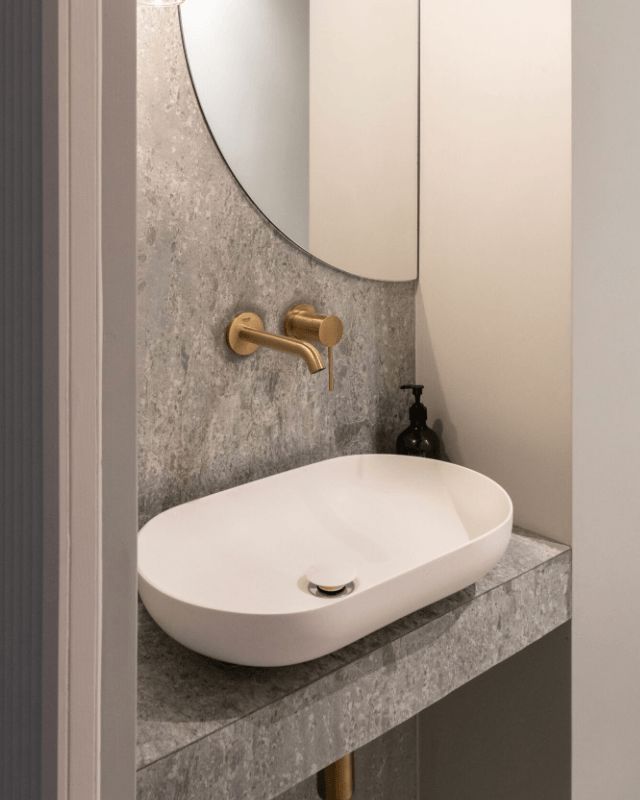
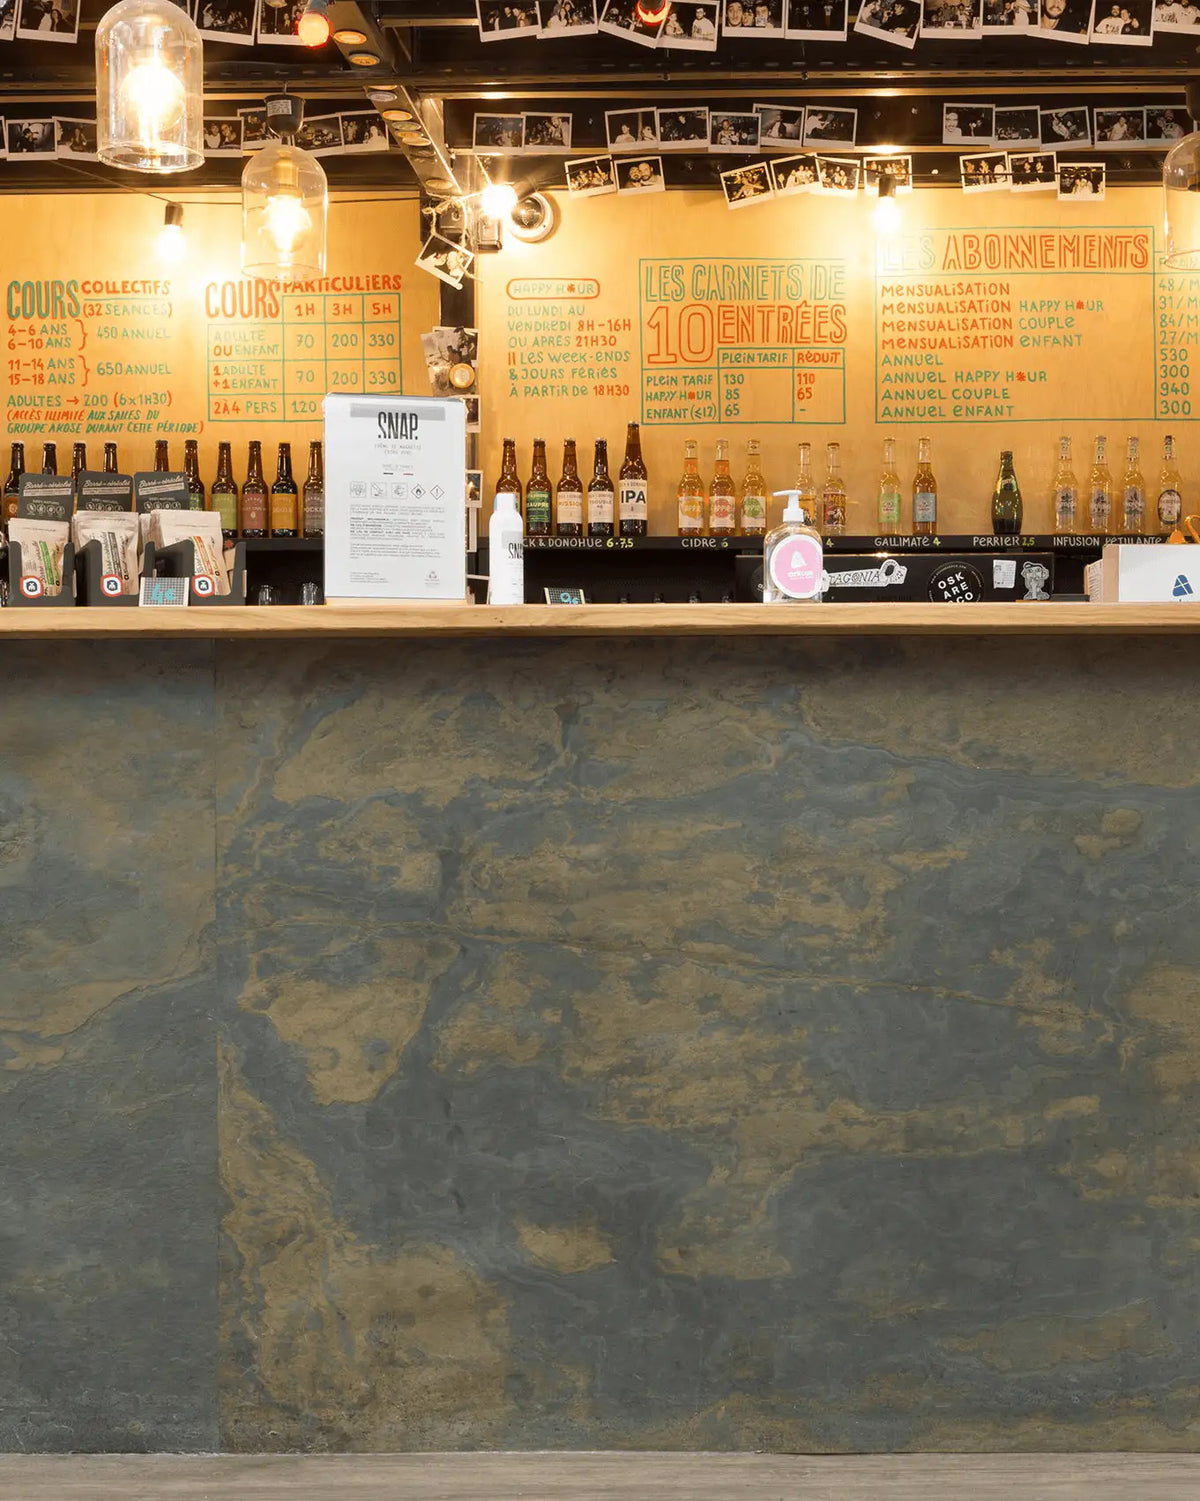
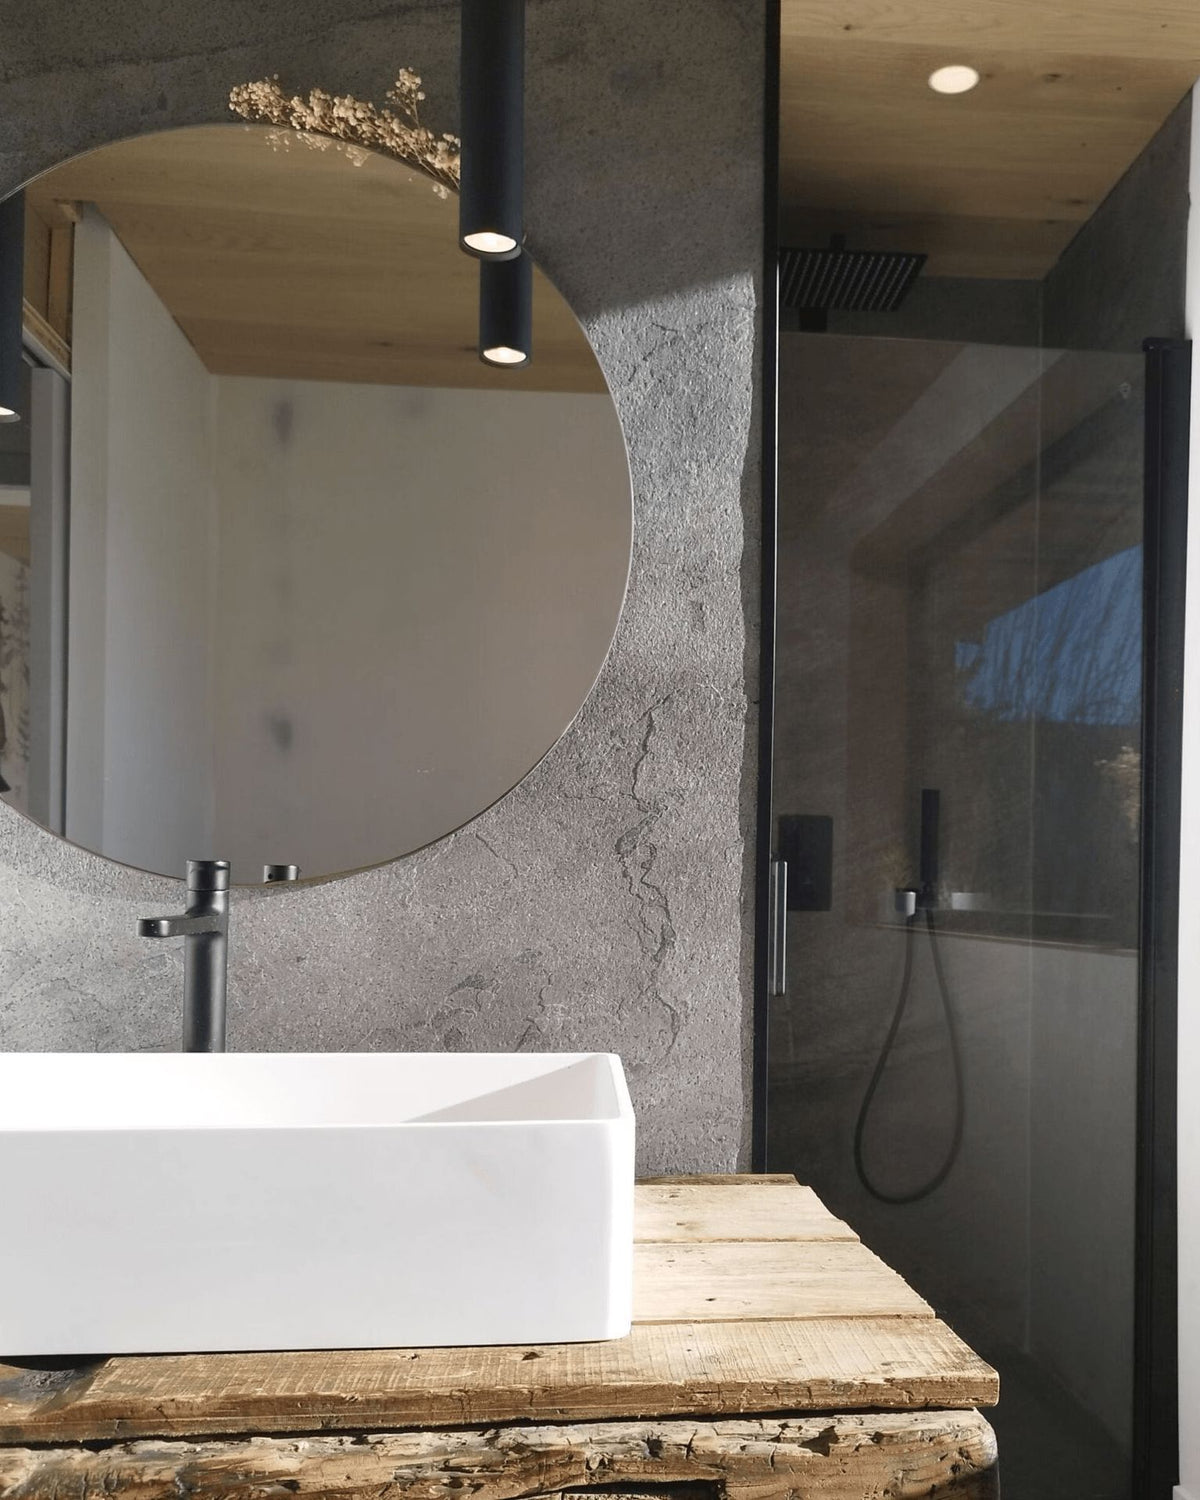
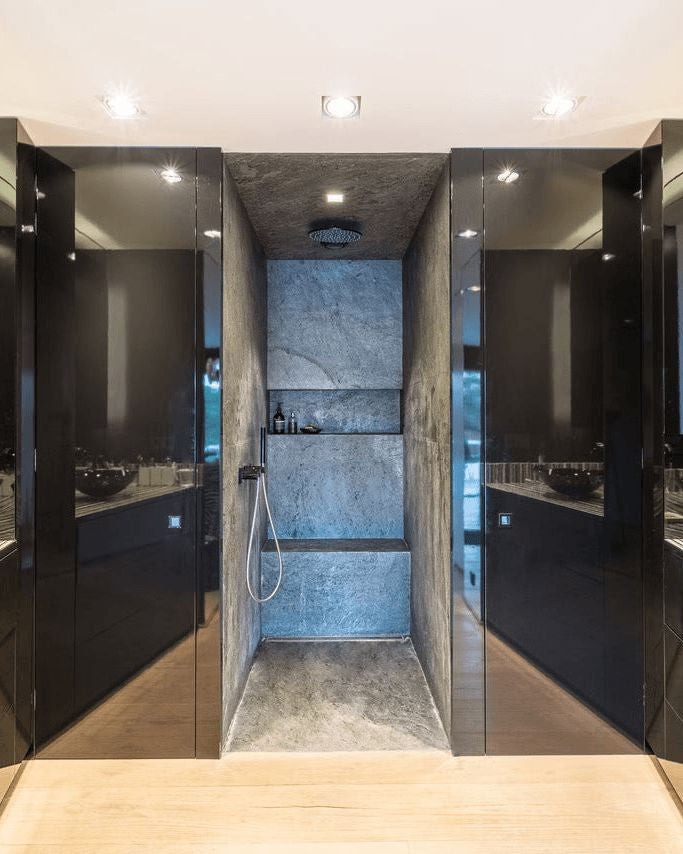
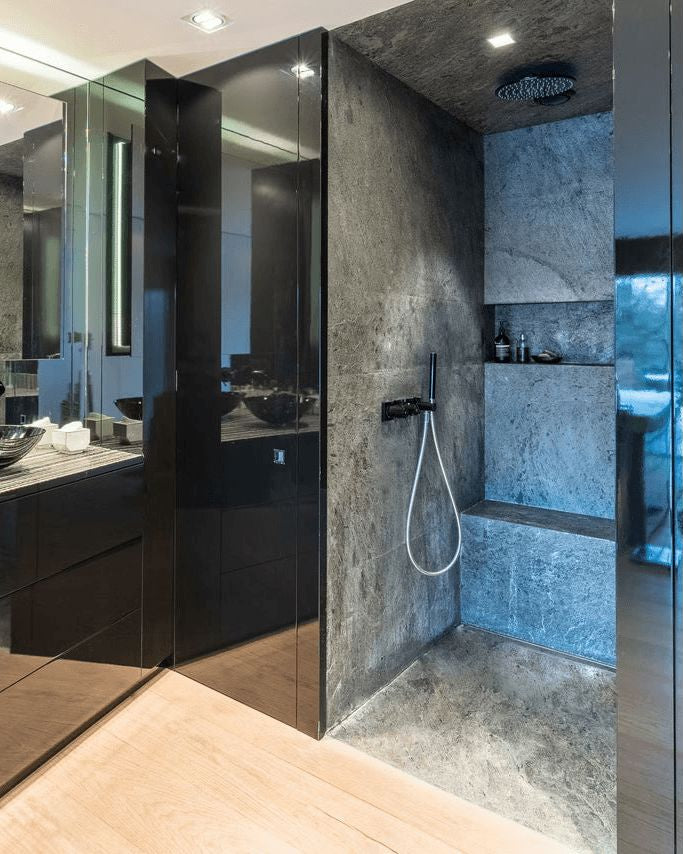
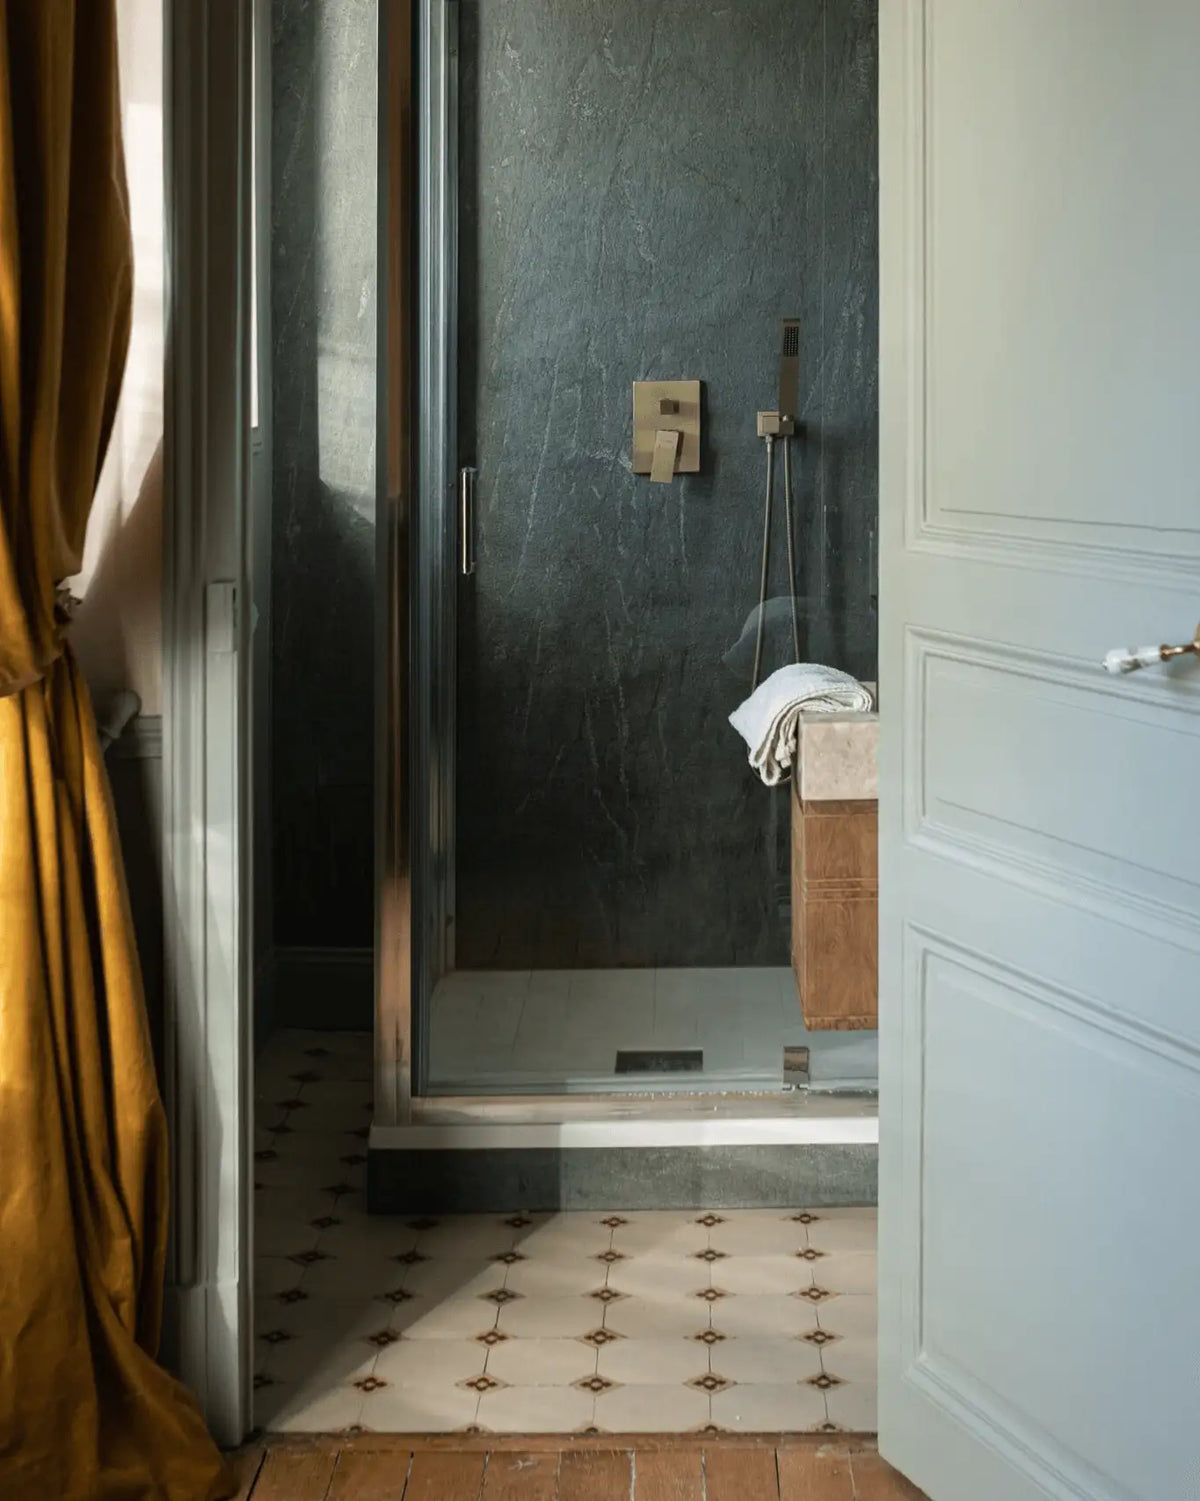
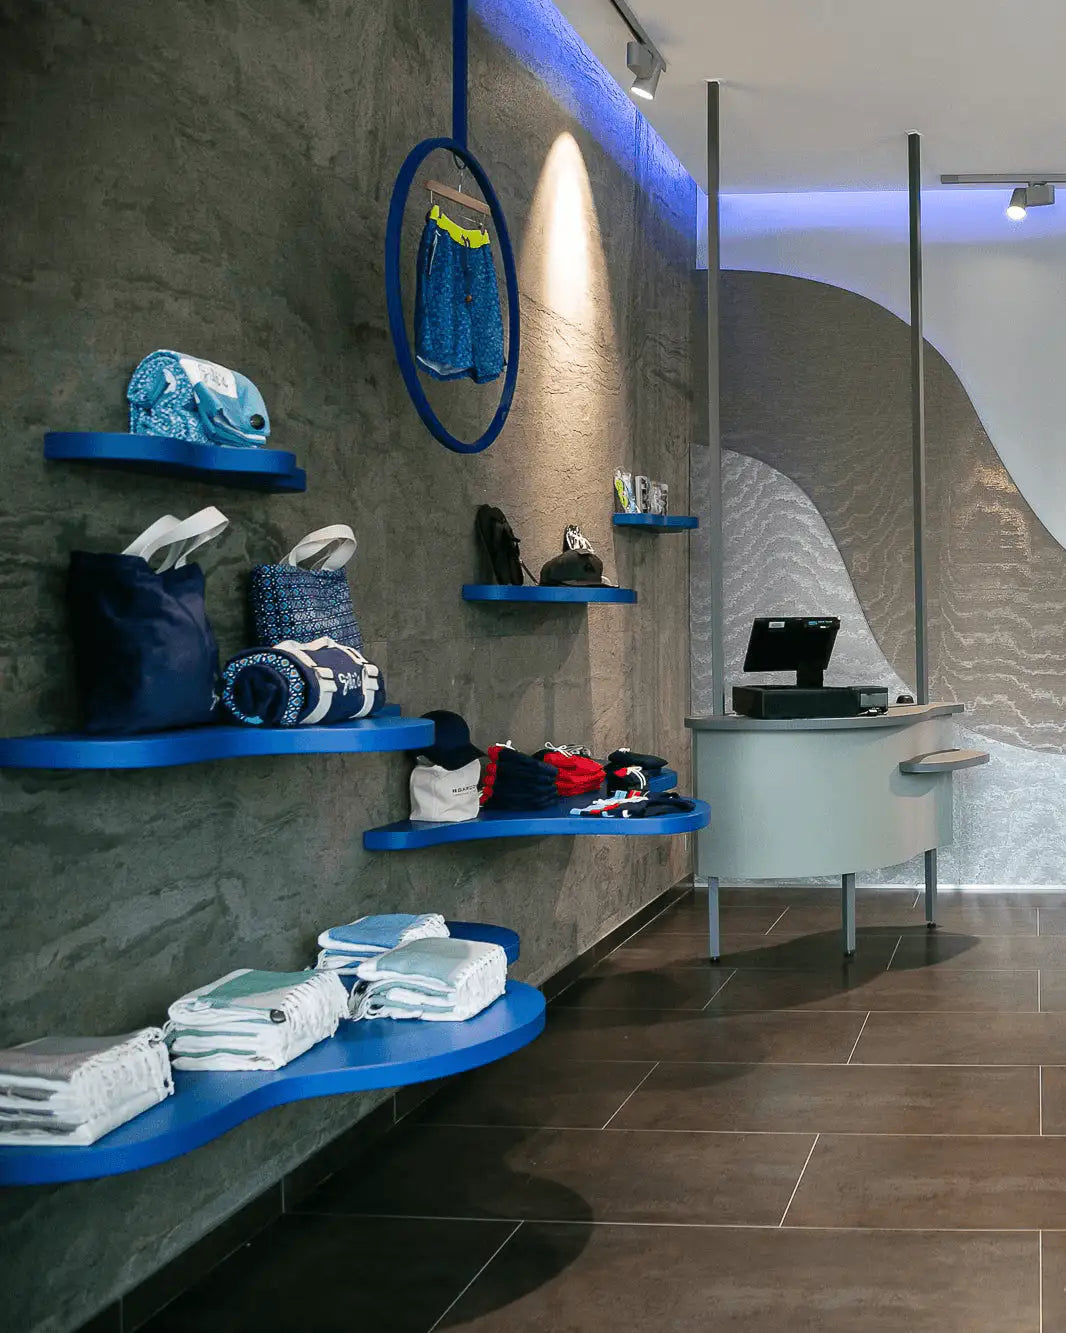
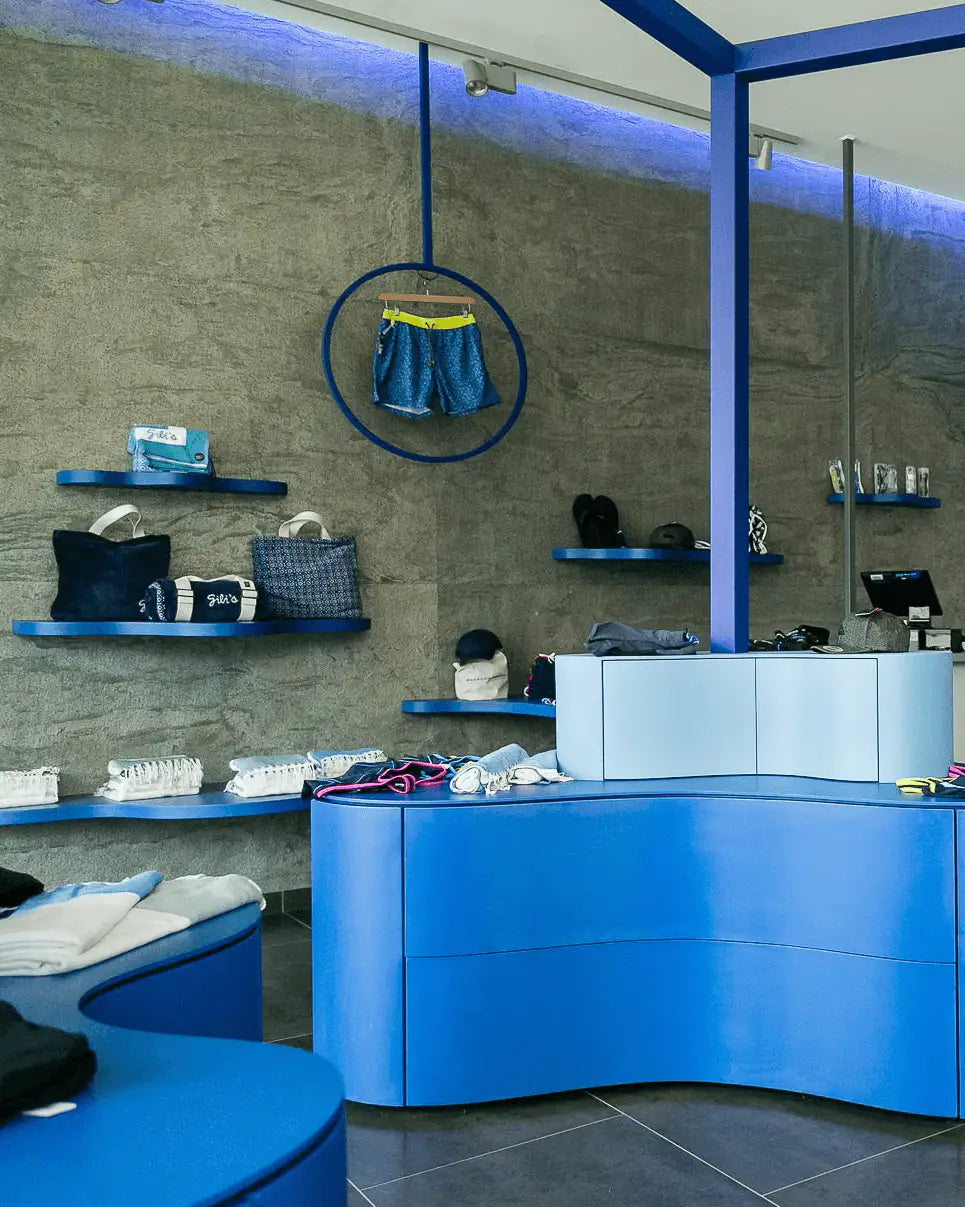
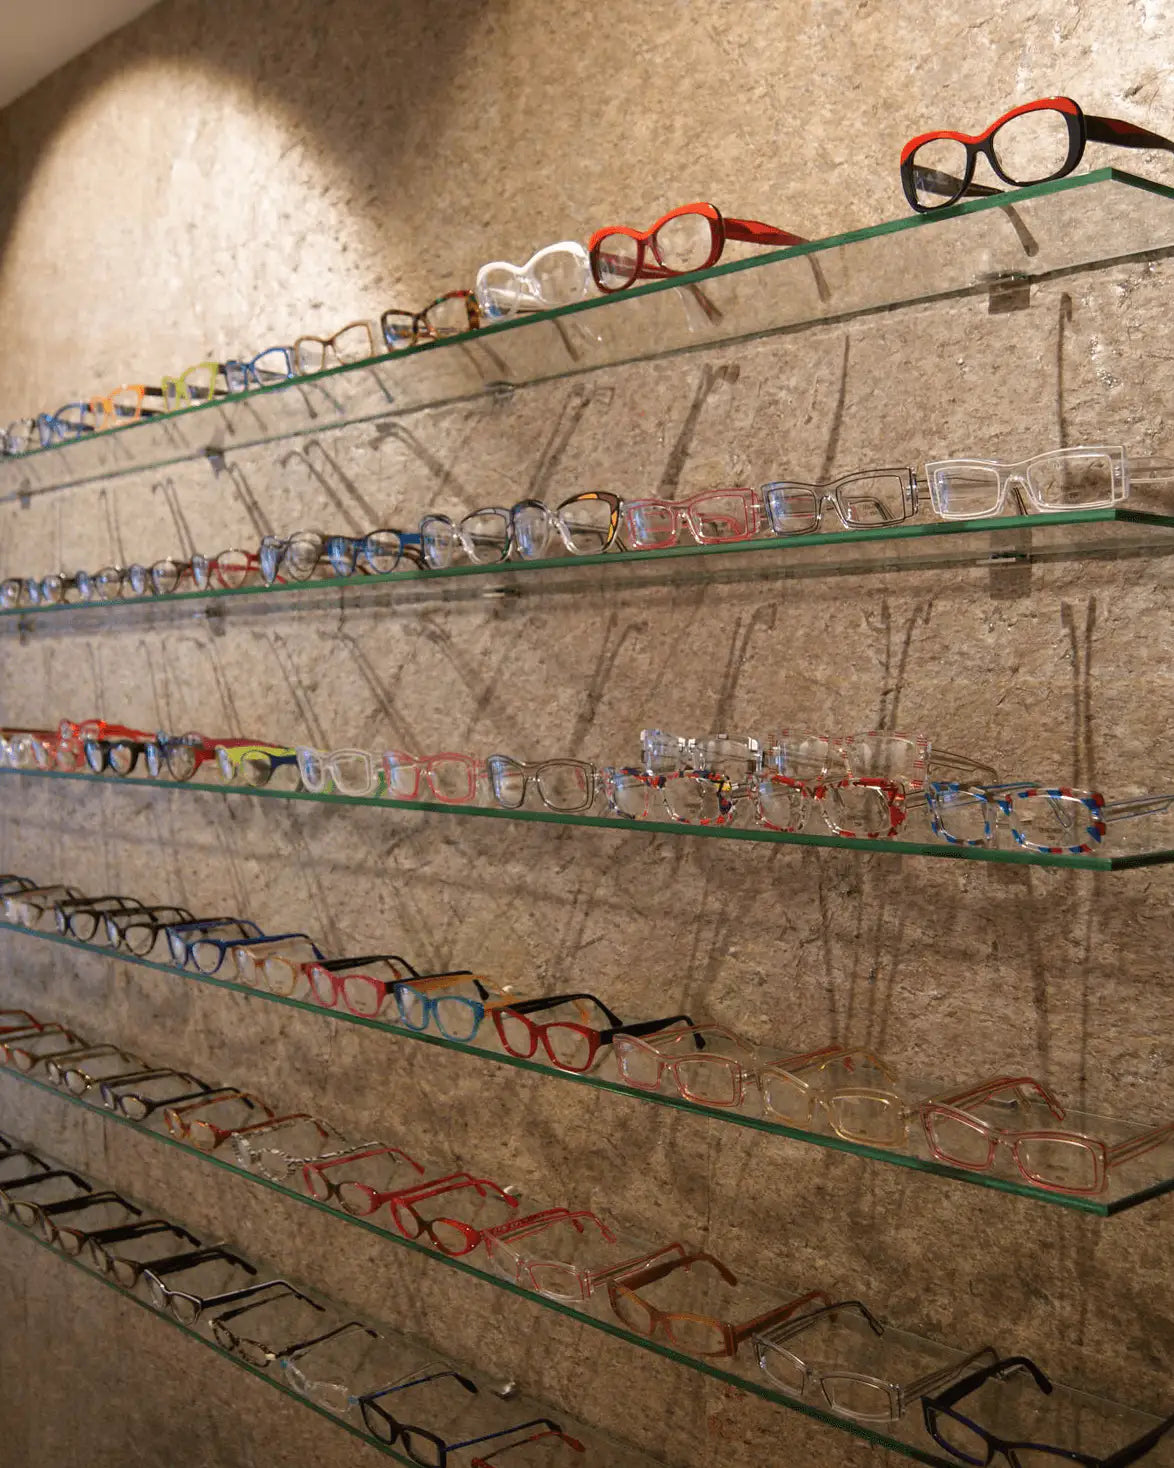
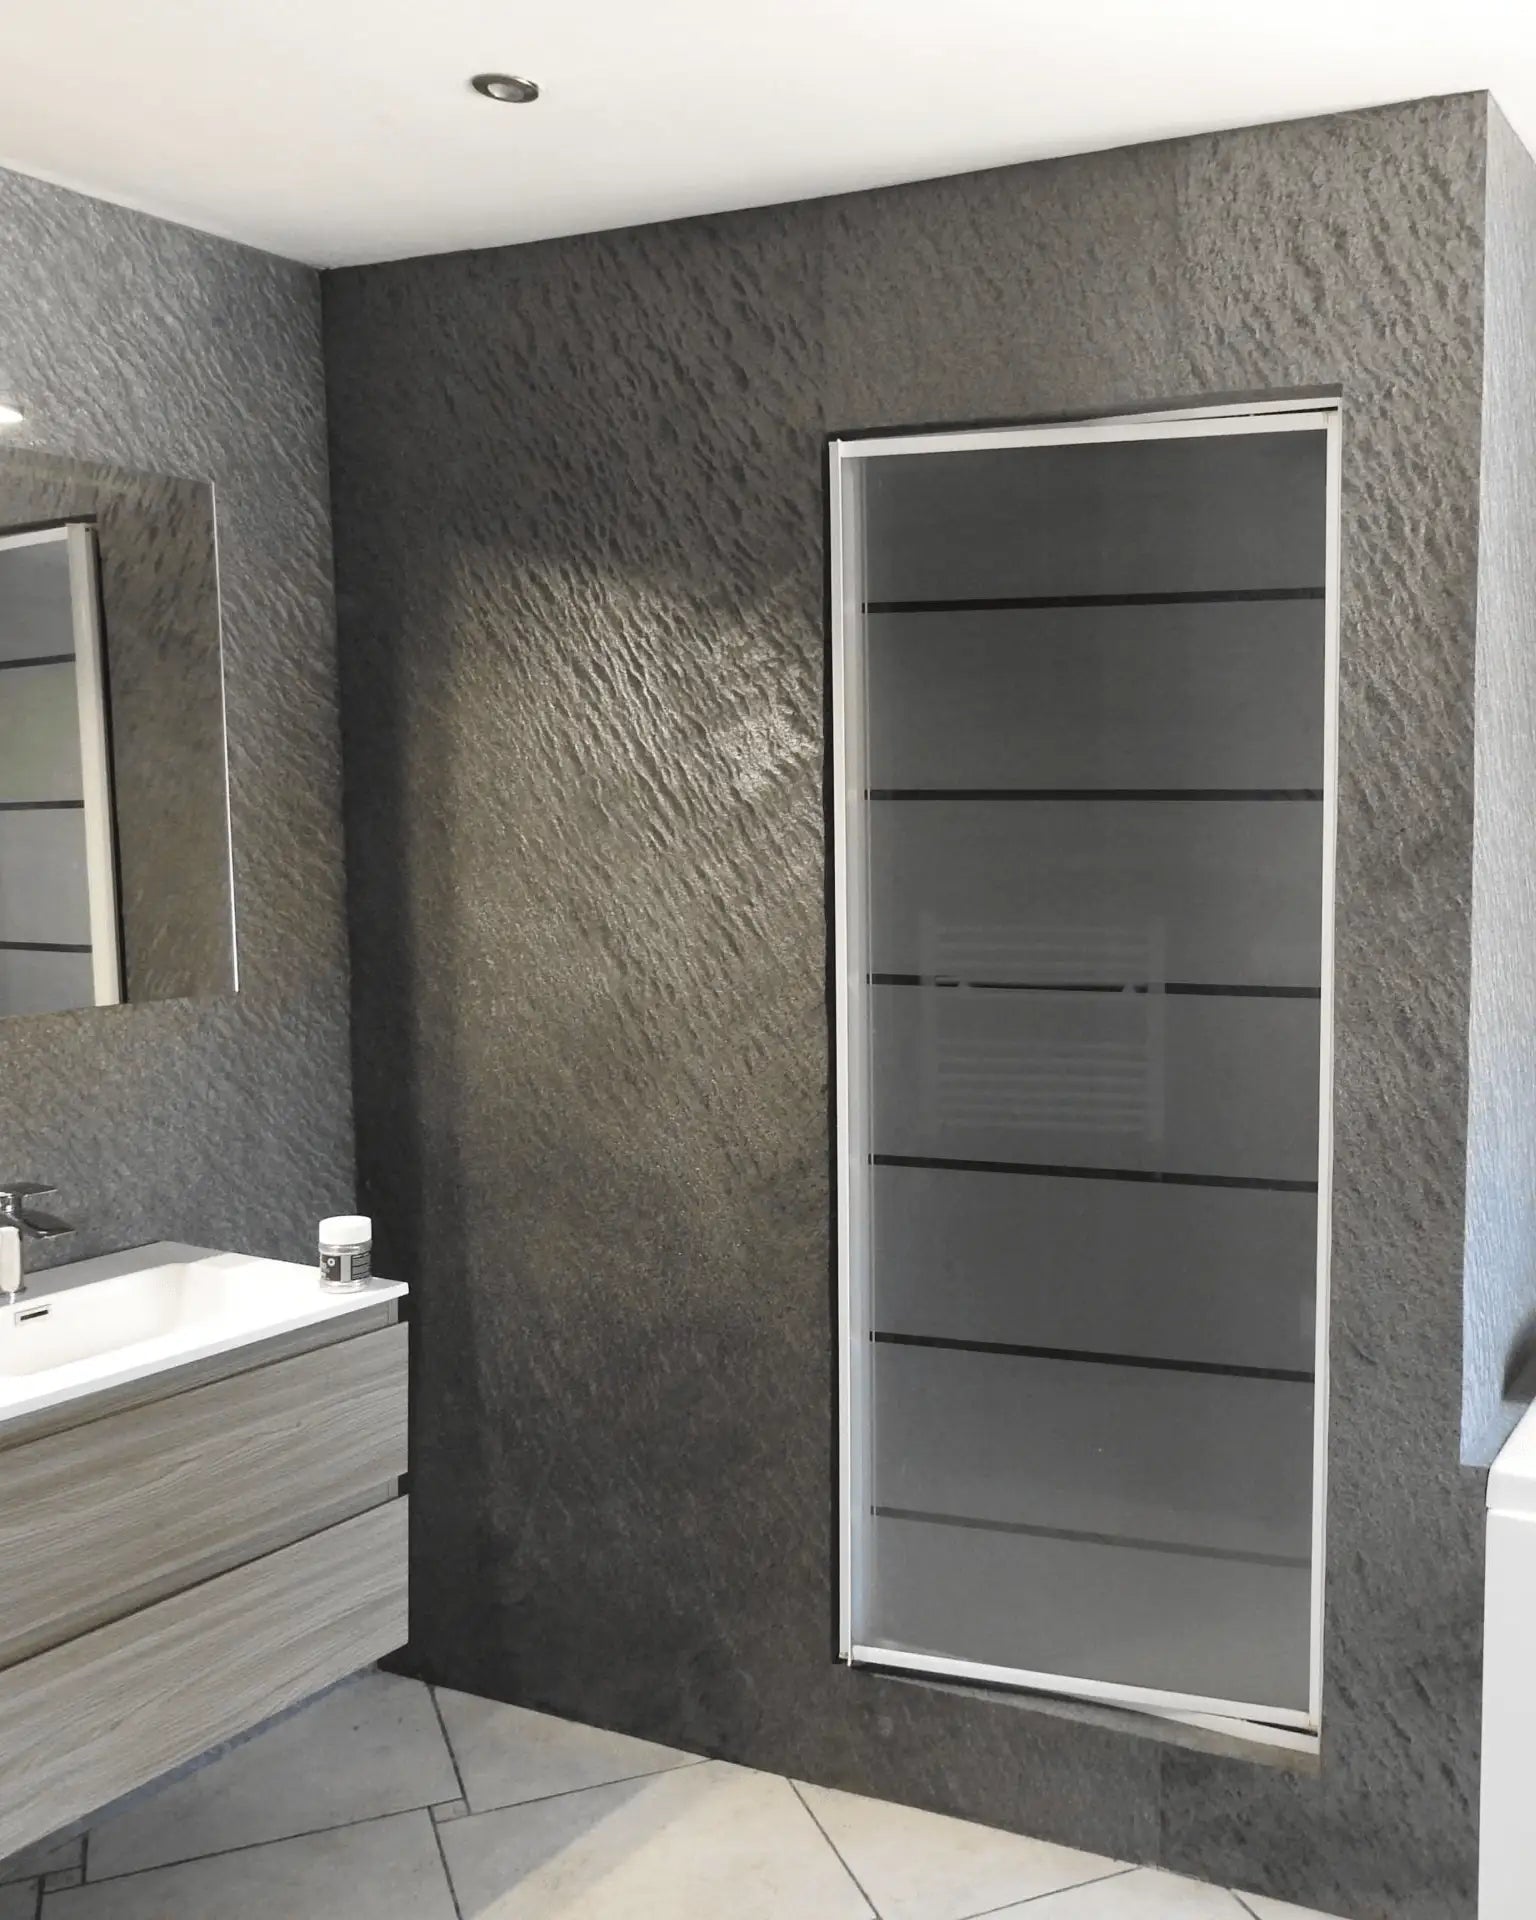
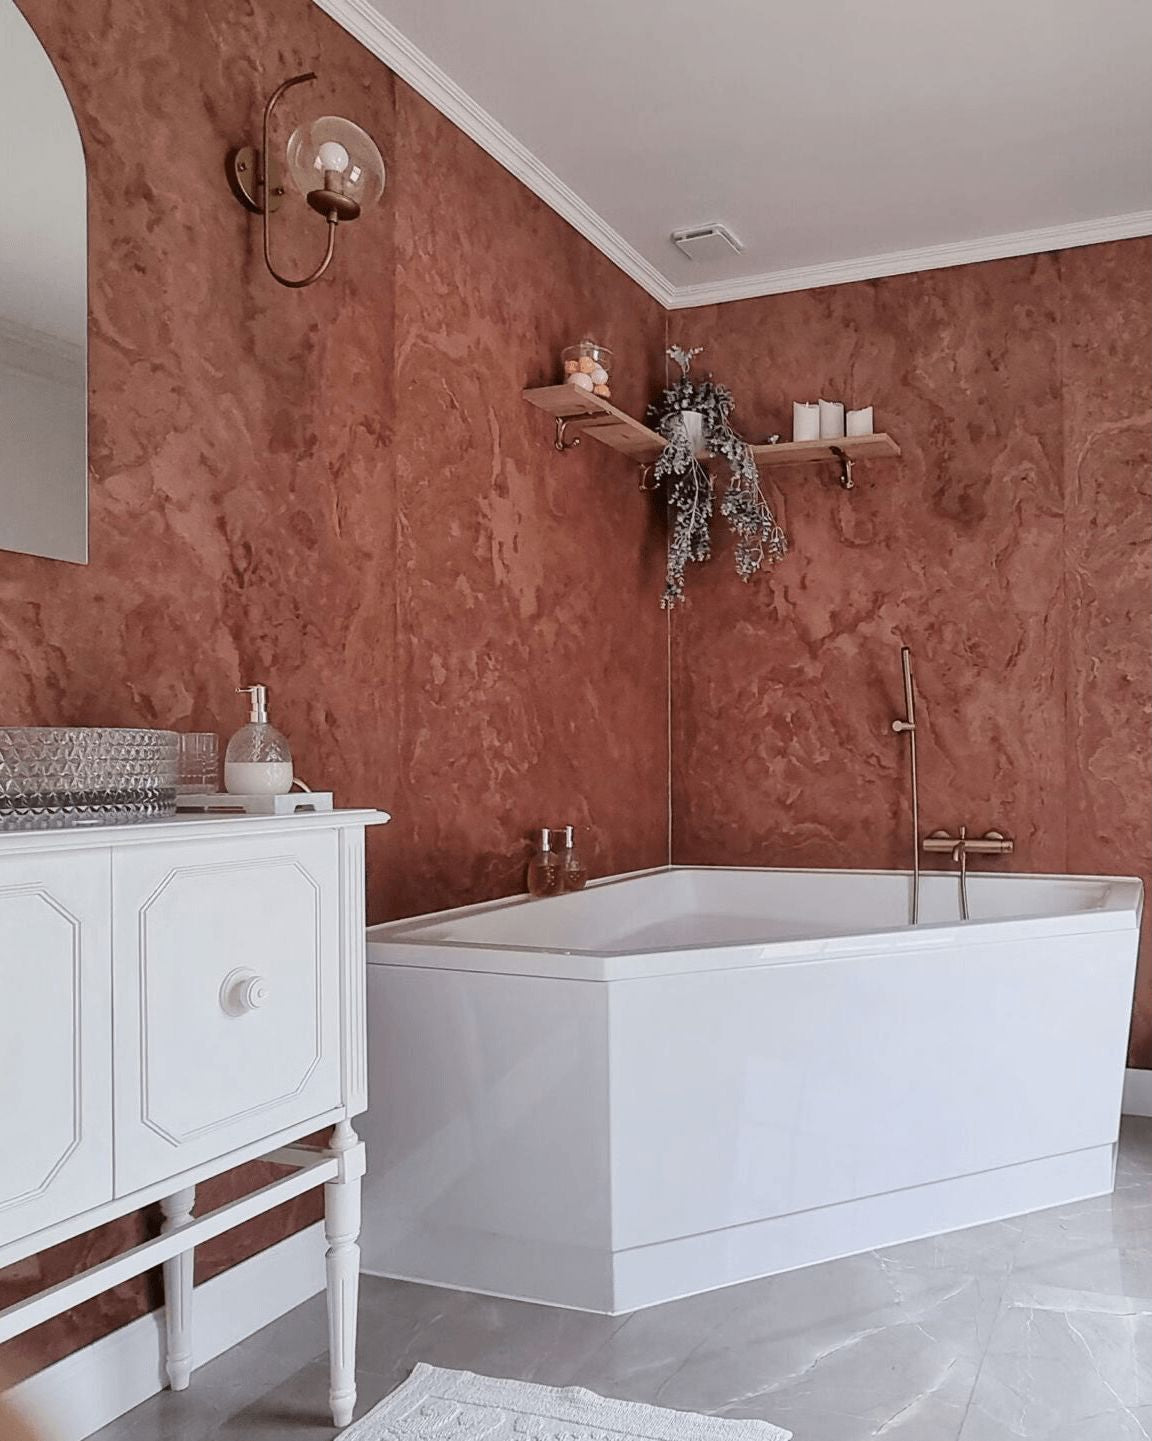
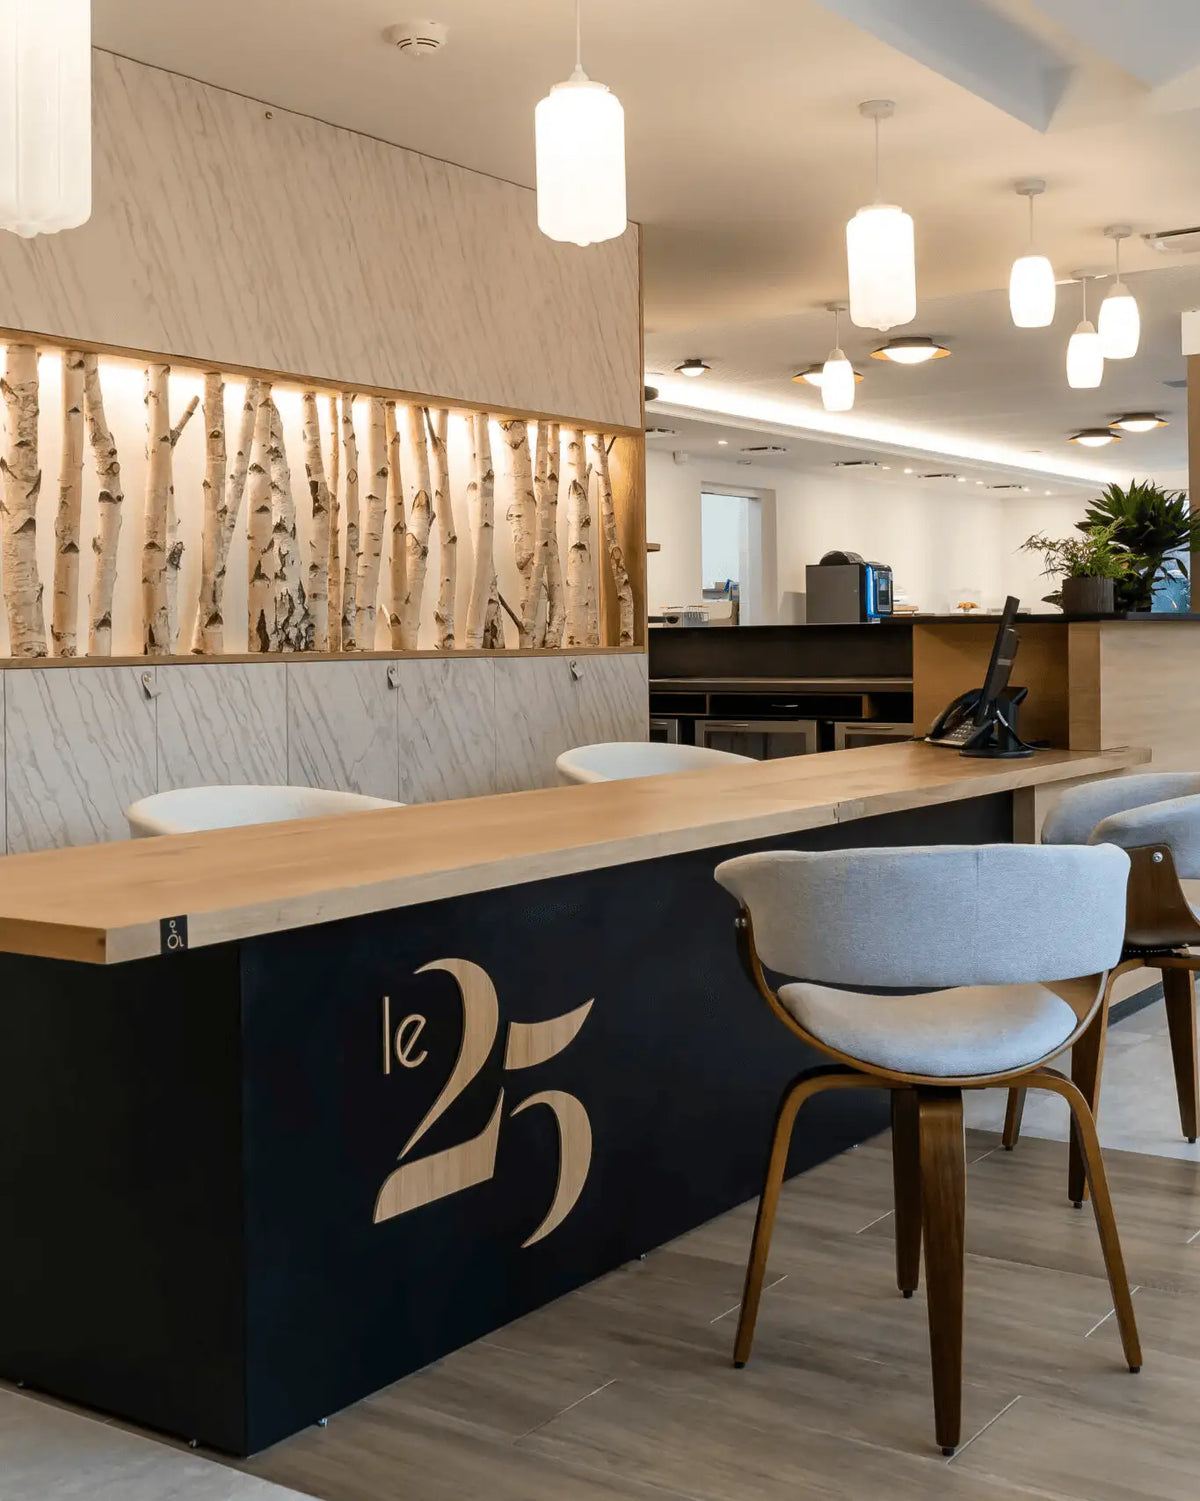
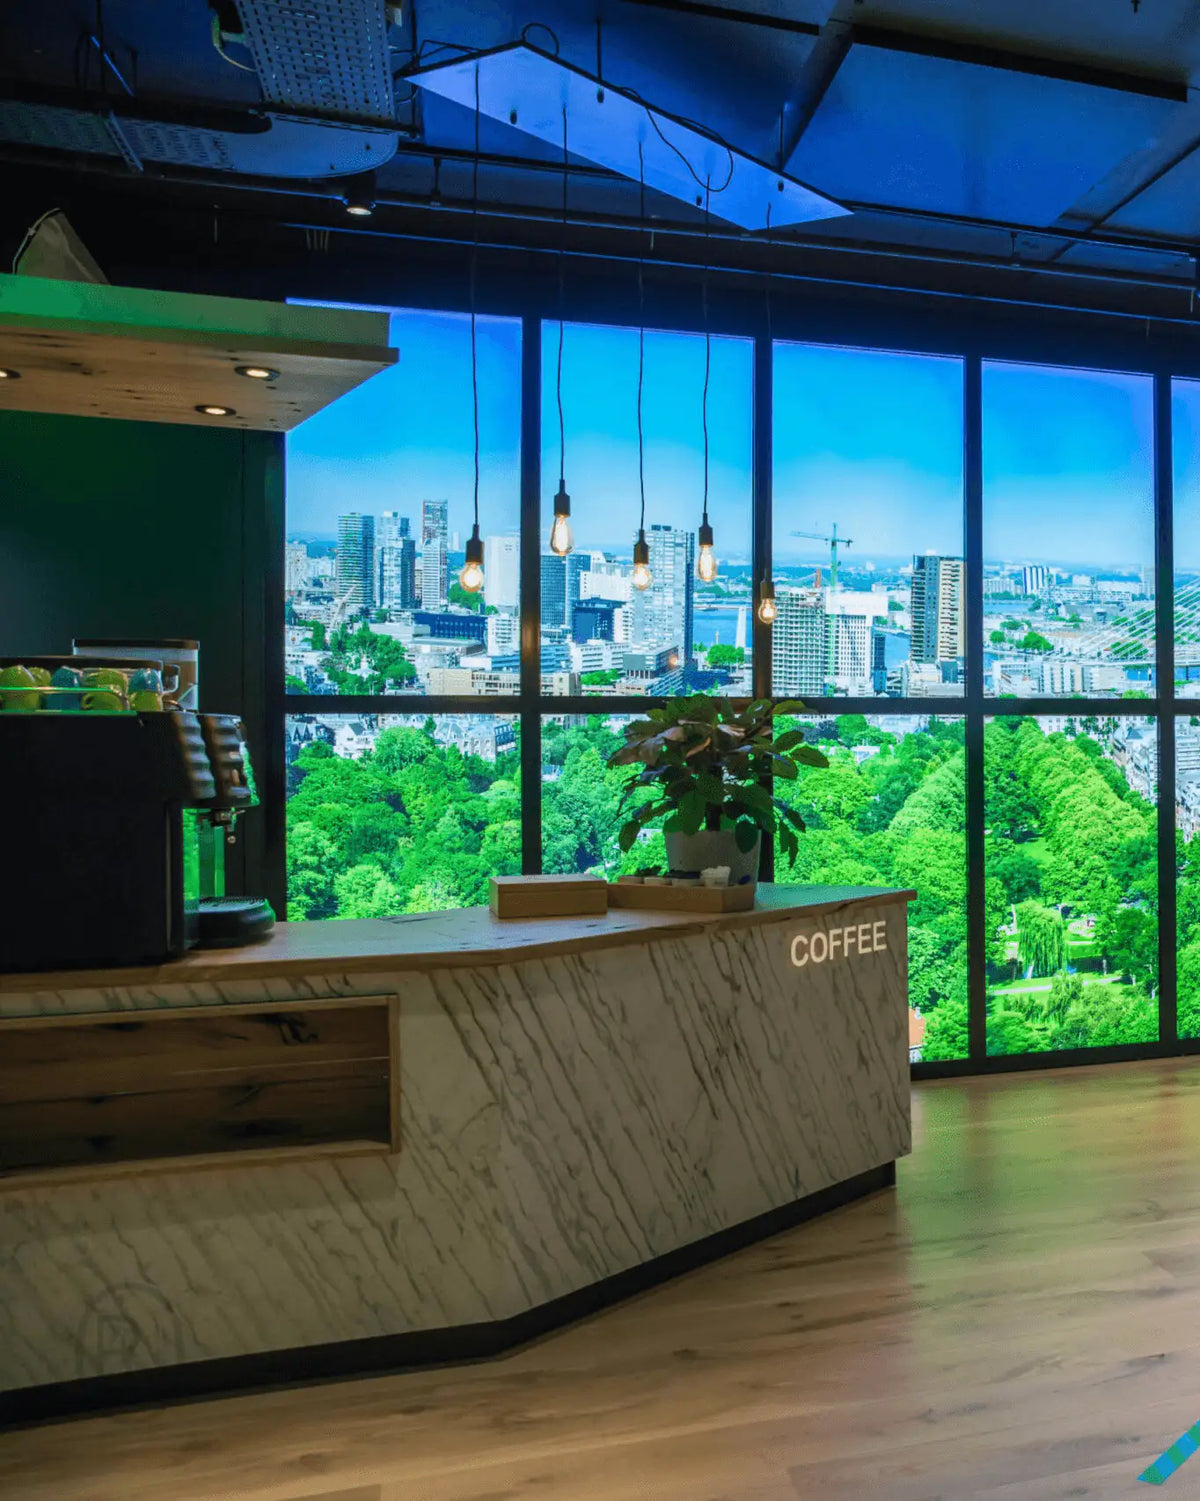
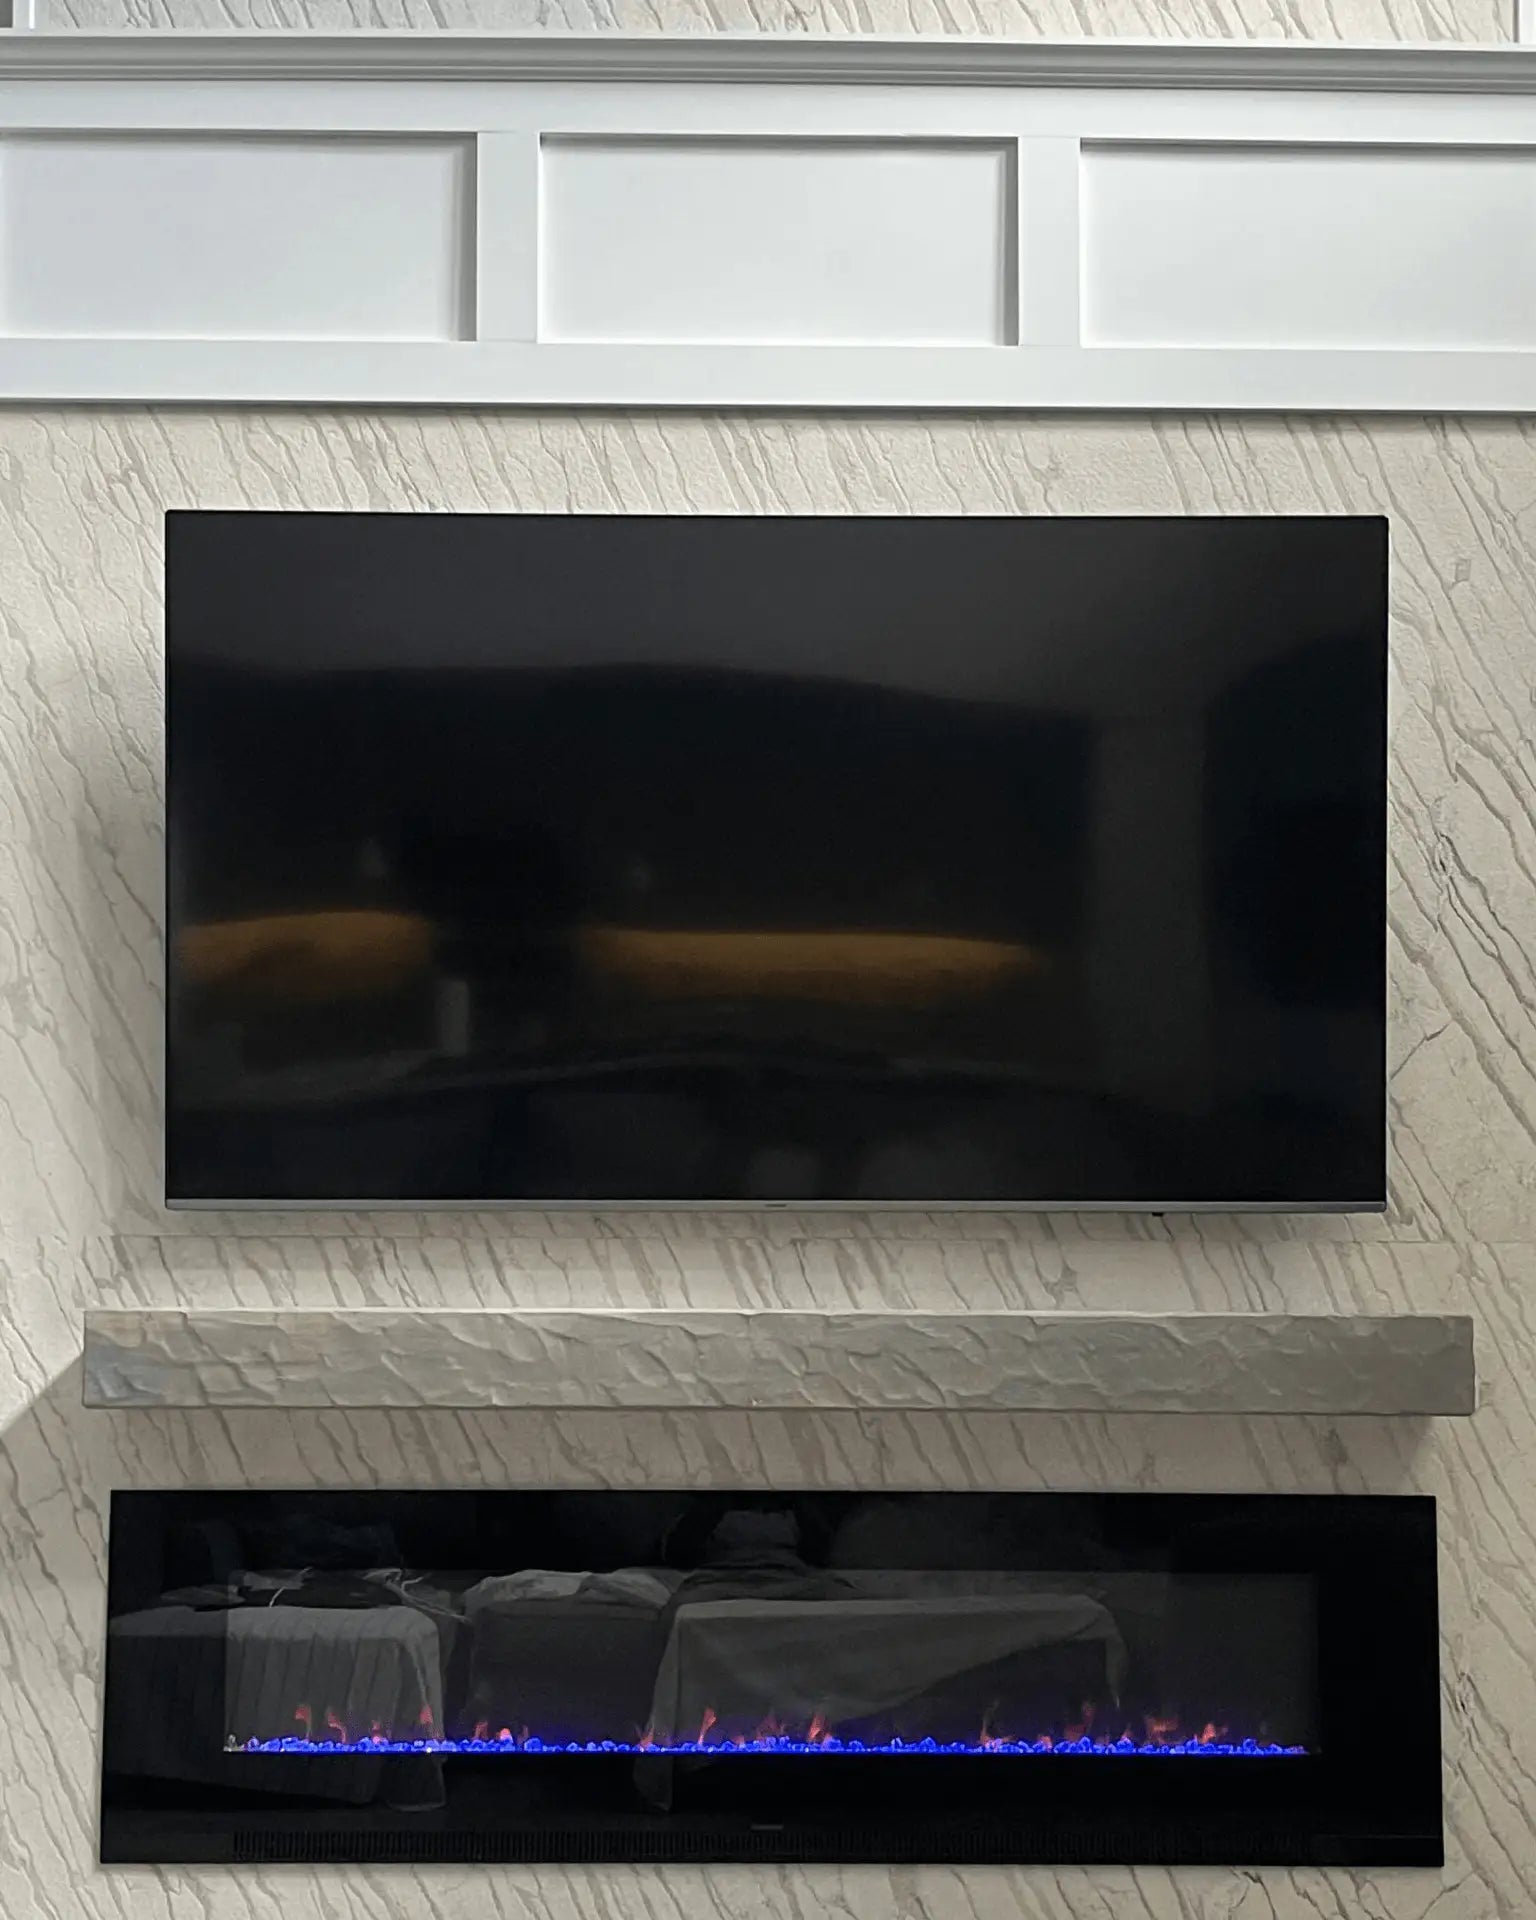
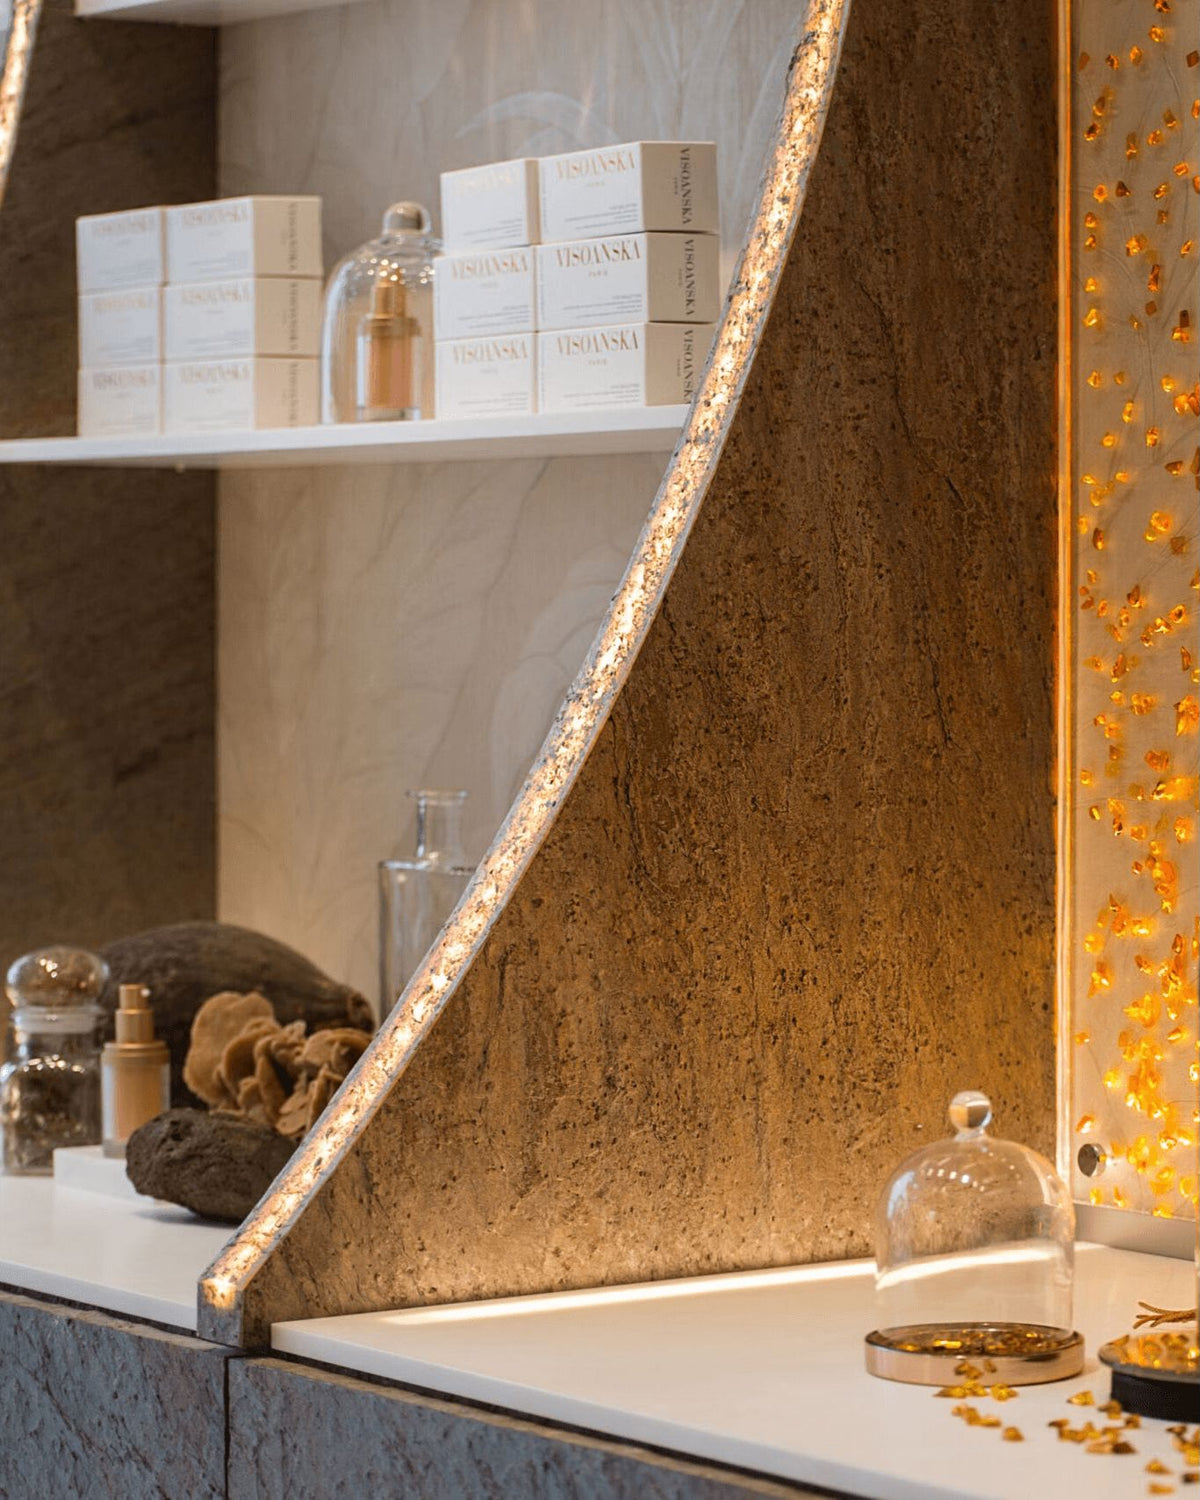
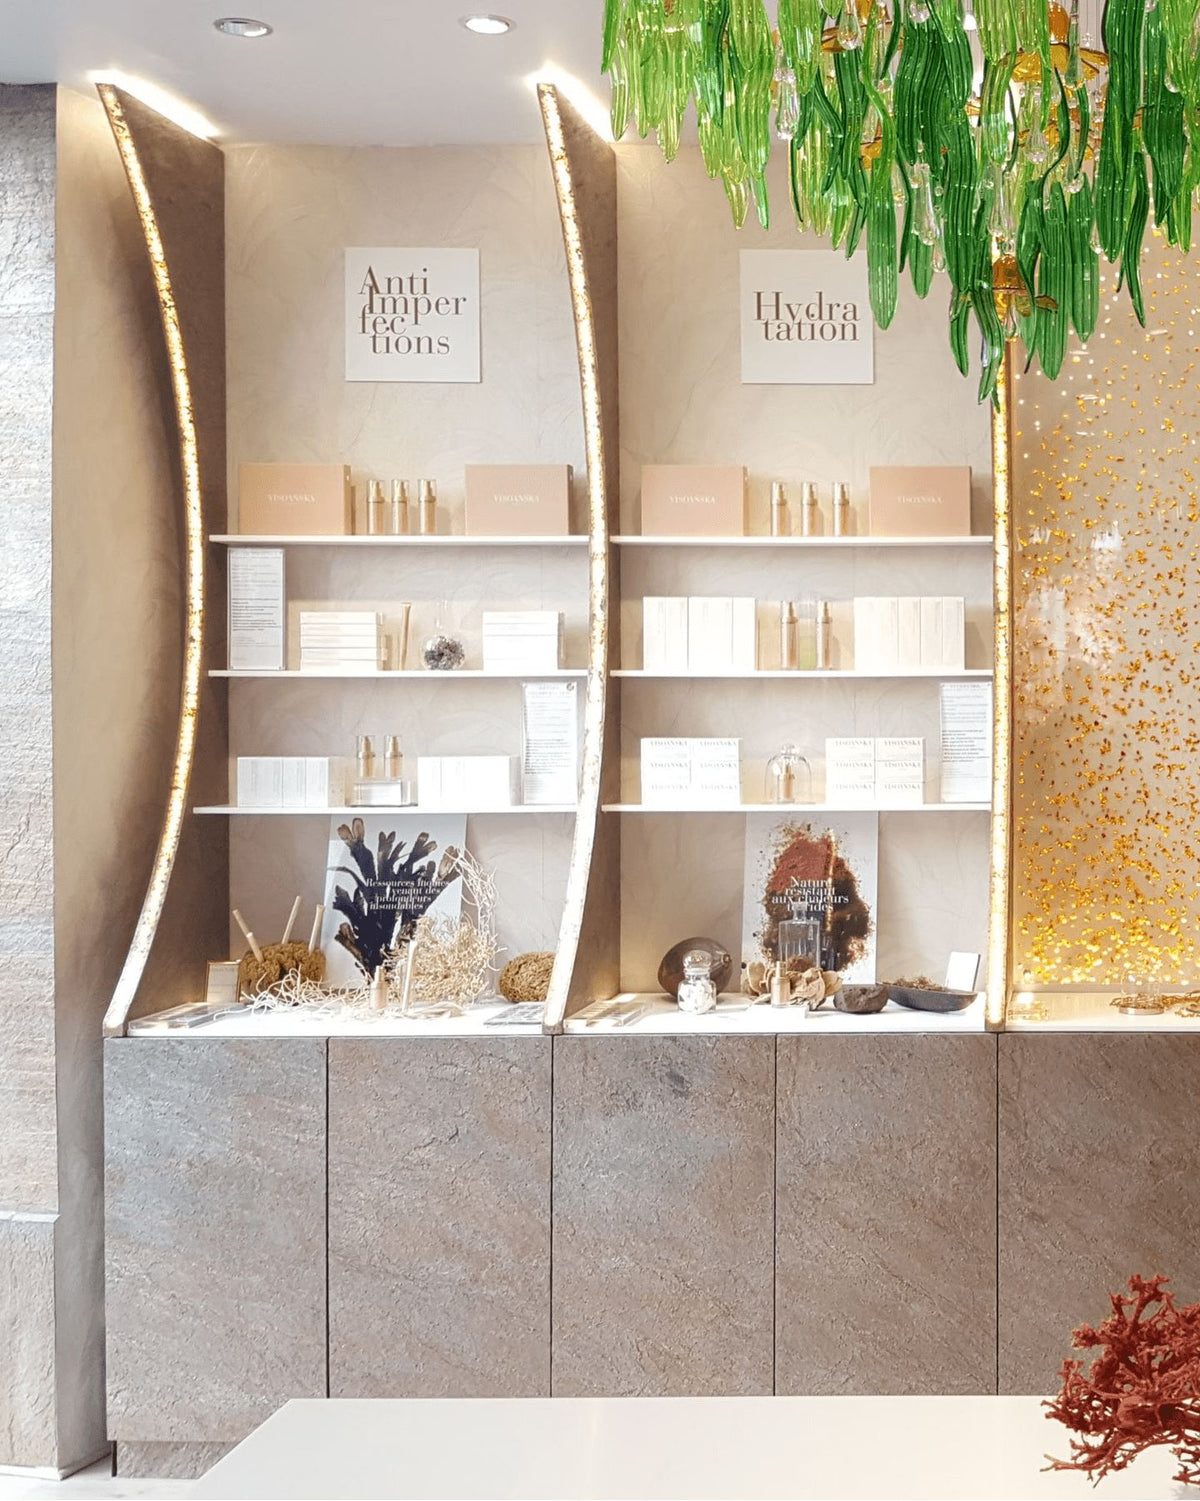
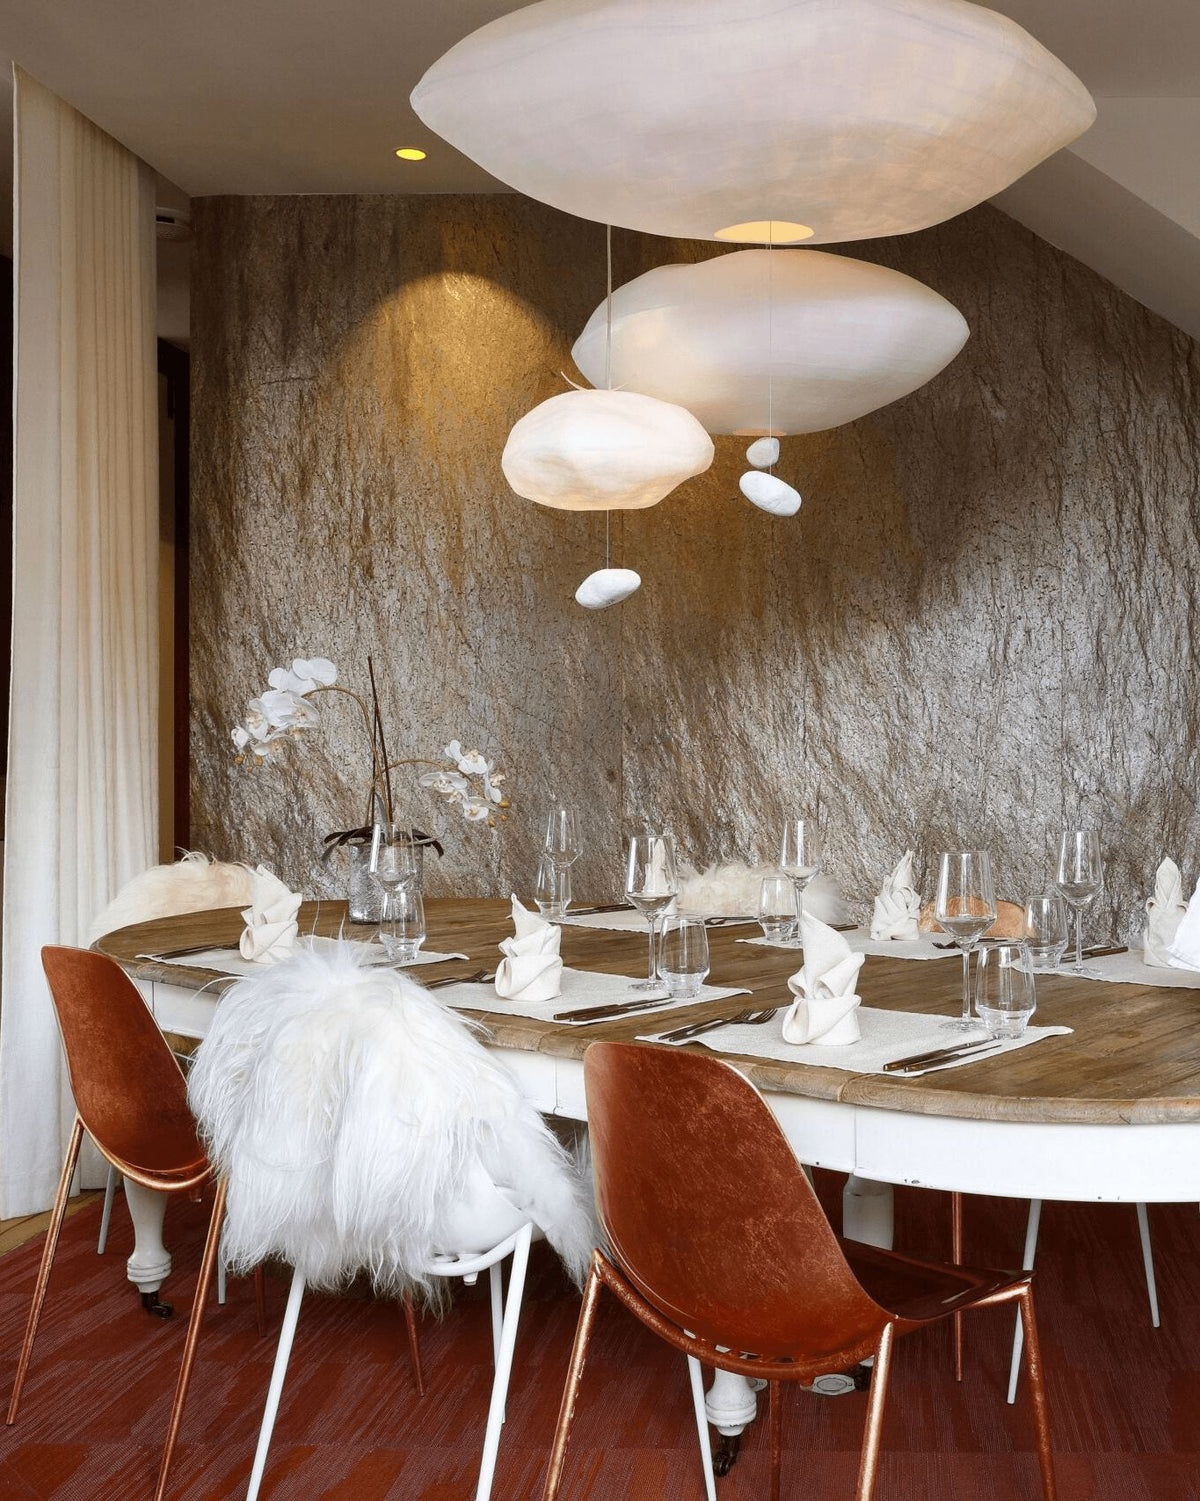
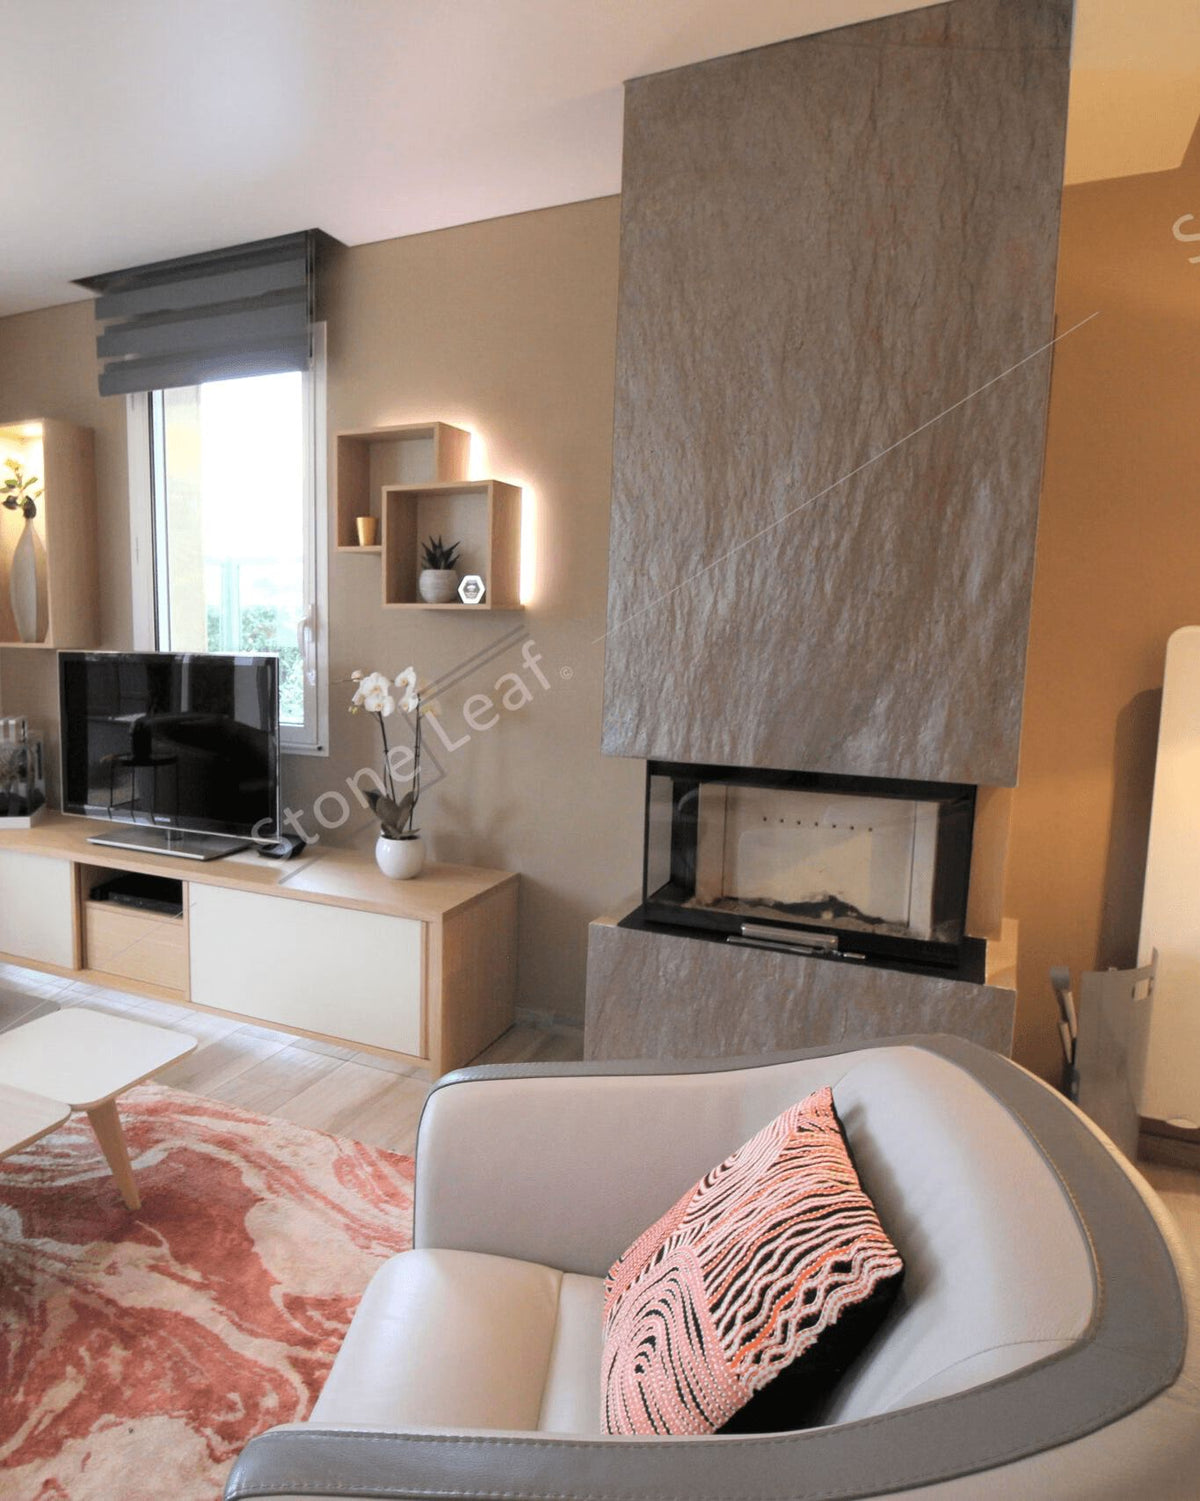
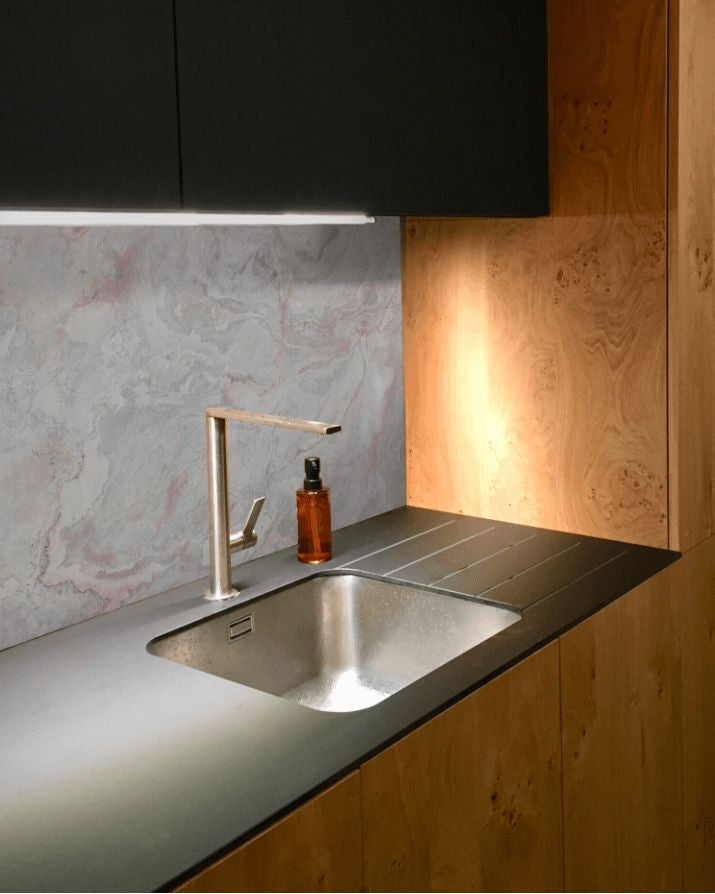
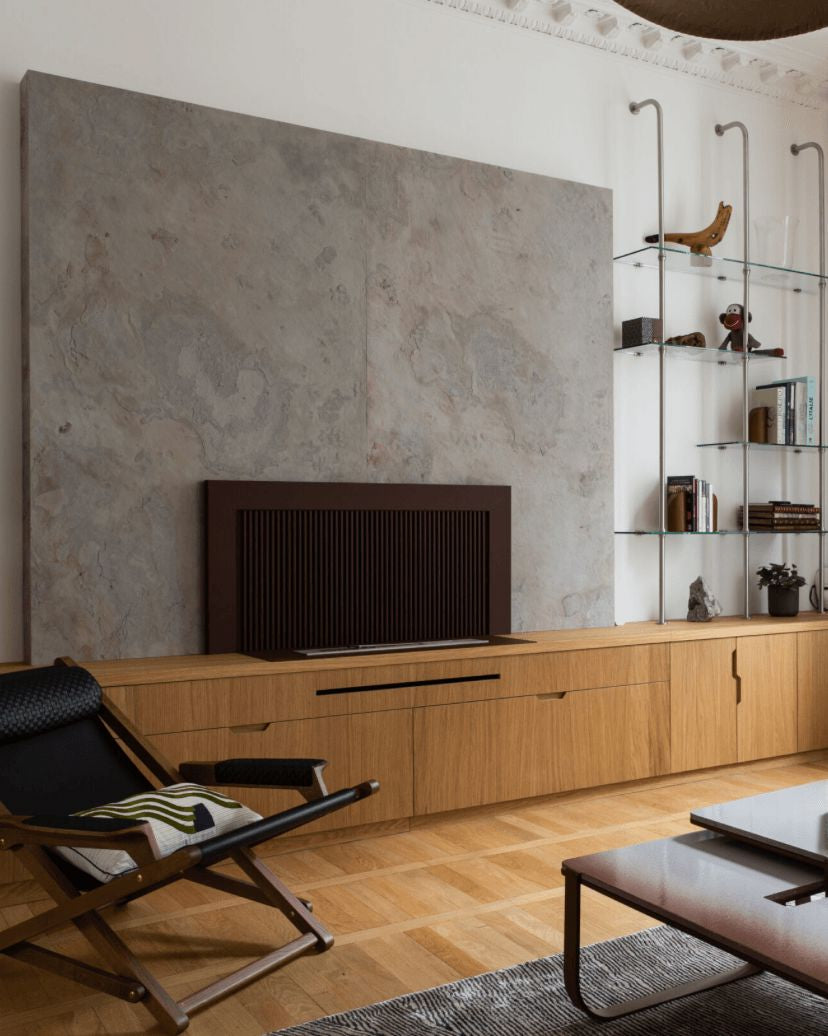
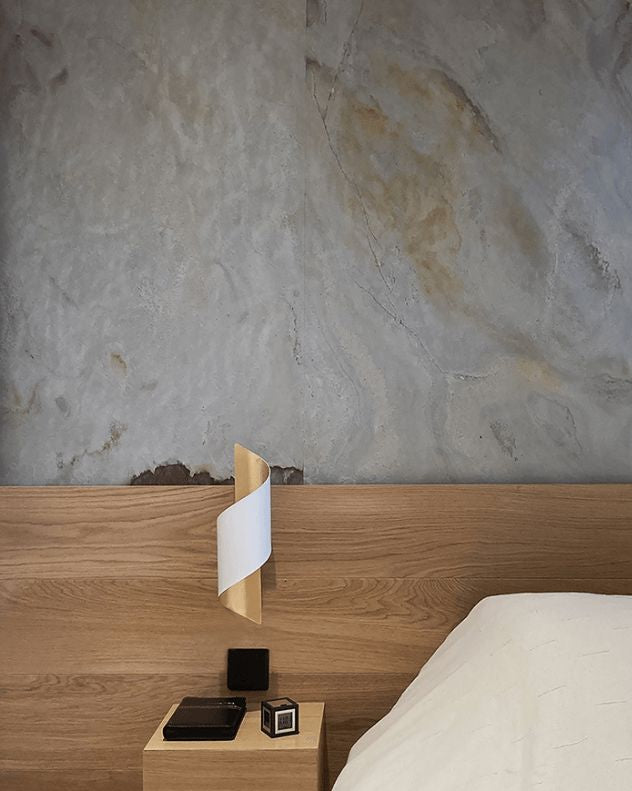
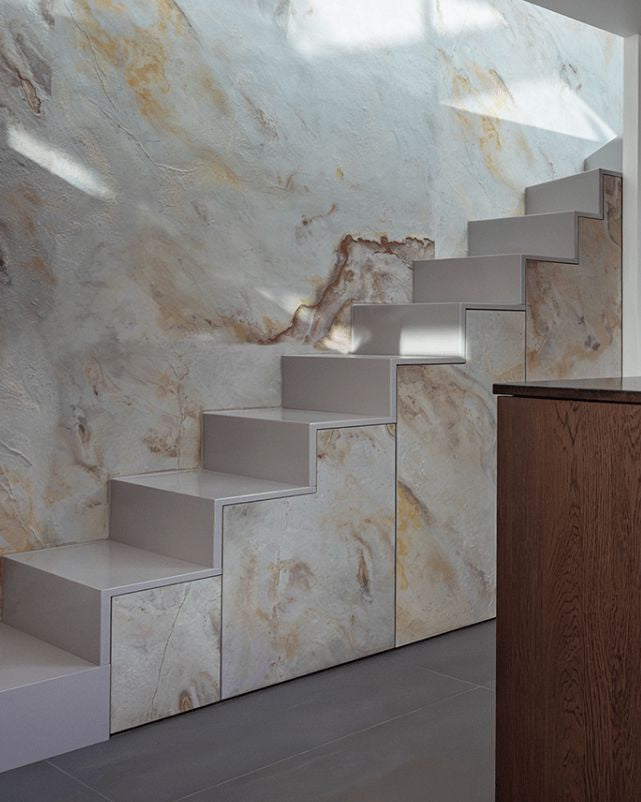
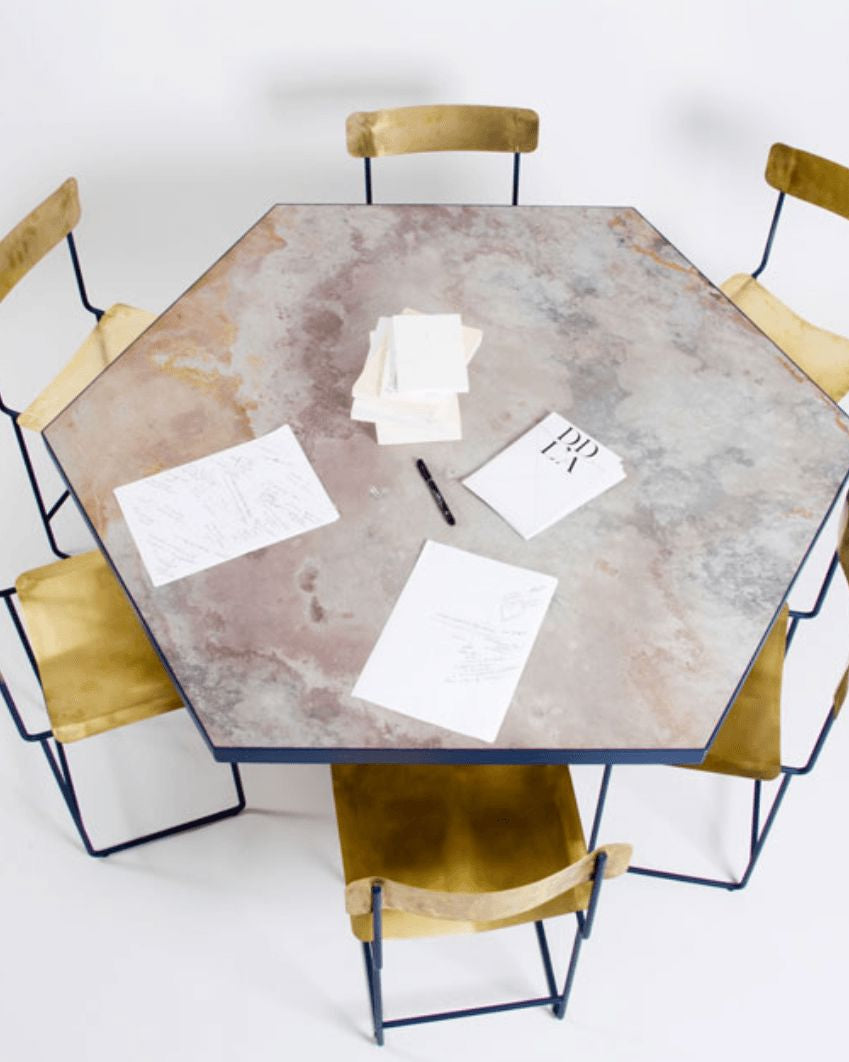
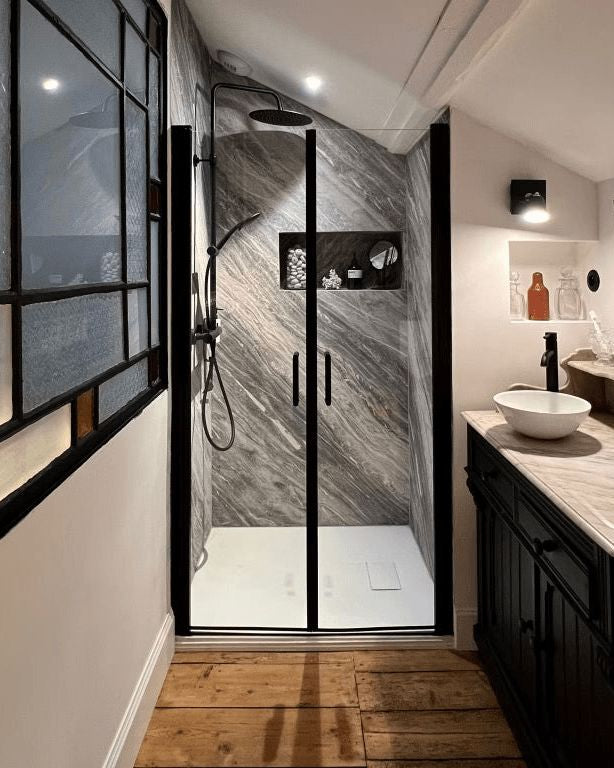
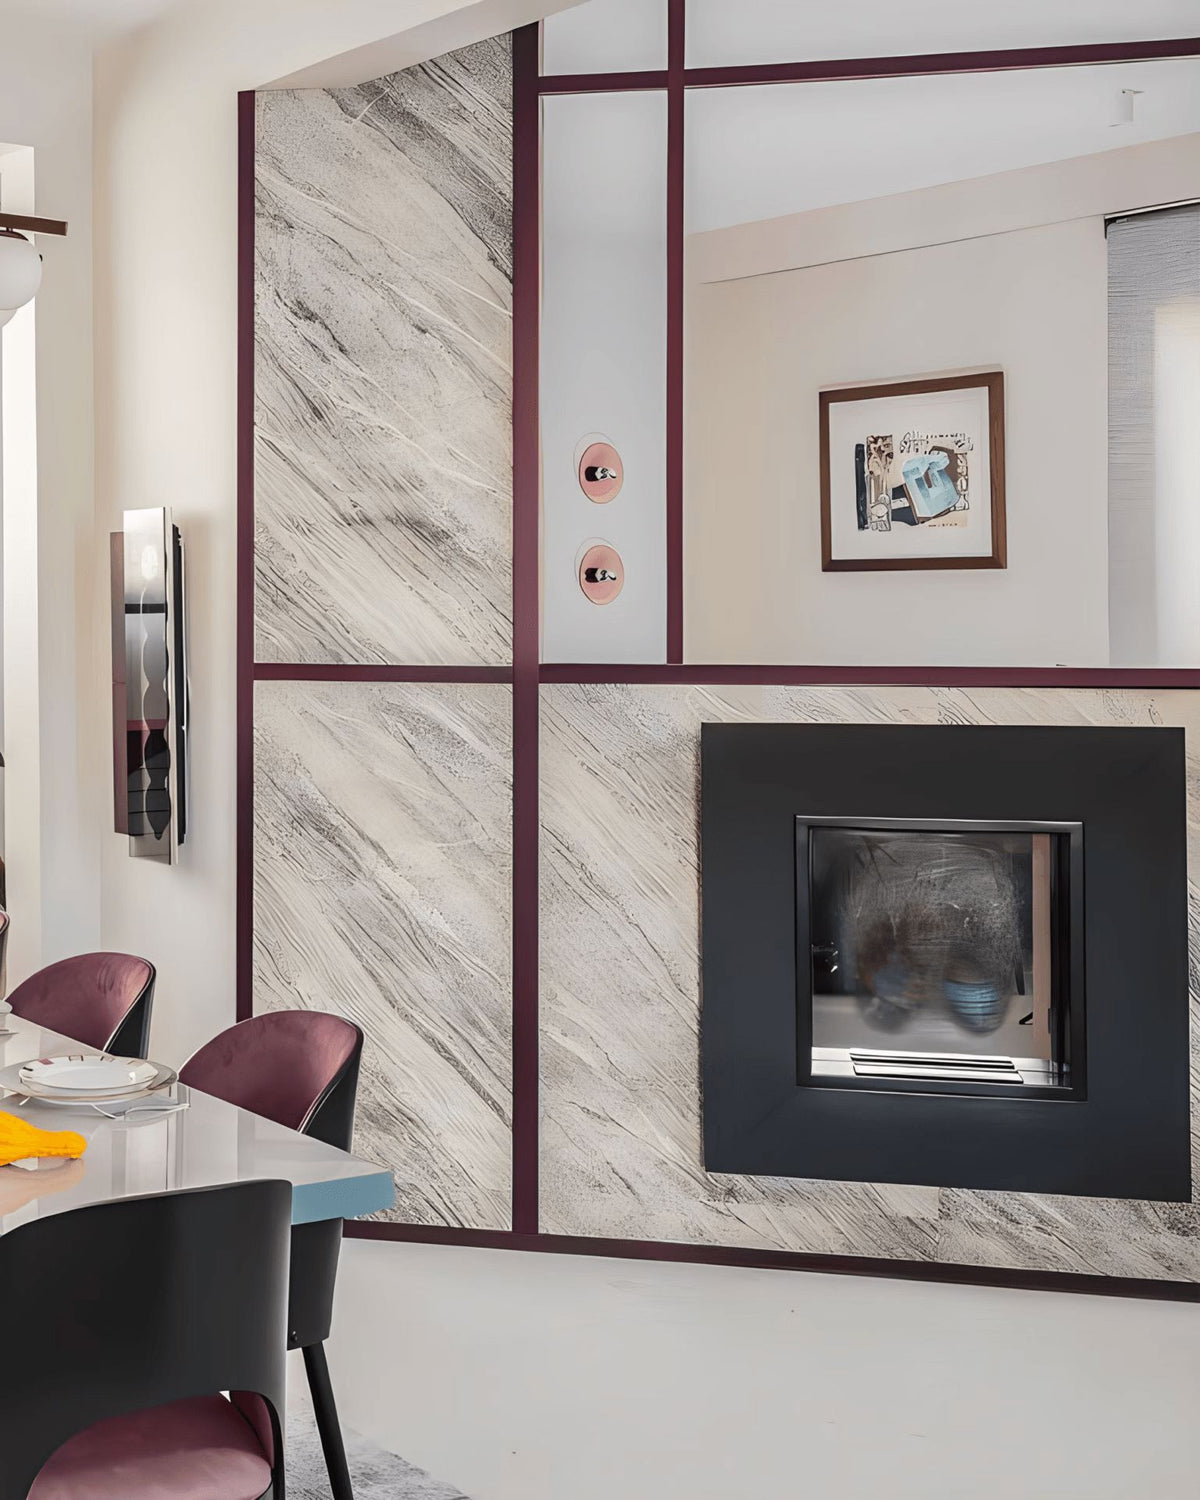
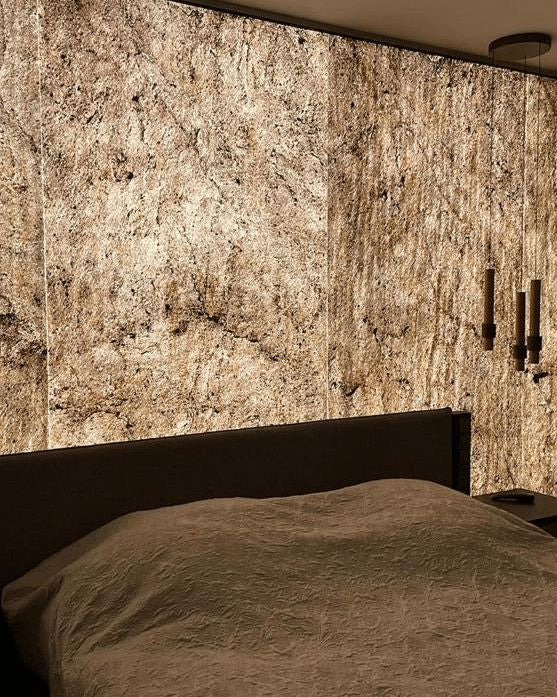
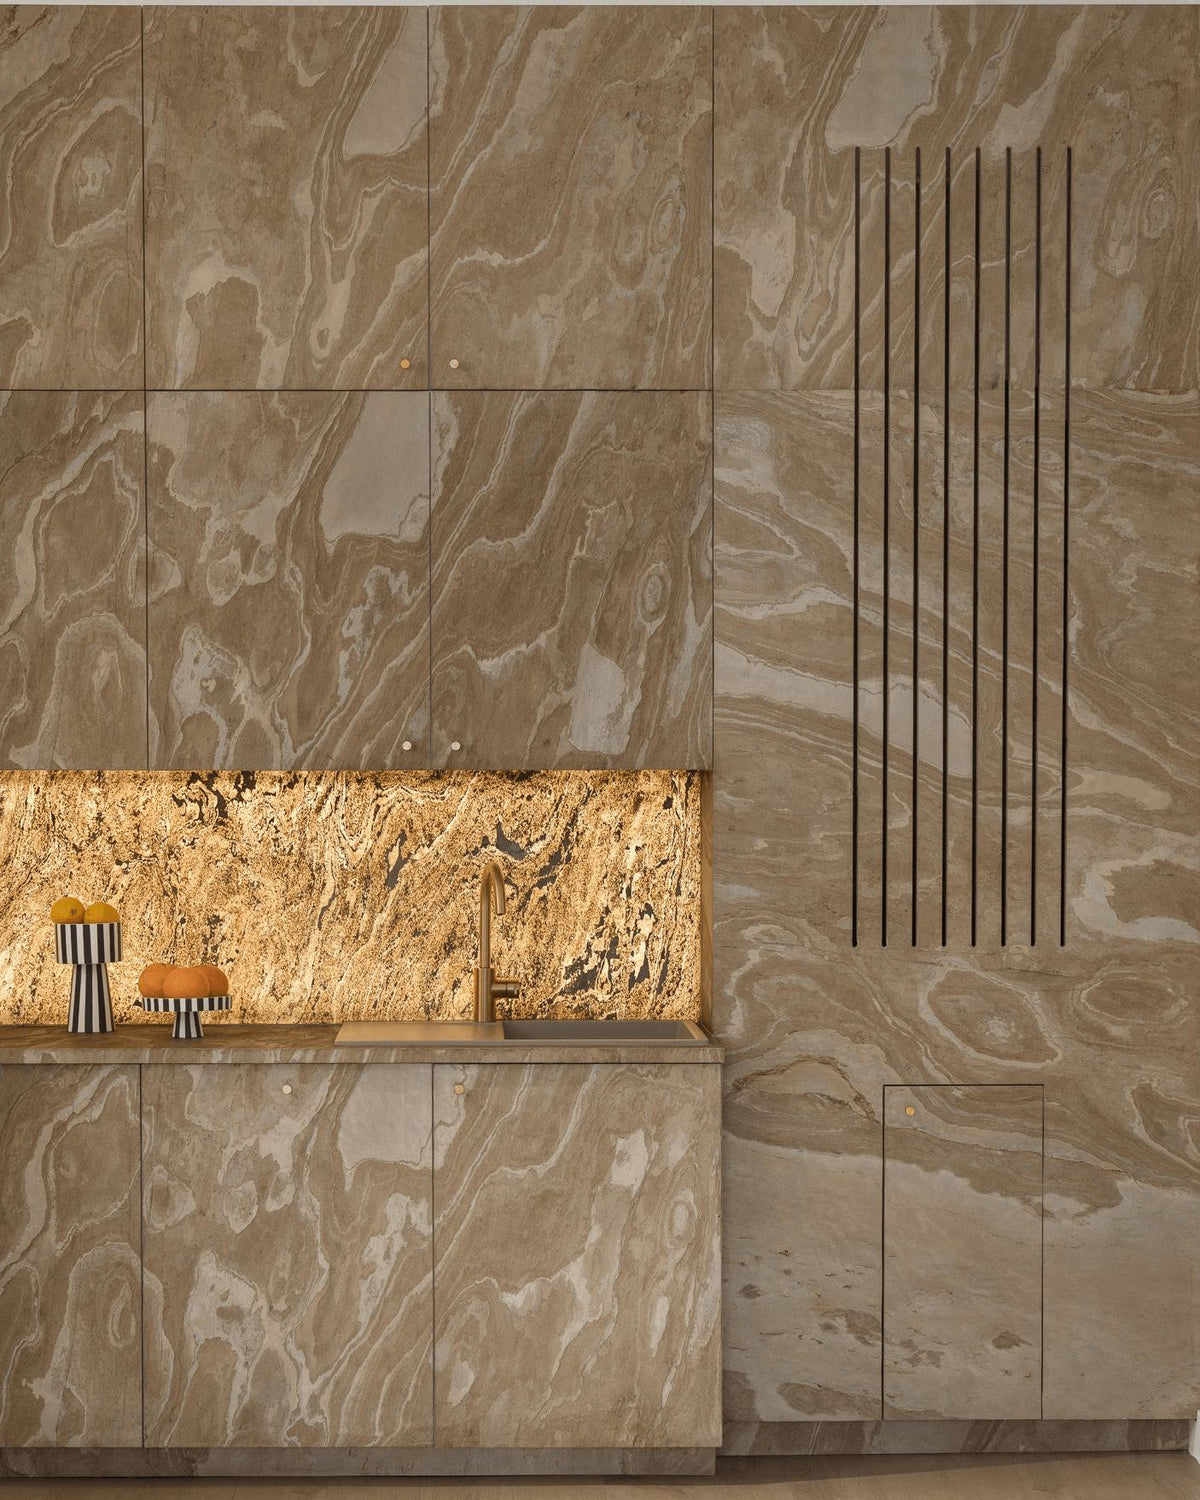
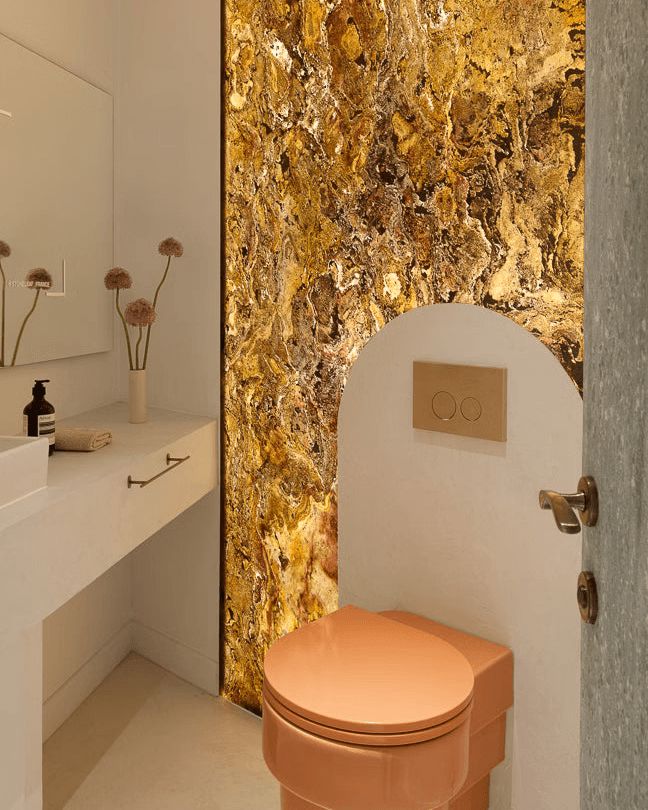
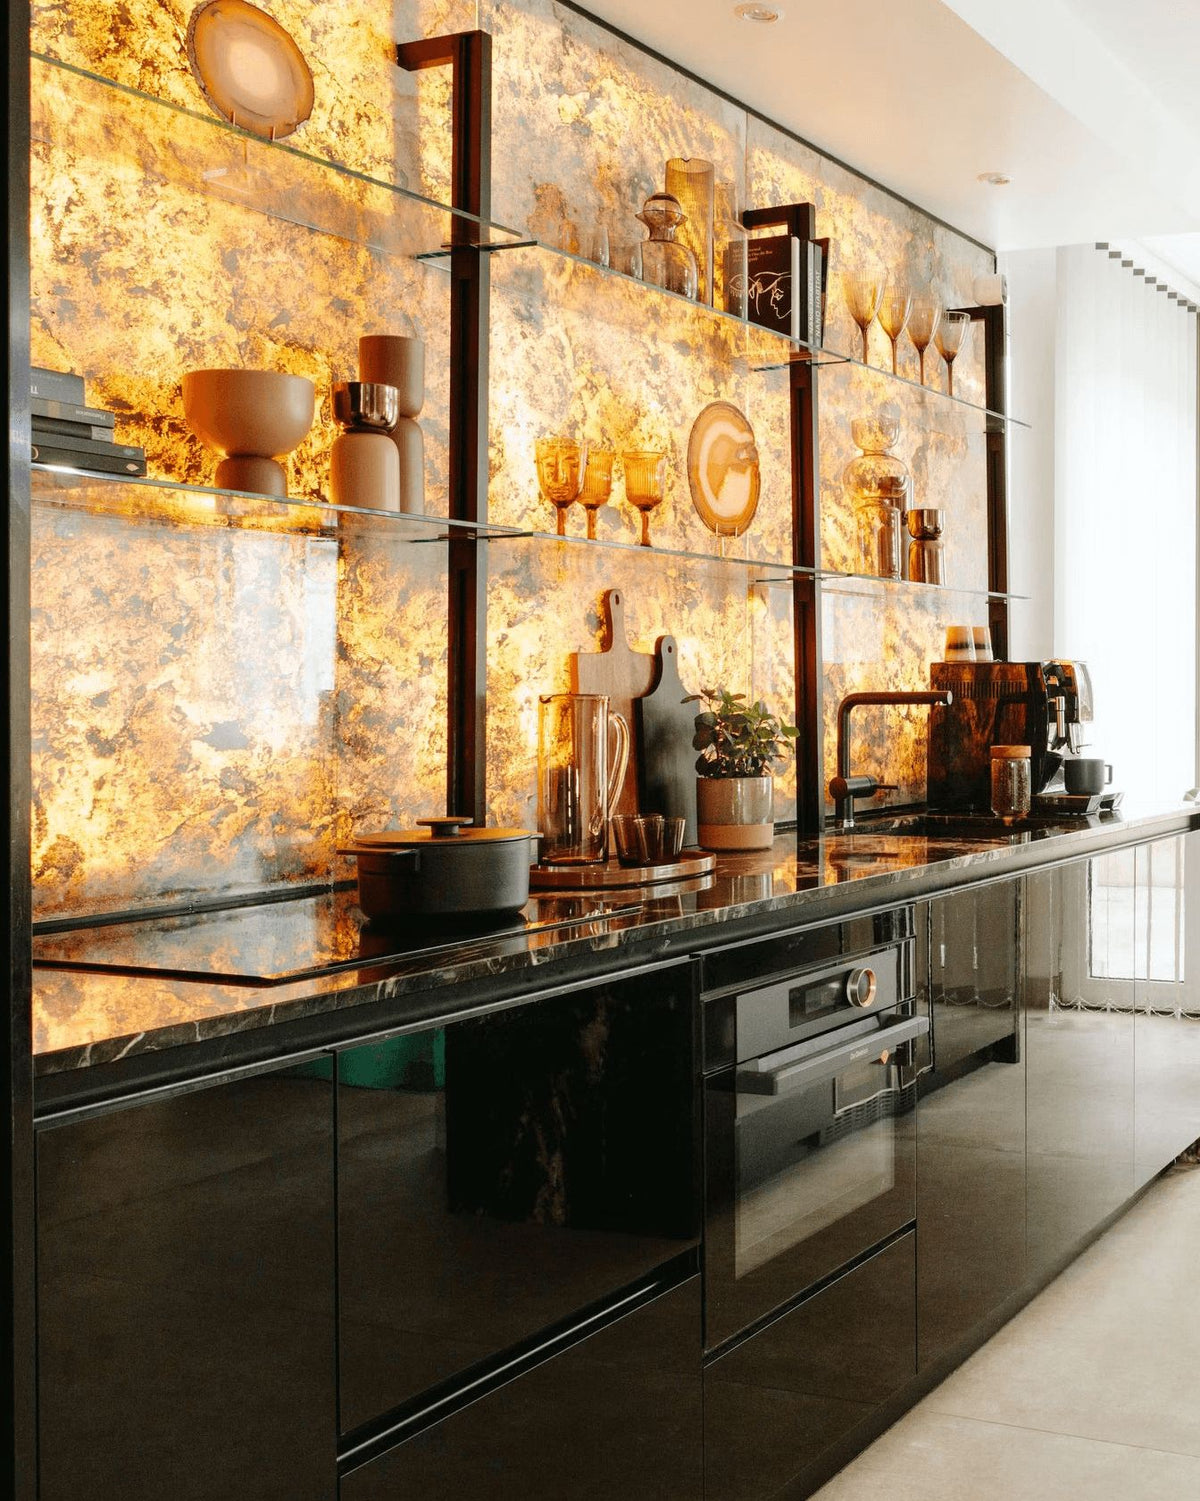
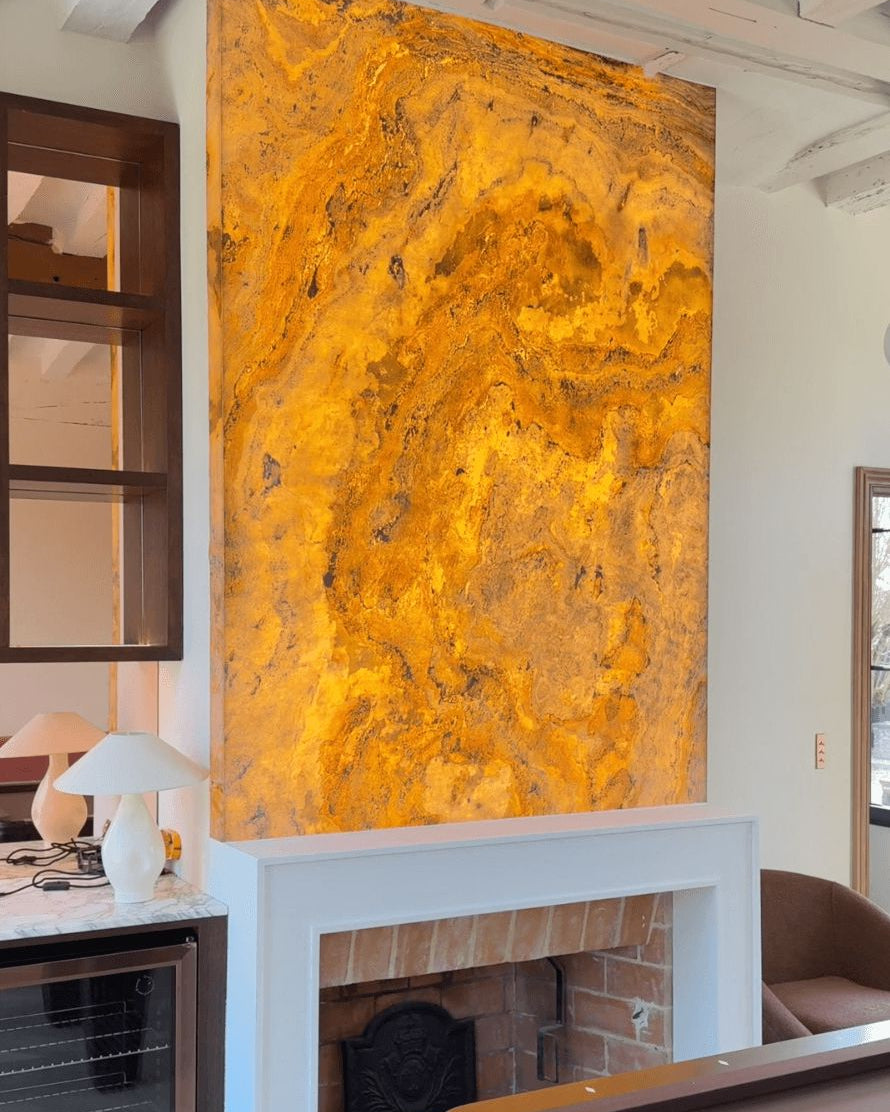
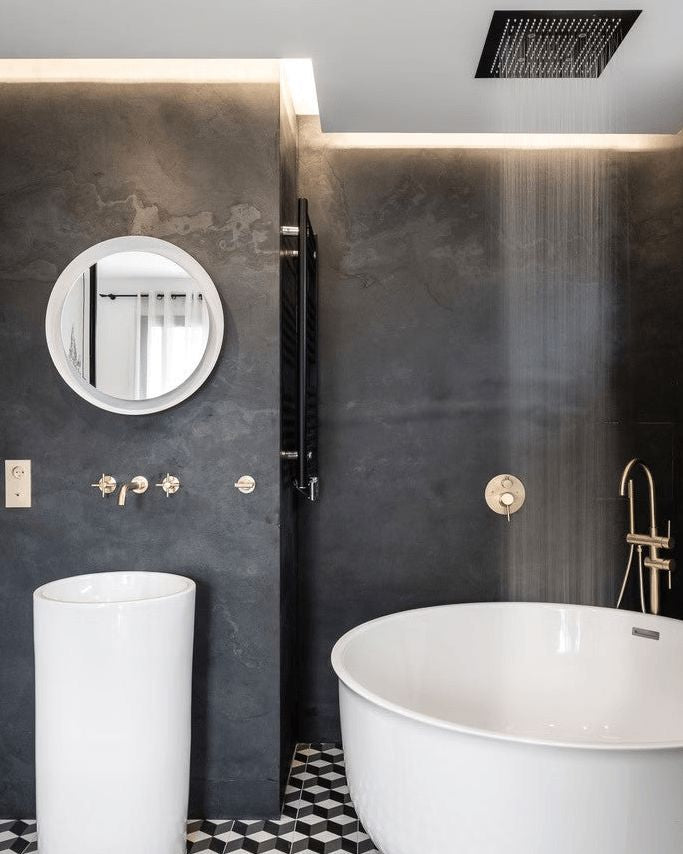
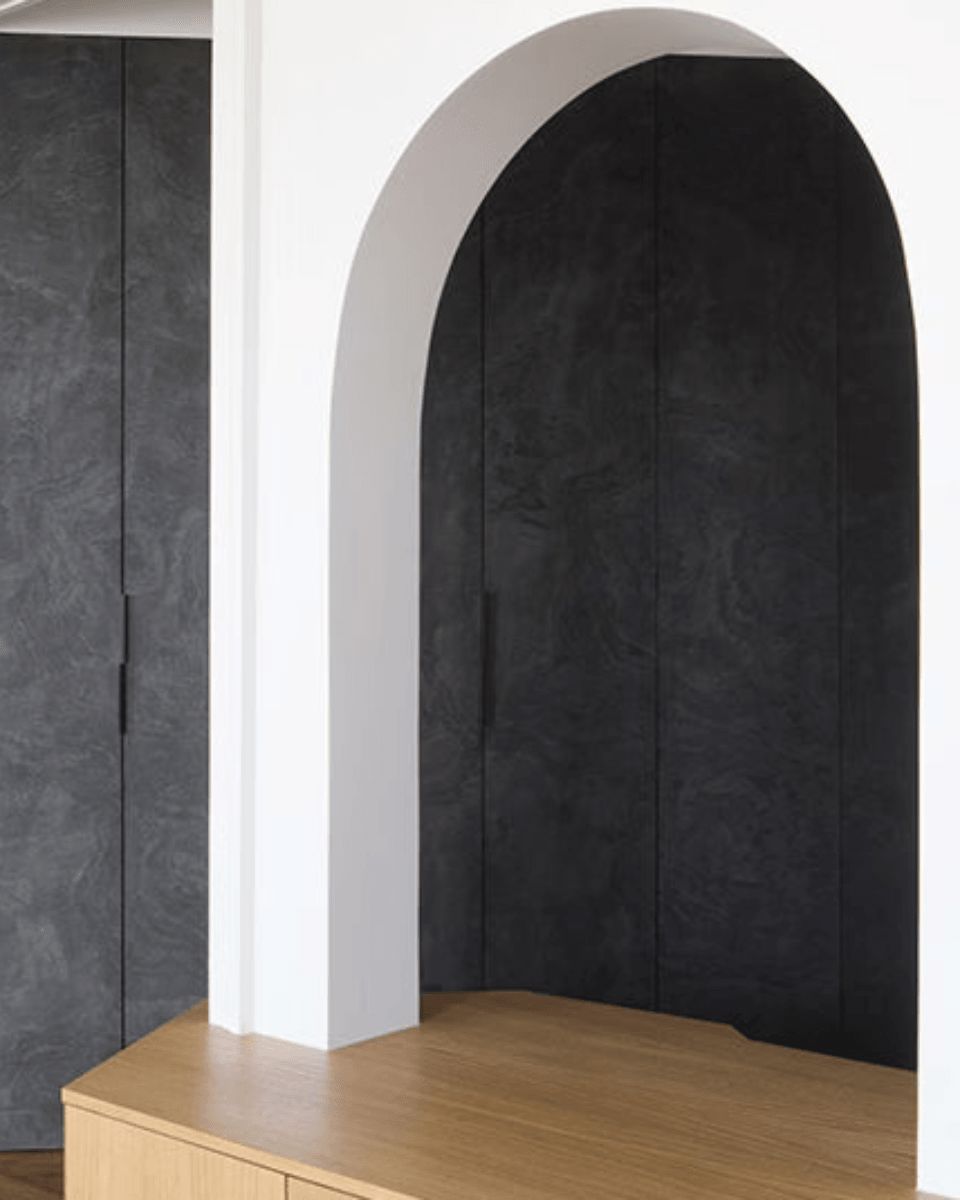
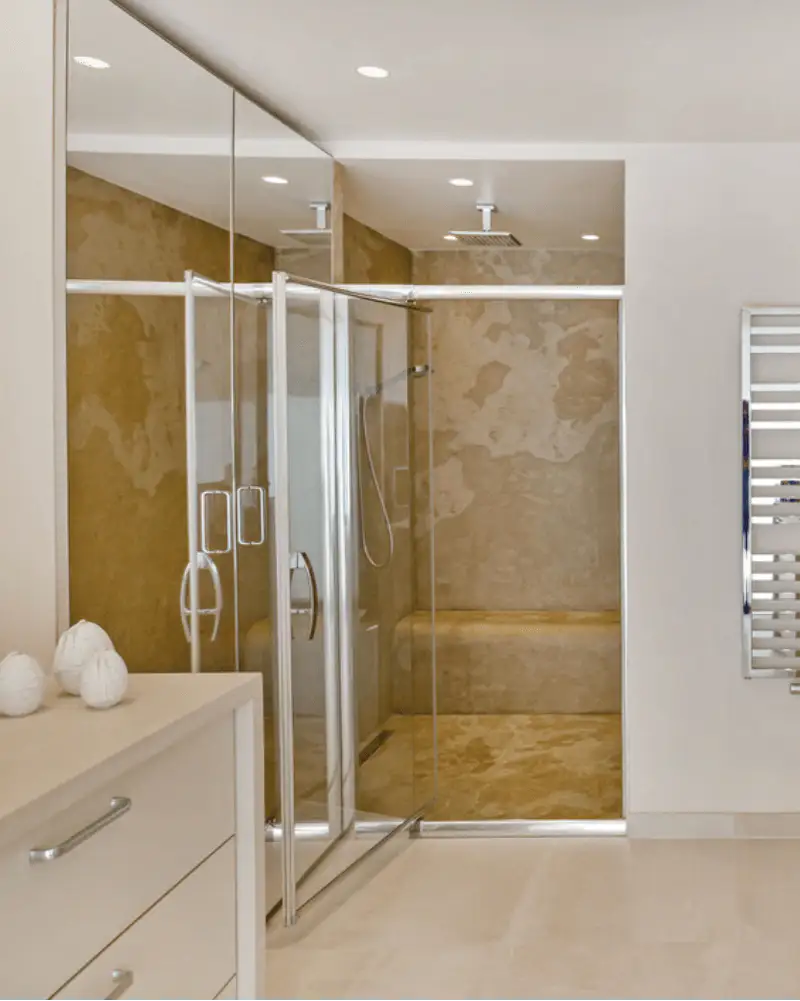
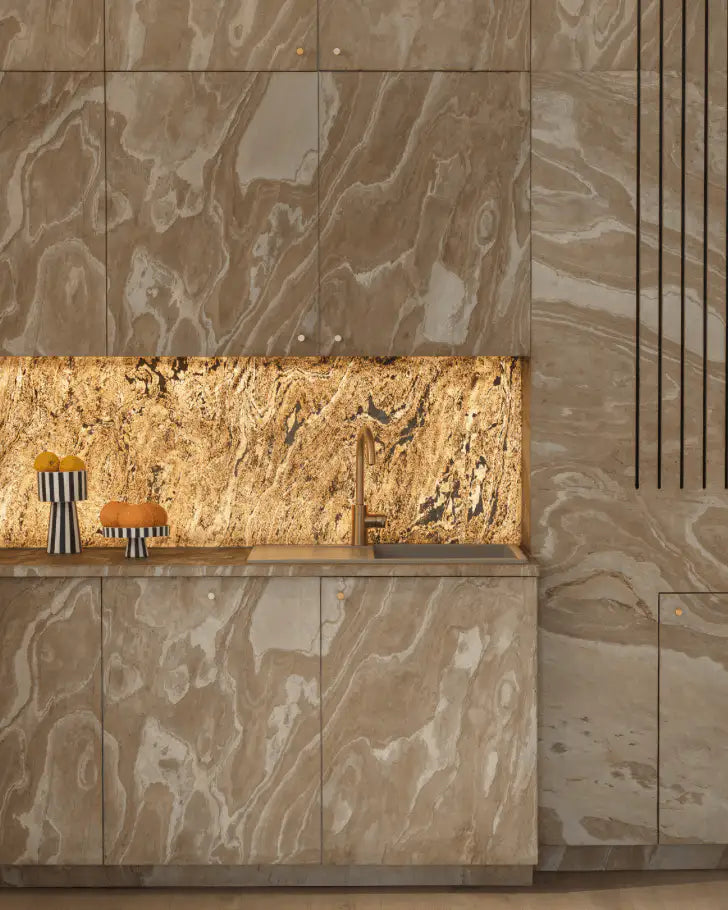
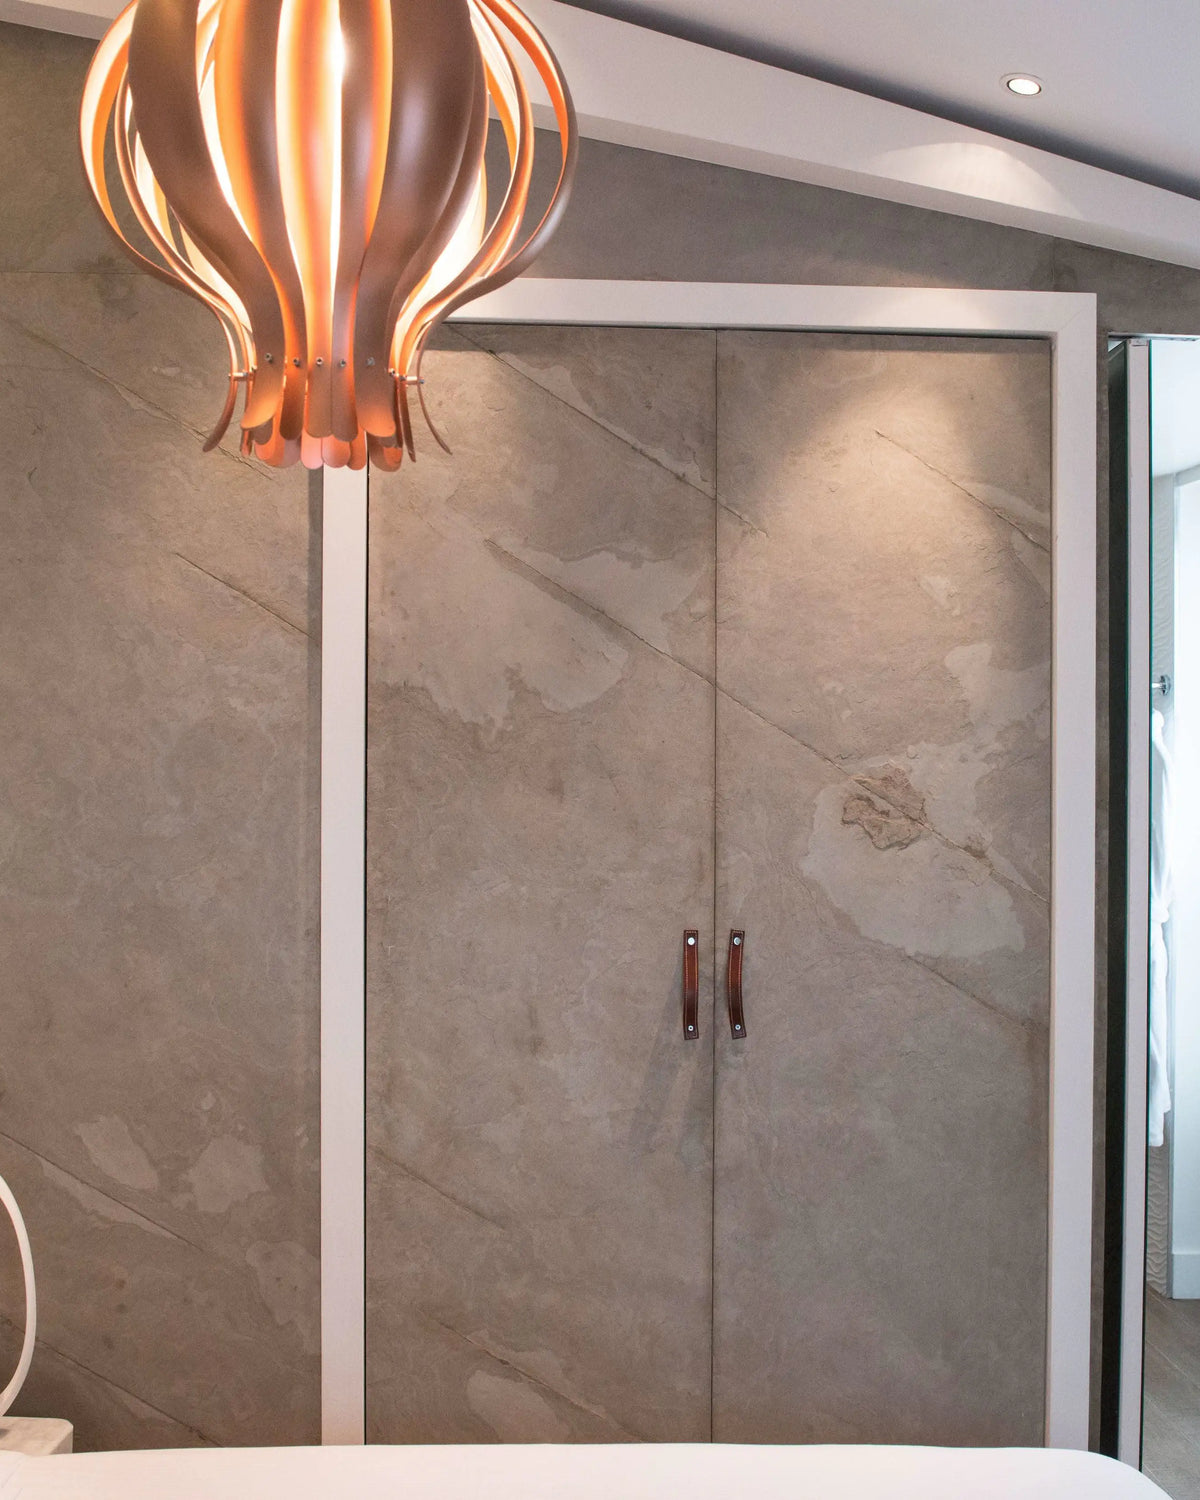
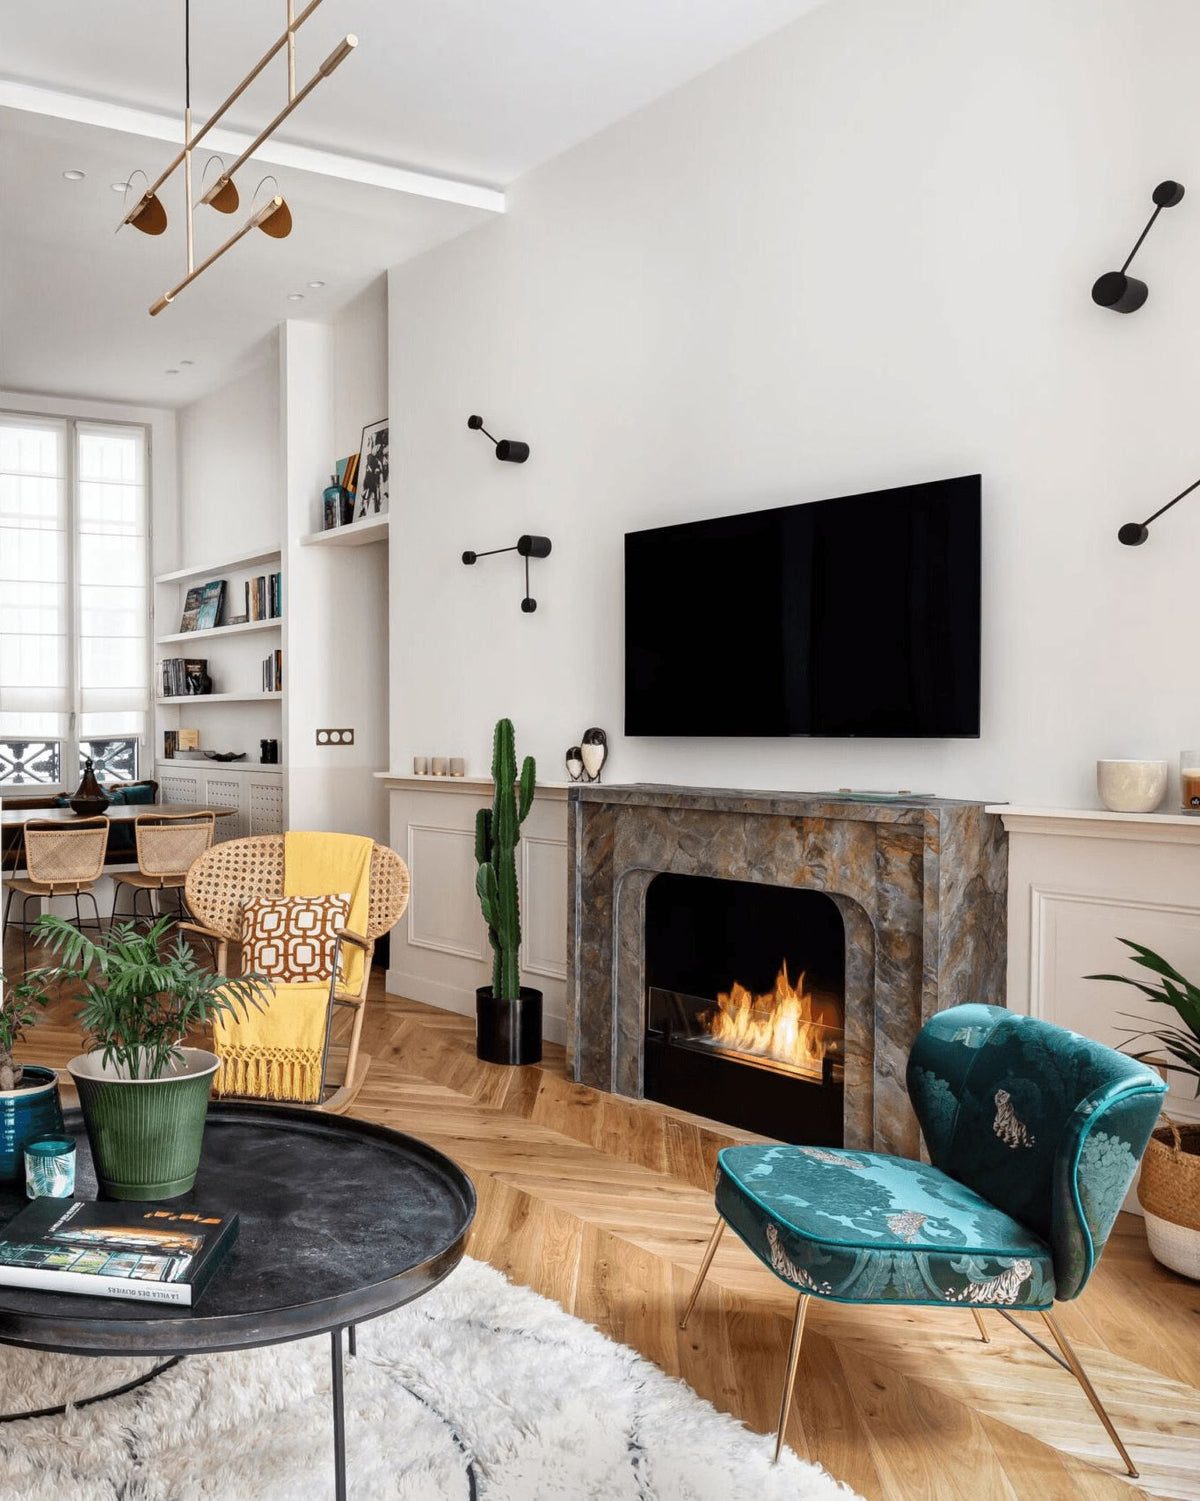
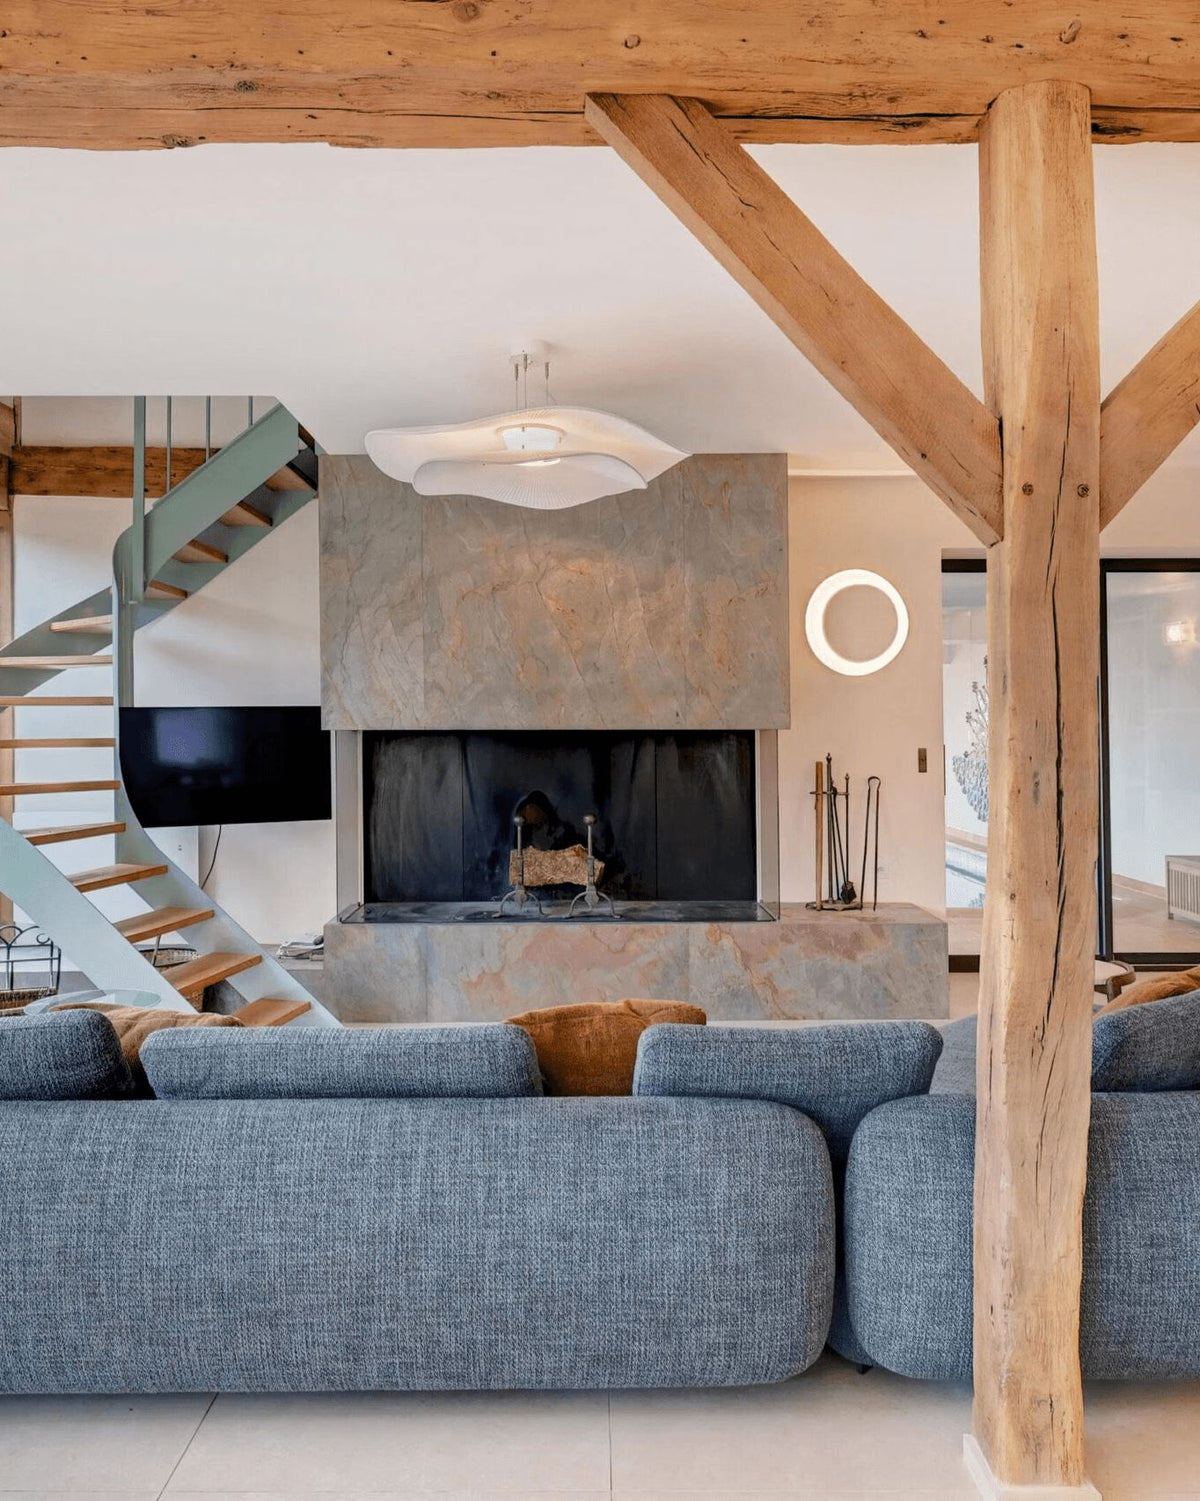
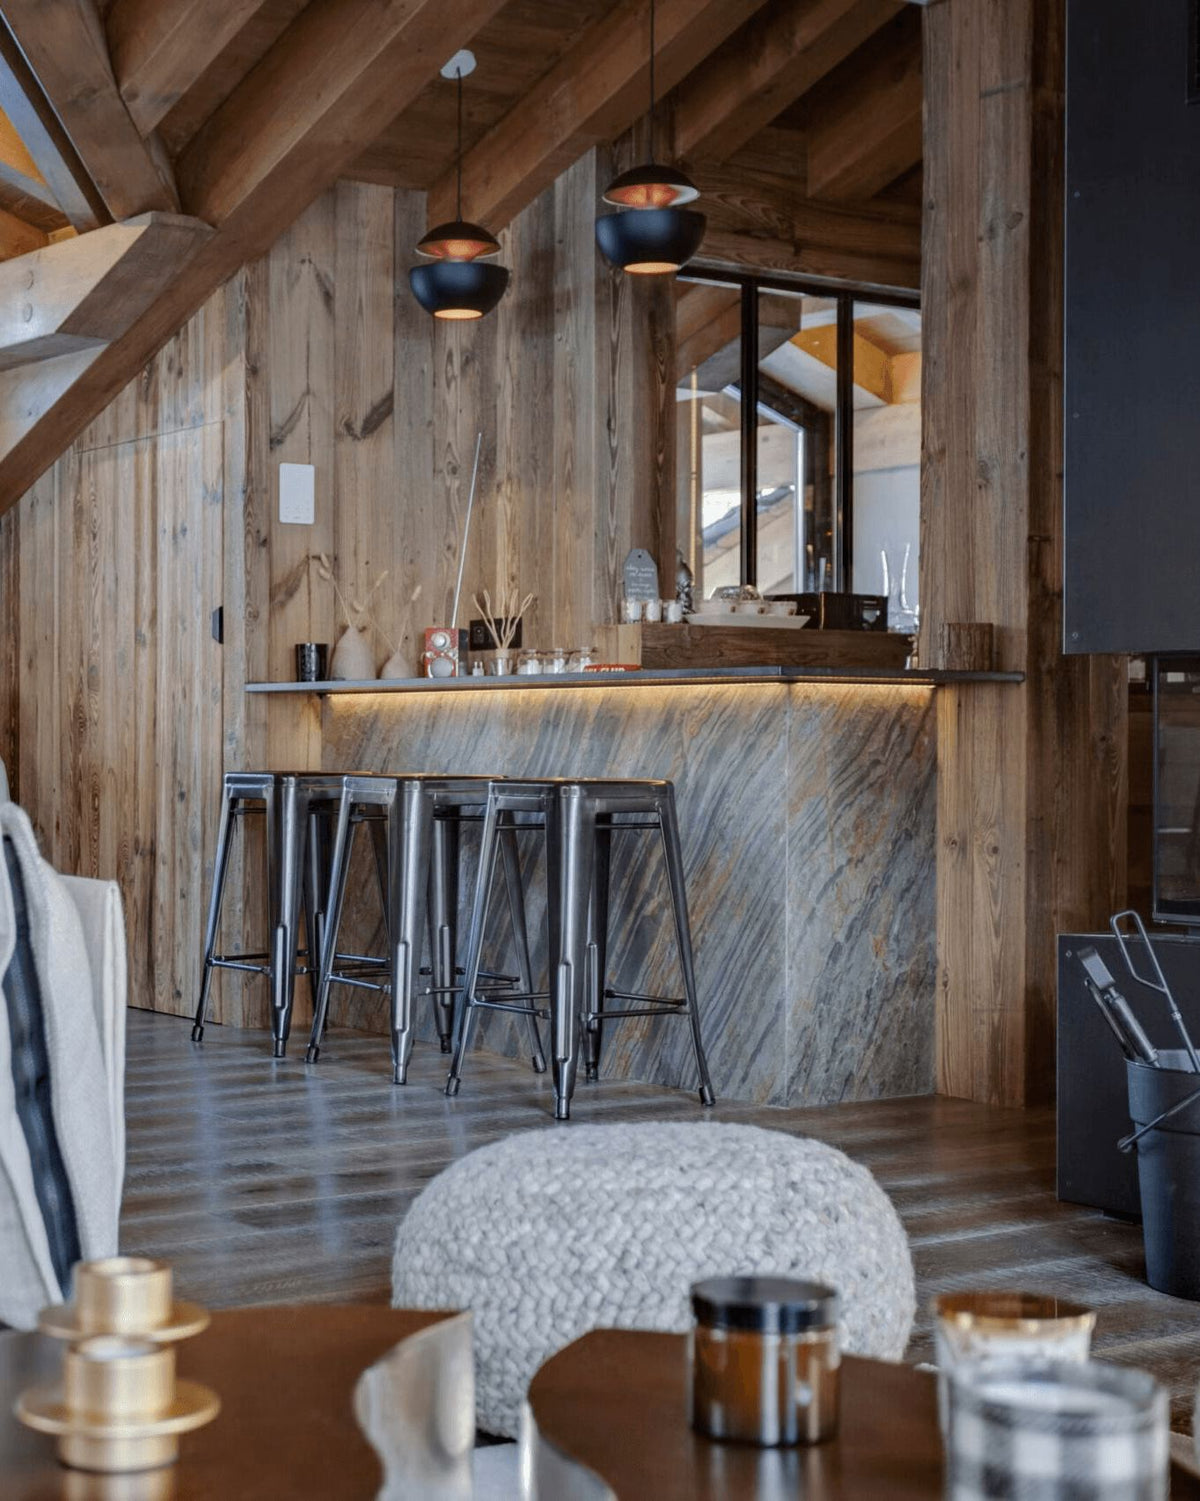
A Stoneleaf stone veneer is mineral and natural. It's a material designed for both indoor and outdoor use, in dry and humid environments. A versatile natural stone veneer for walls, ceilings, furniture, swimming pools, fireplaces, showers, stairs, and backlit areas. A stone veneer with a contemporary and designer style.
The installation
Stoneleaf
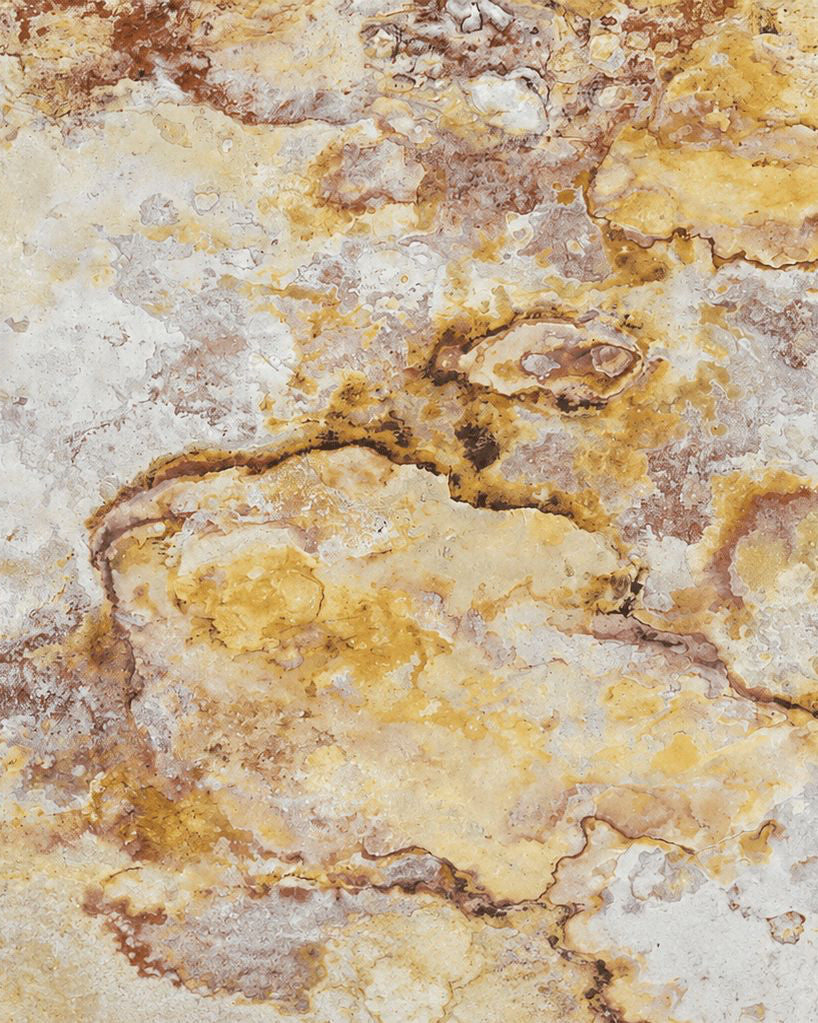
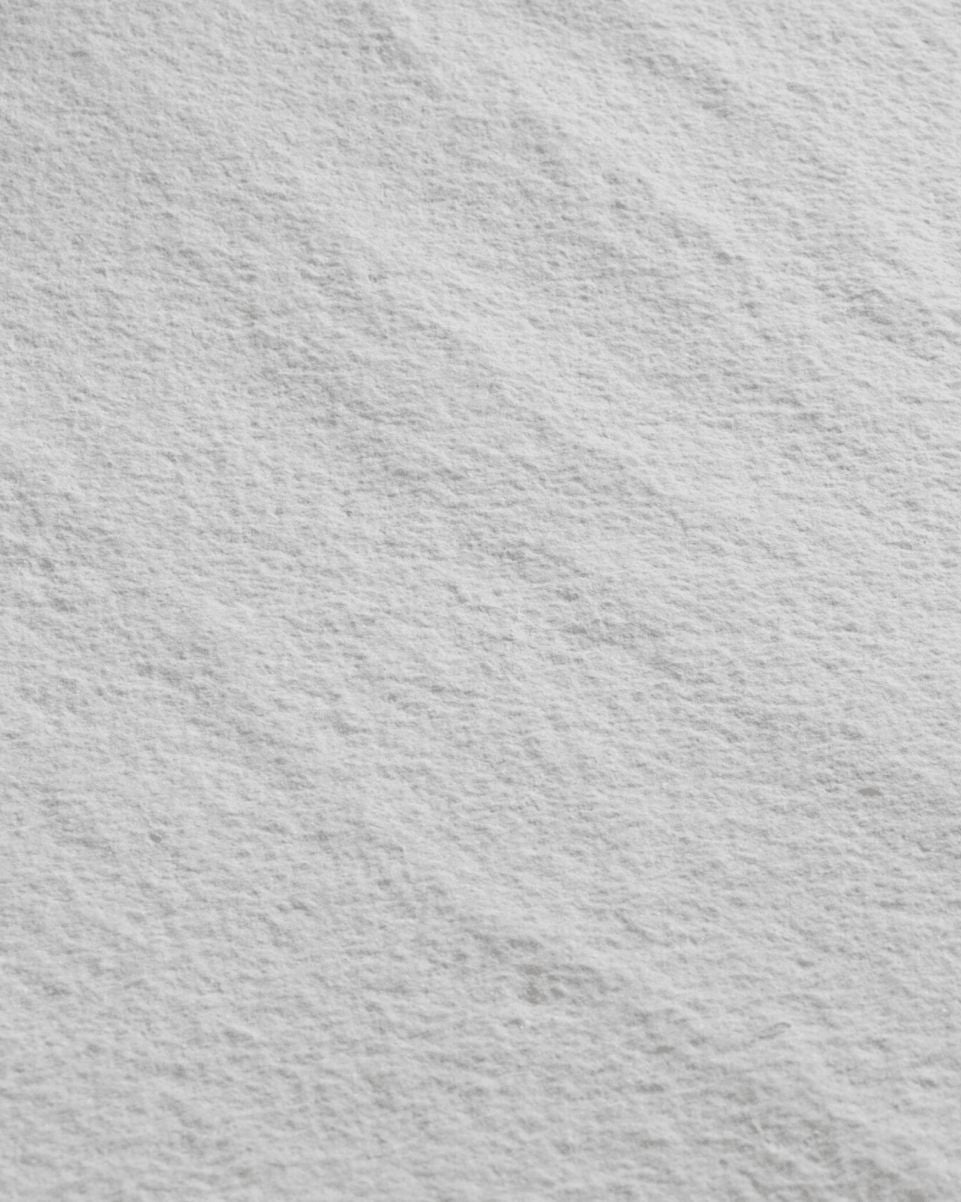
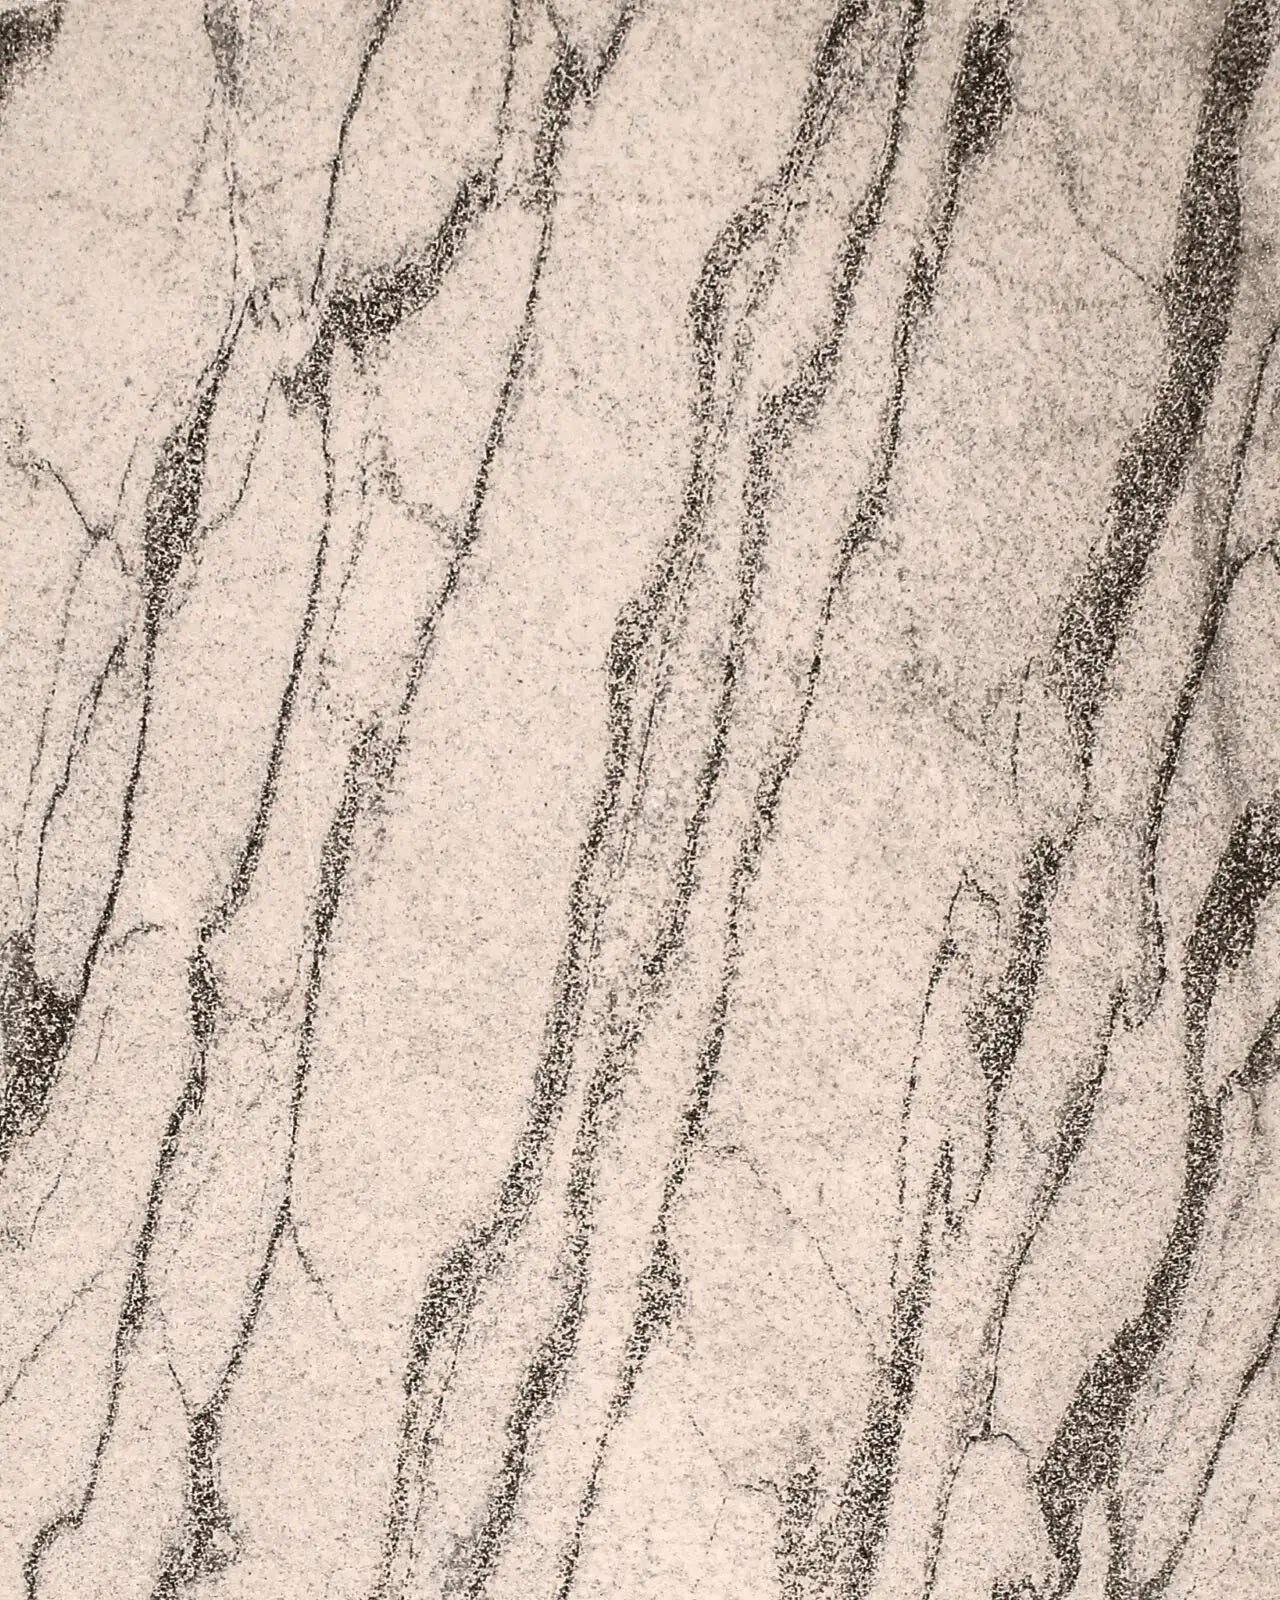
Translucent
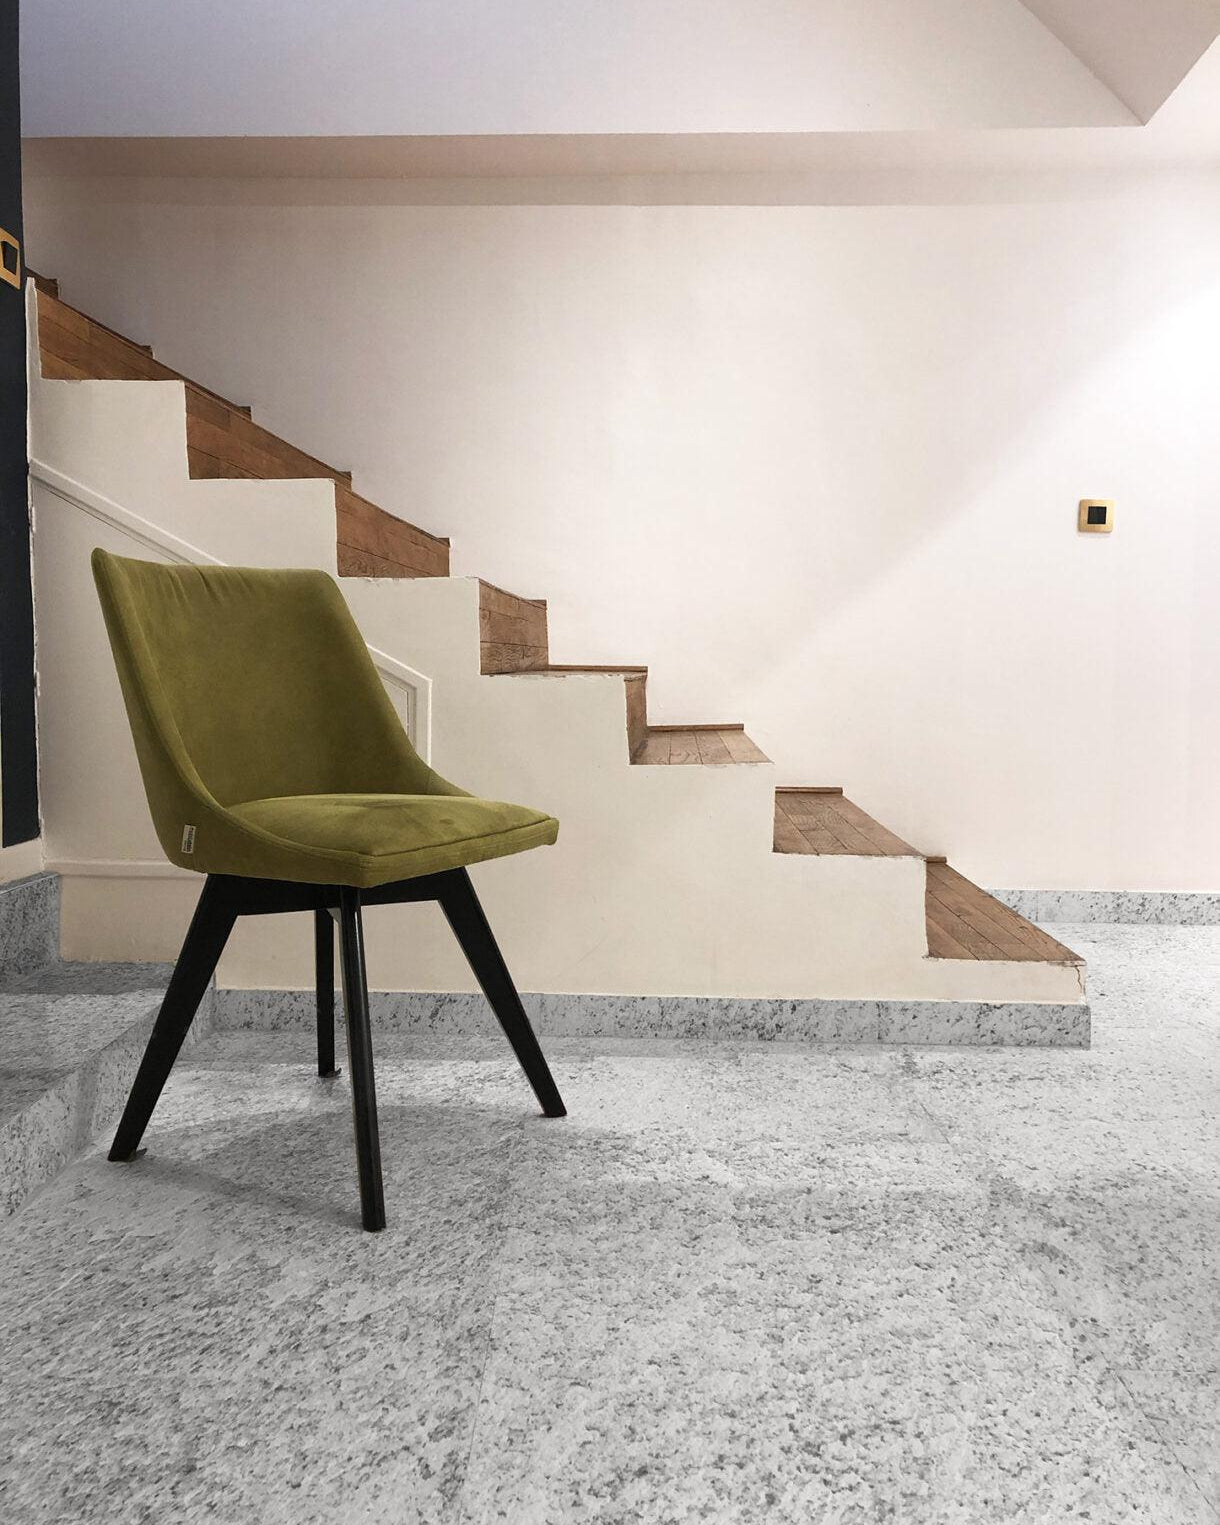
What is stone veneer for flooring?
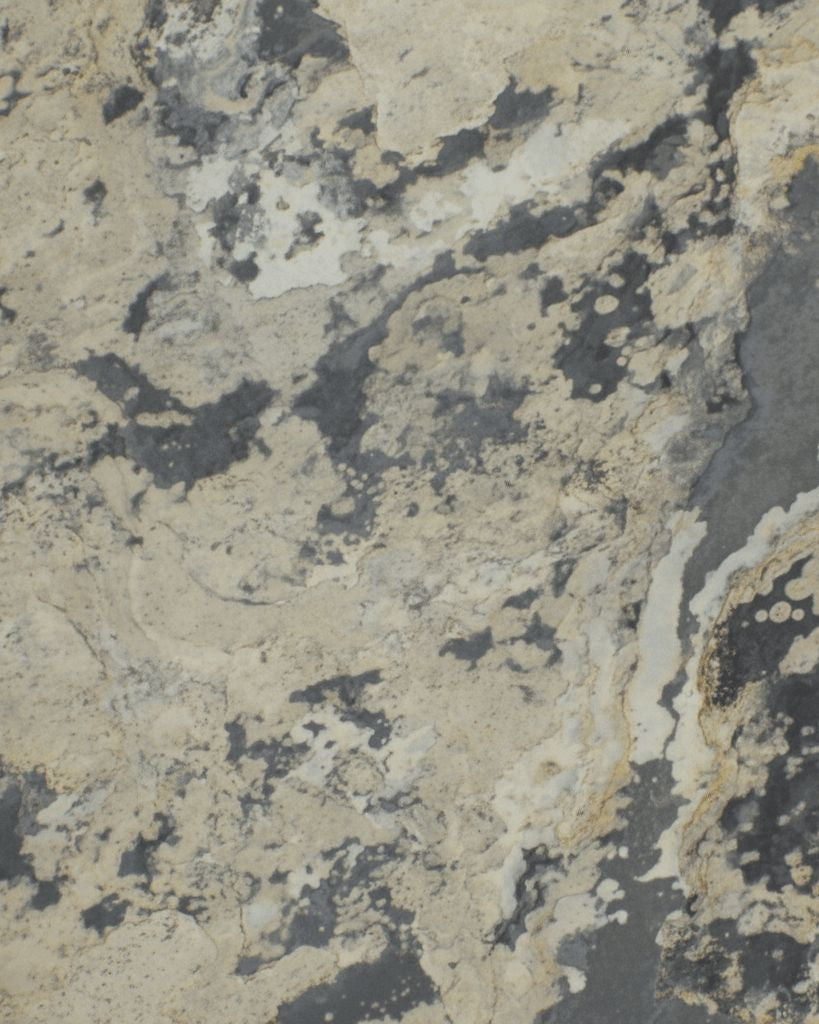
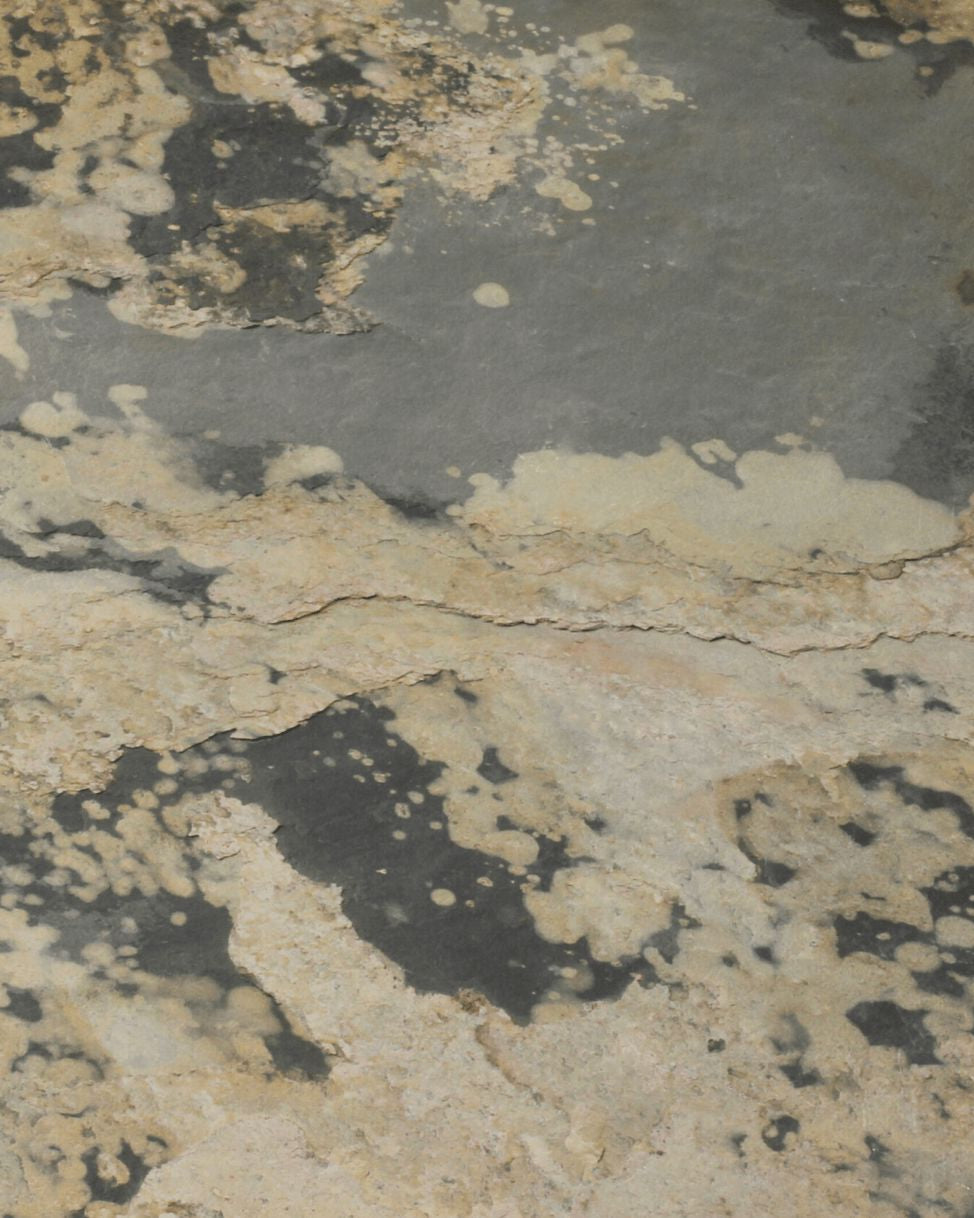
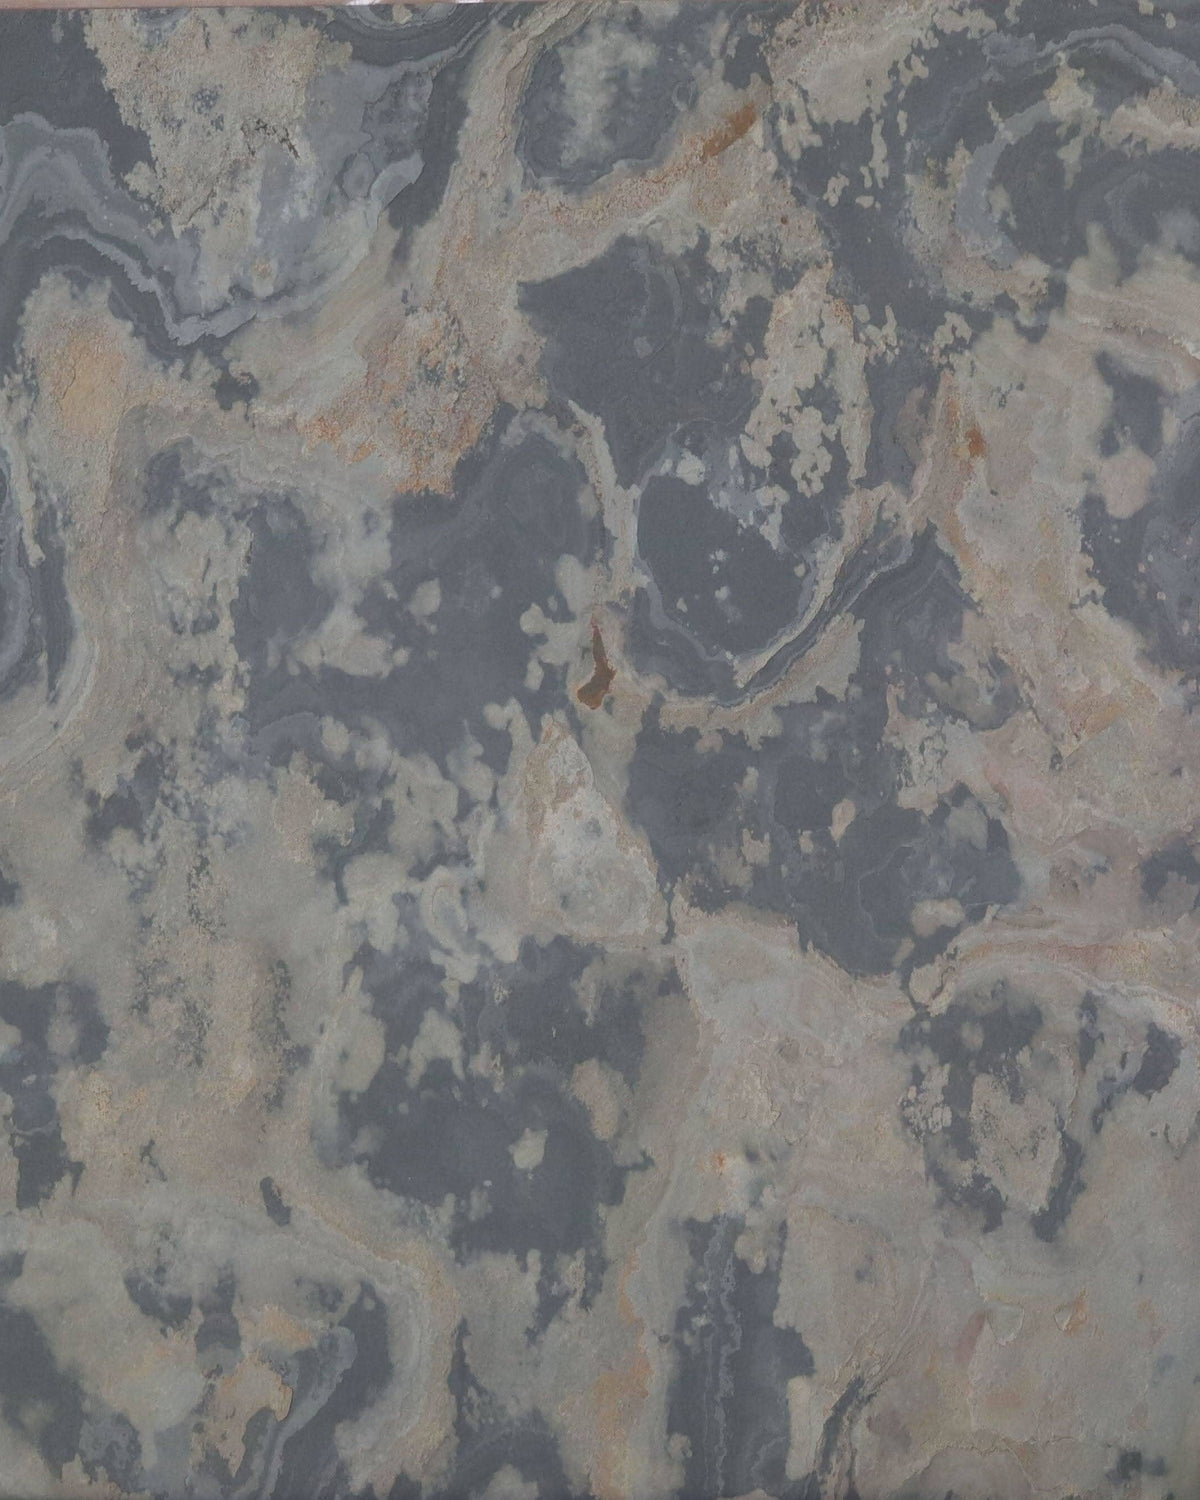
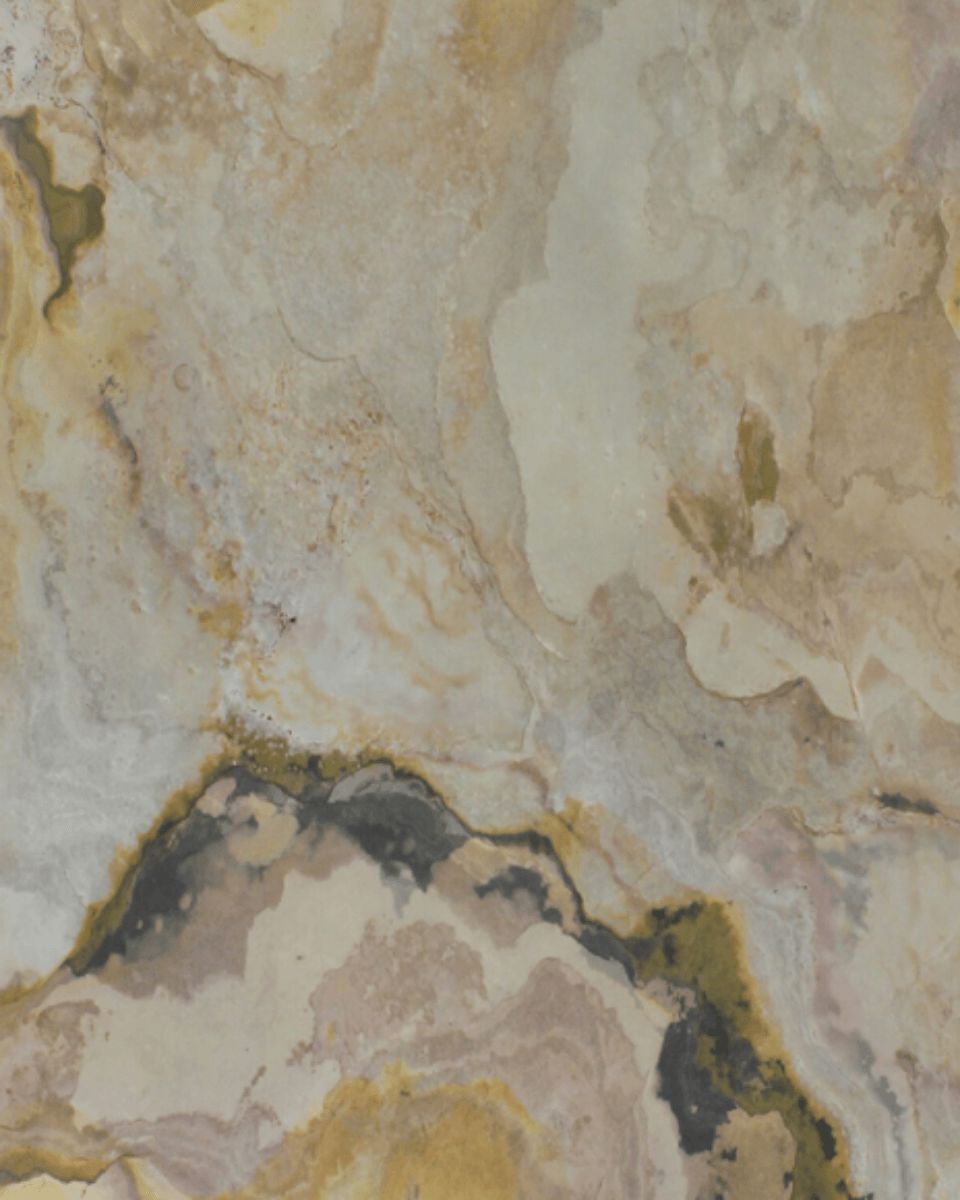
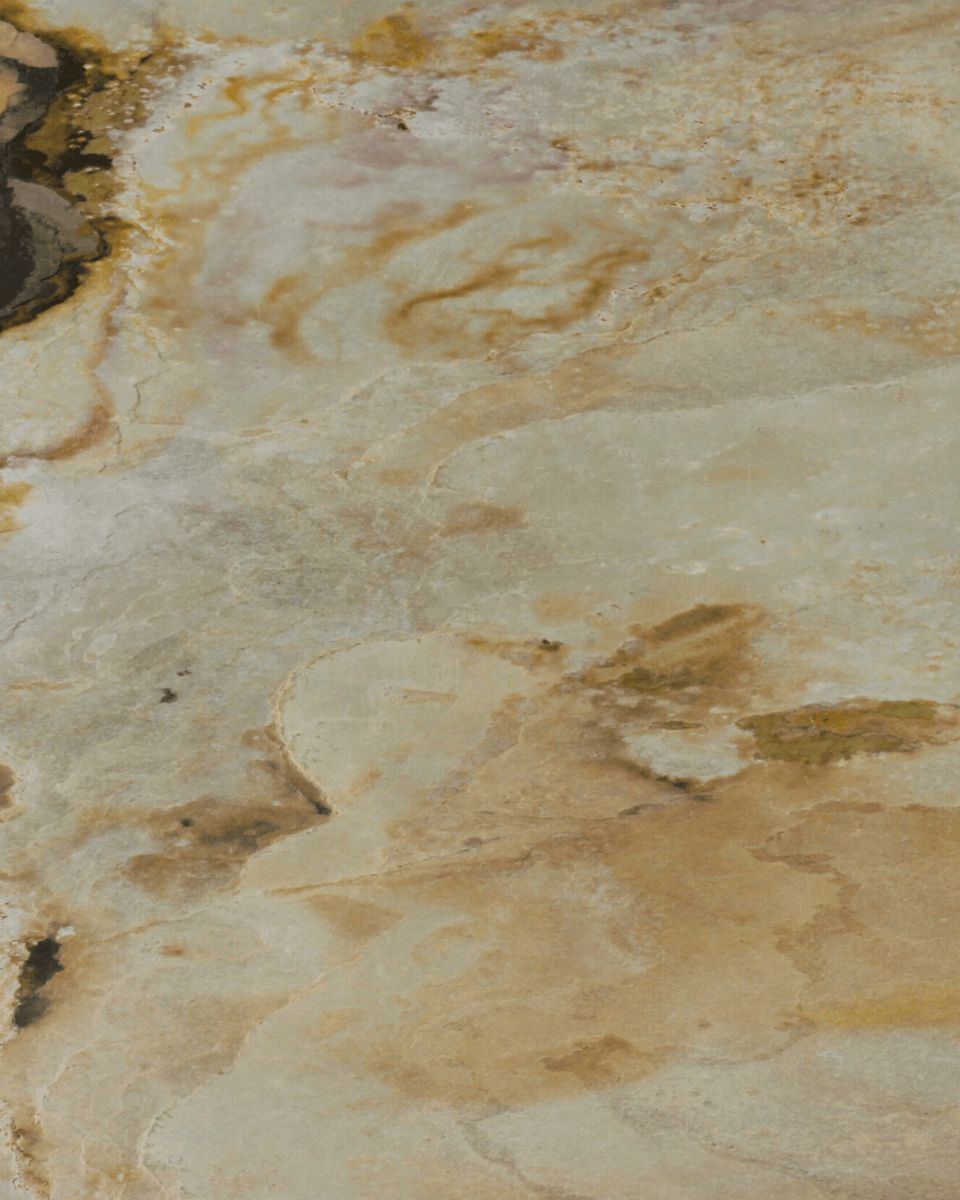
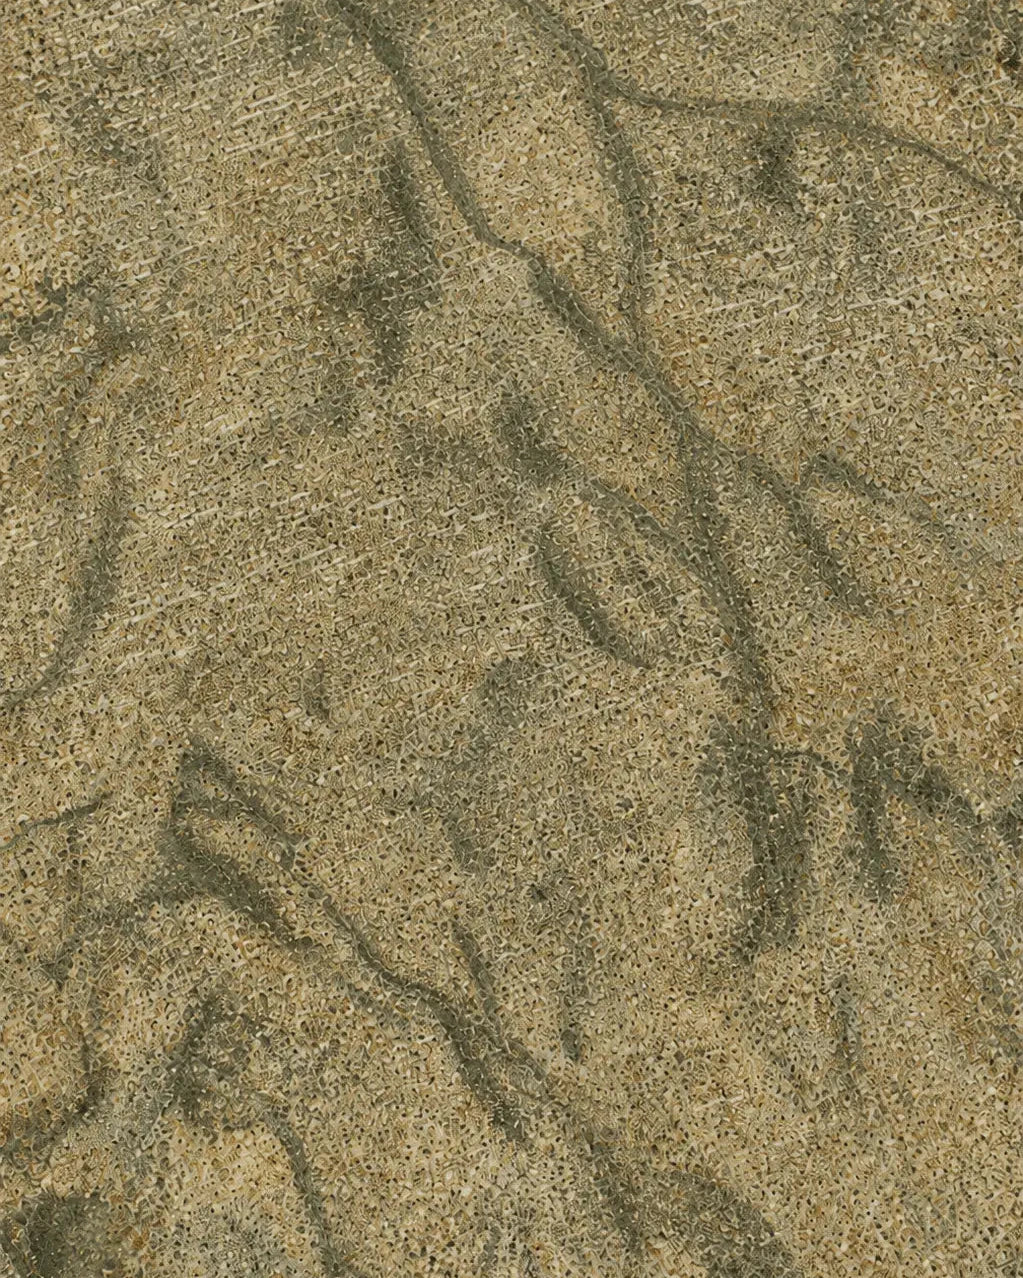
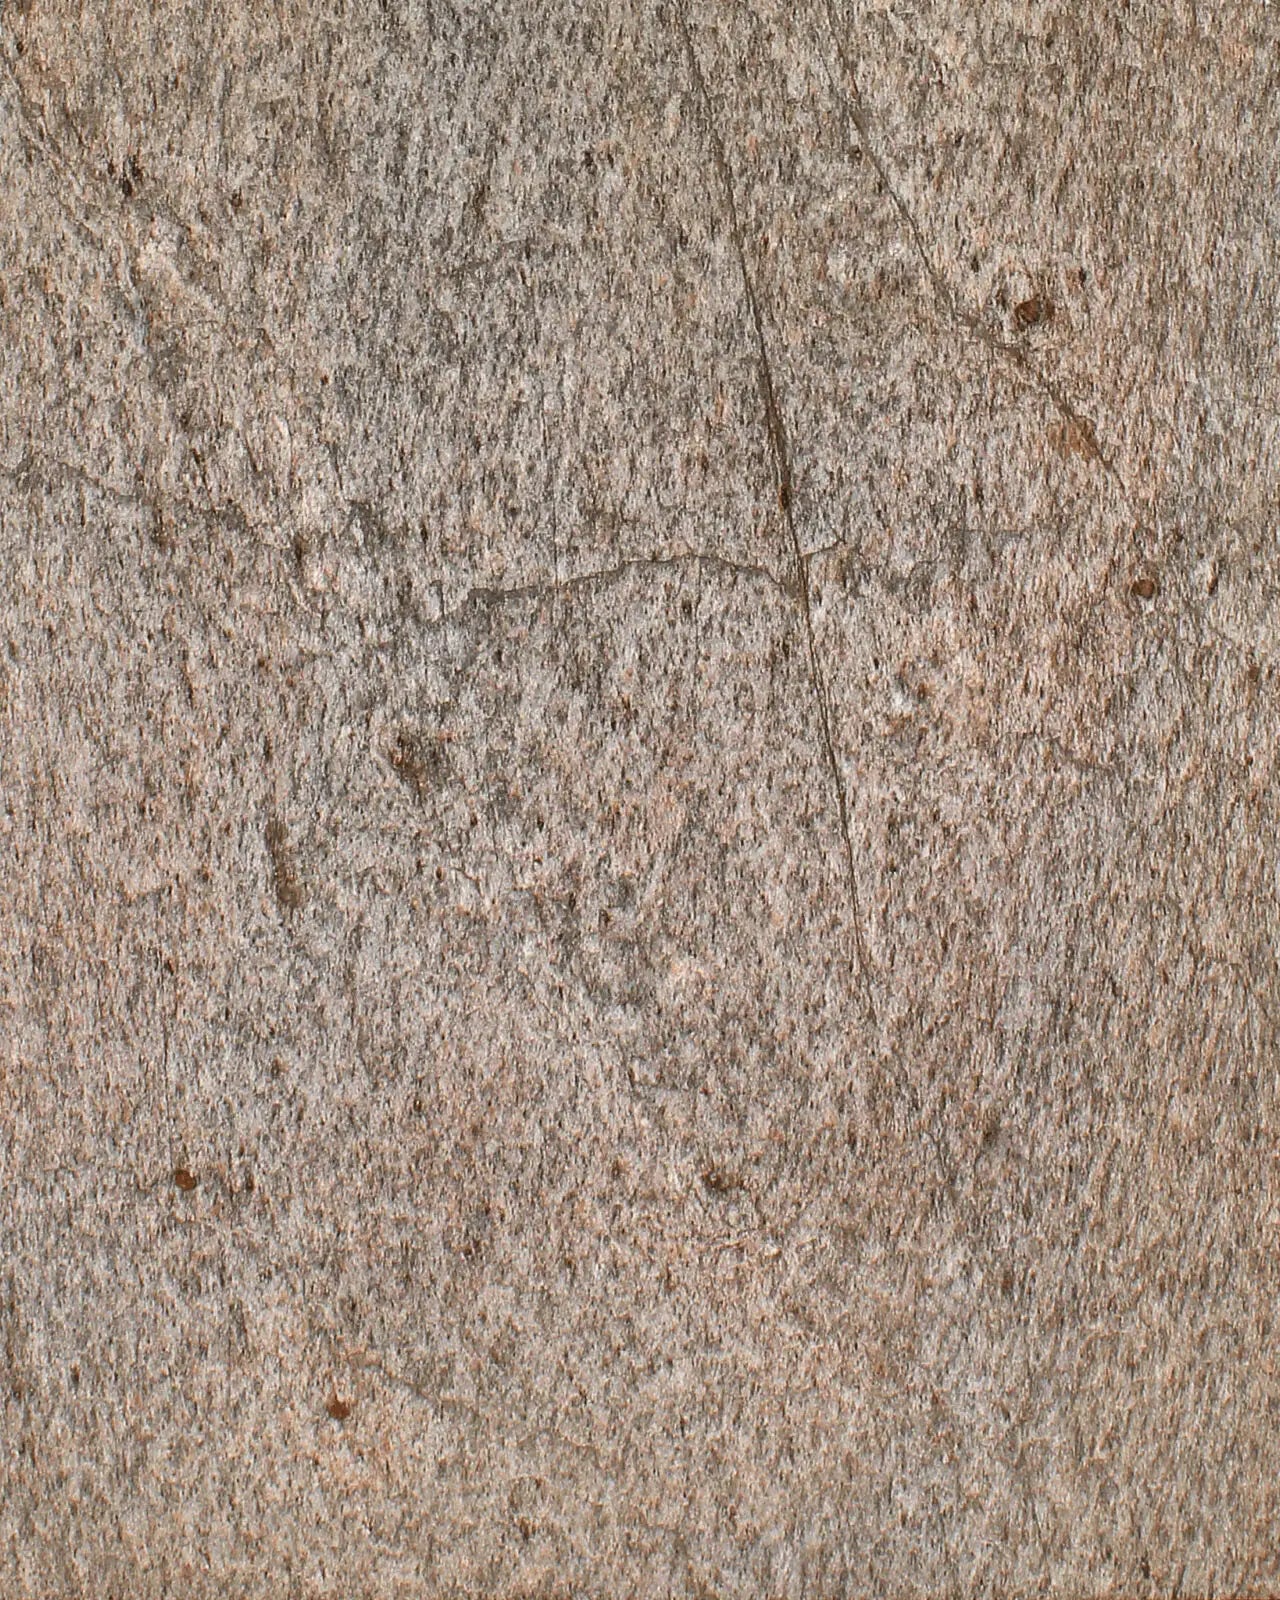
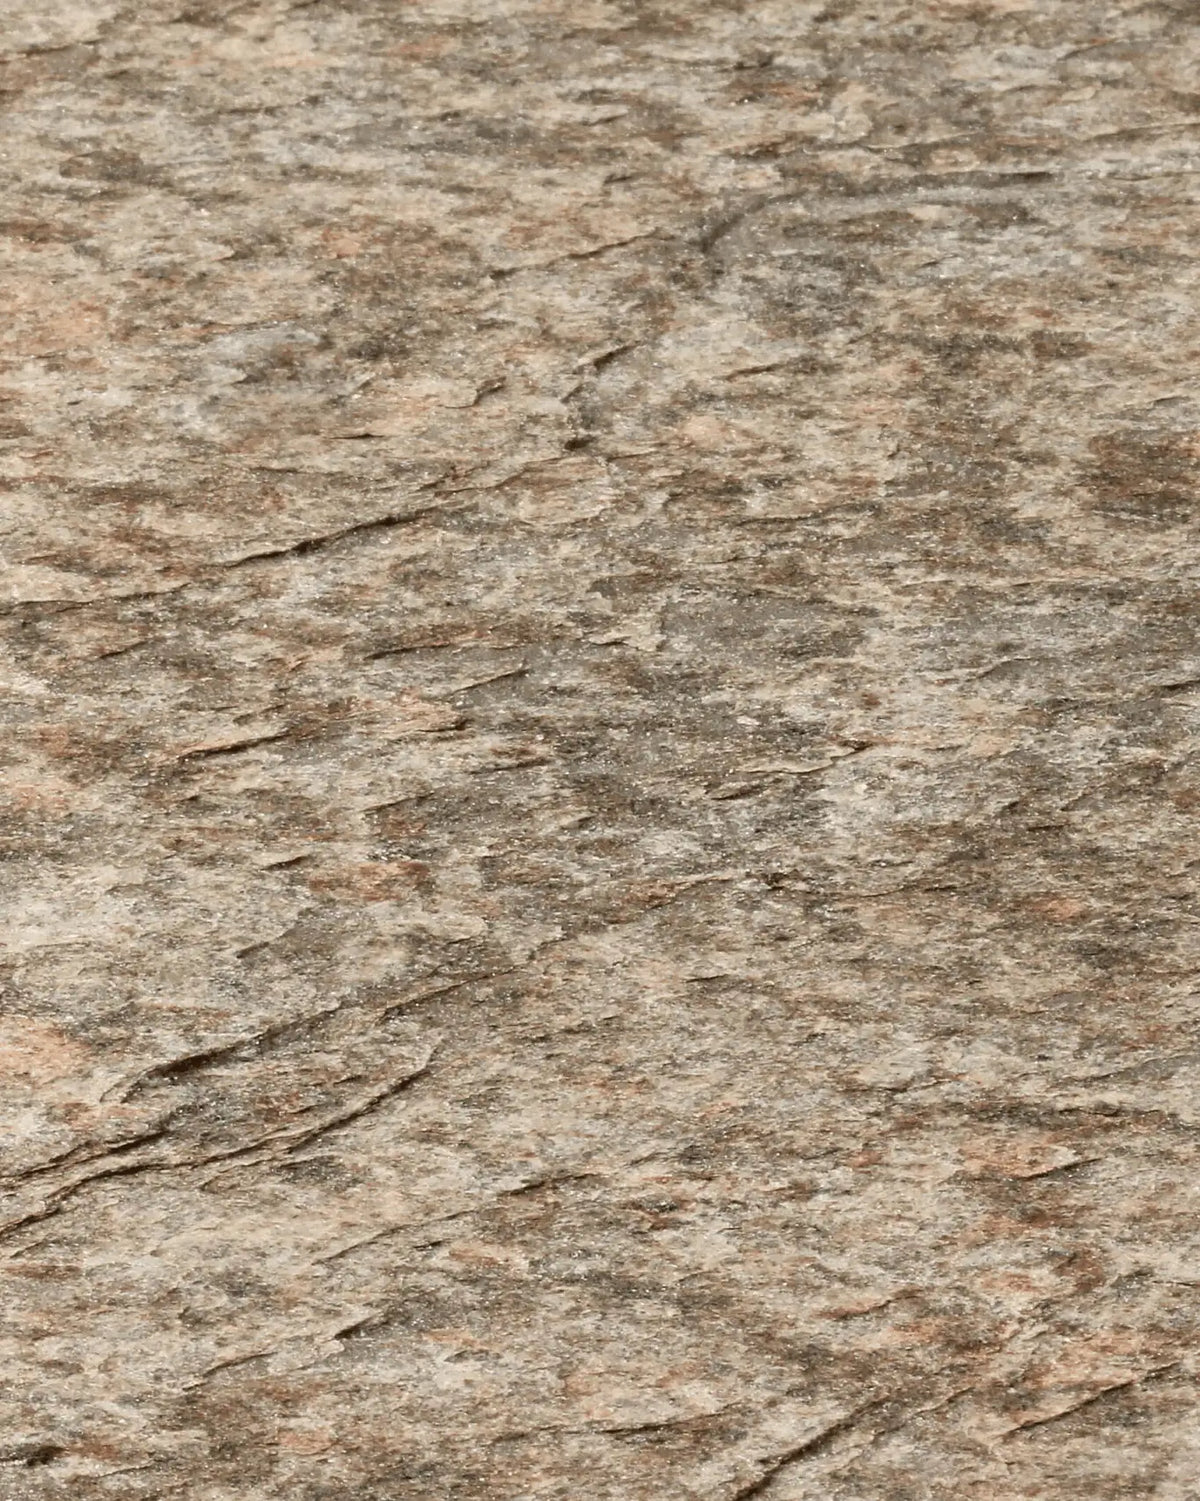
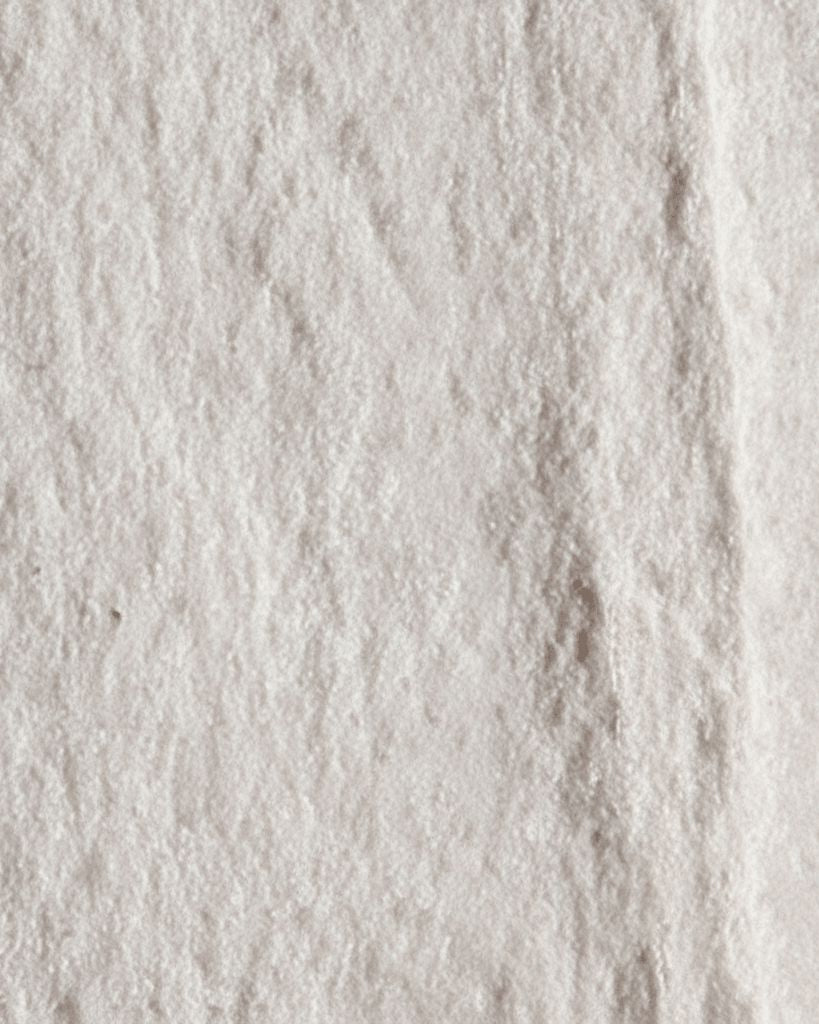
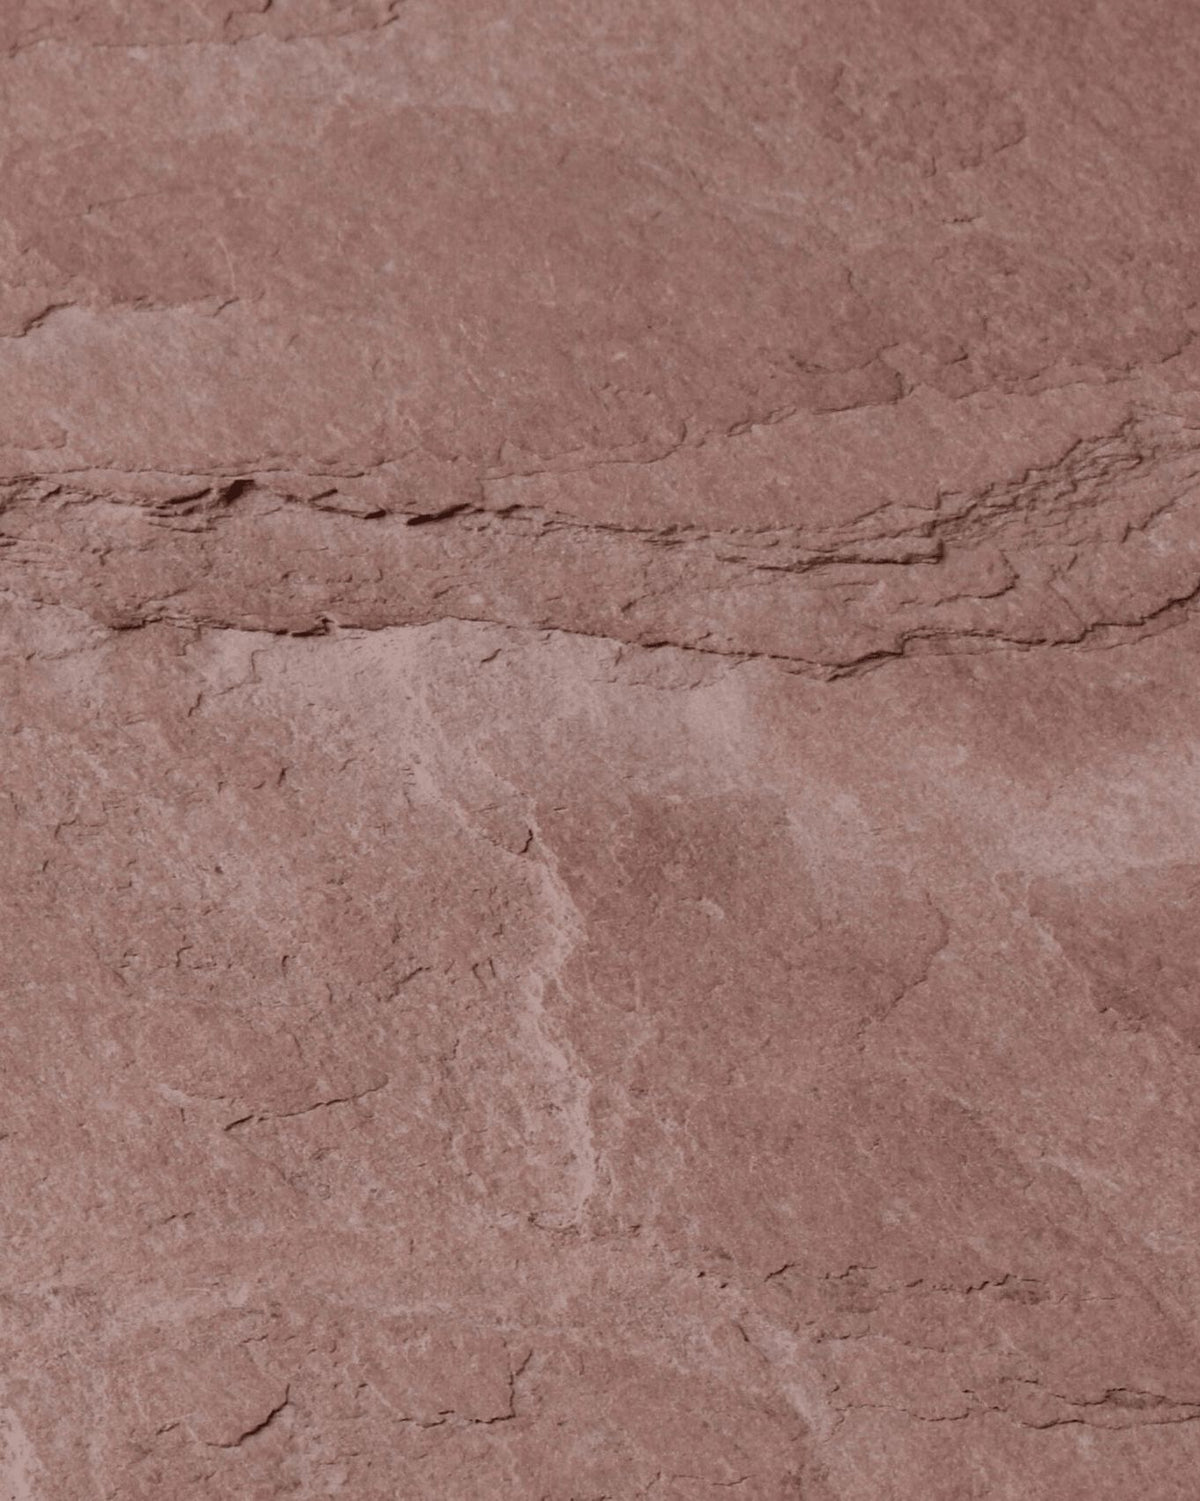
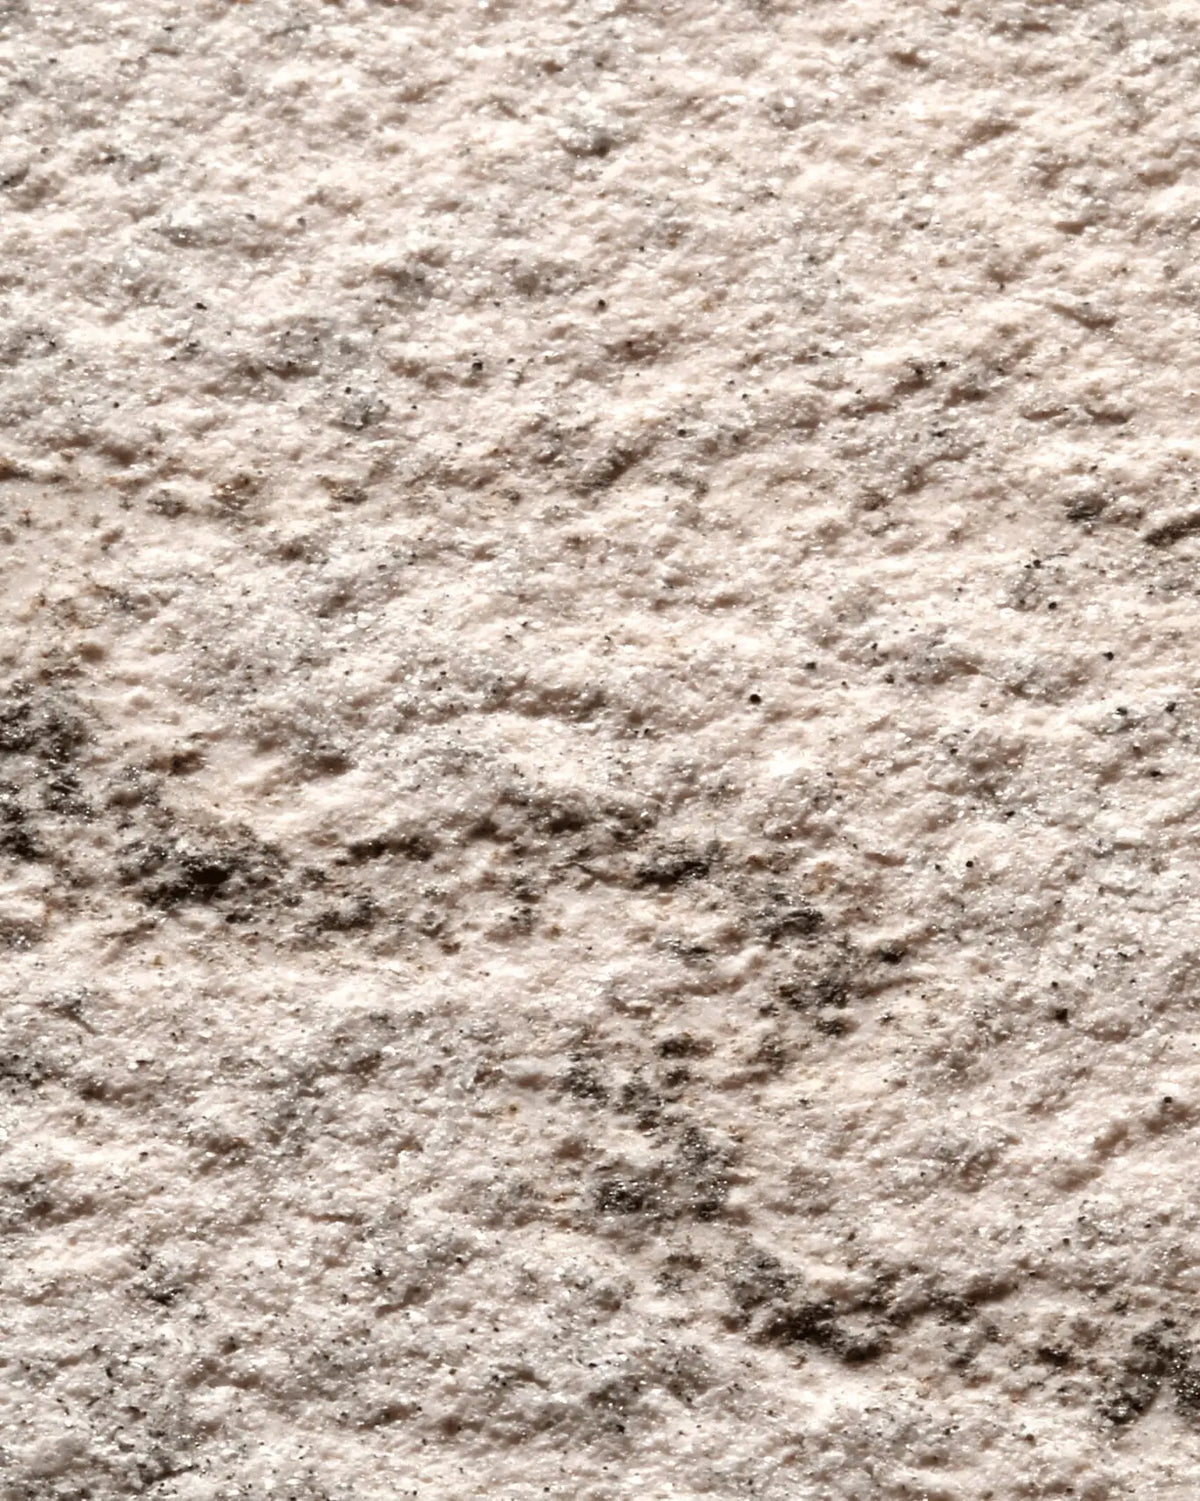
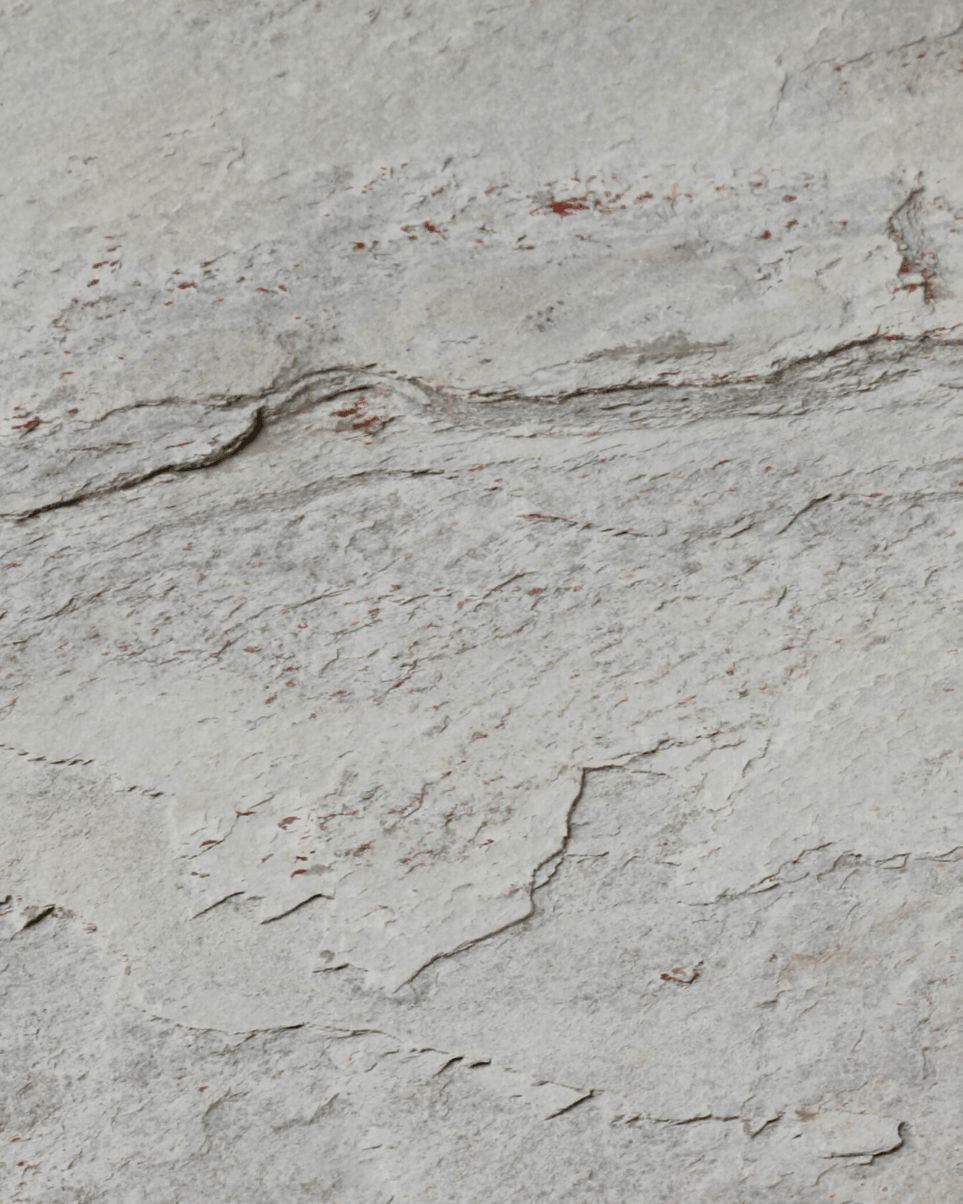
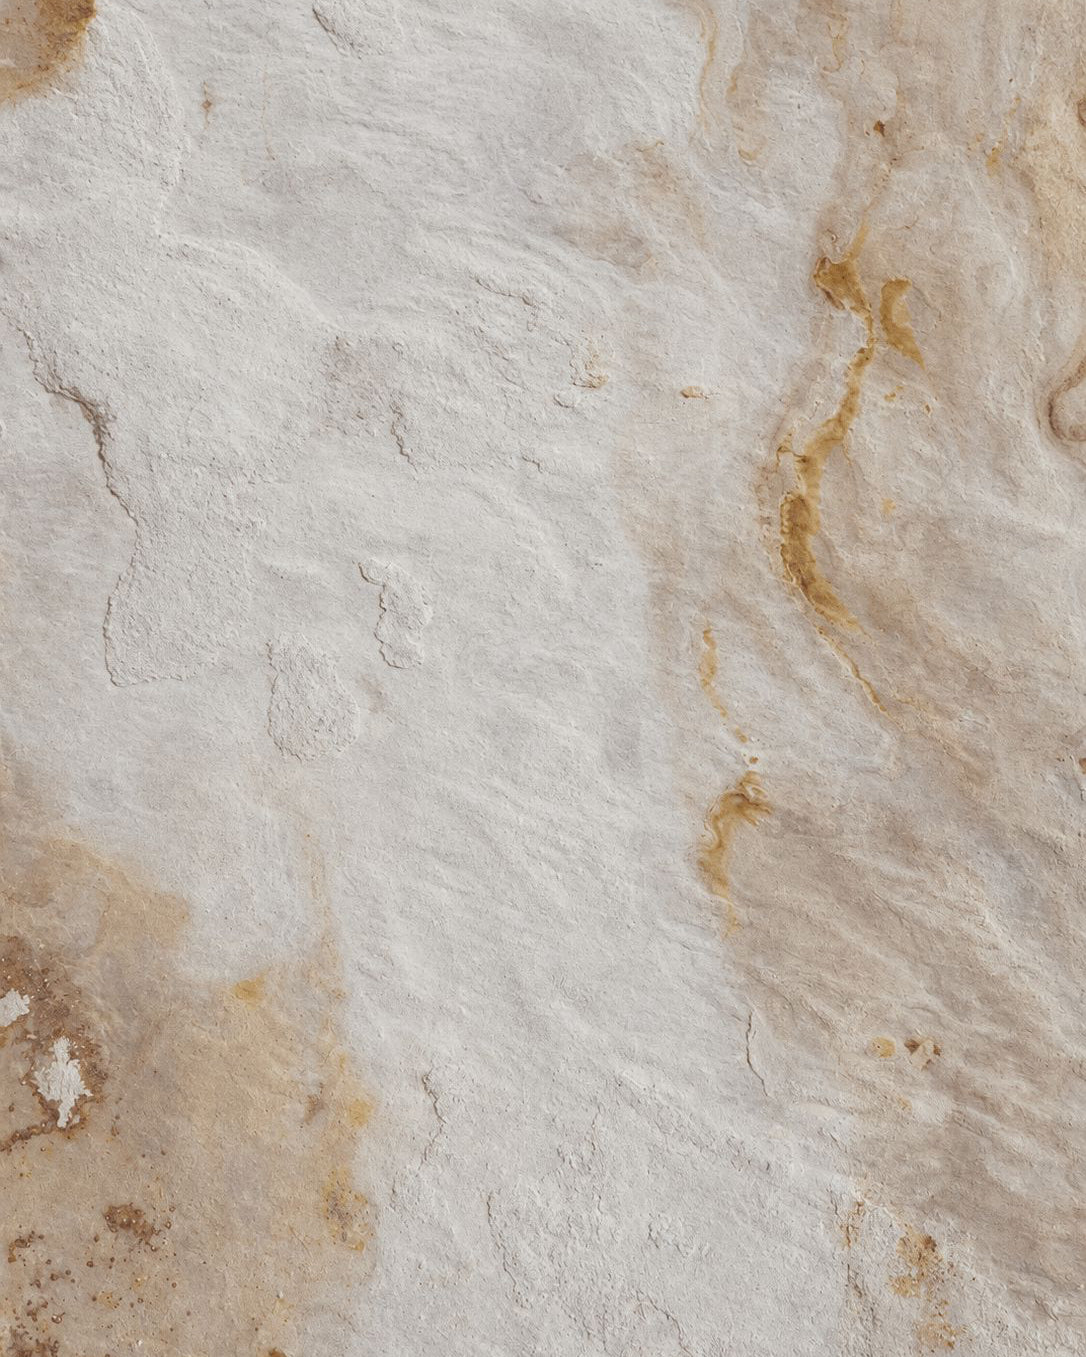
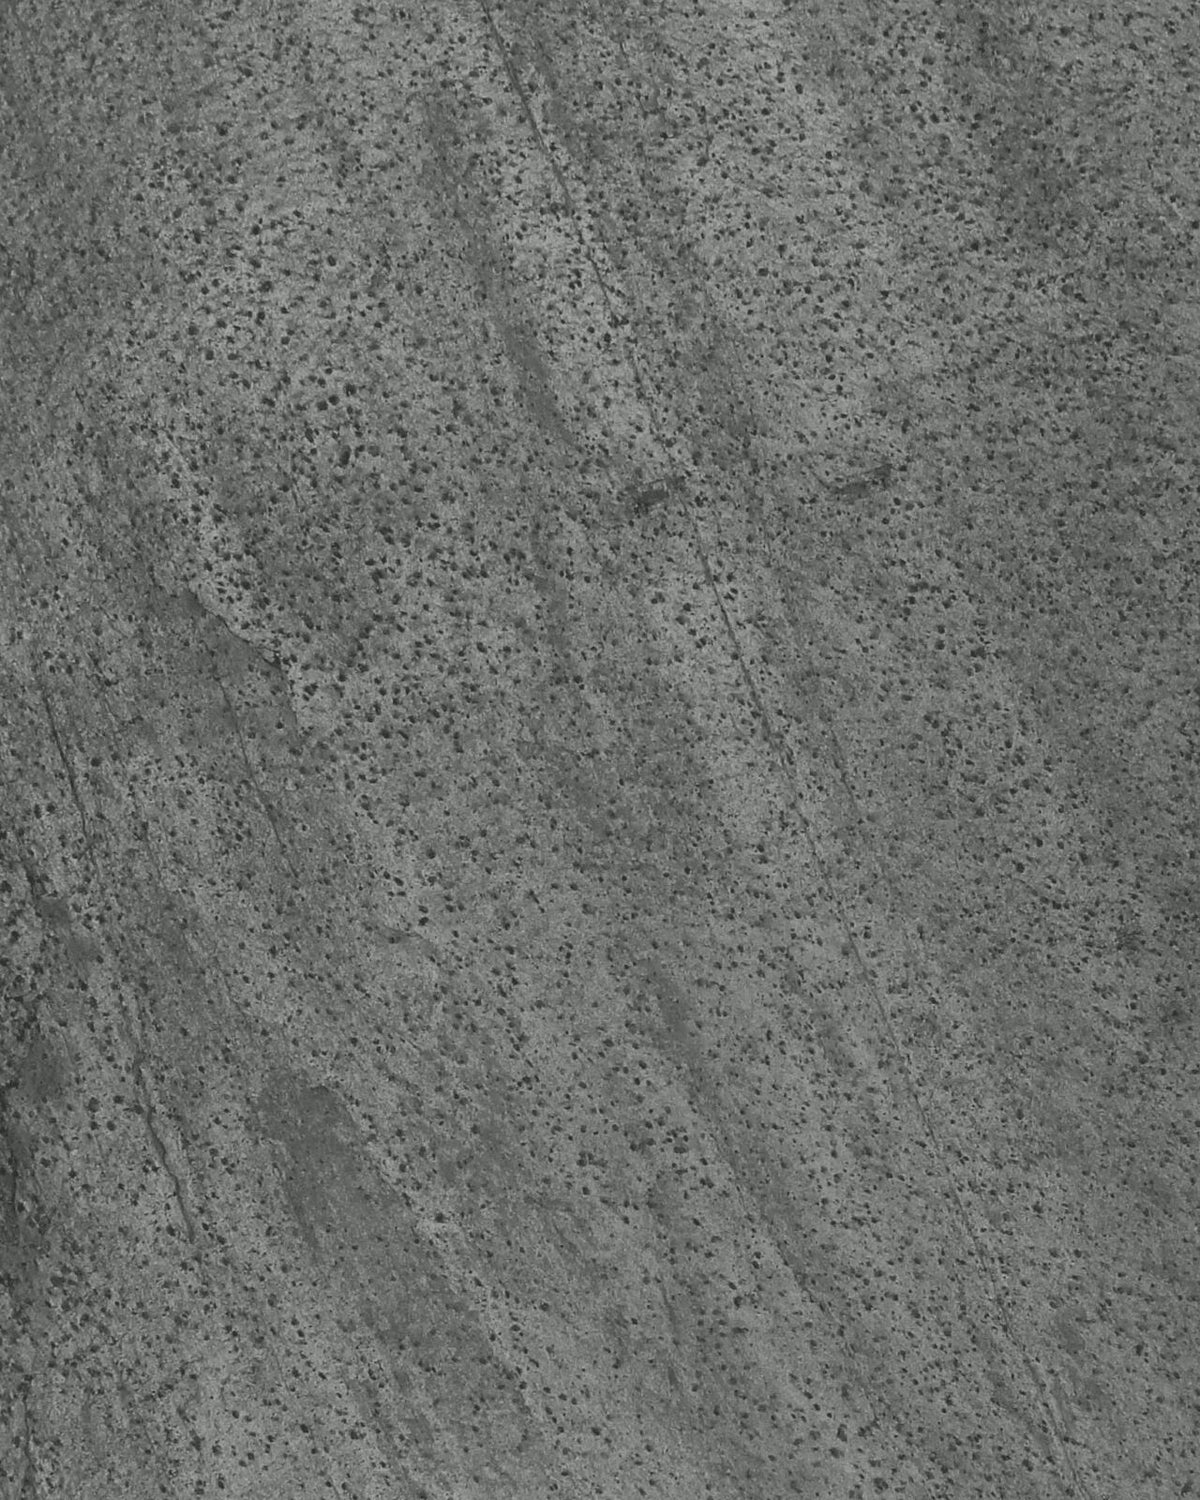
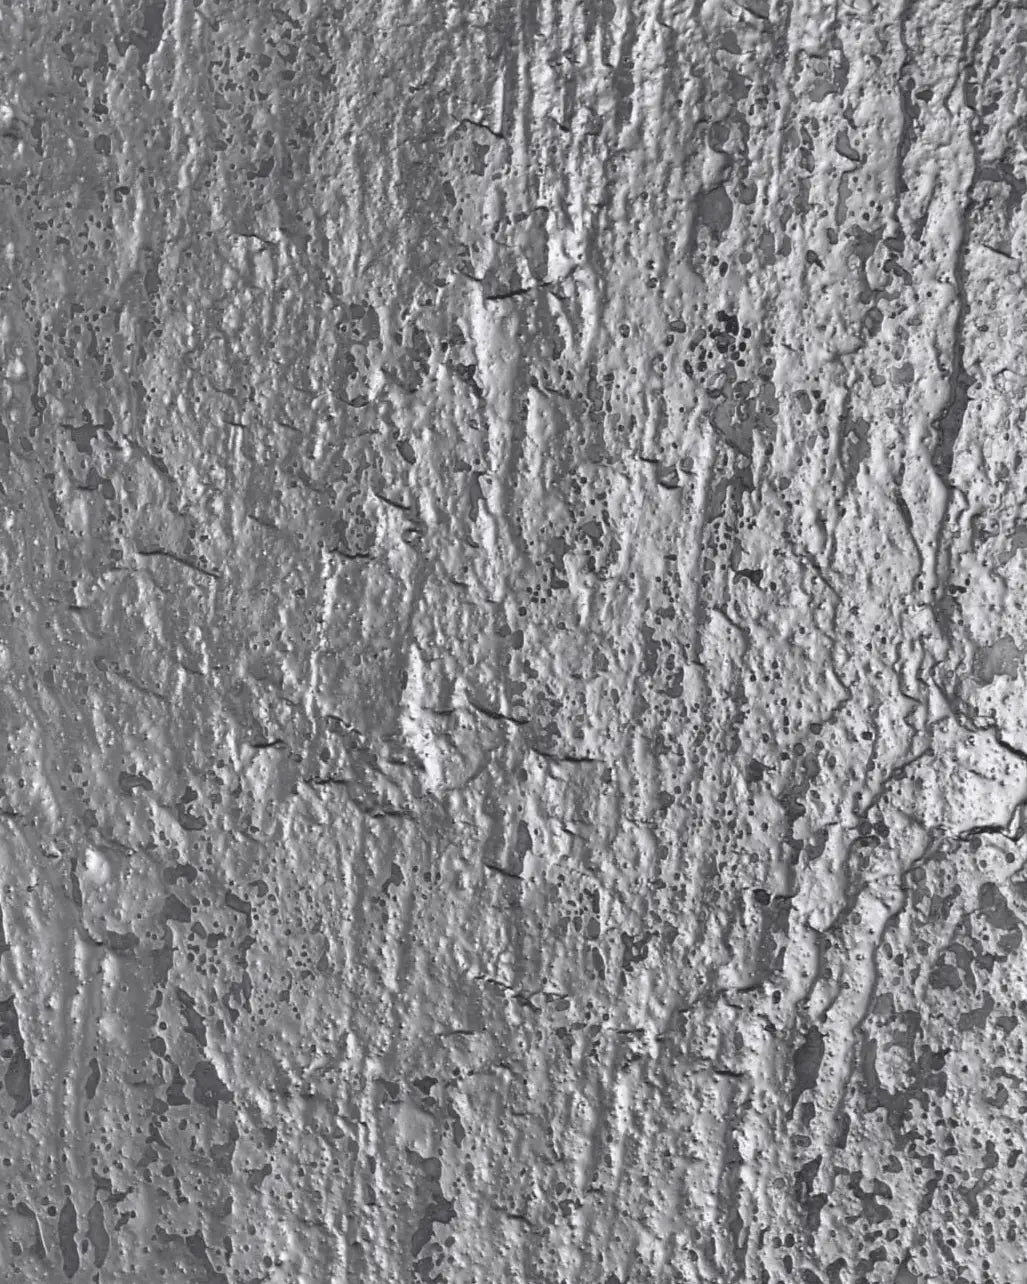
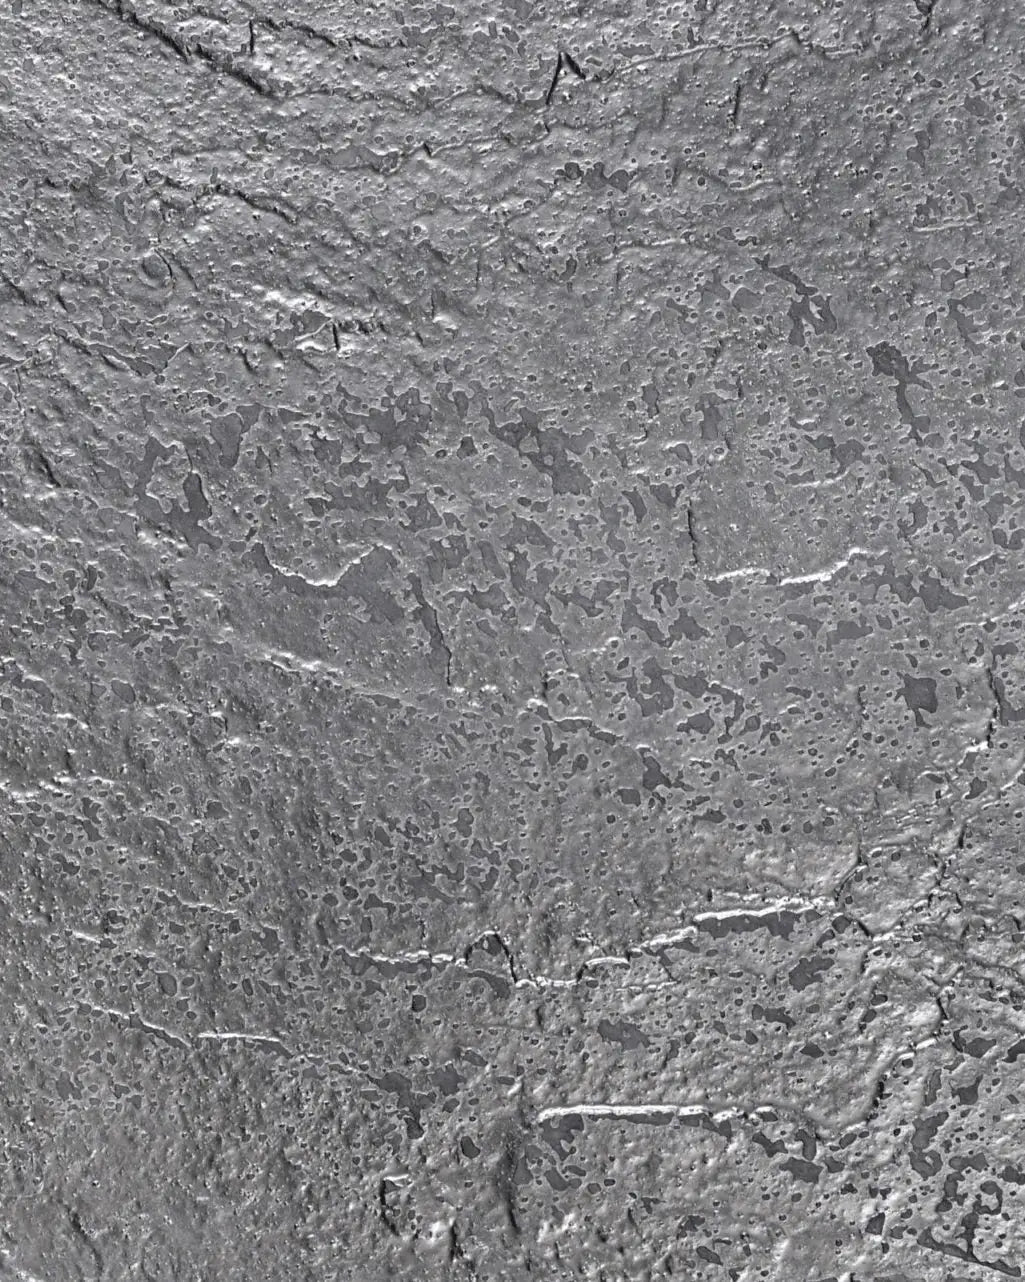
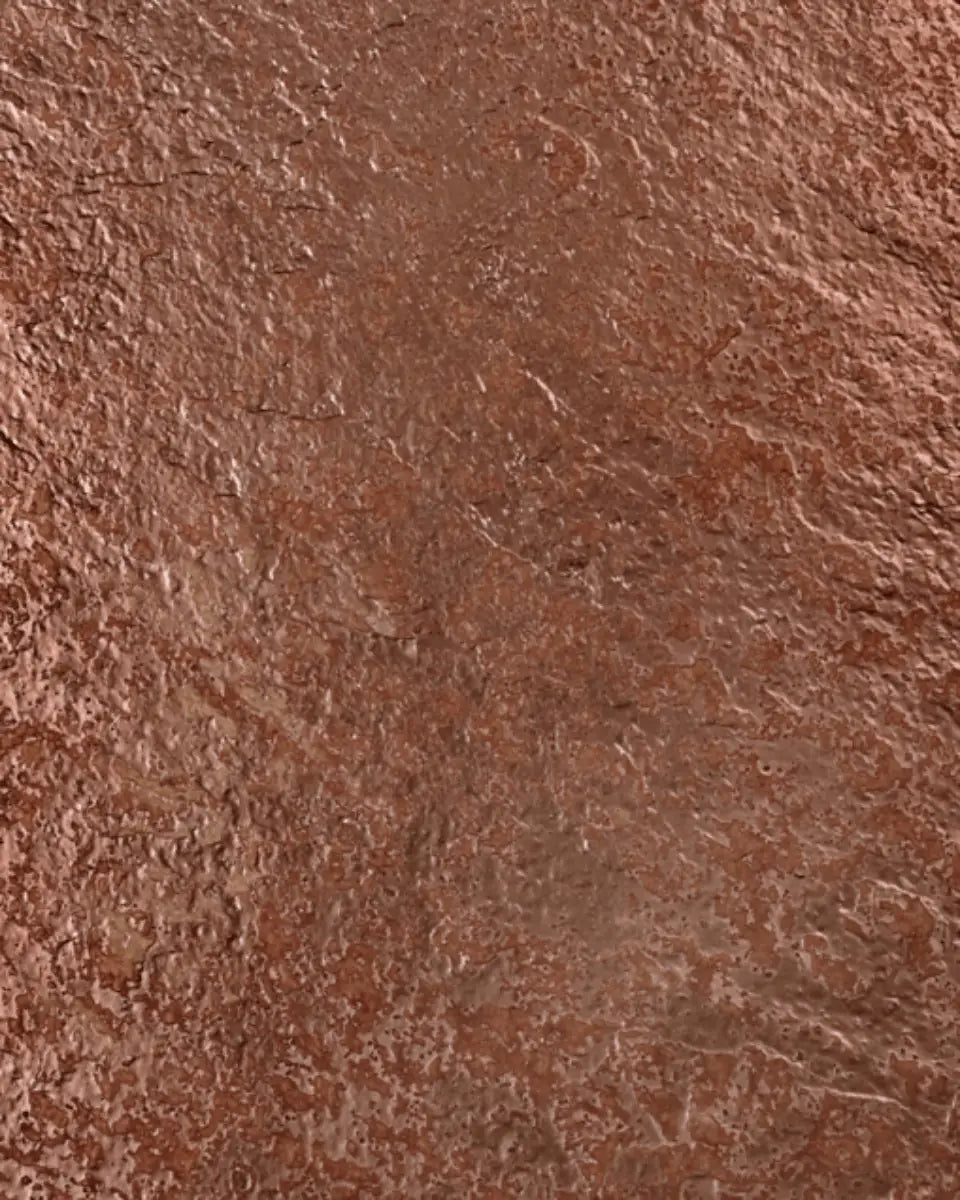
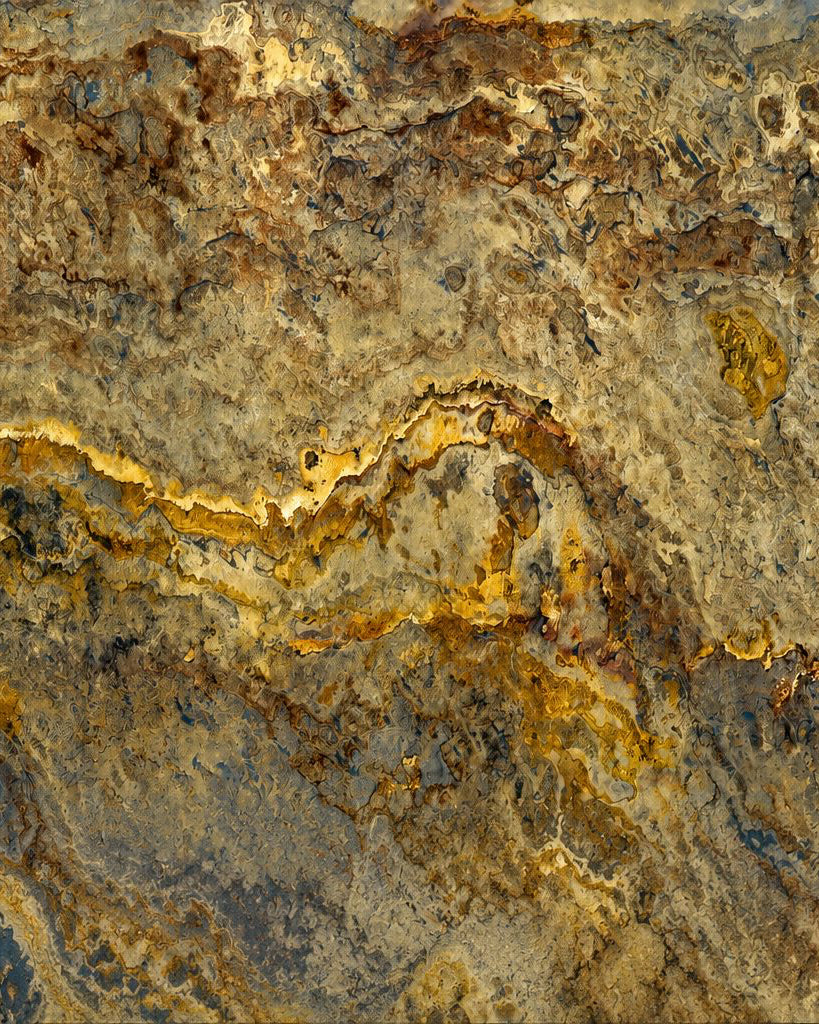
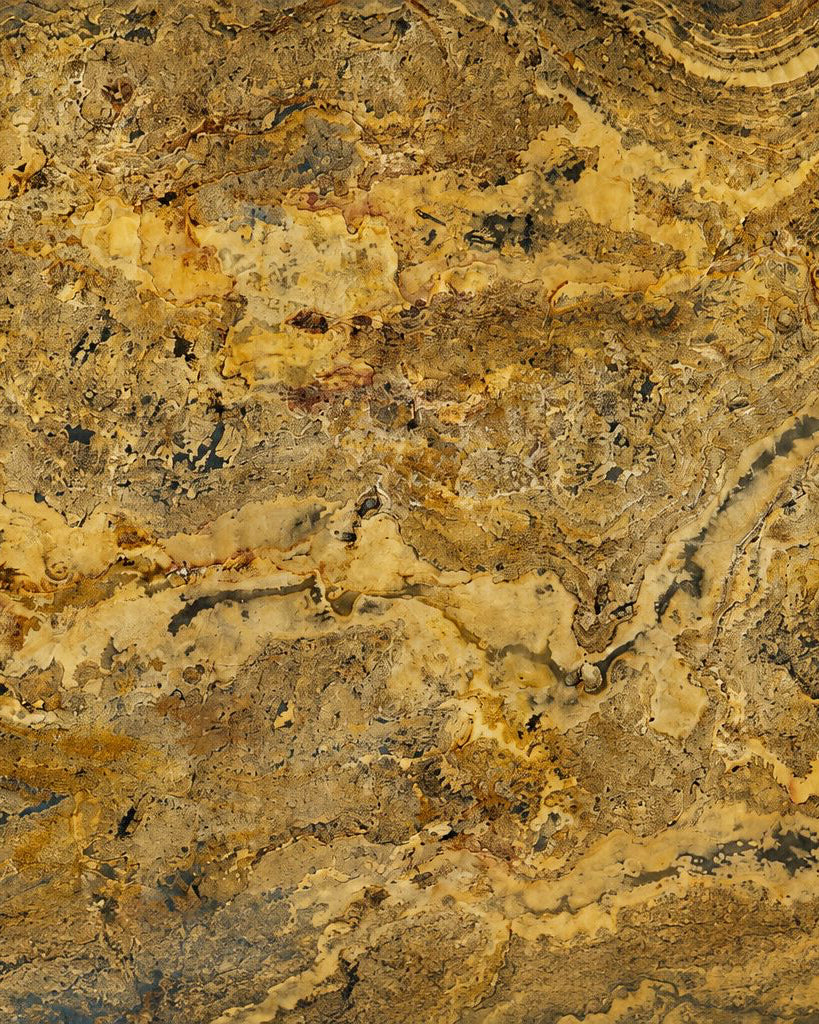
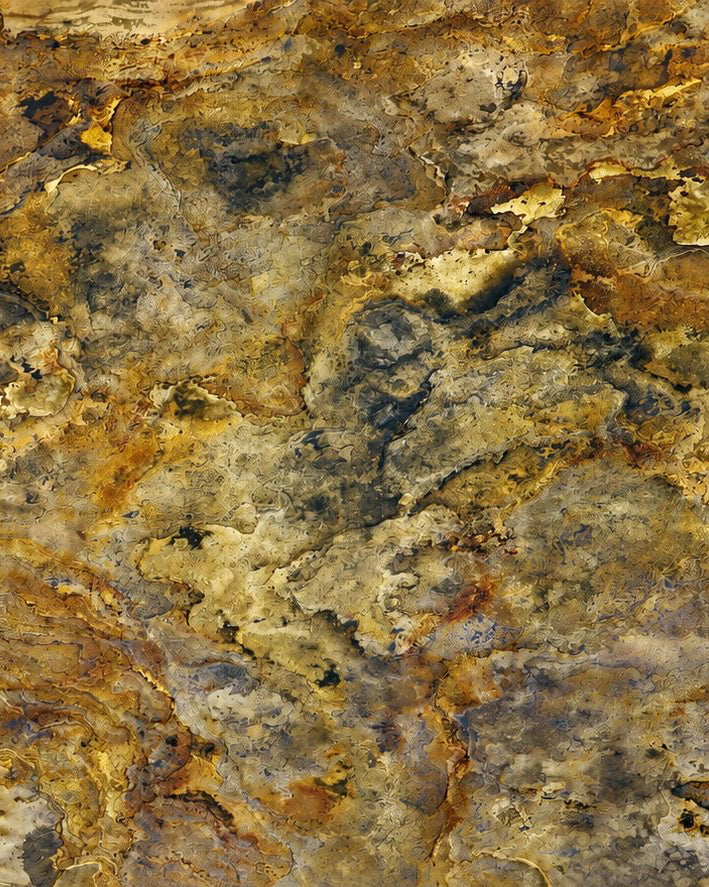
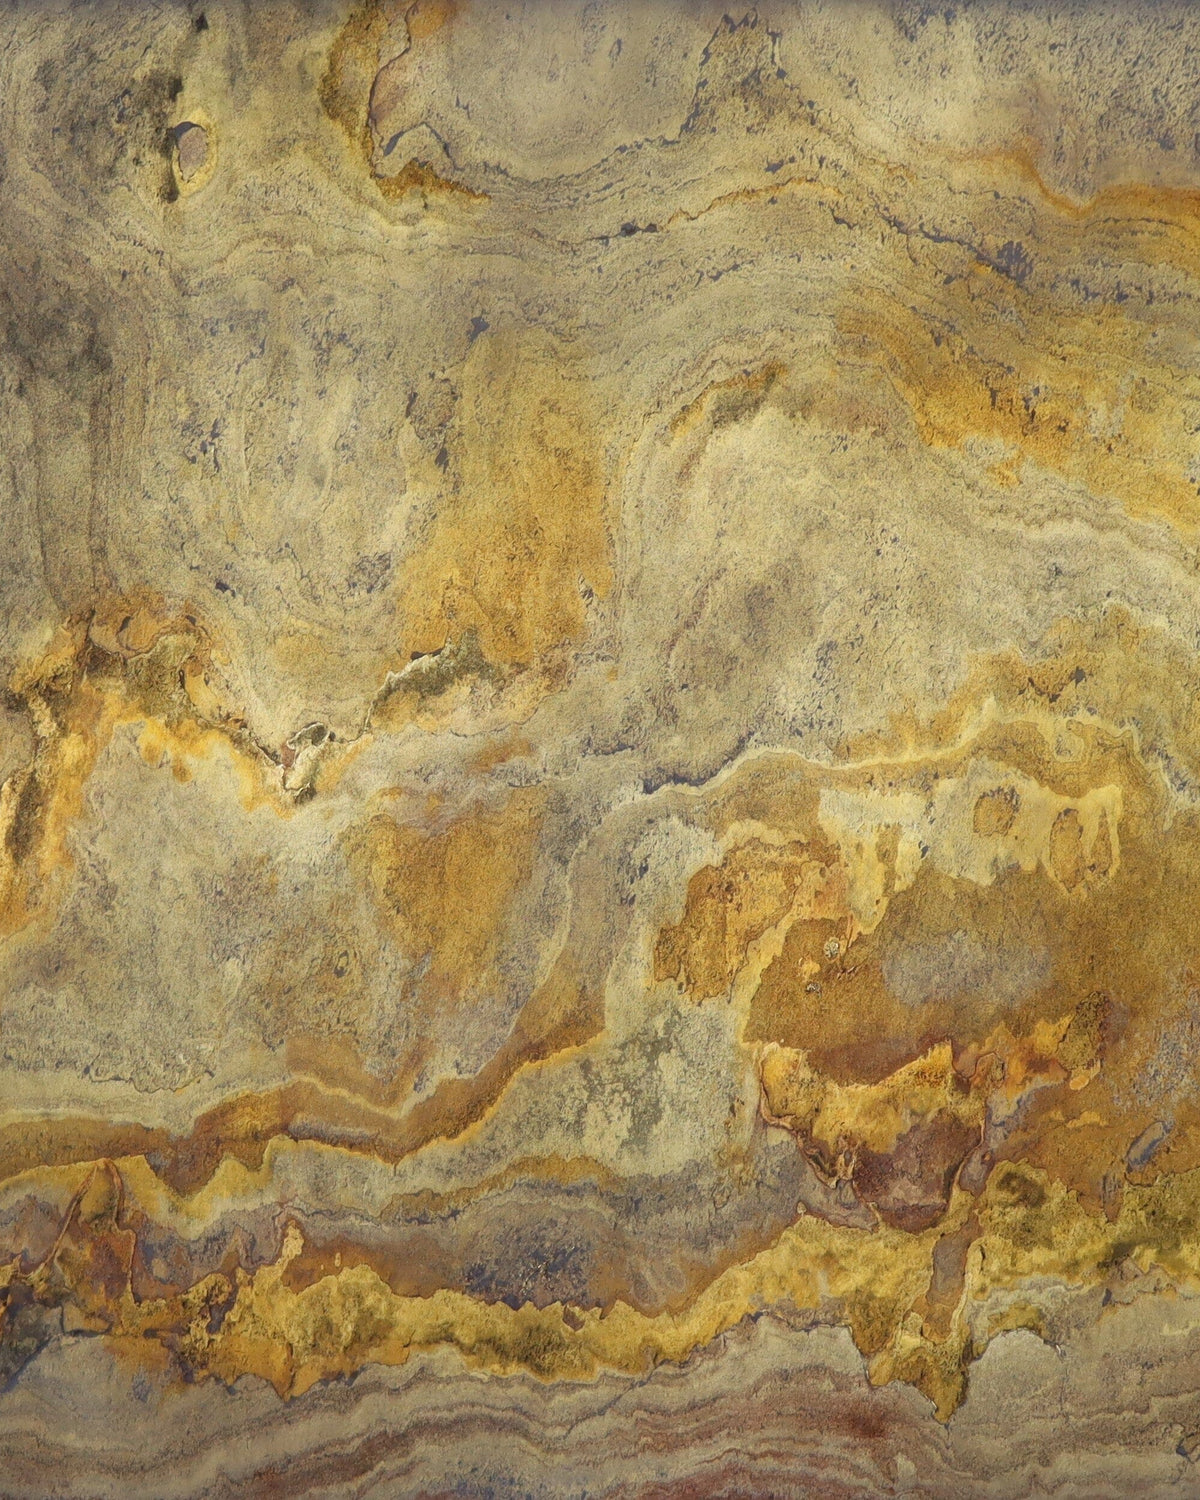
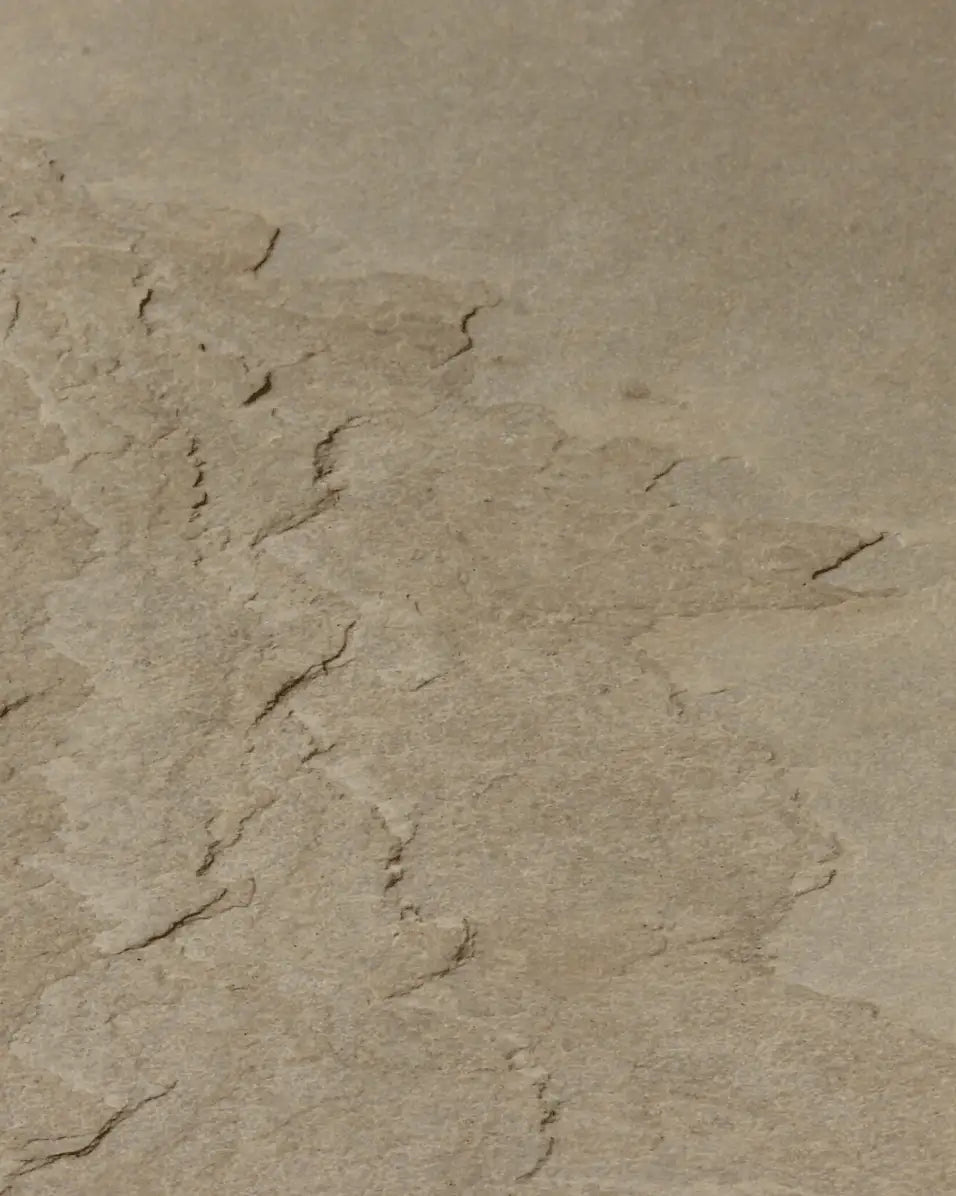
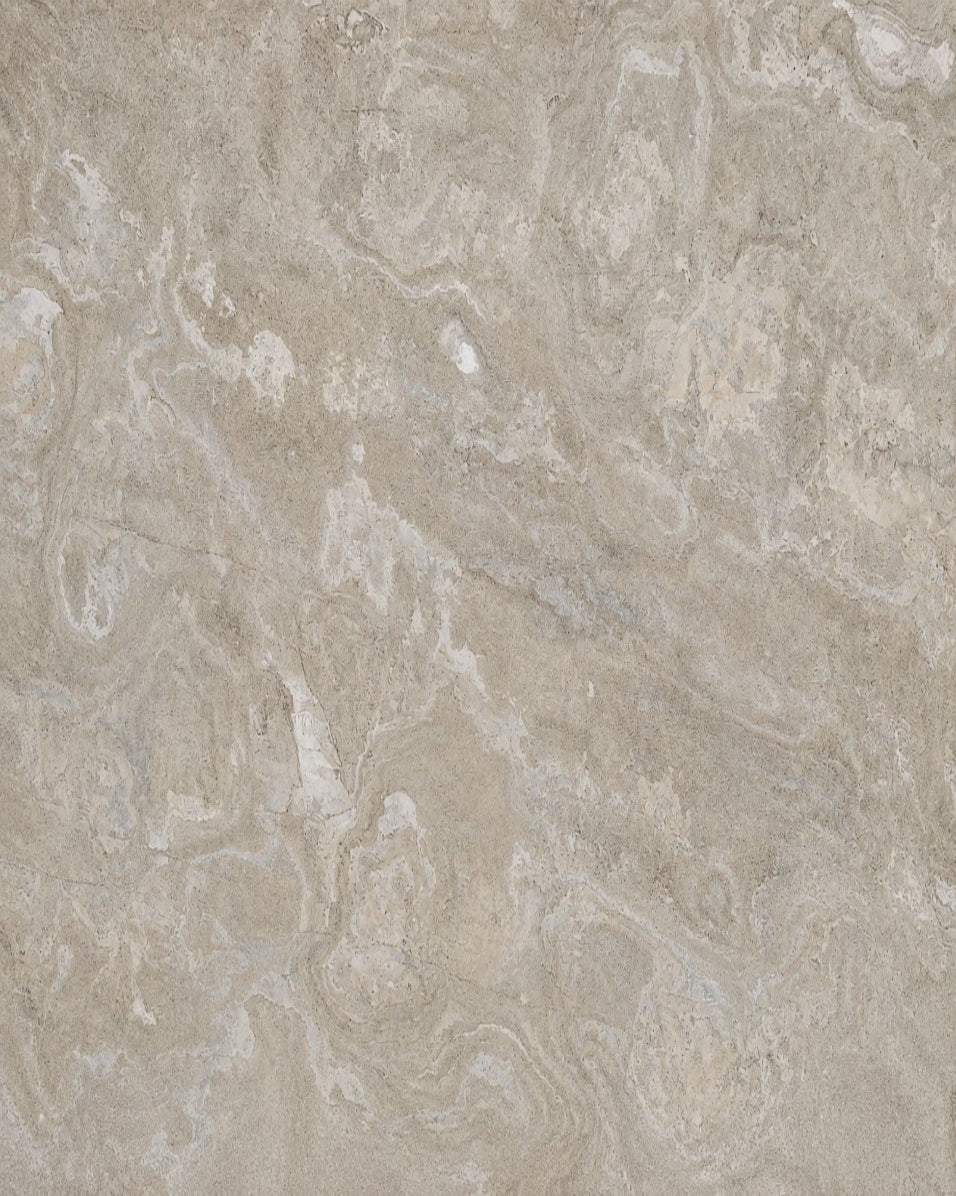
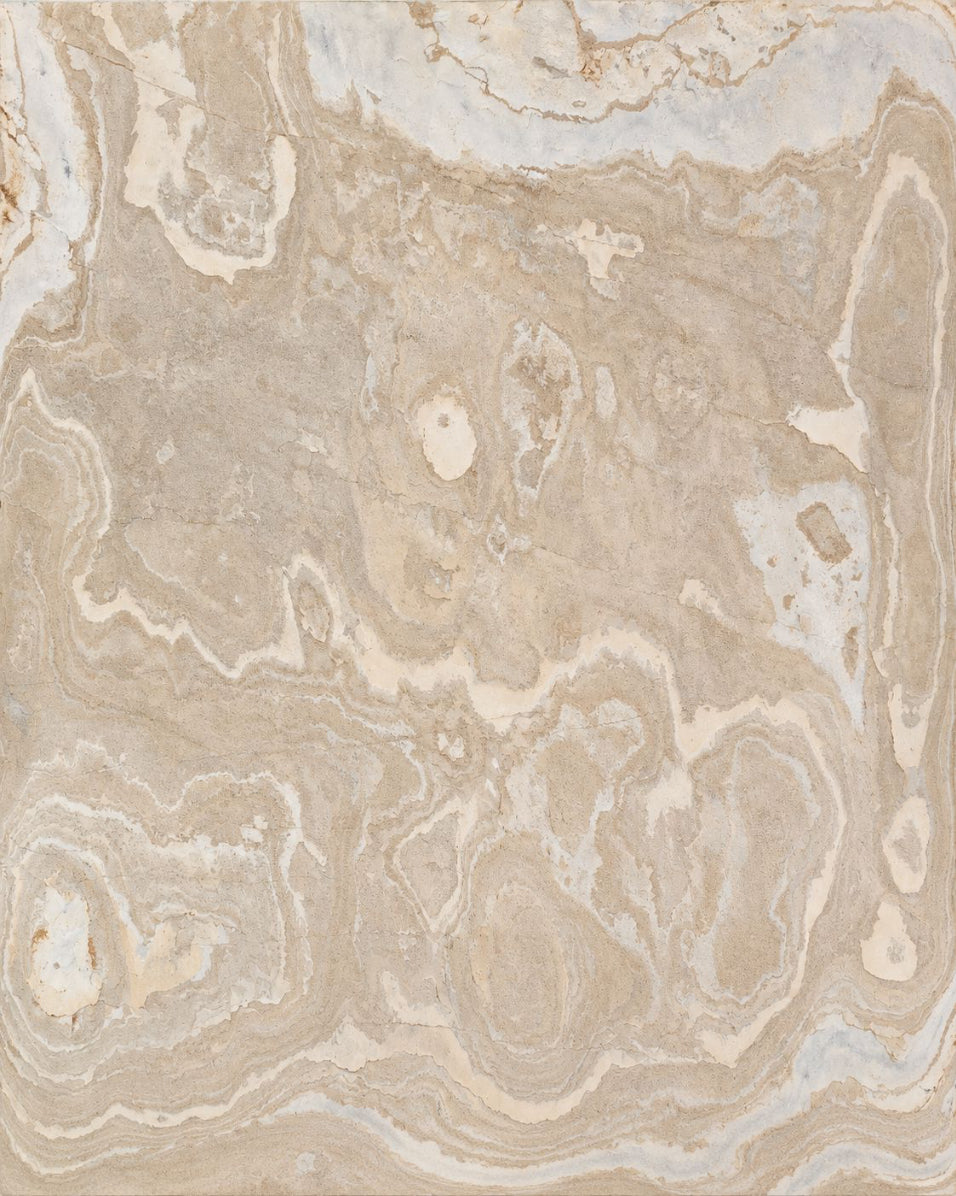
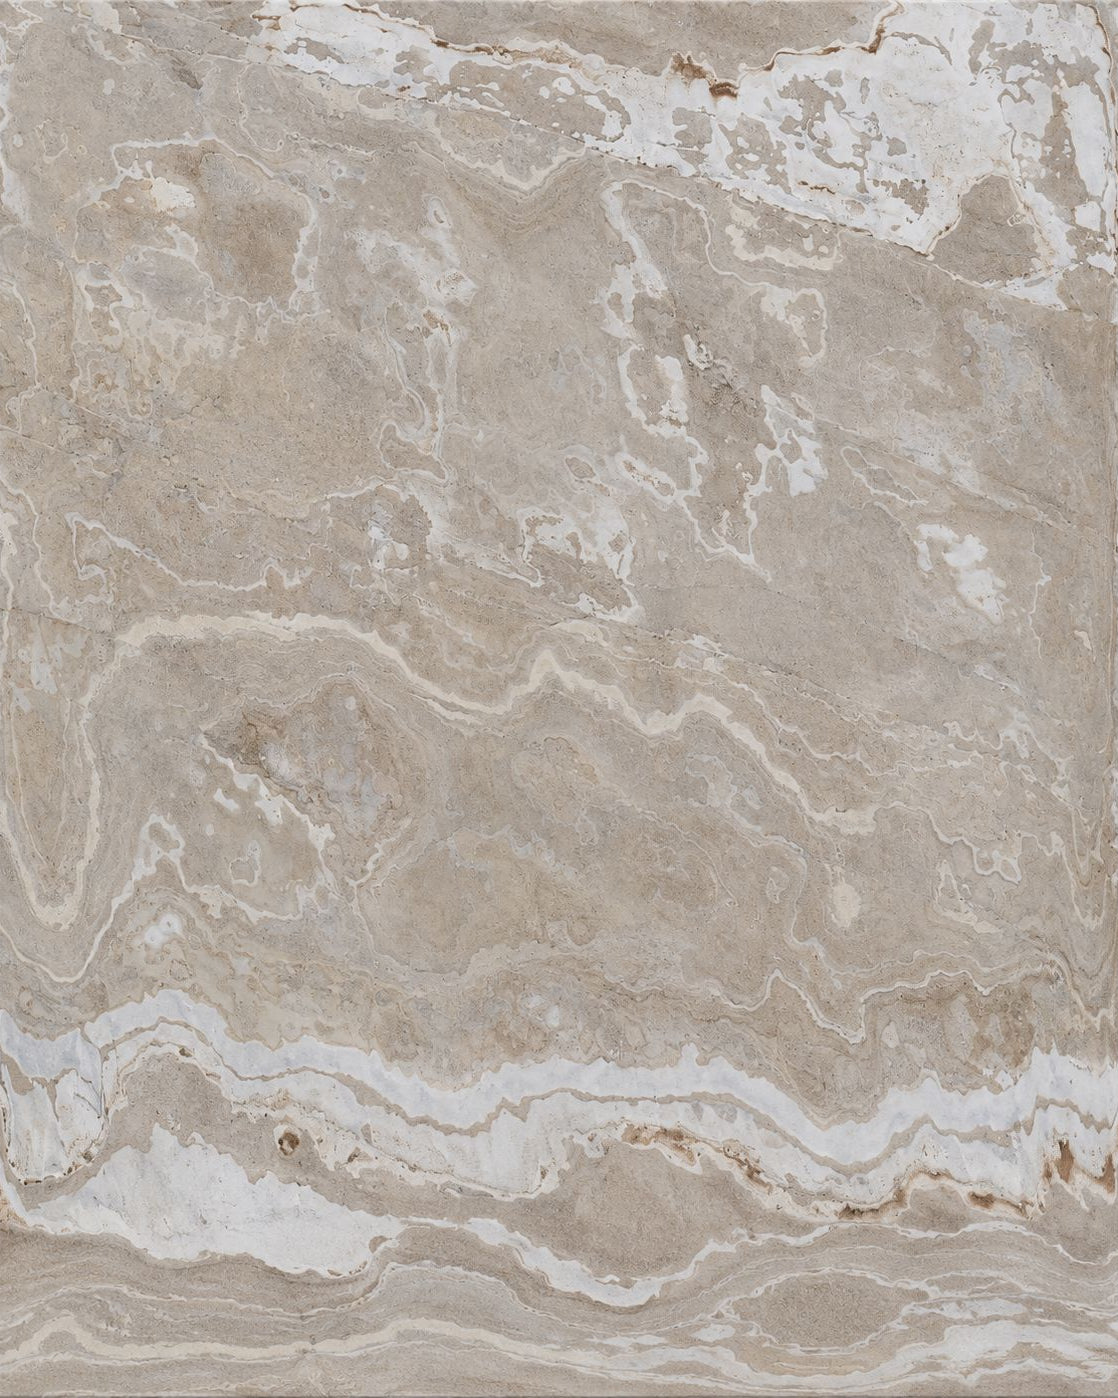
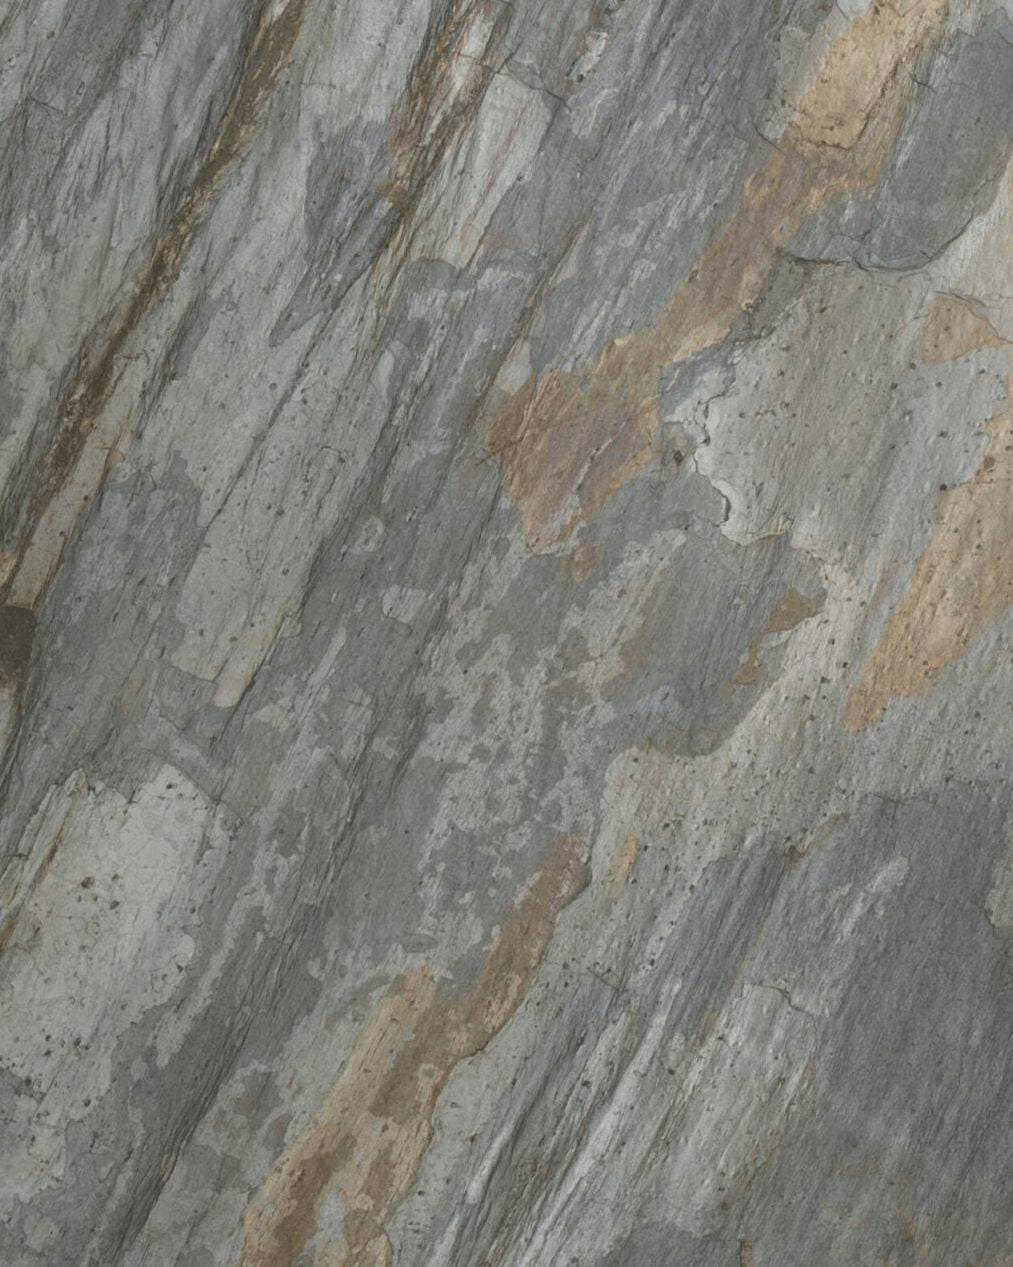
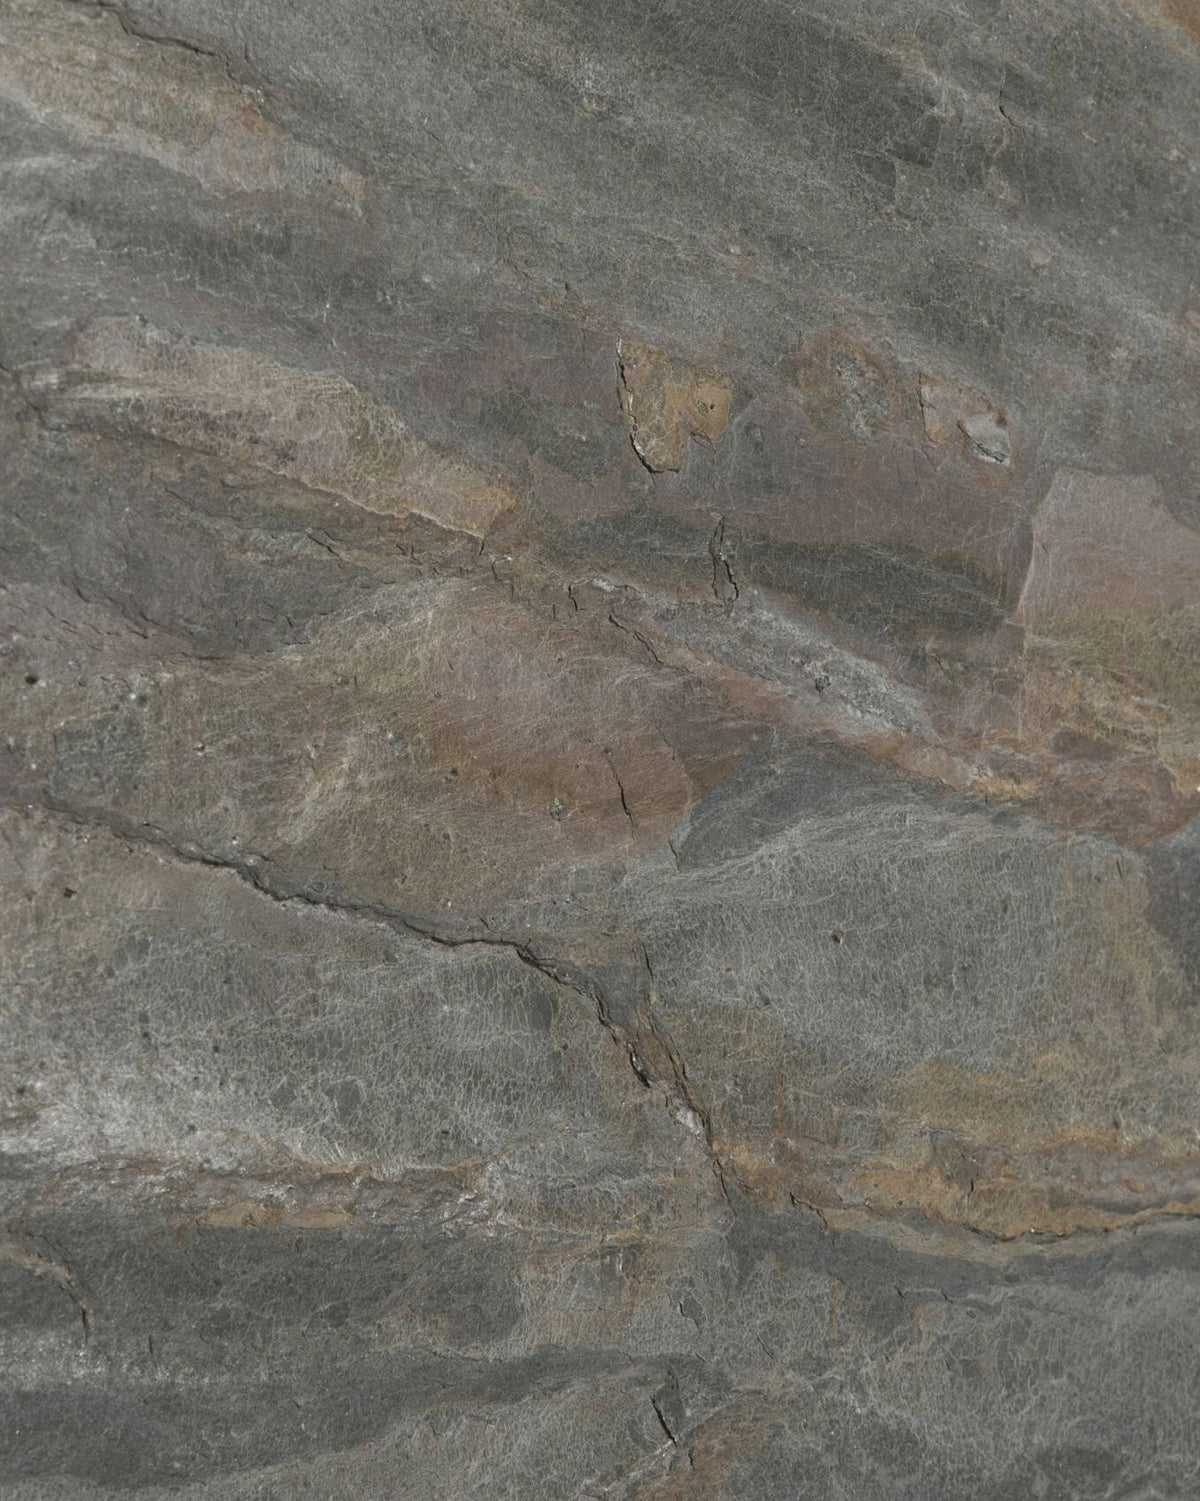
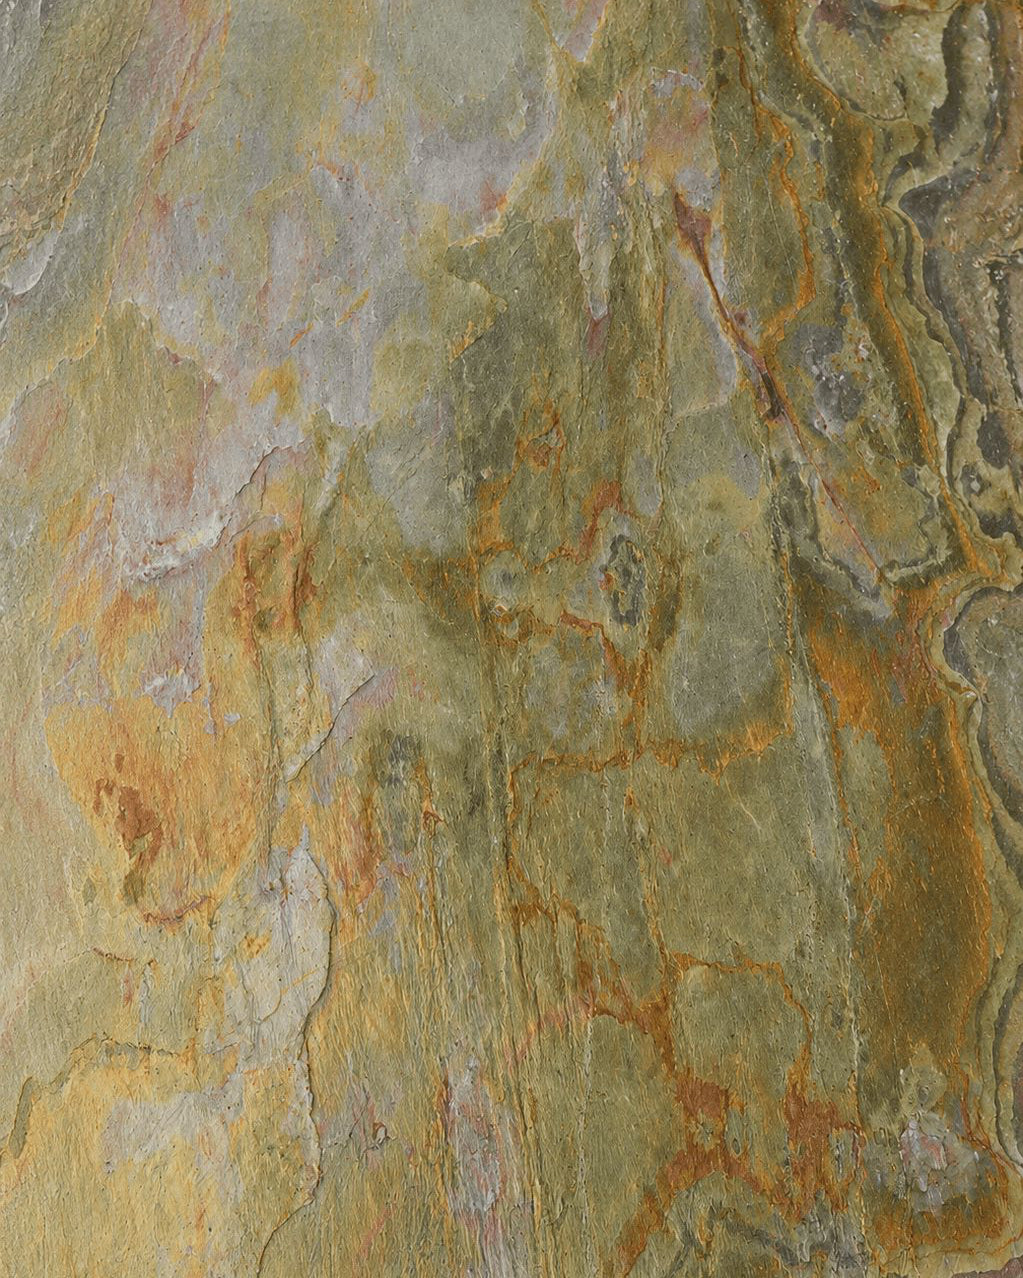
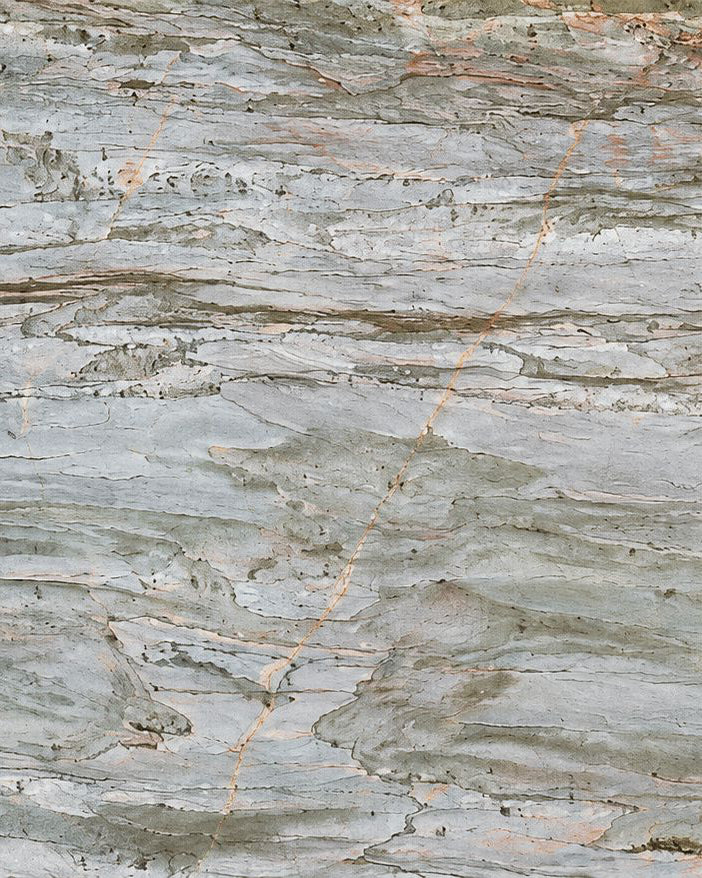
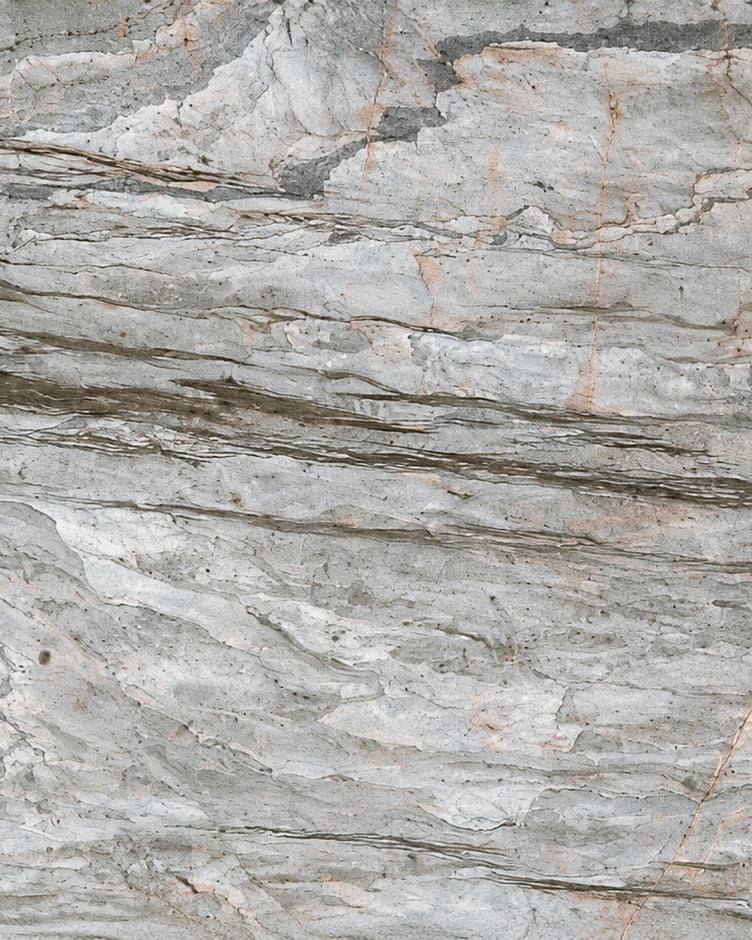
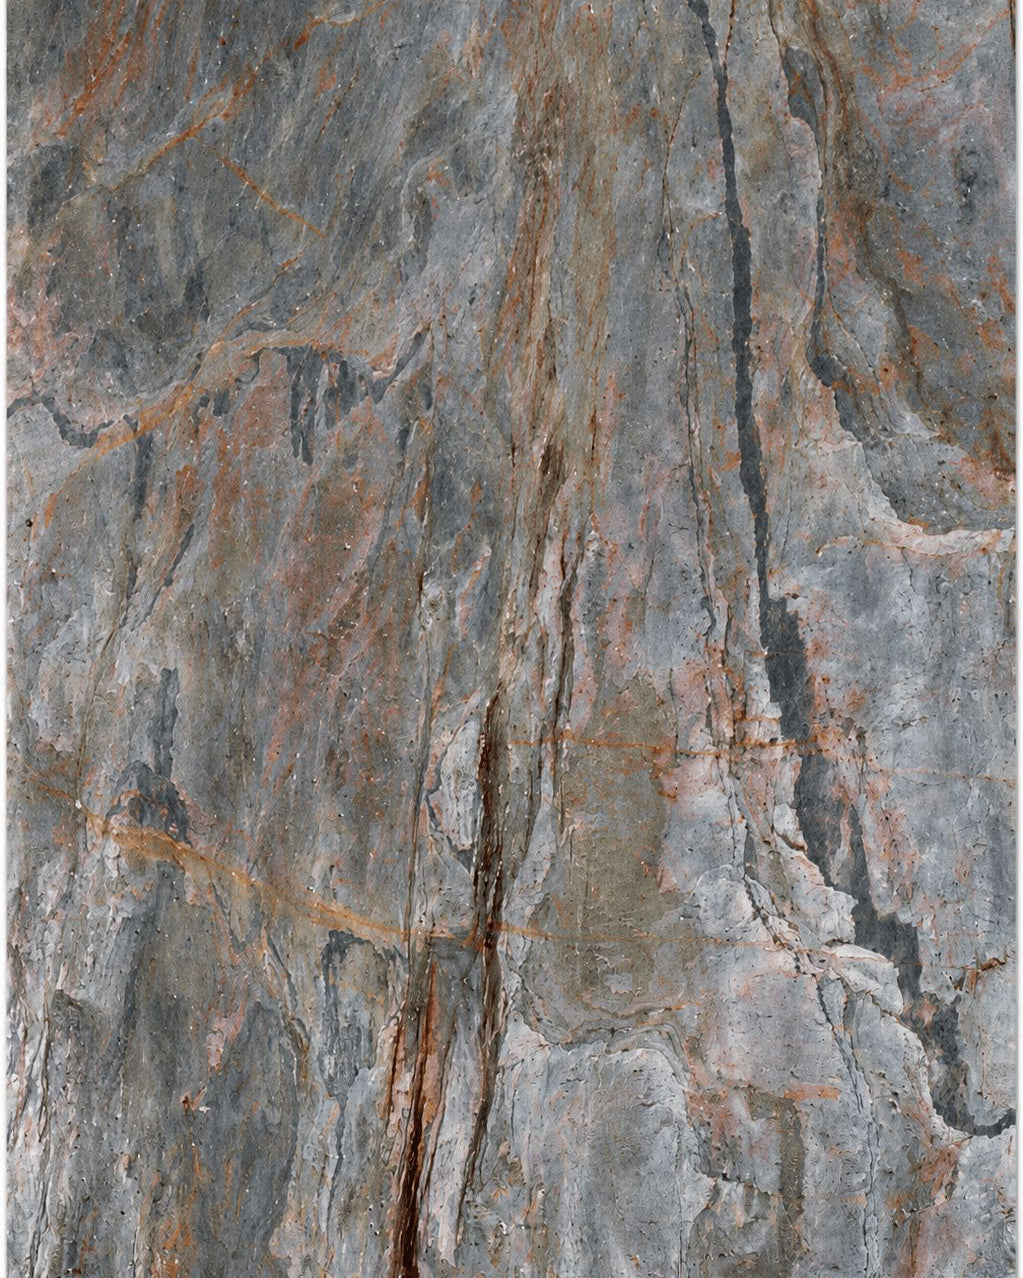
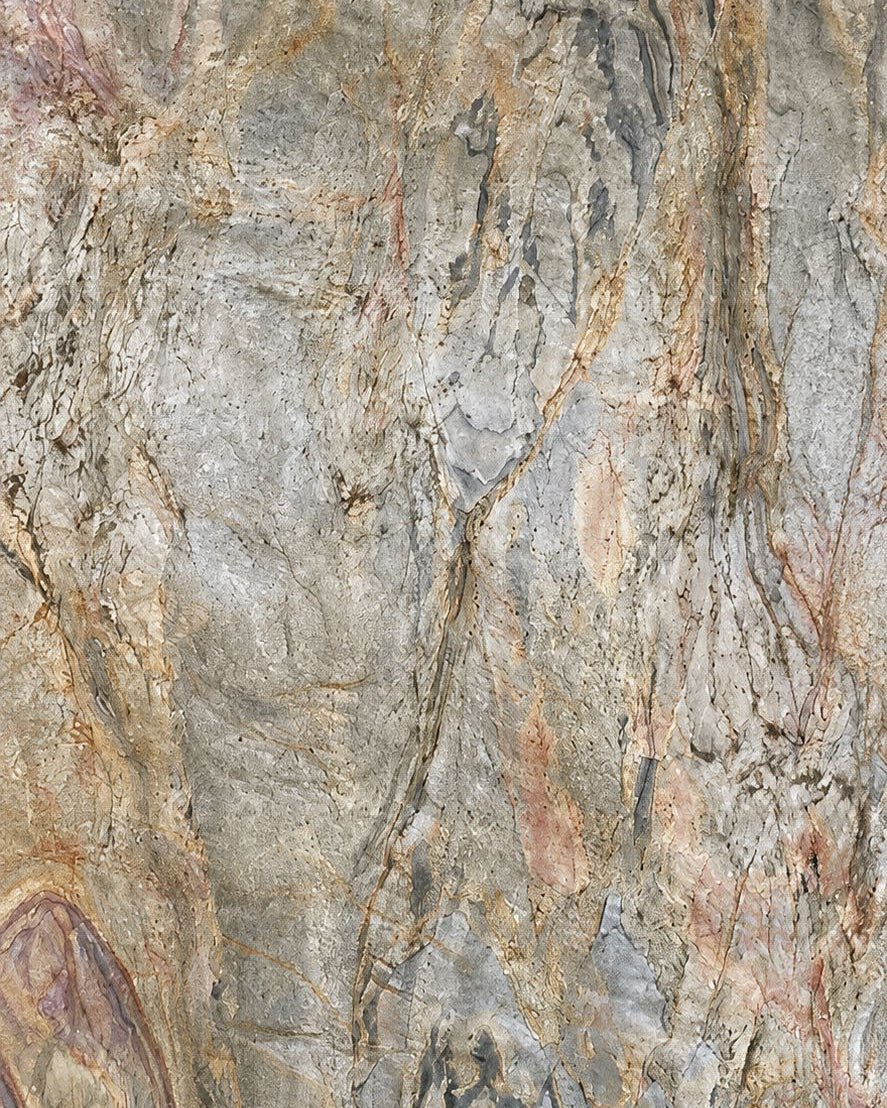
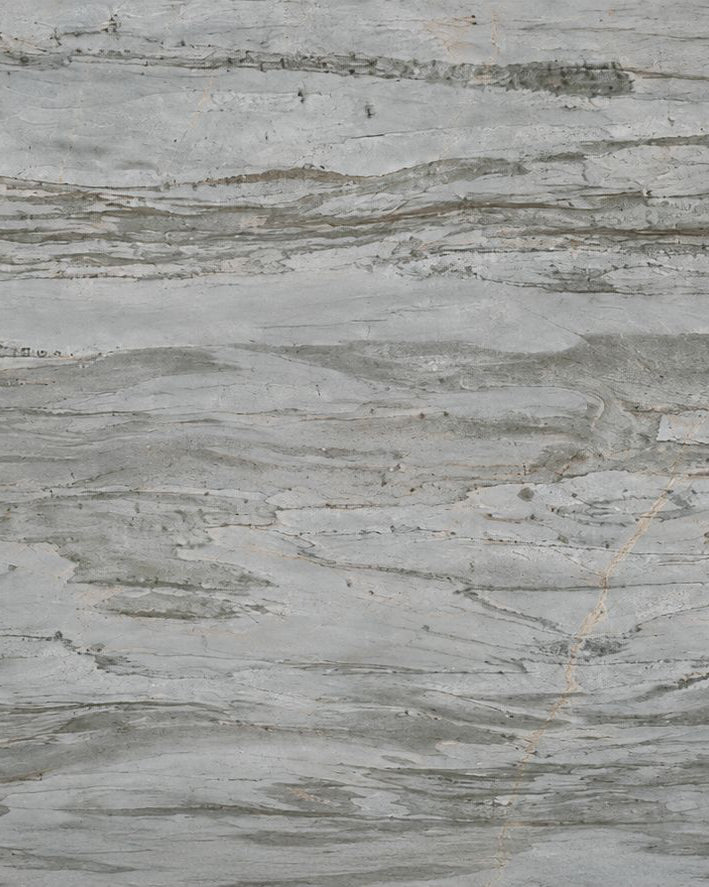
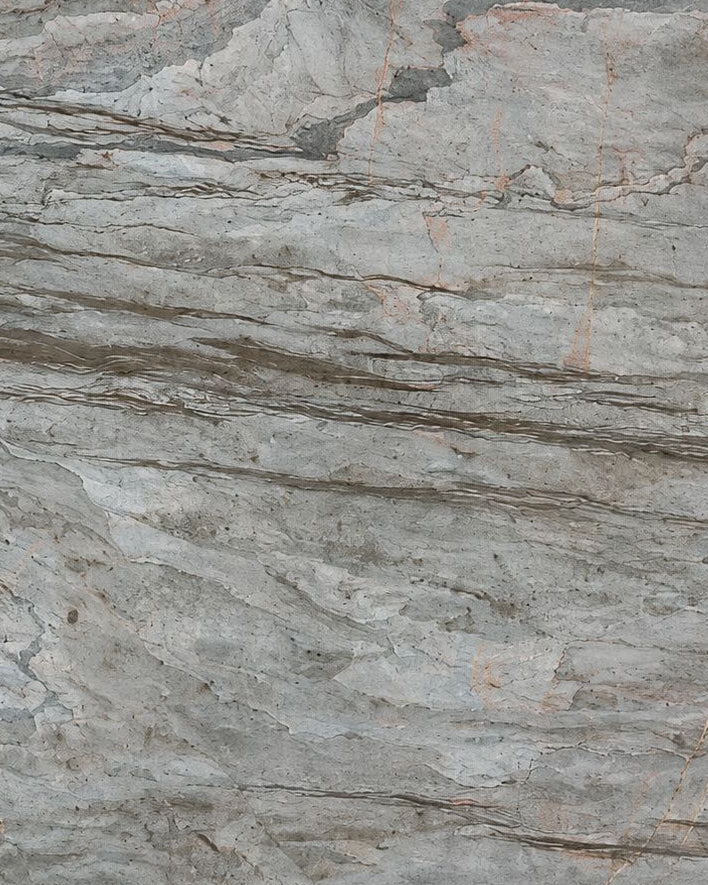
This is a flexible material composed of a stone layer or sheet (0.3 mm to 0.8 mm thick) attached to a resin and fiberglass backing for a total thickness of 1.5 to 2 mm. The sheet is delaminated from large massive blocks using a unique and innovative process.
There are two types of products:
- The natural sheet, originating from quarries where blocks are extracted in pieces and then delaminated to obtain a 100% natural stone sheet.
- The reconstituted sheet, where "the stone" is formed from several fragments glued onto the resin. It proves to be less durable, less solid, and less aesthetic.
The rendering is completely different.
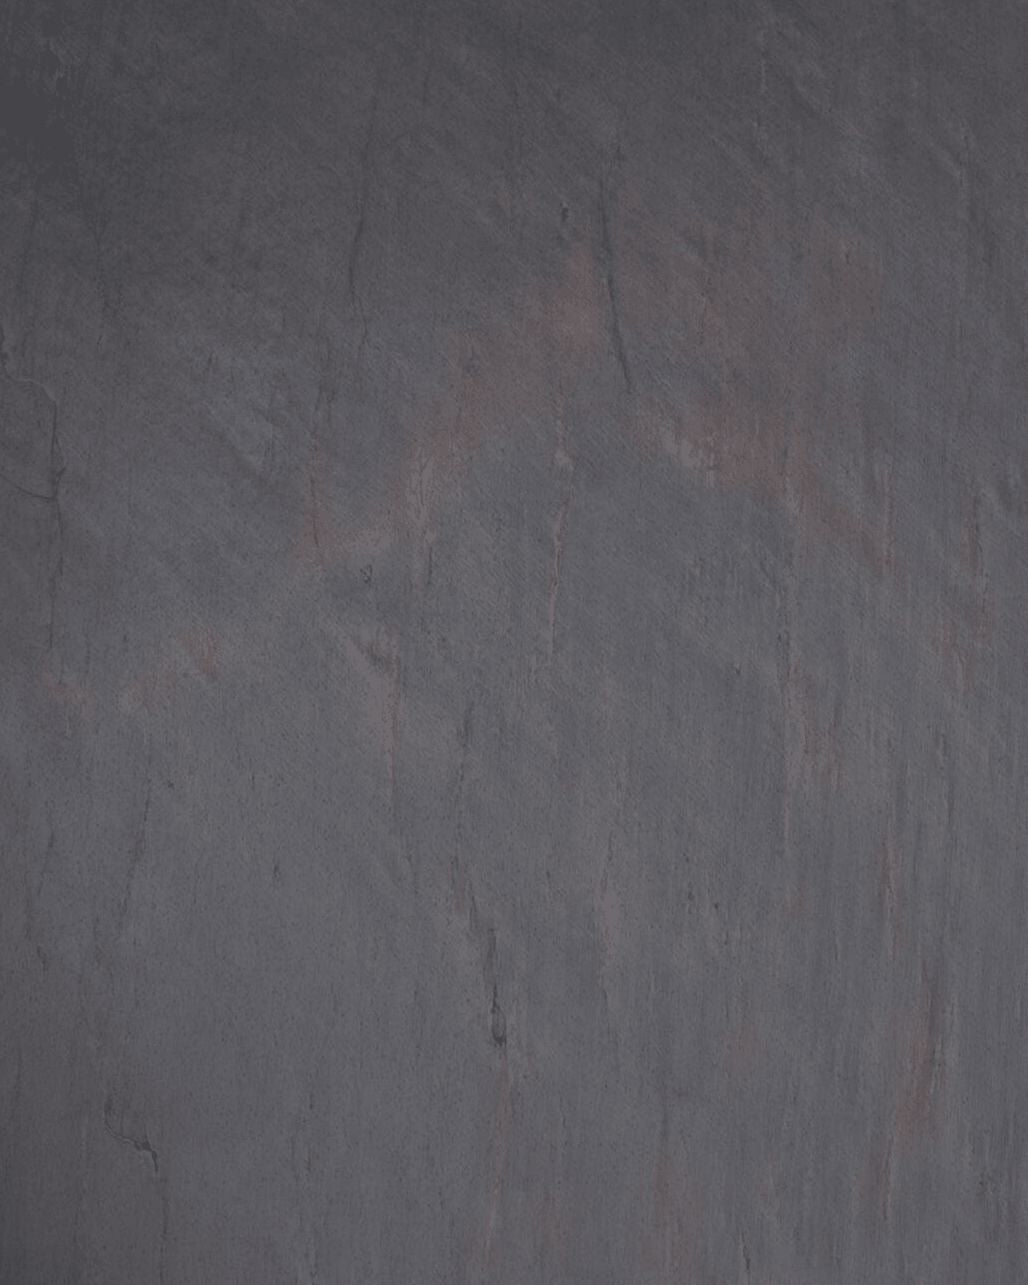
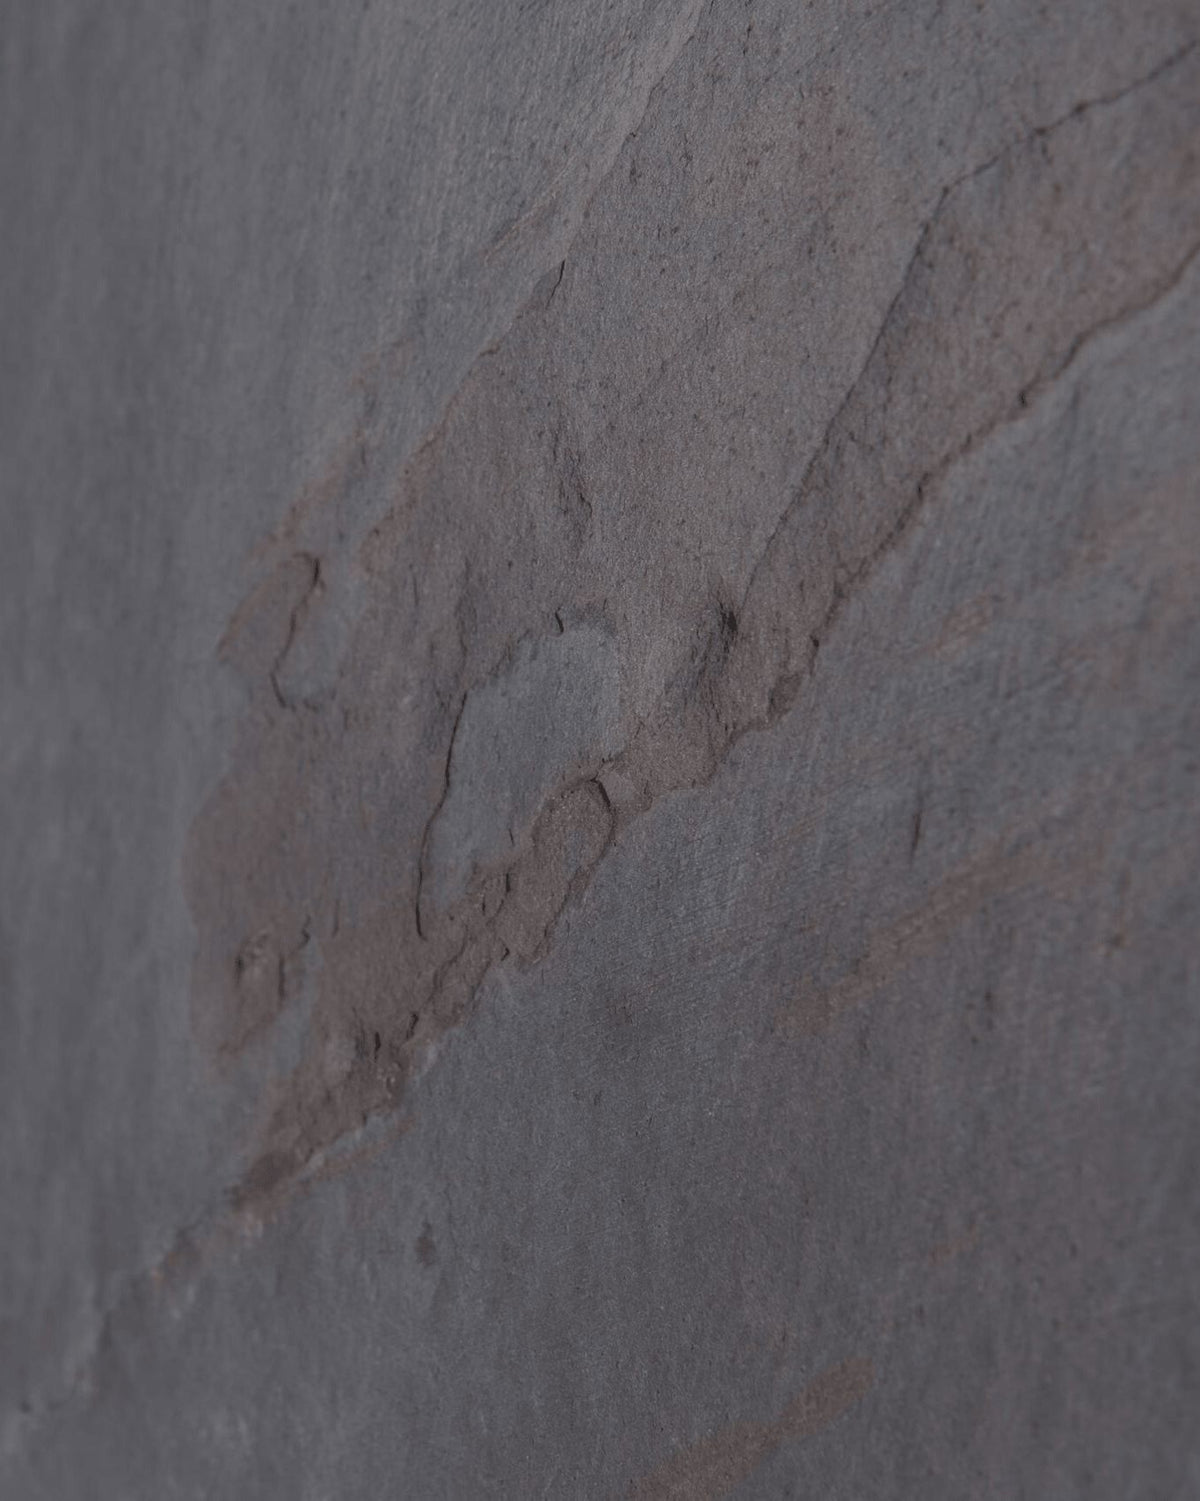
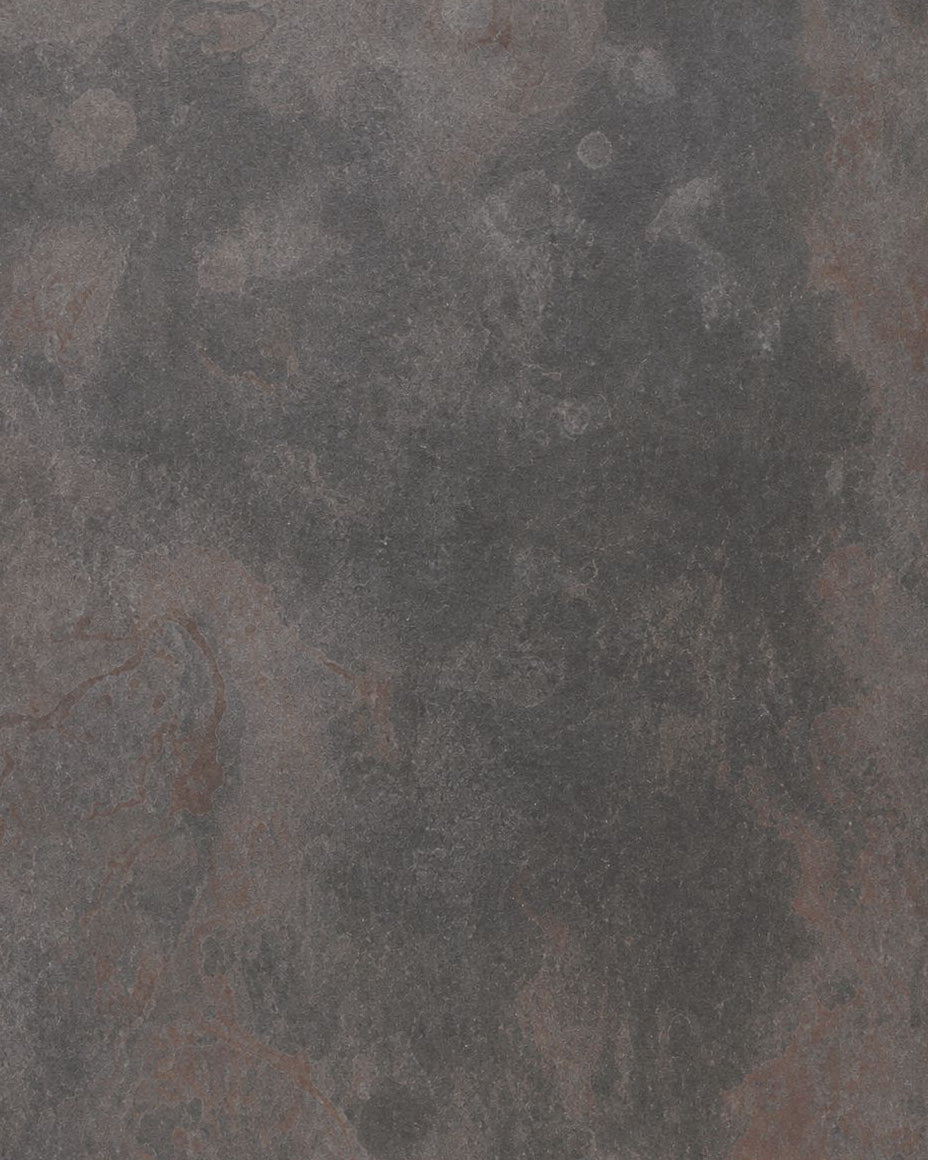
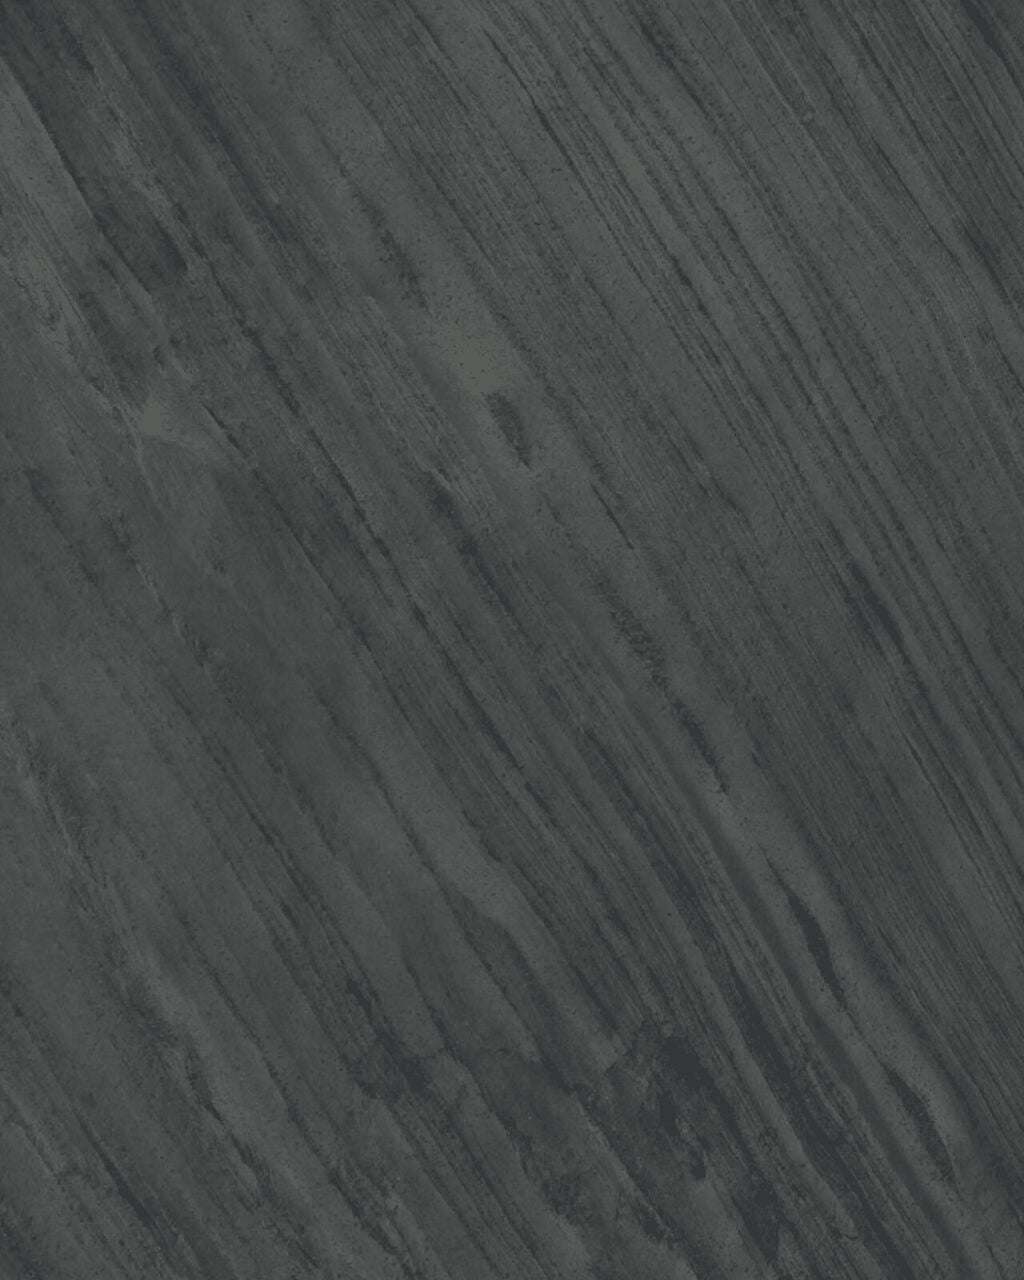
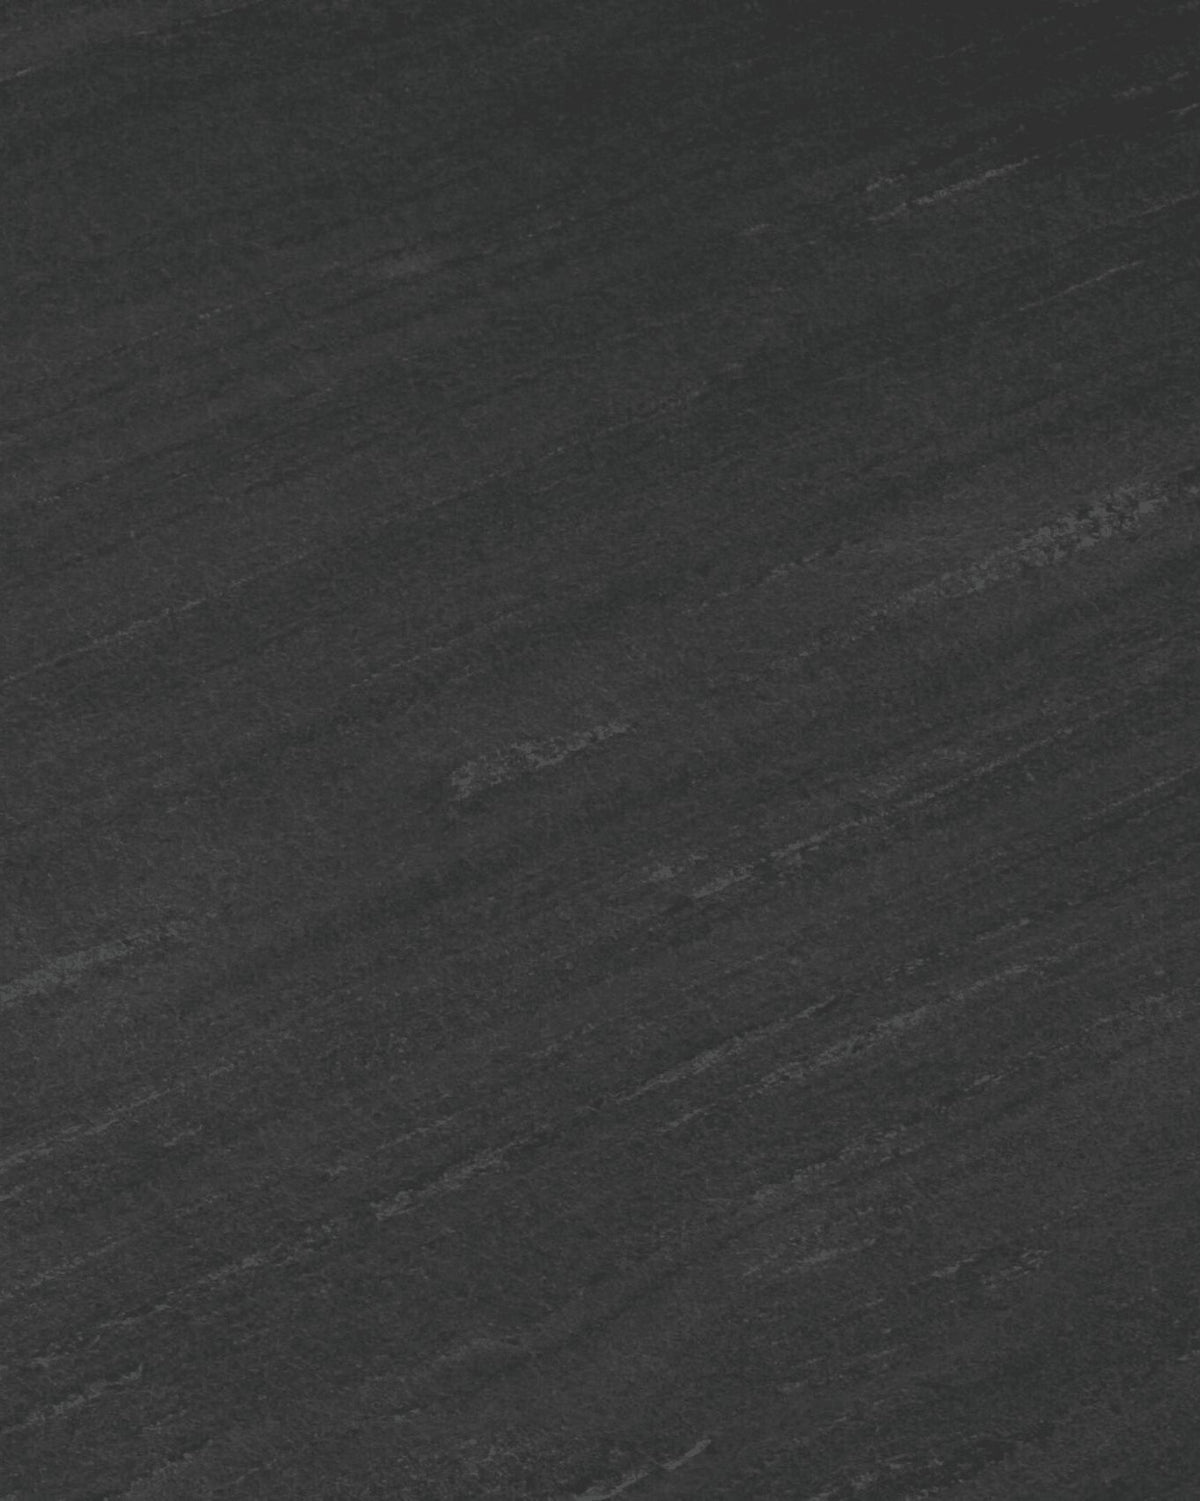
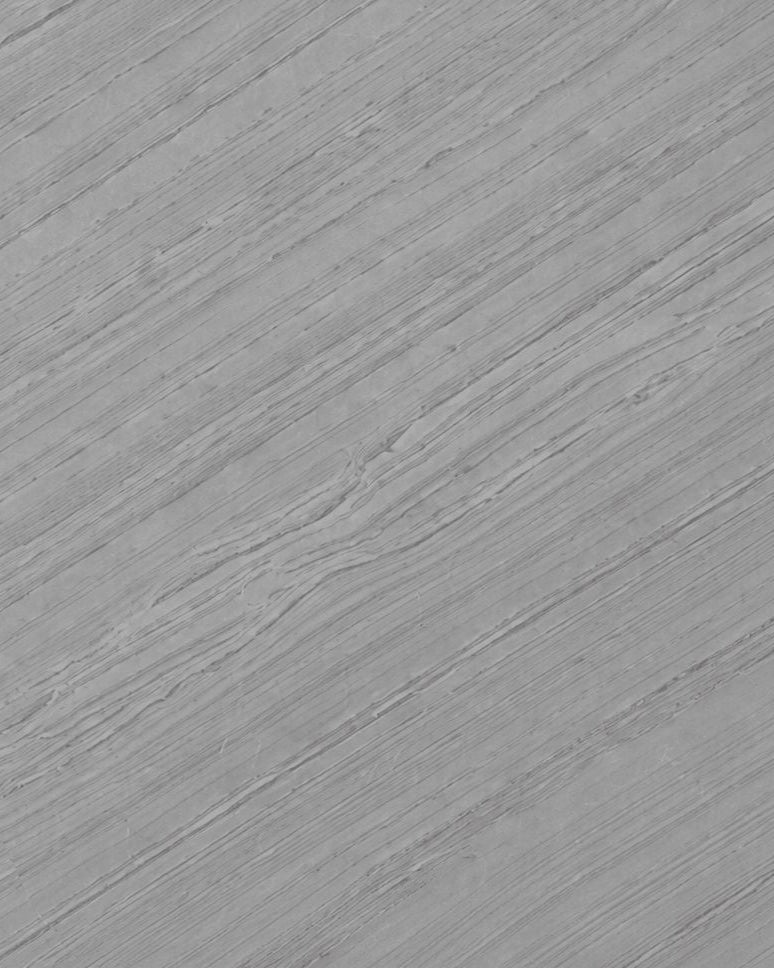
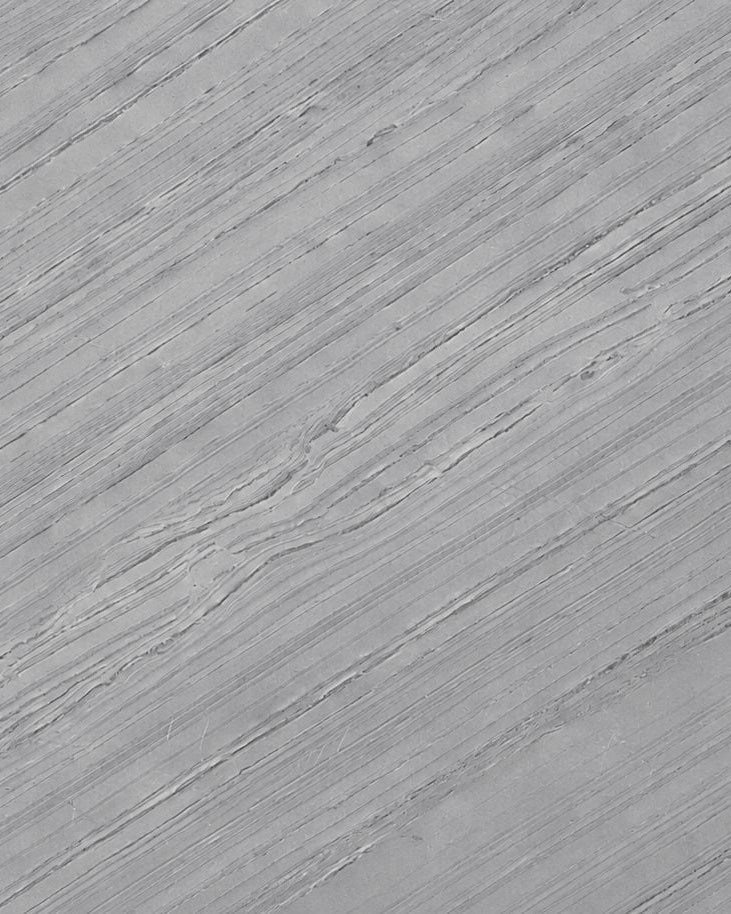
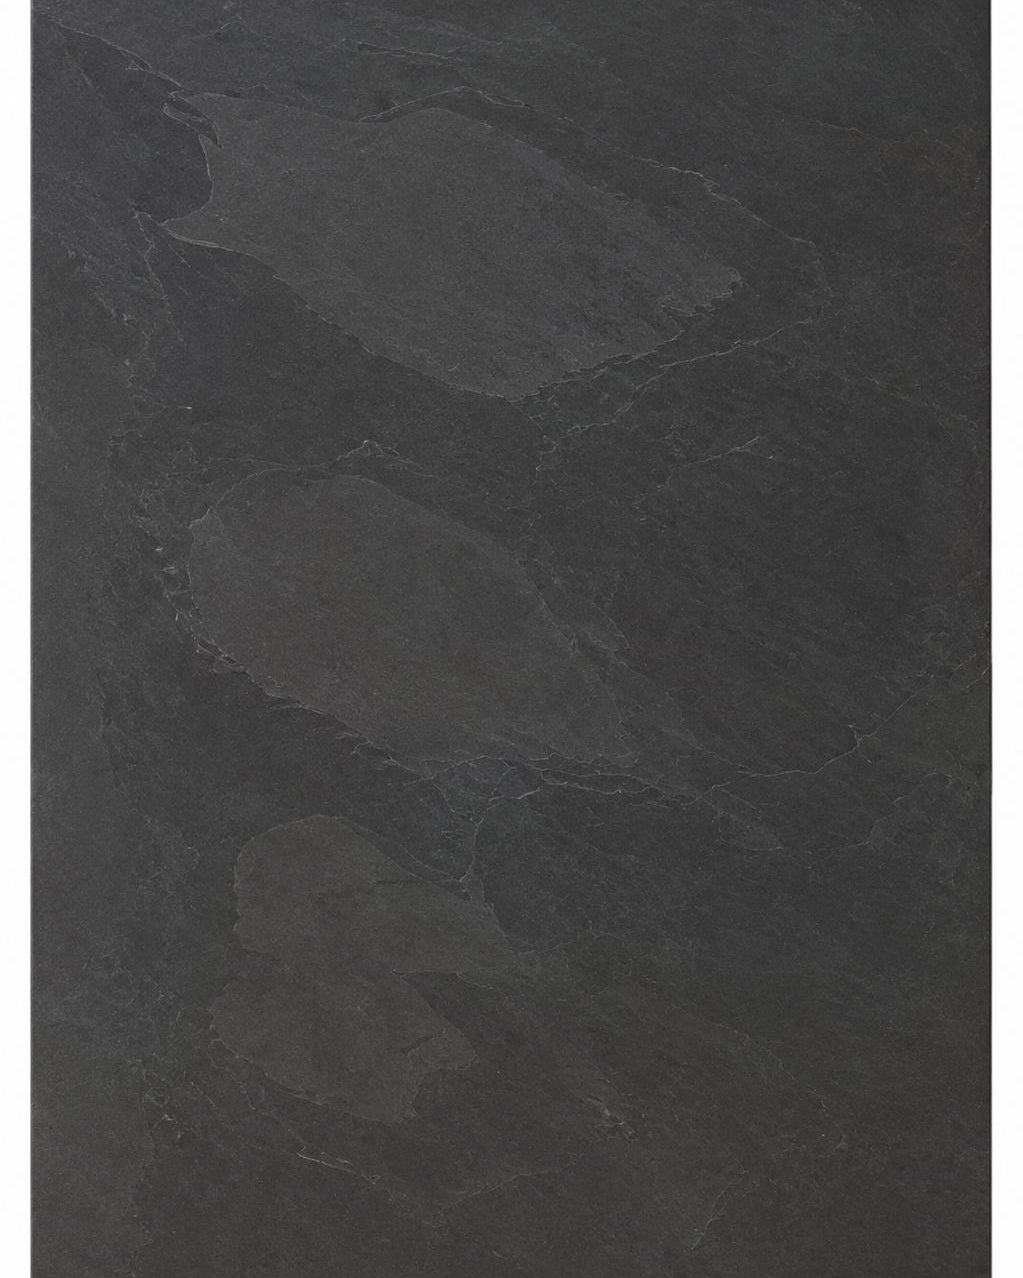
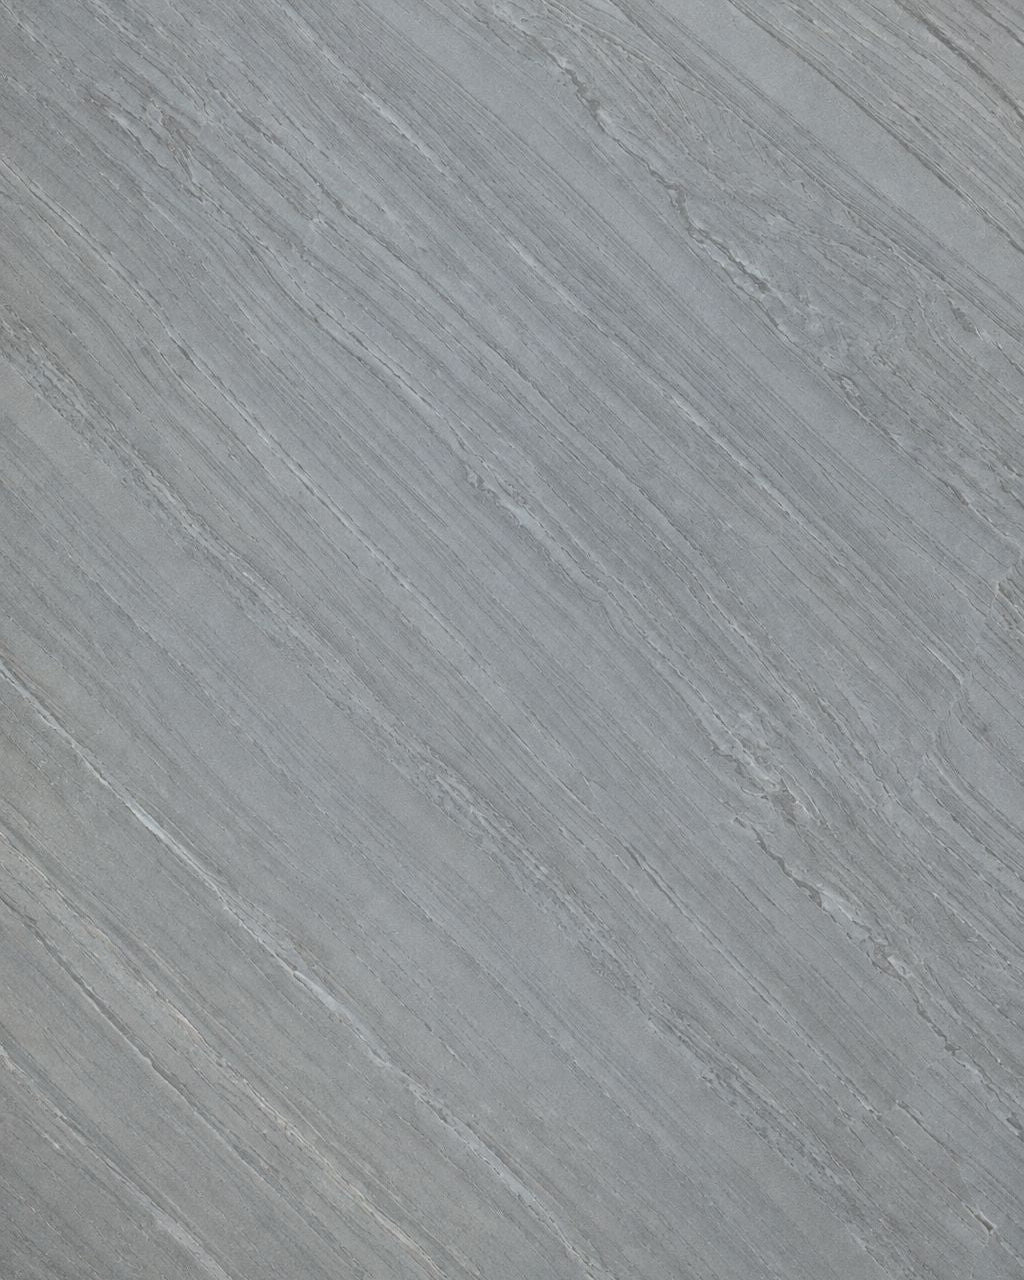
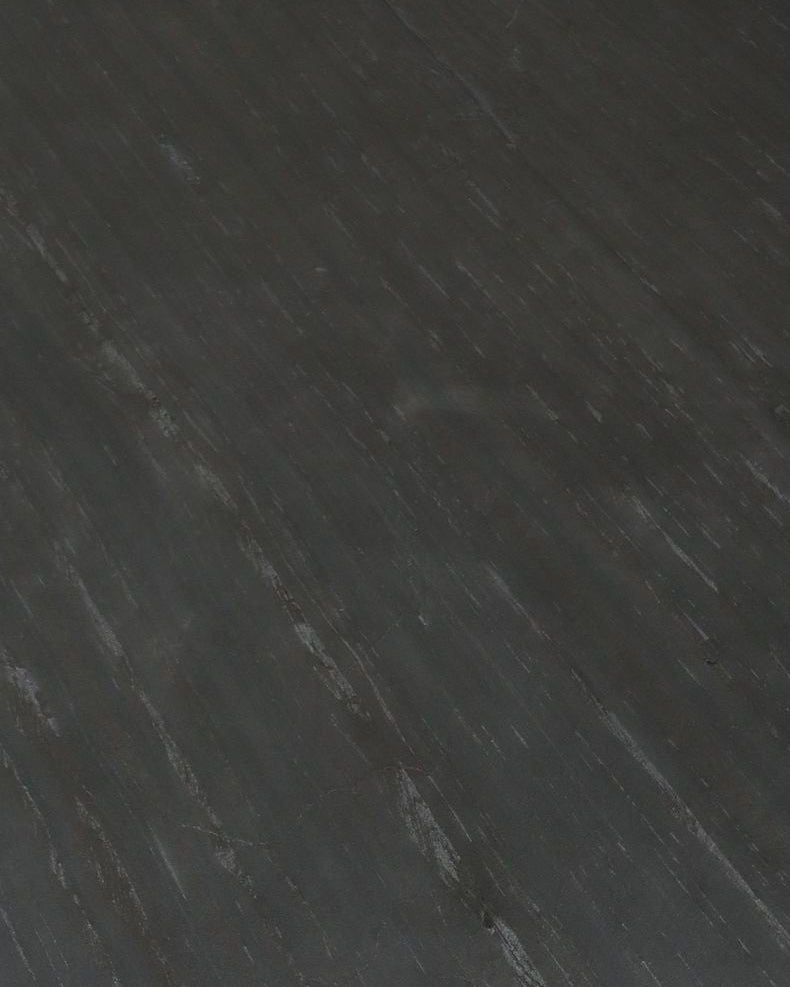
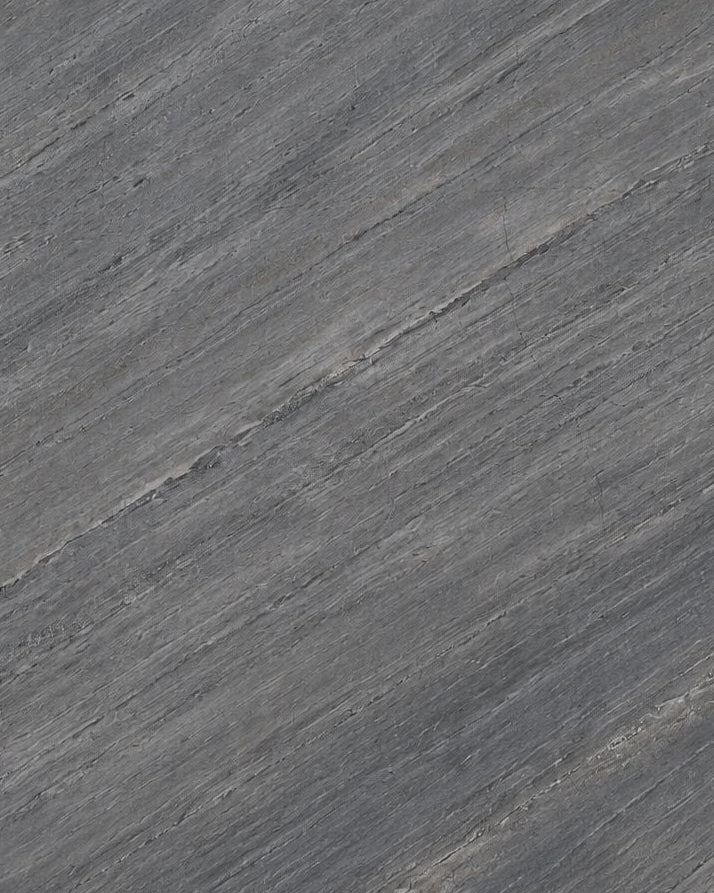
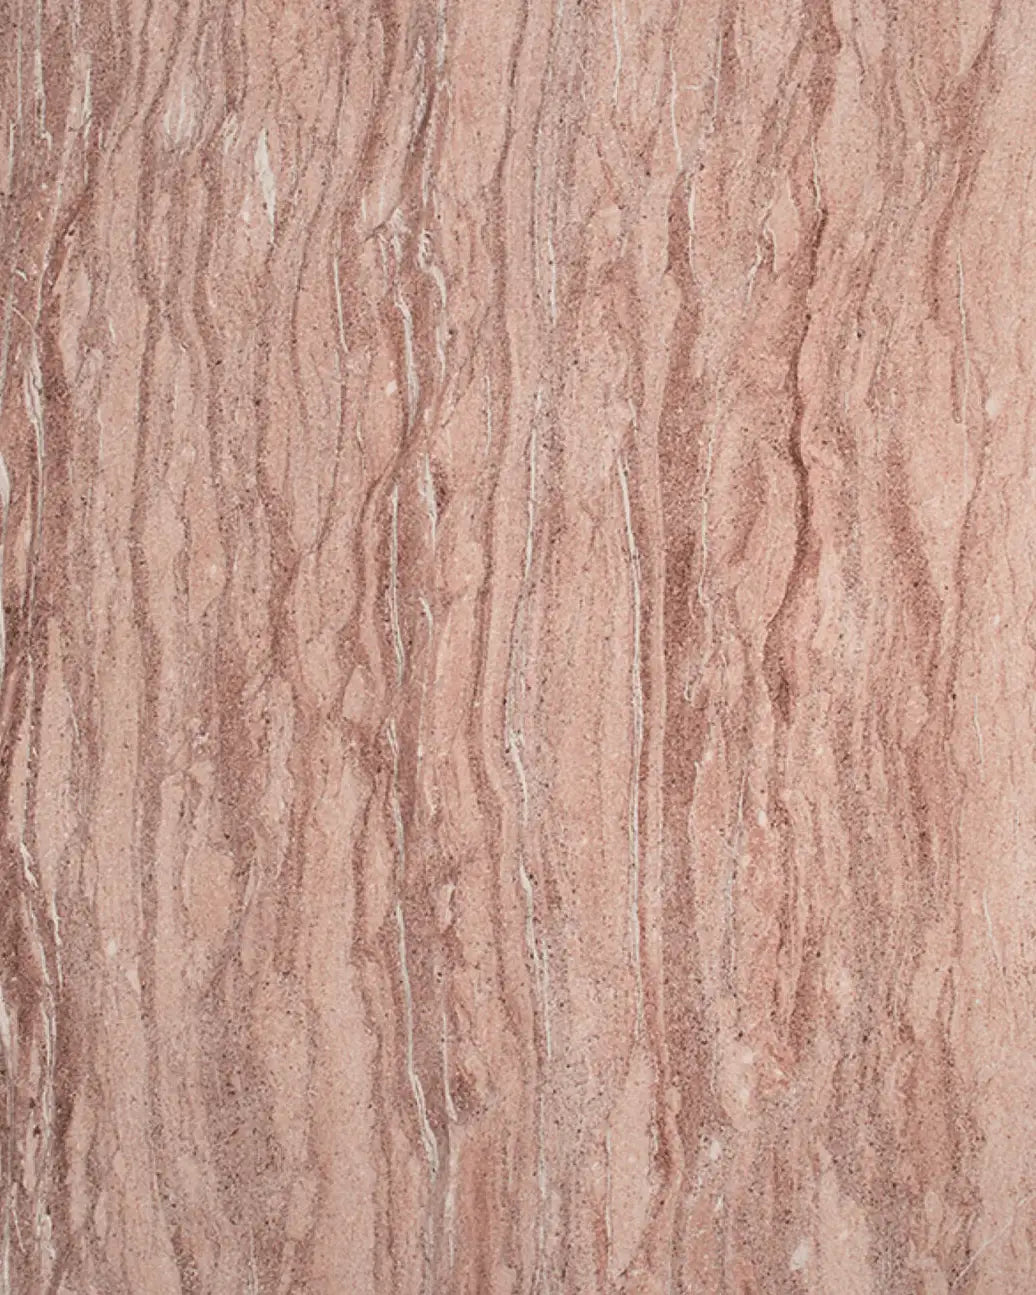
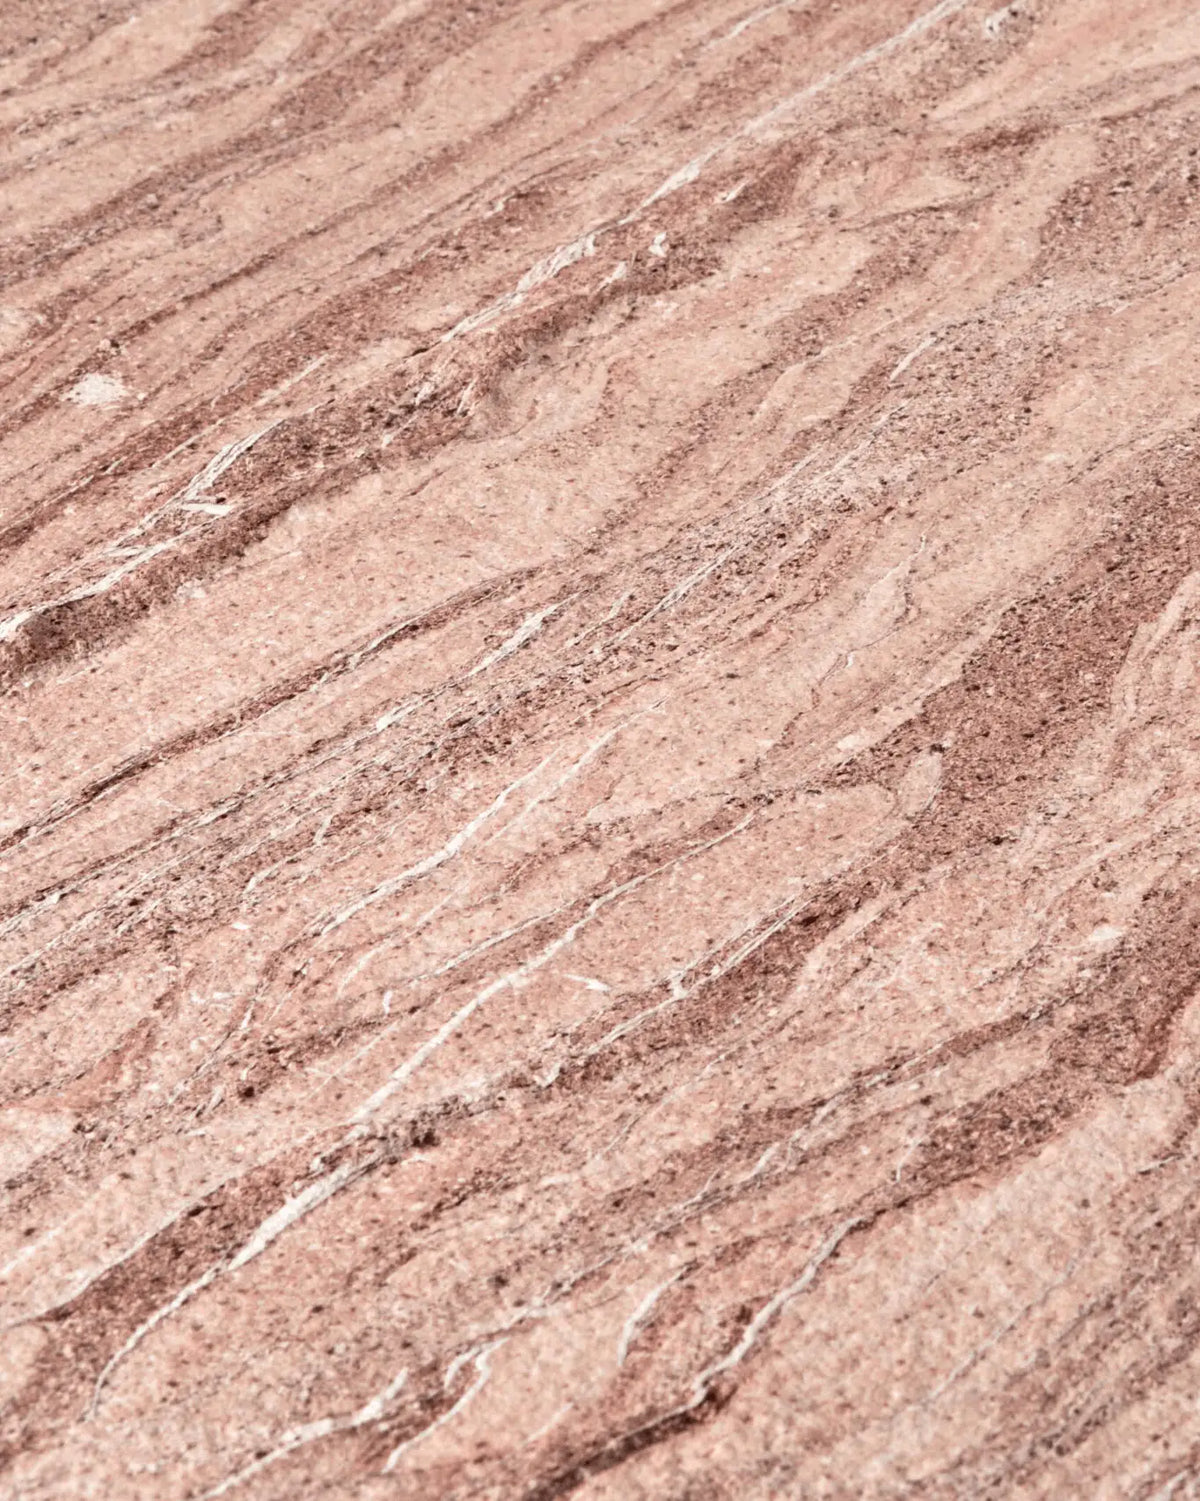
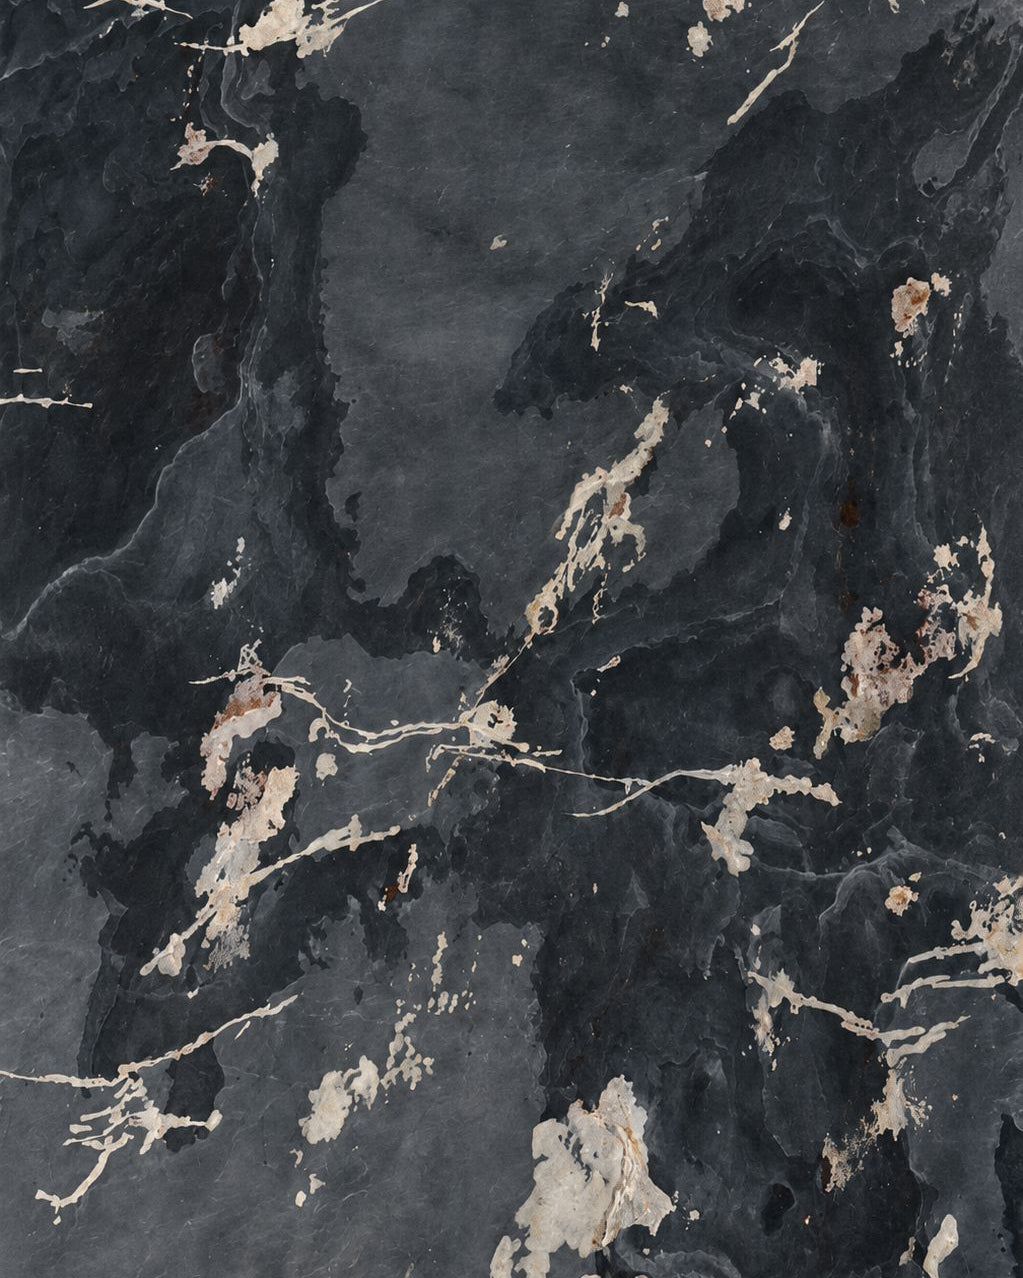
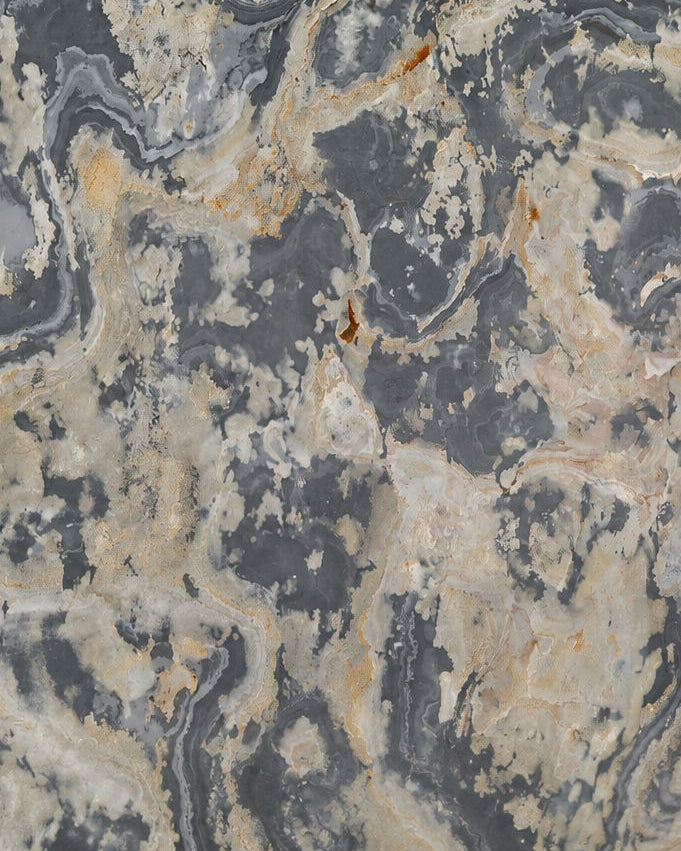
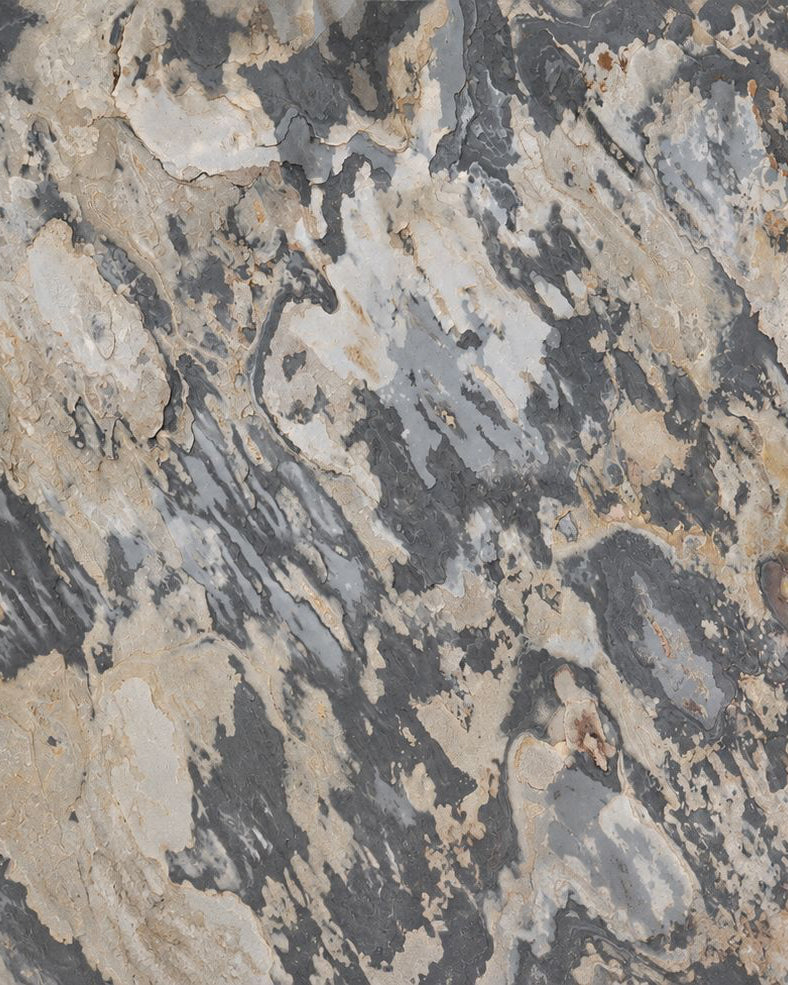
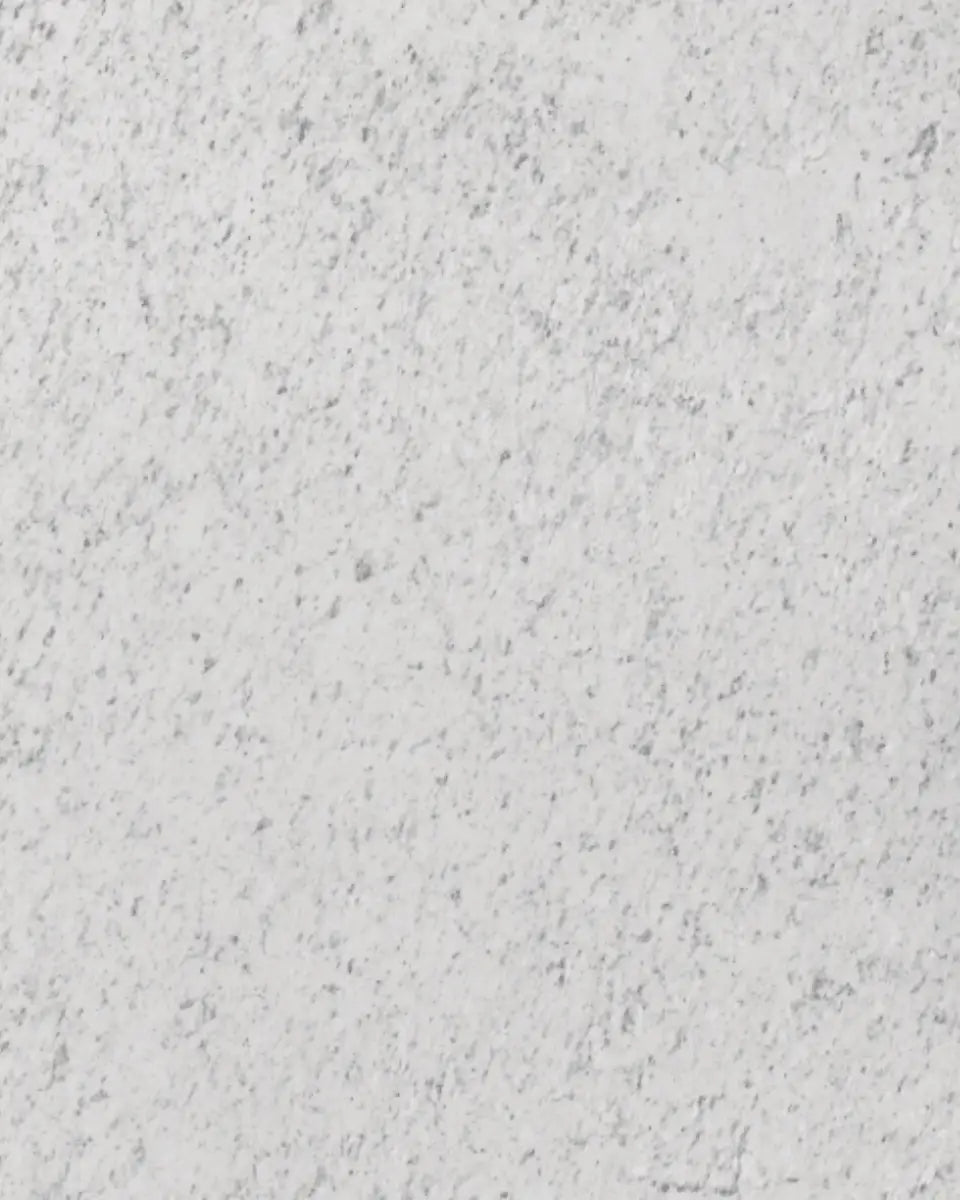
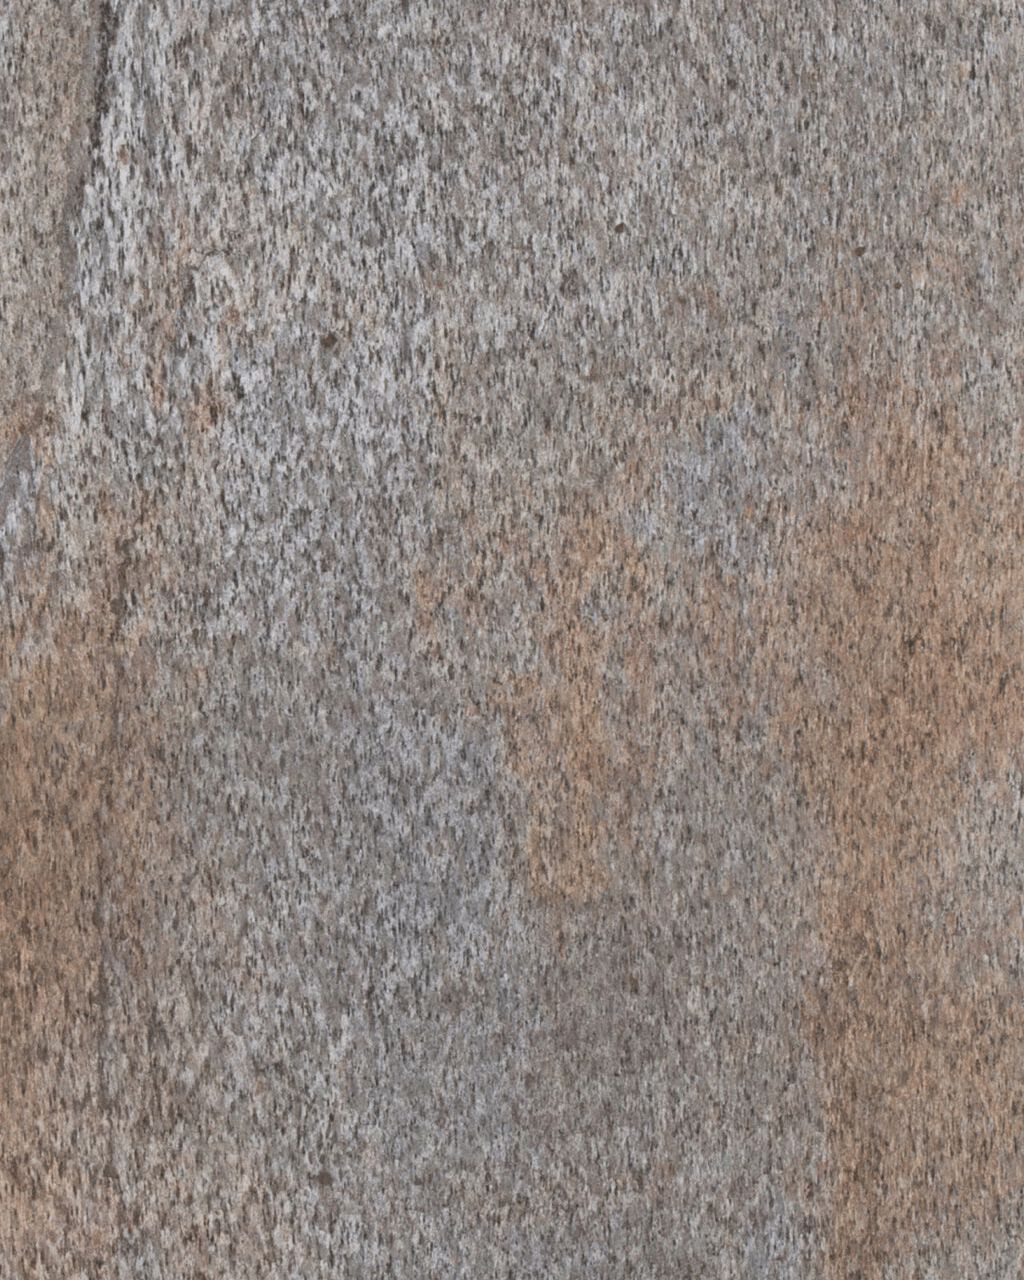
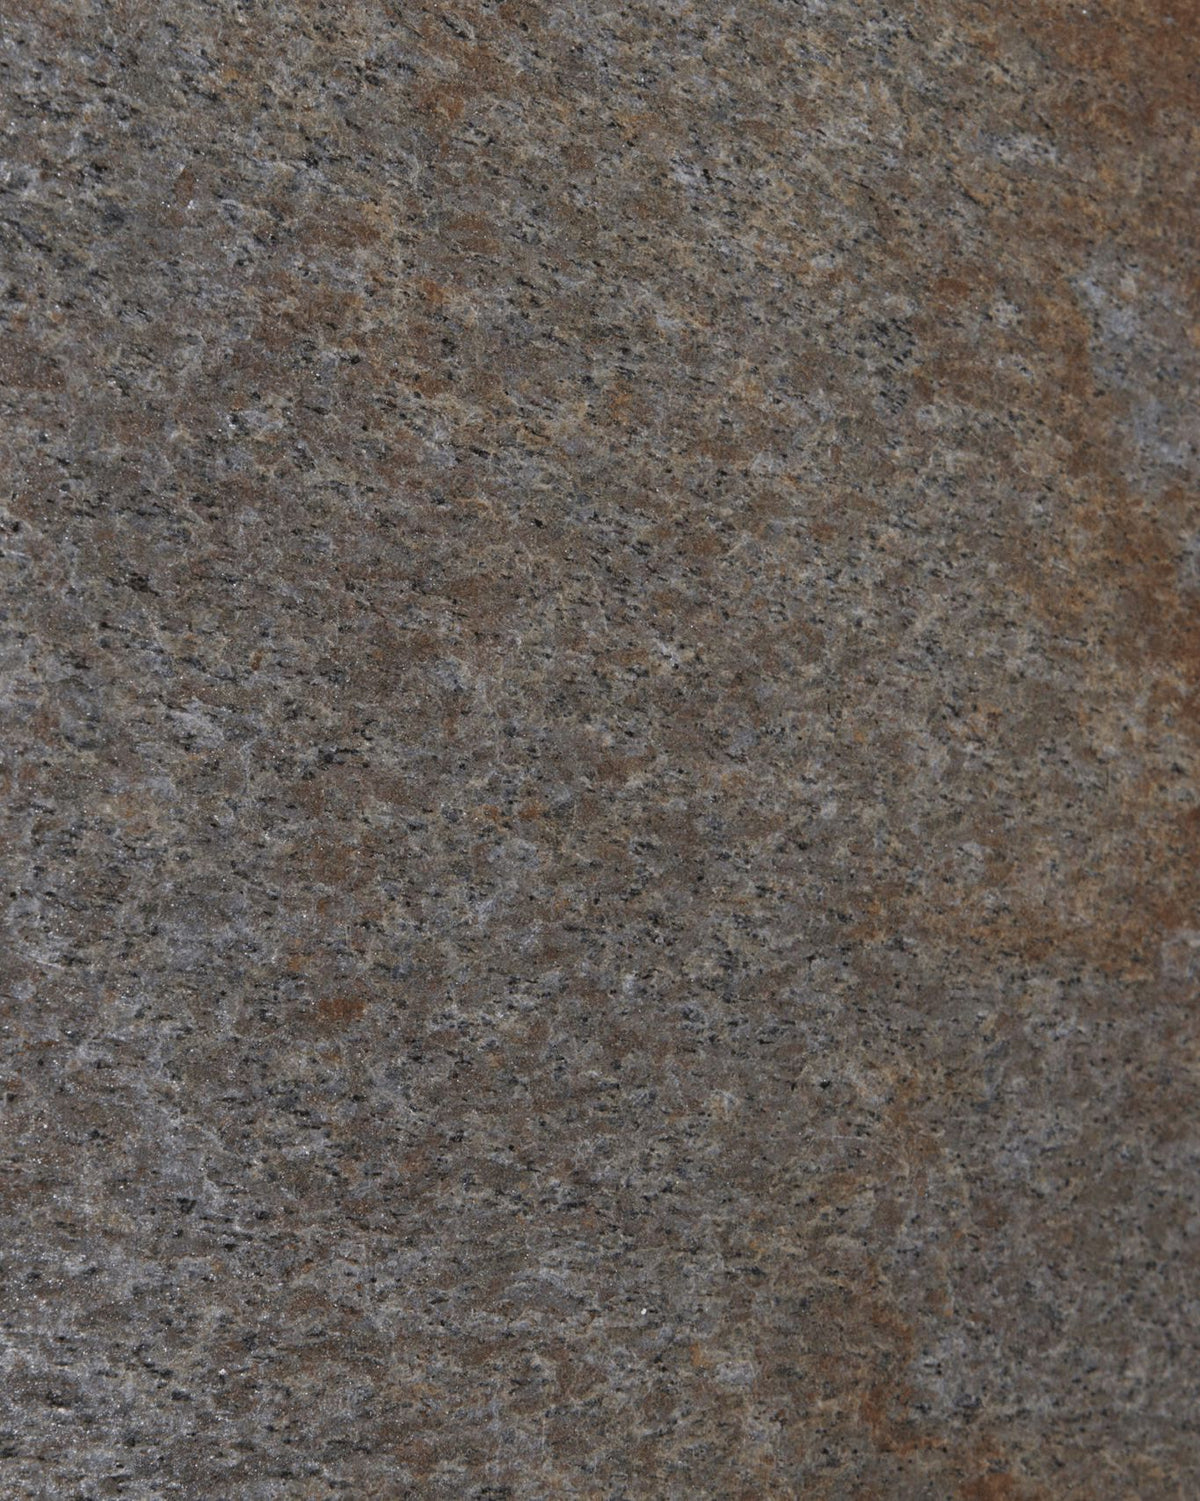
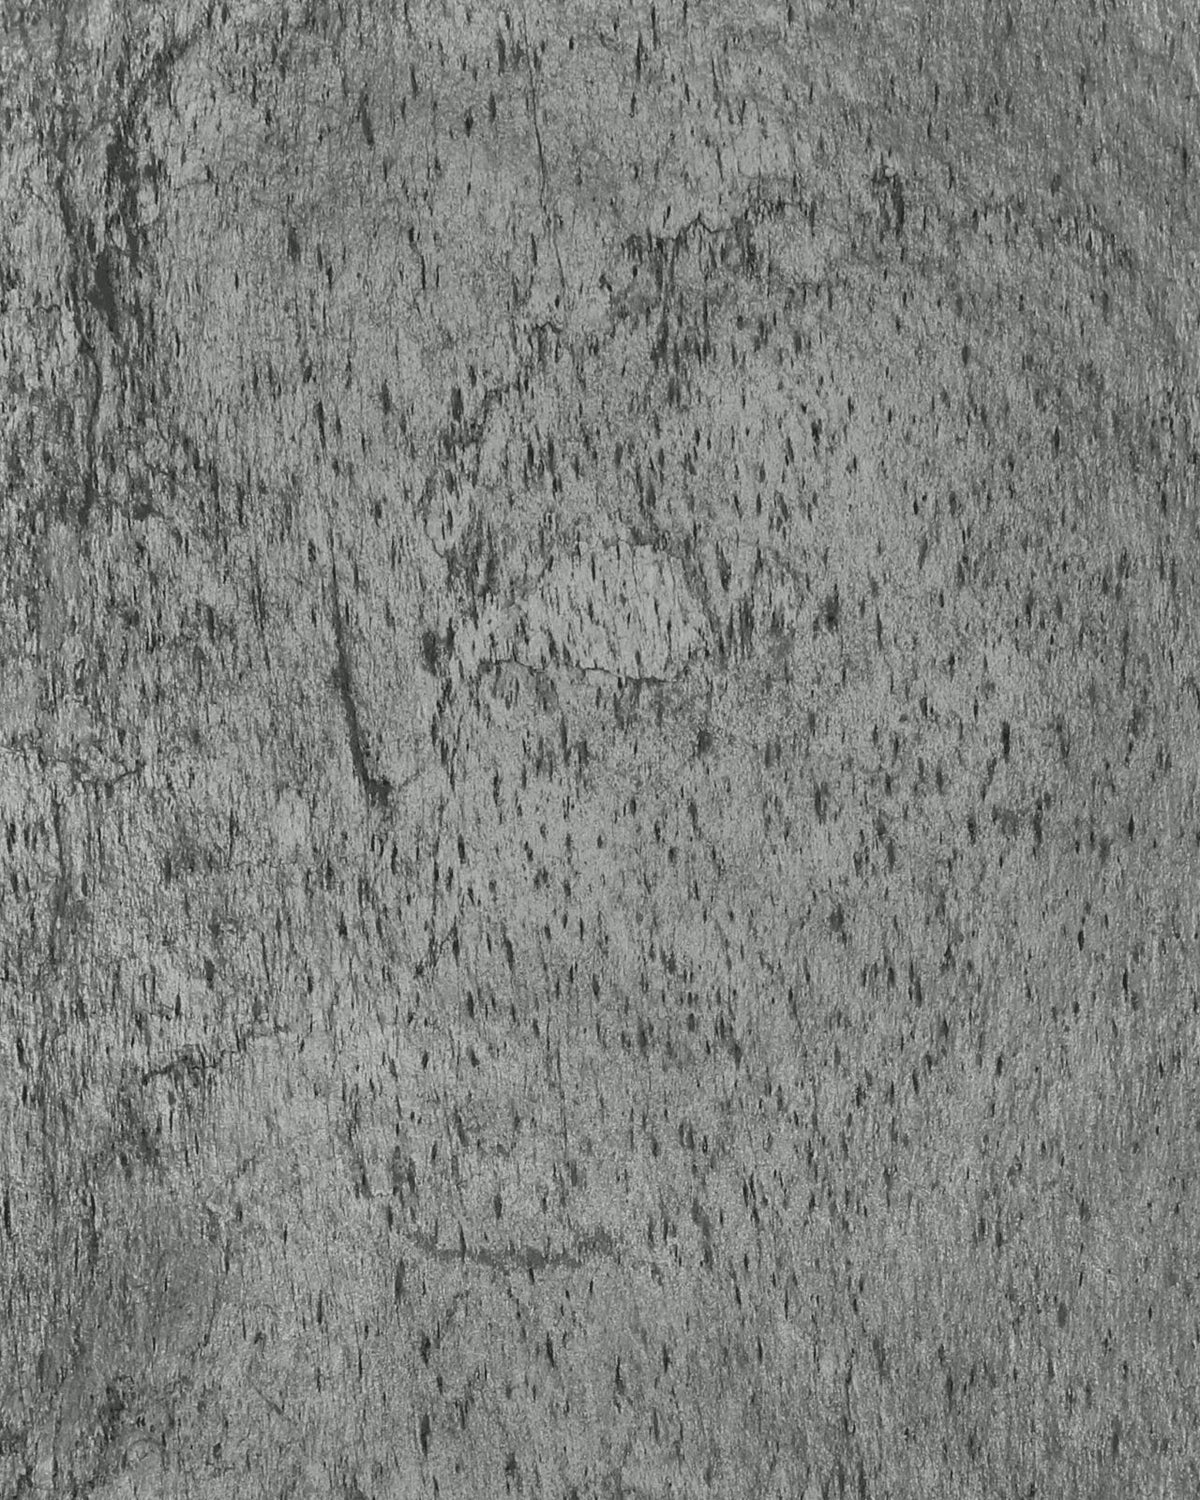
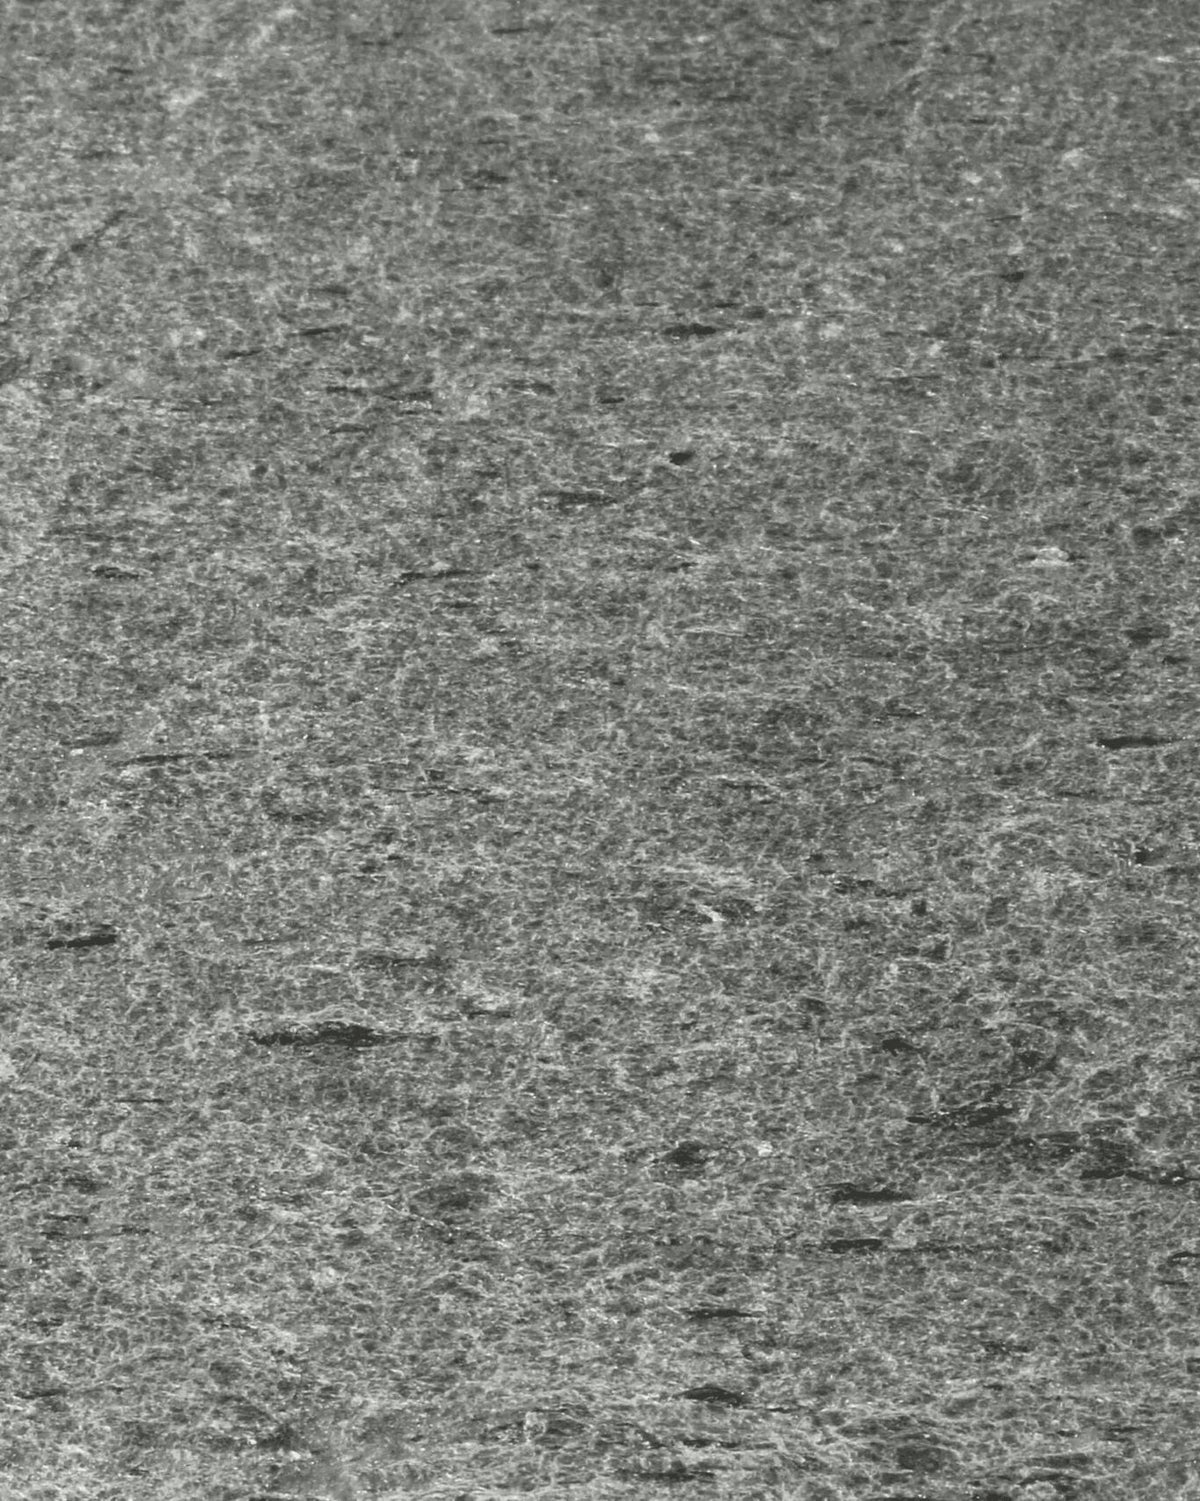
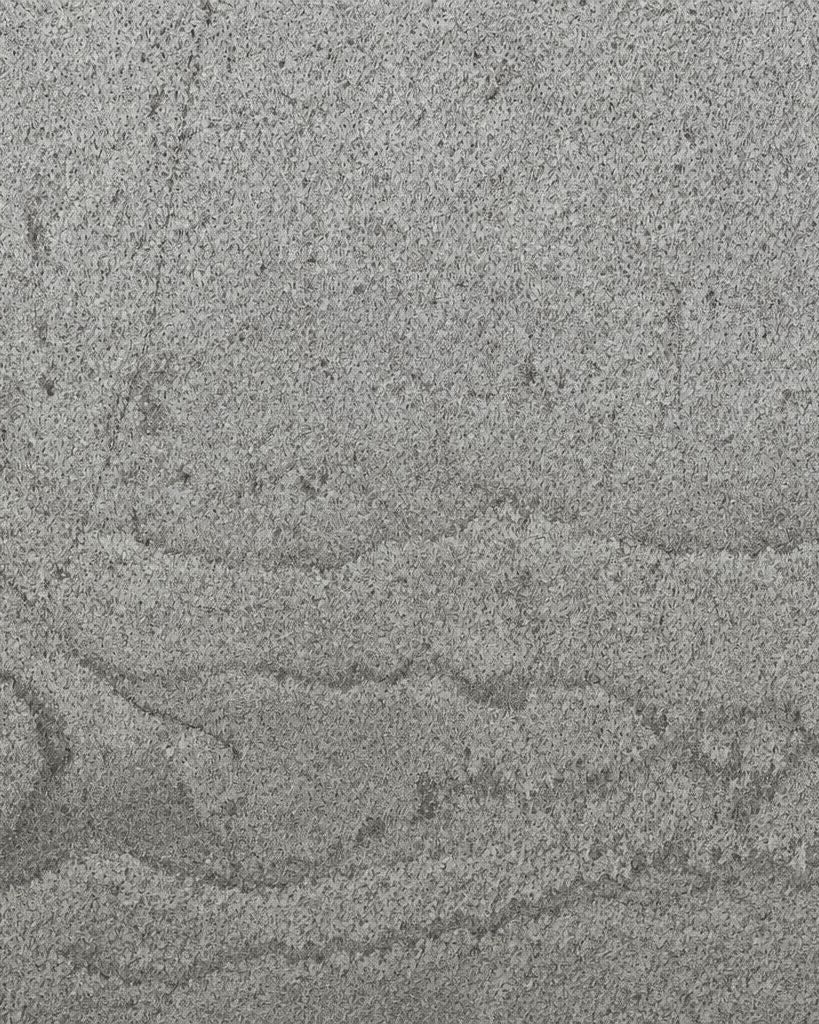
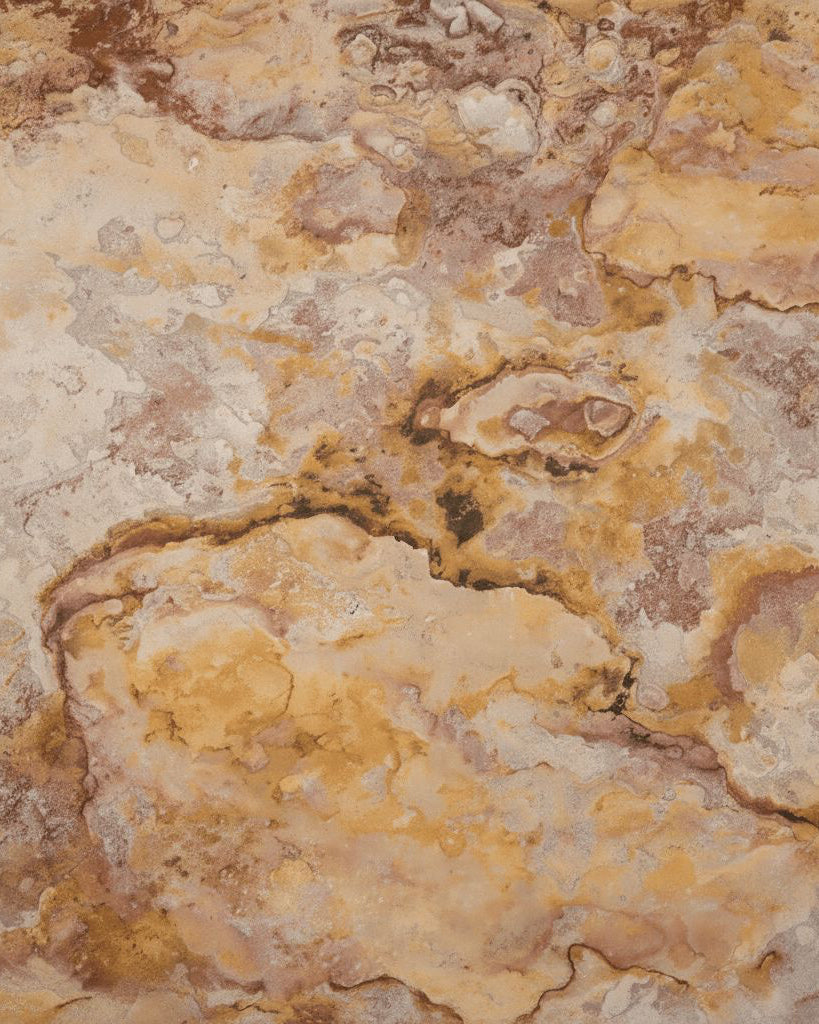
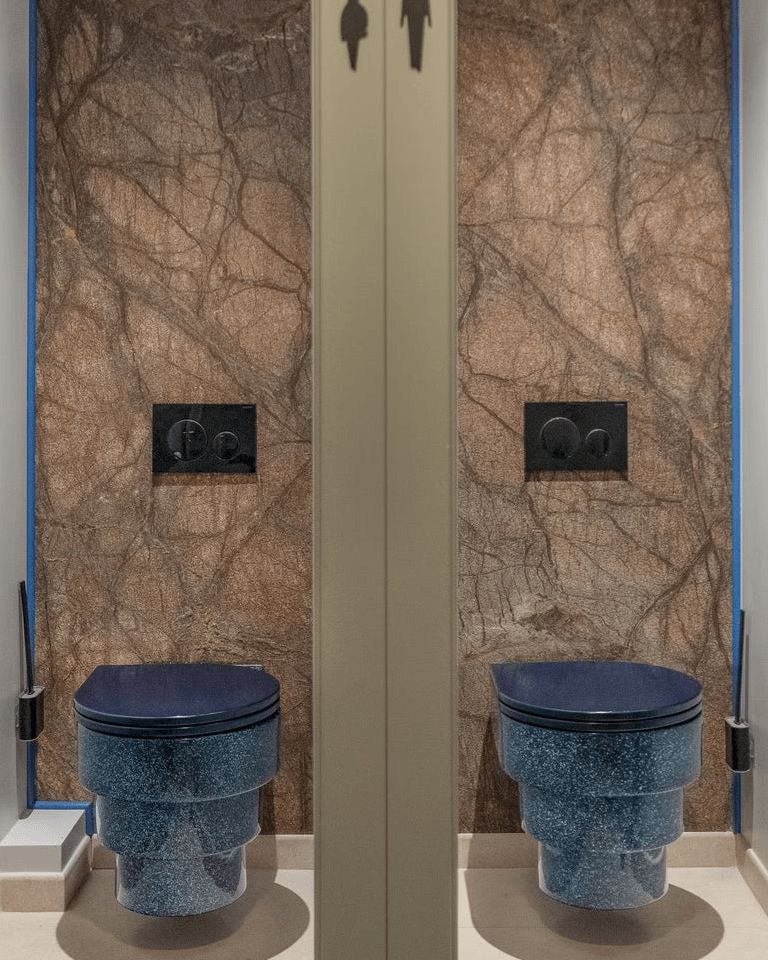
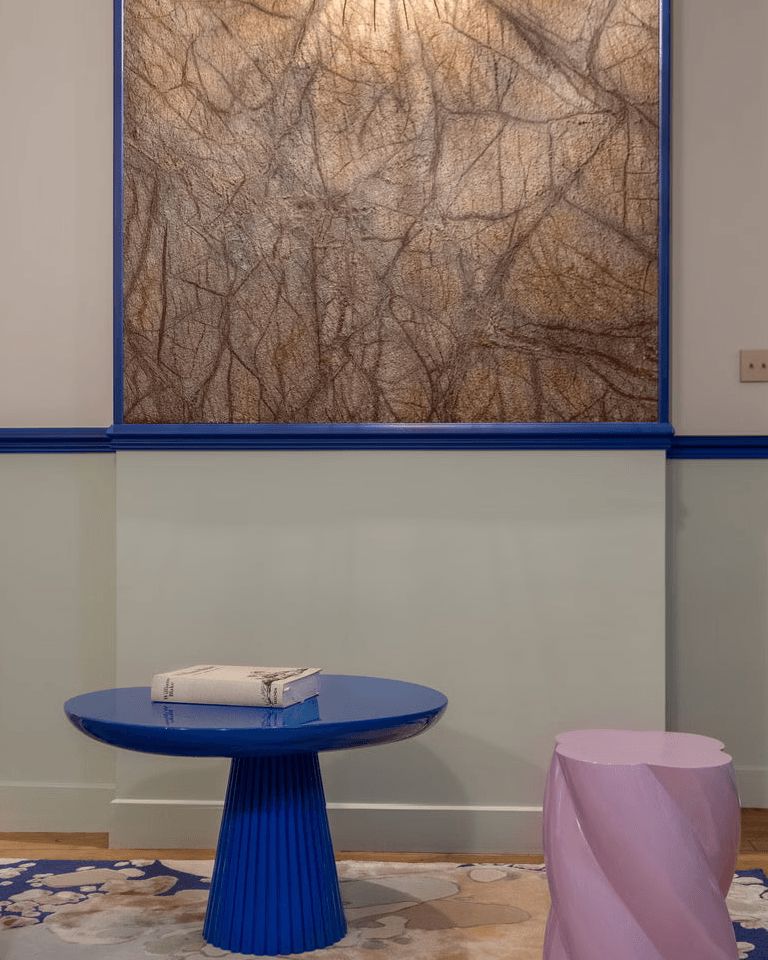
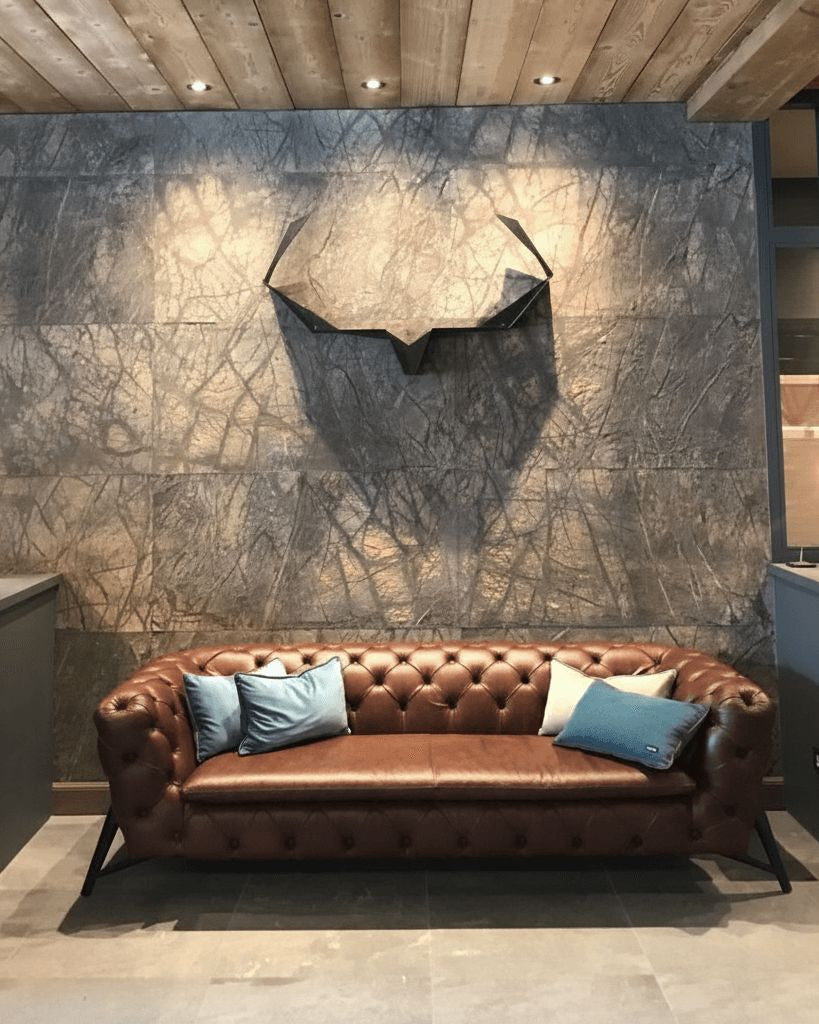
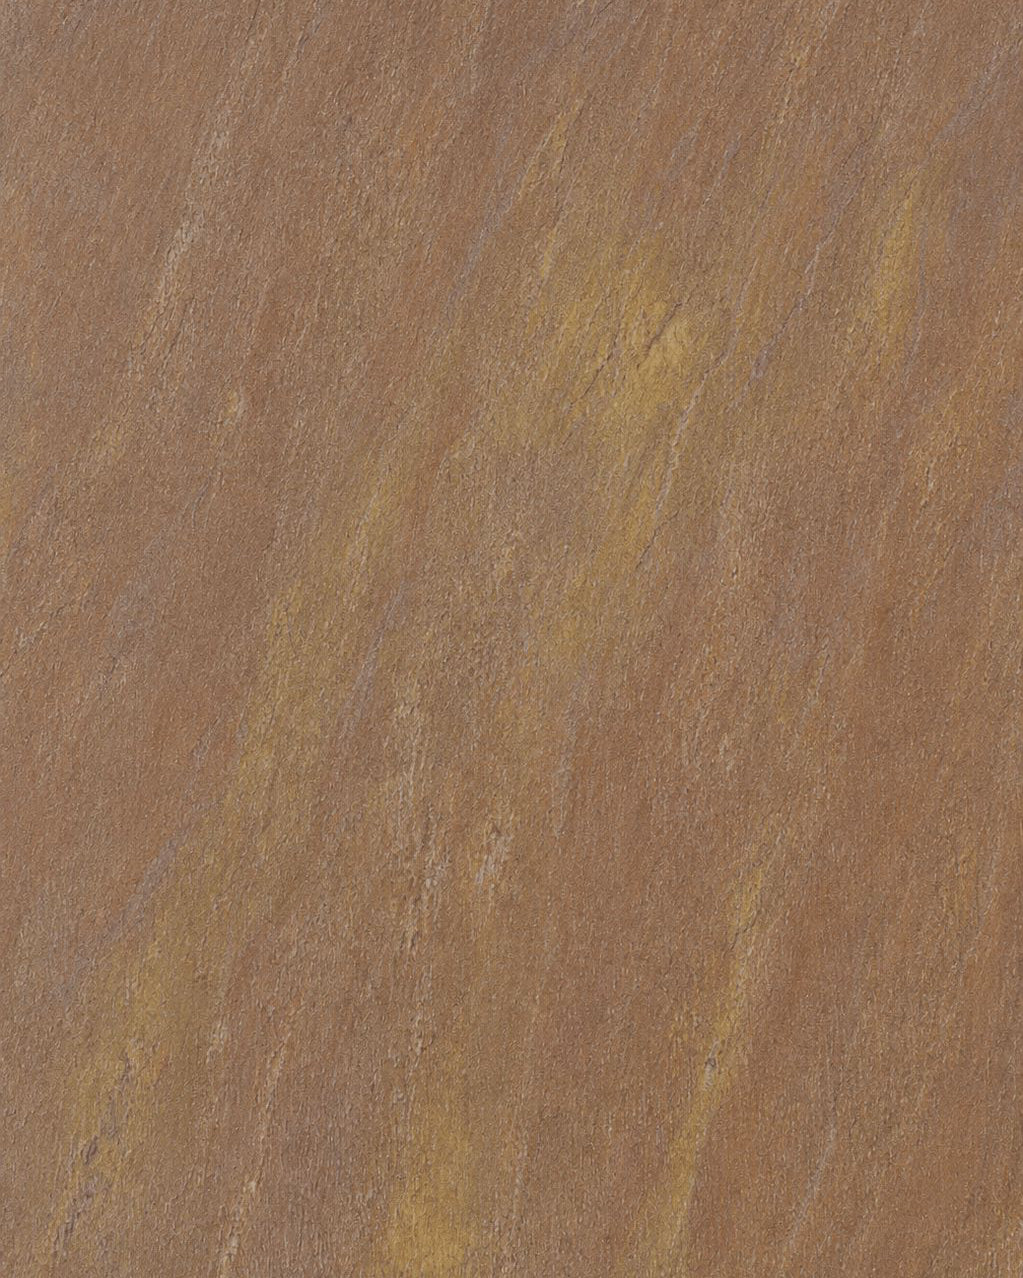
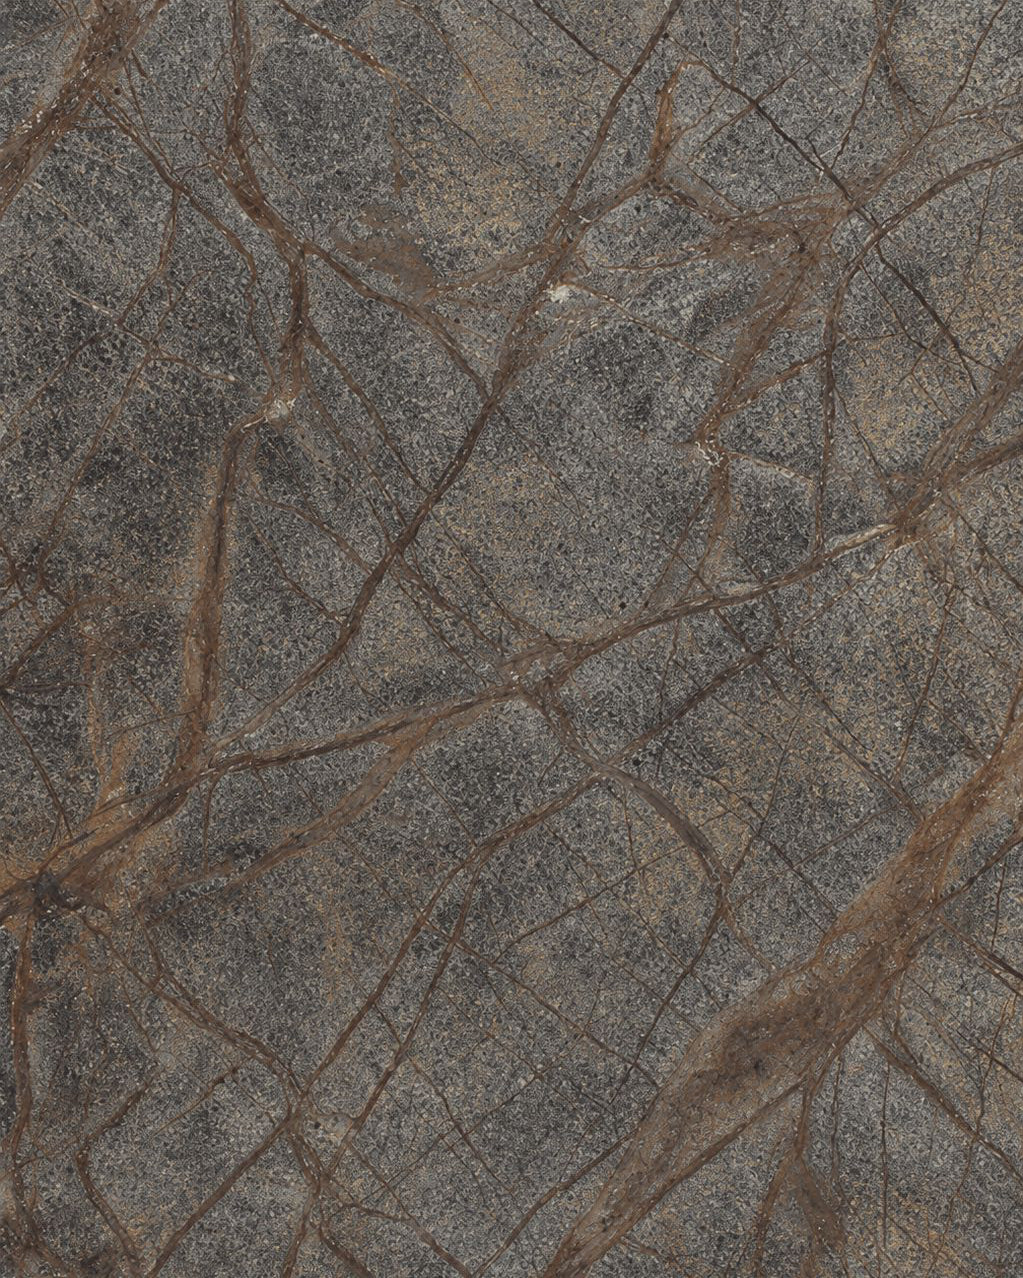
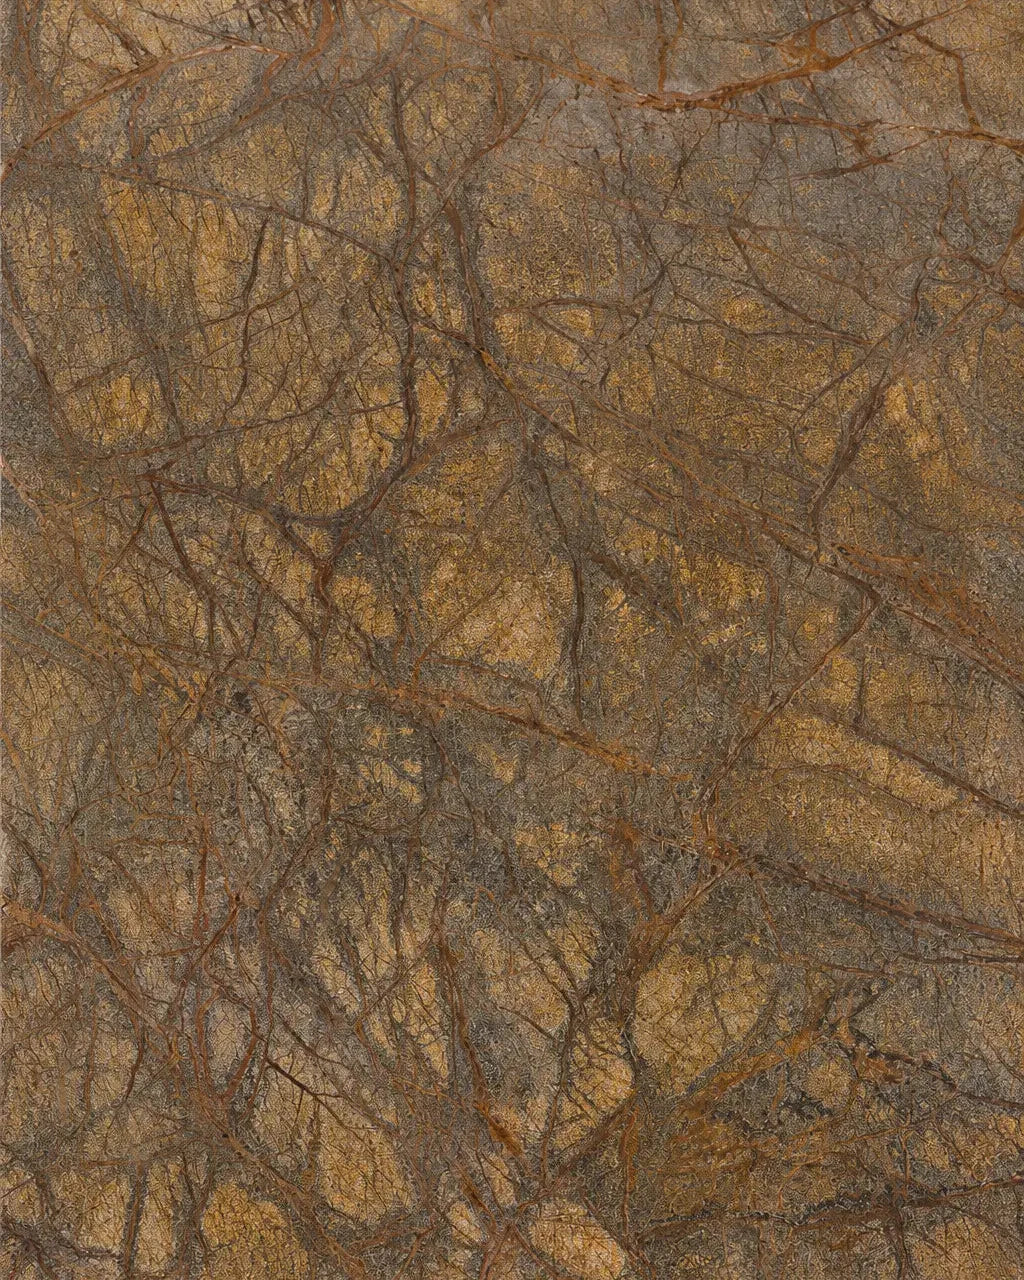
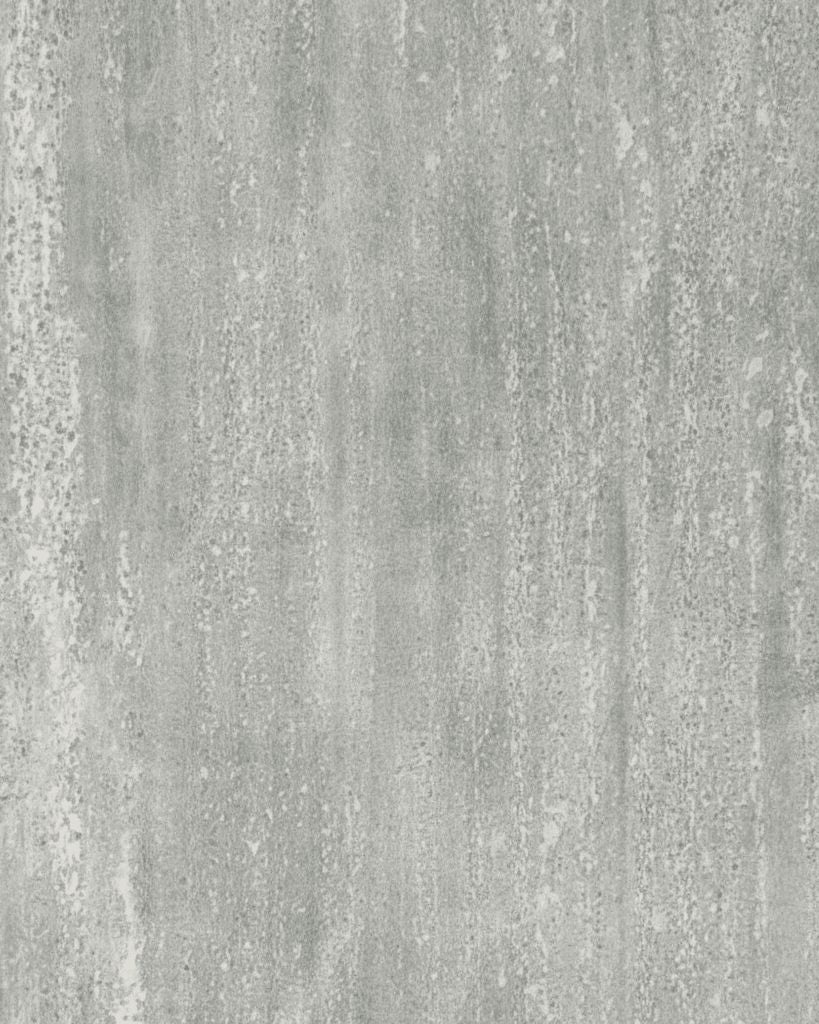
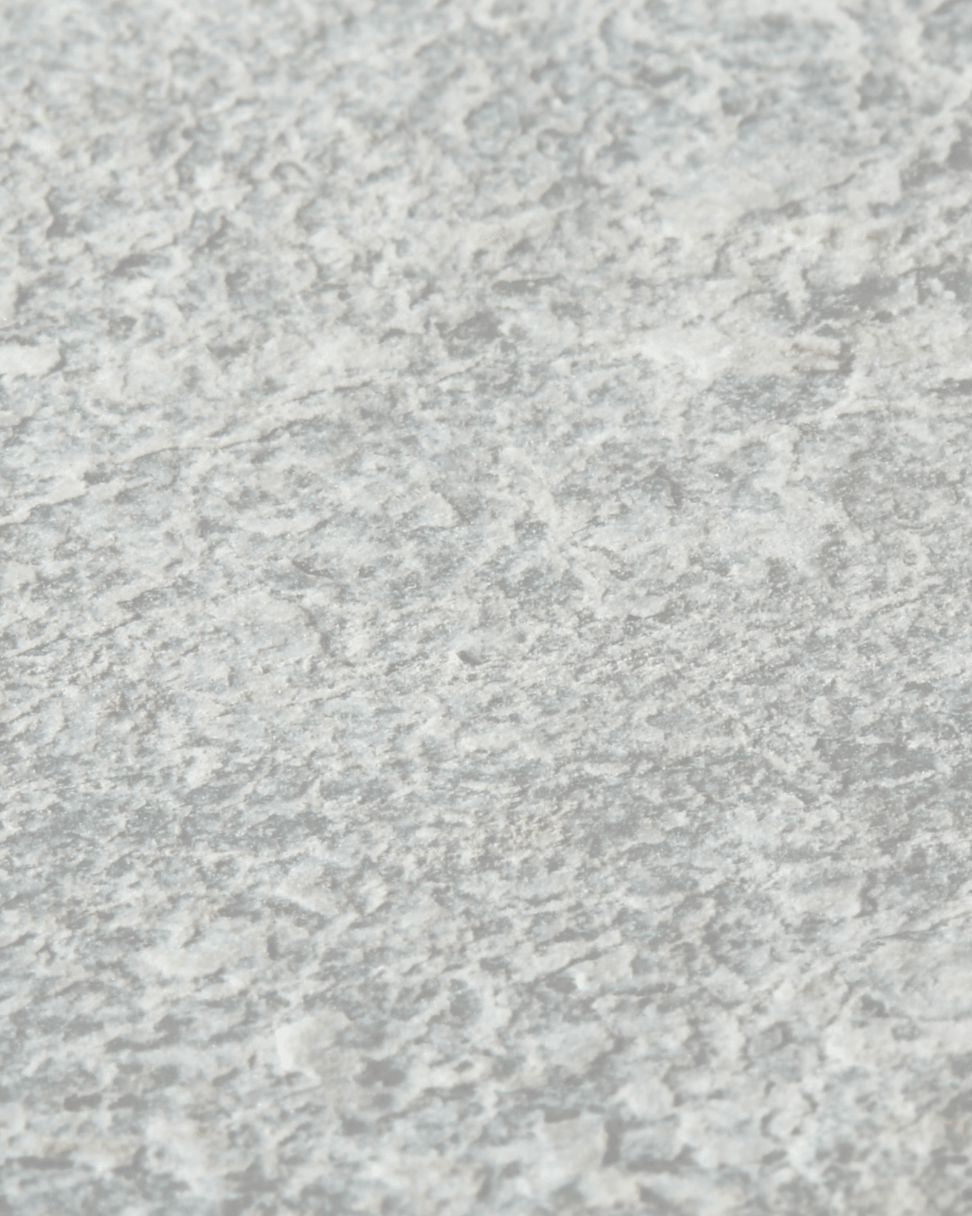
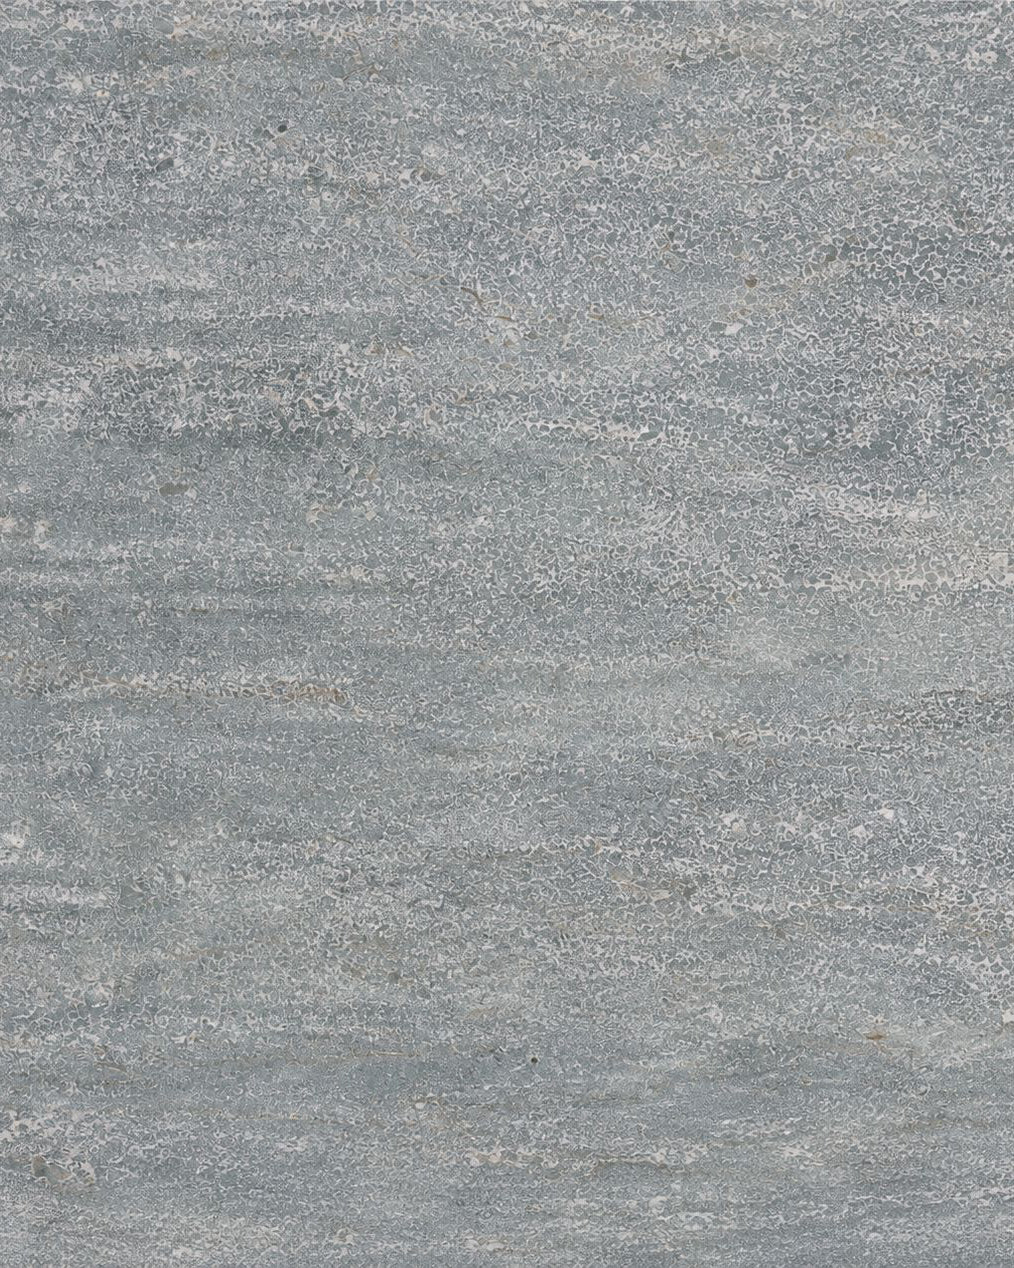
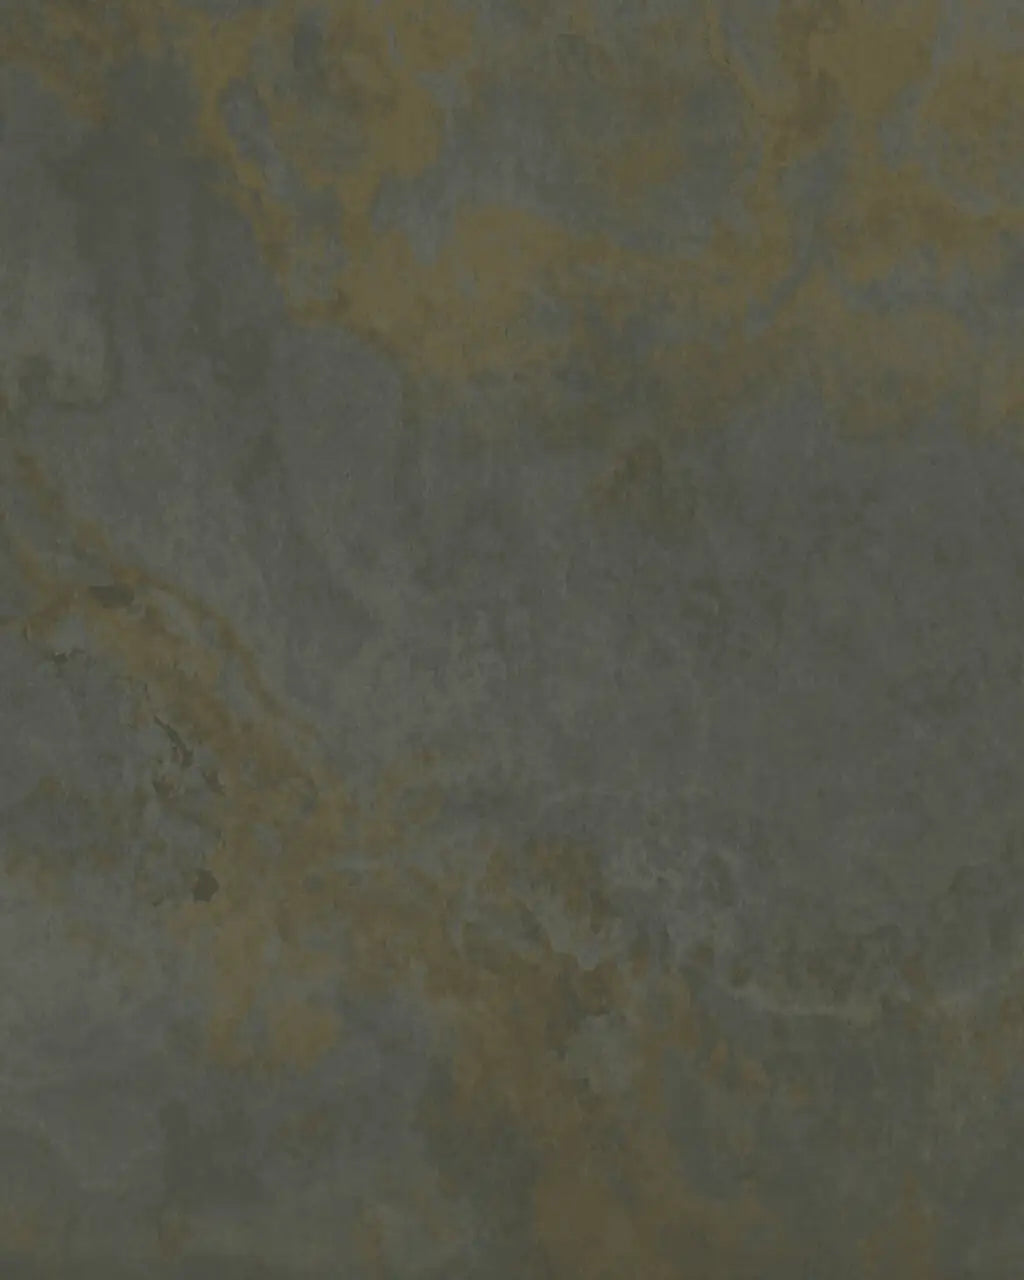
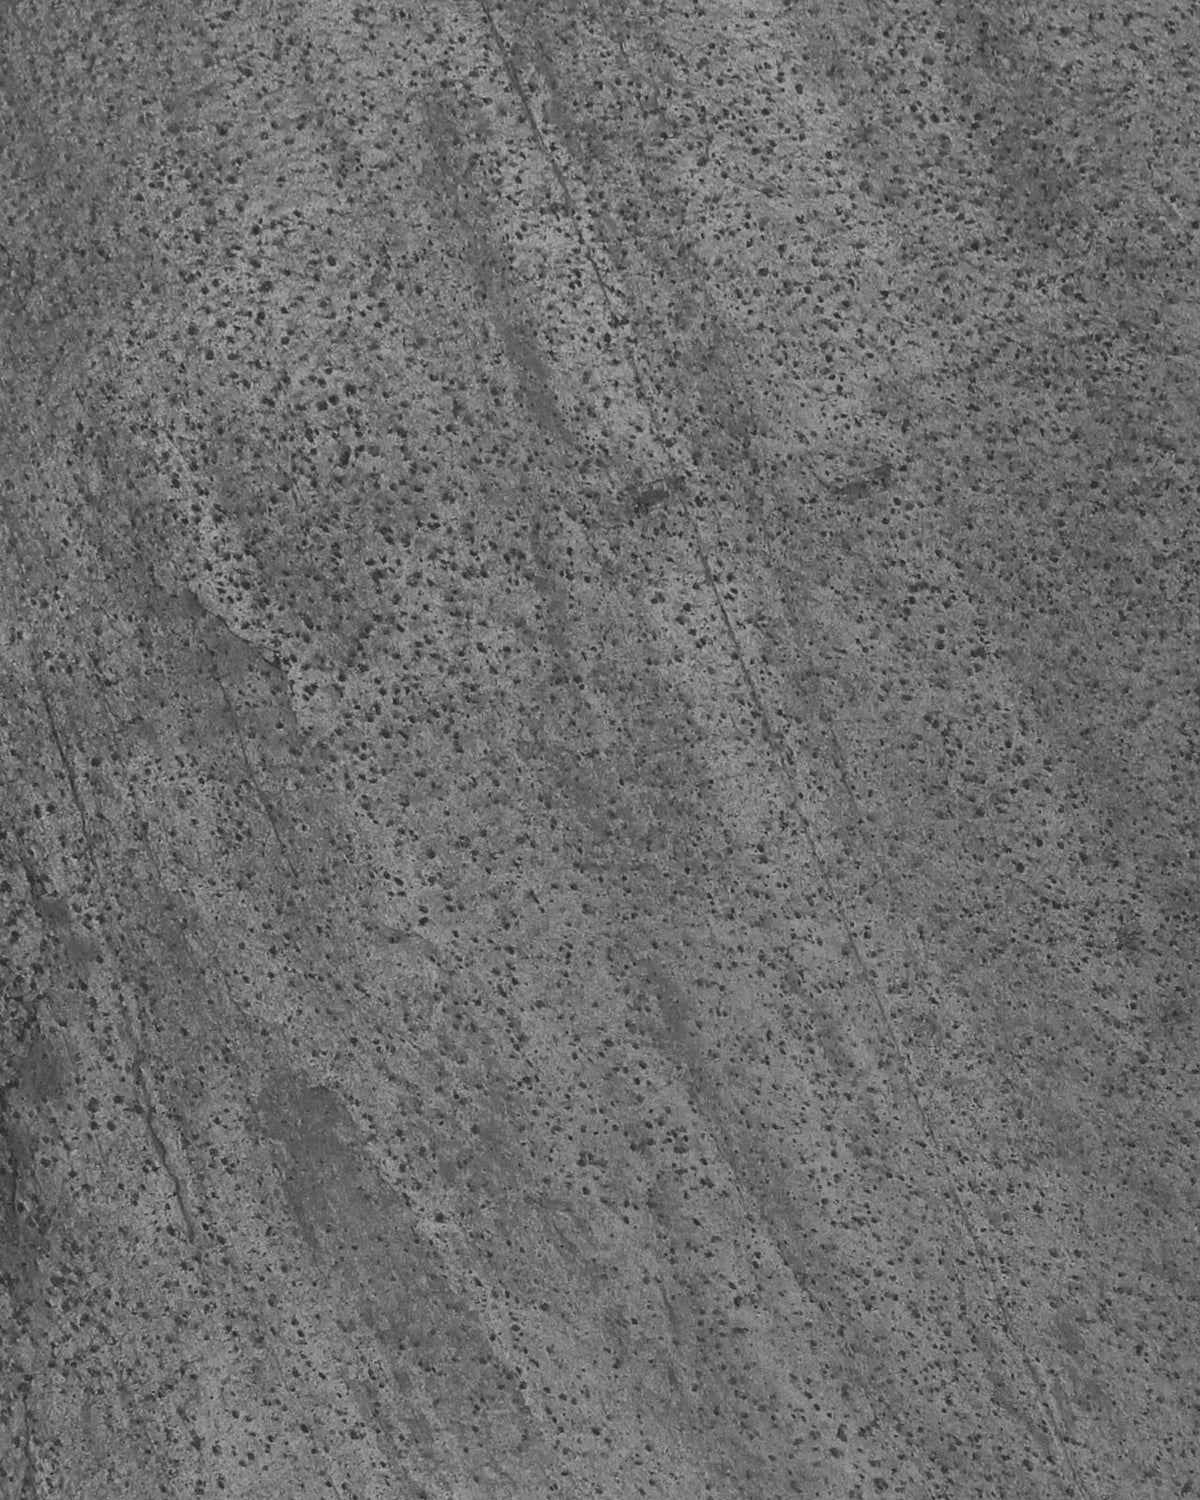
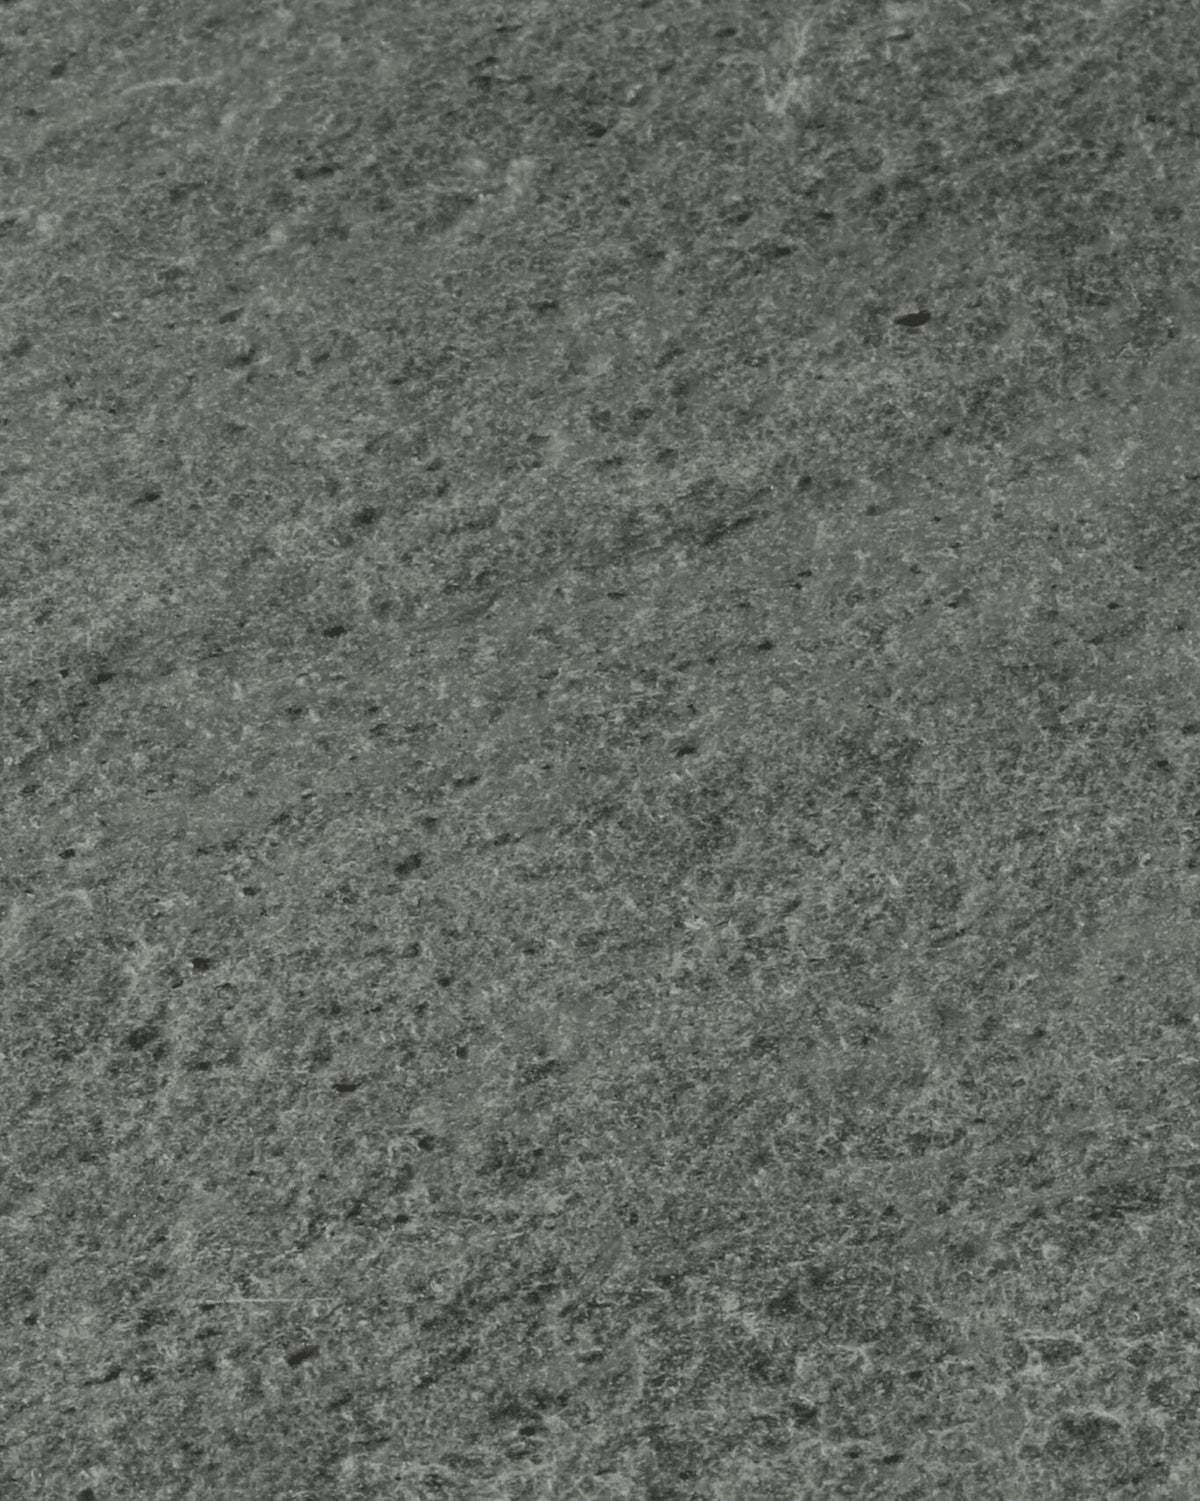
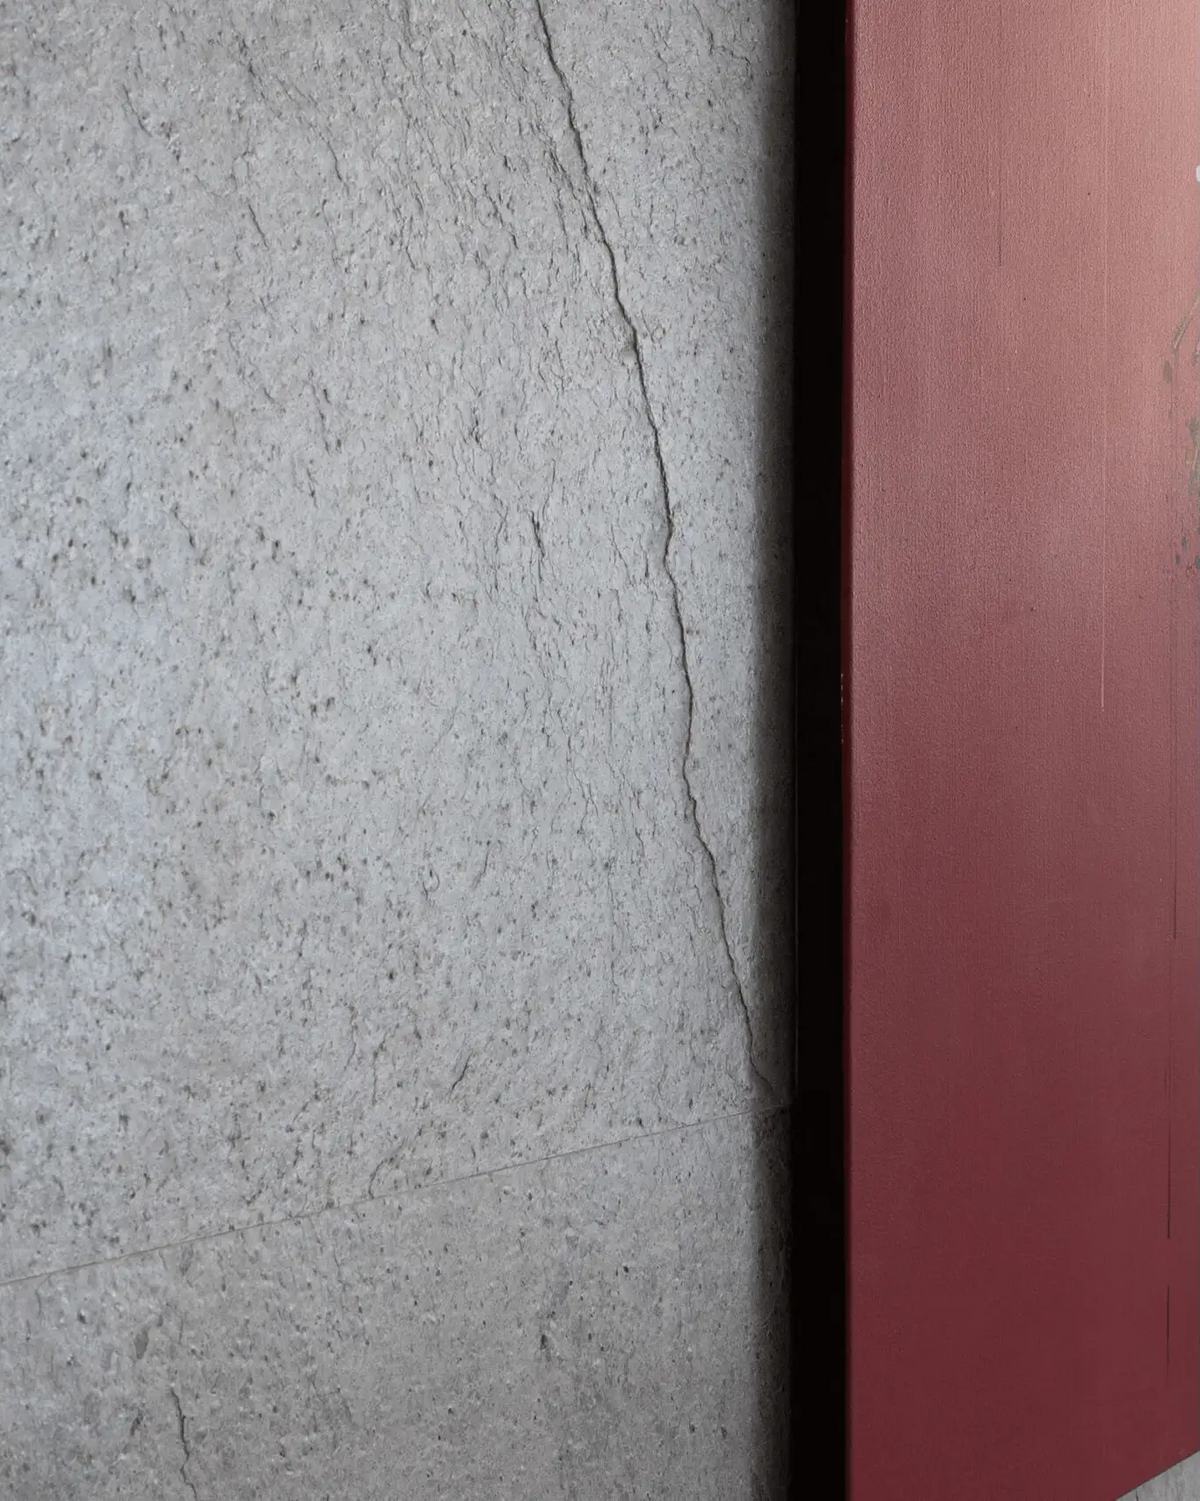
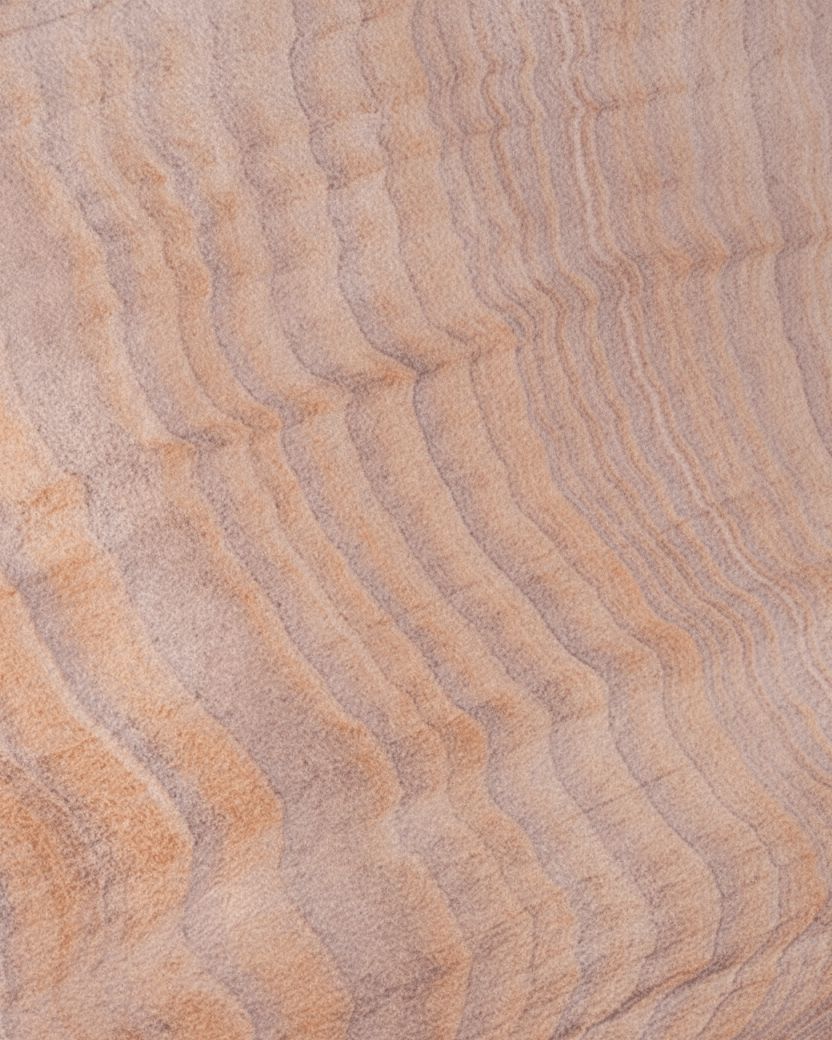
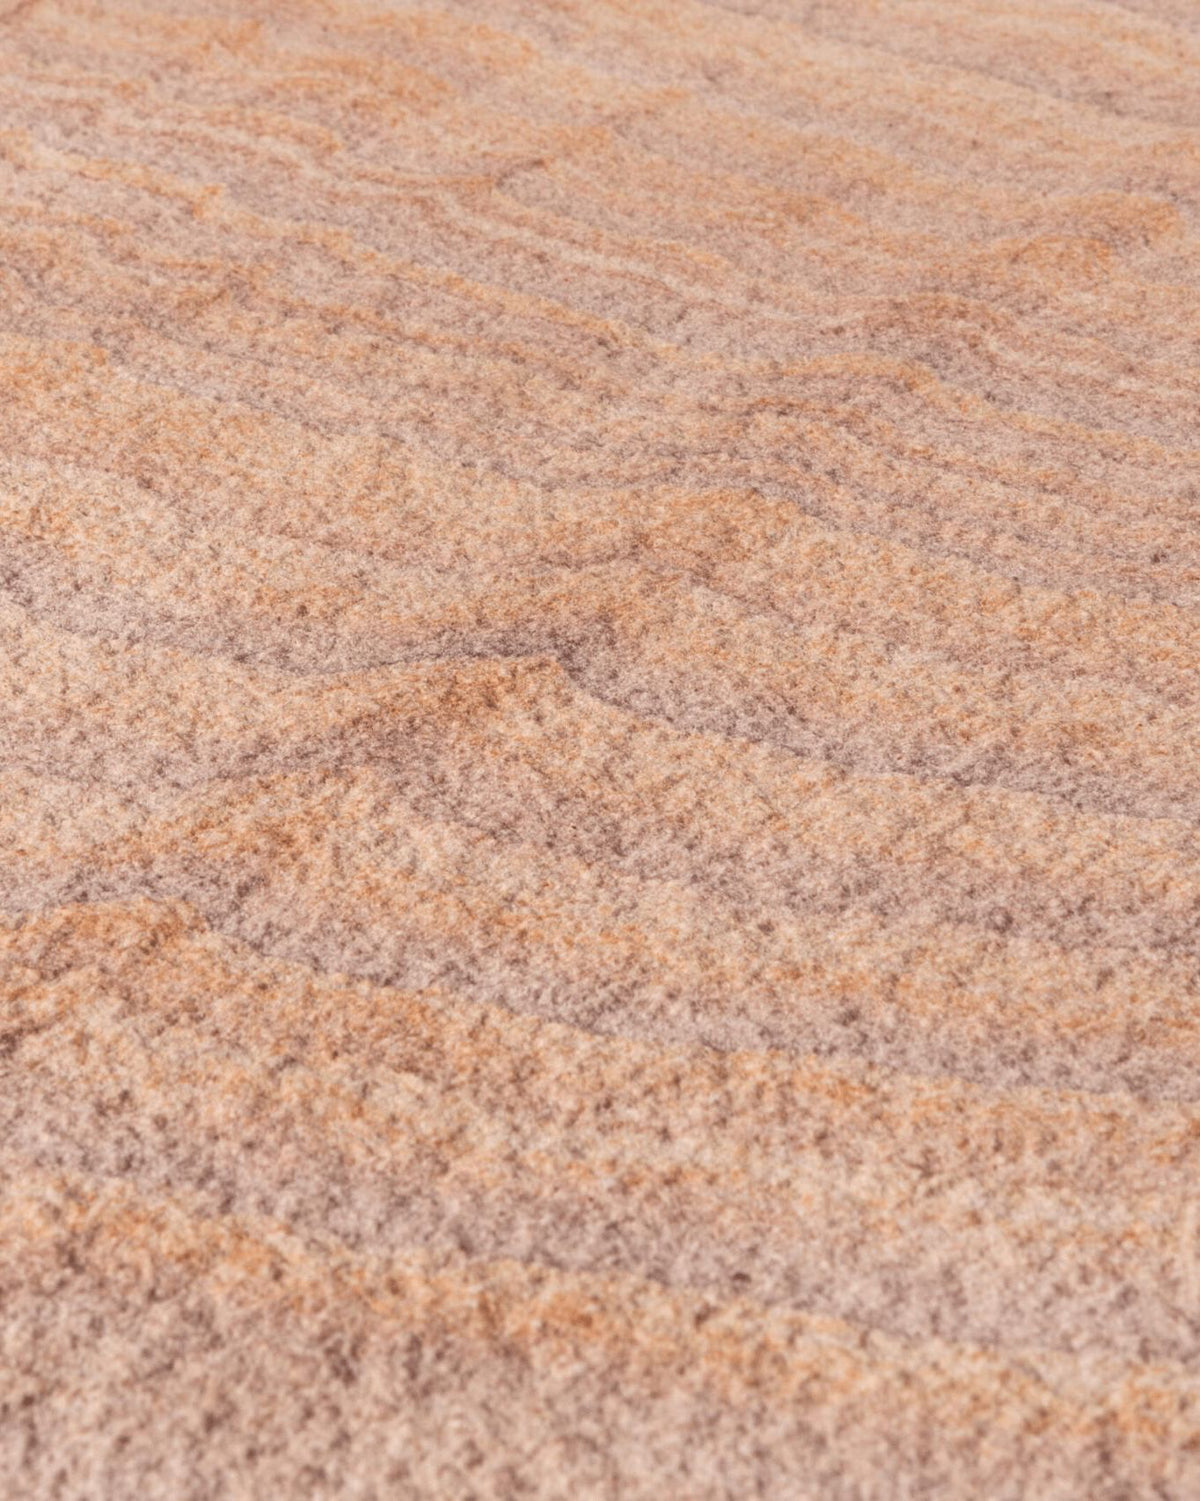
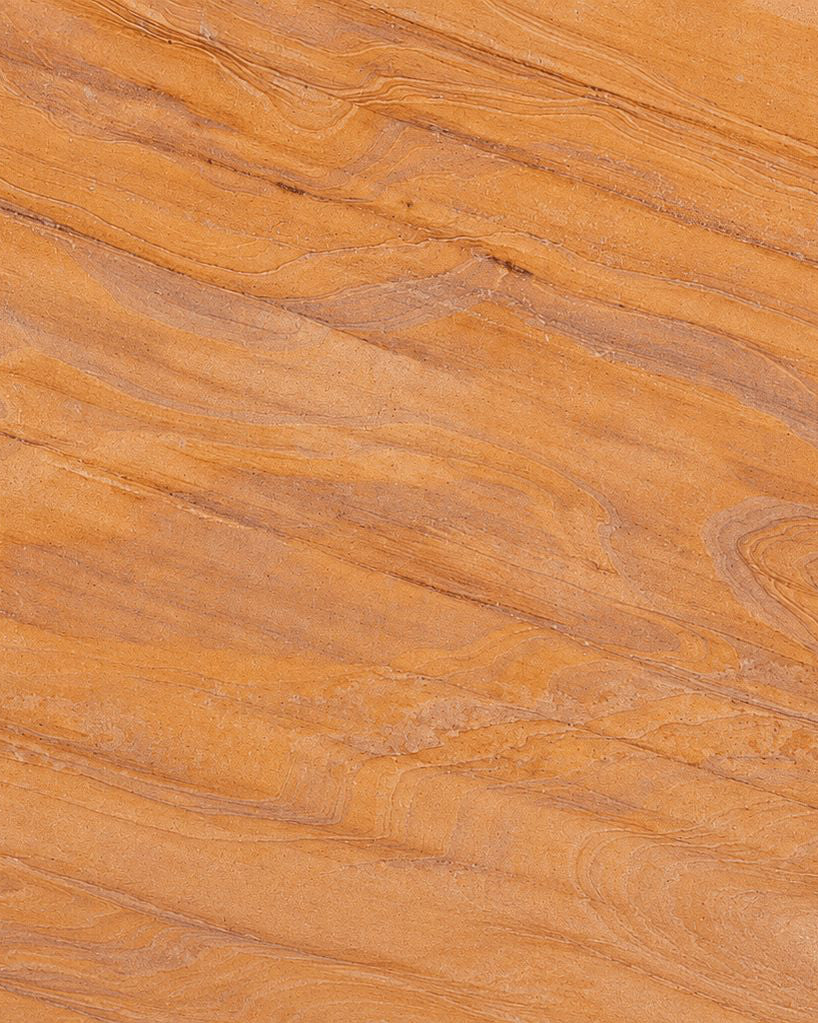
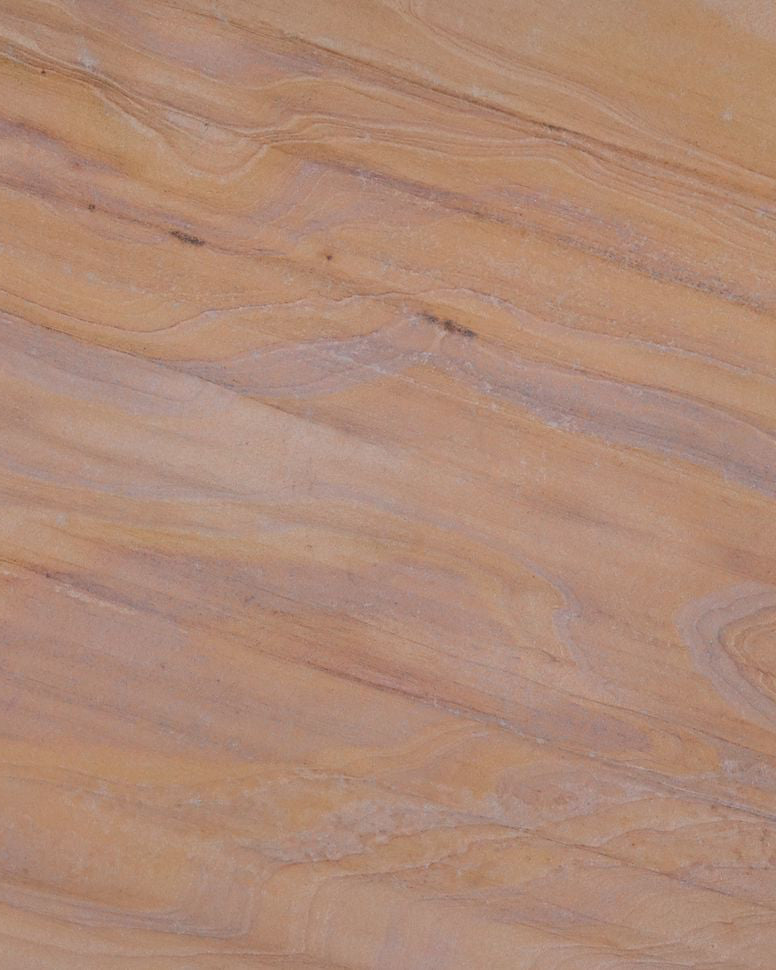
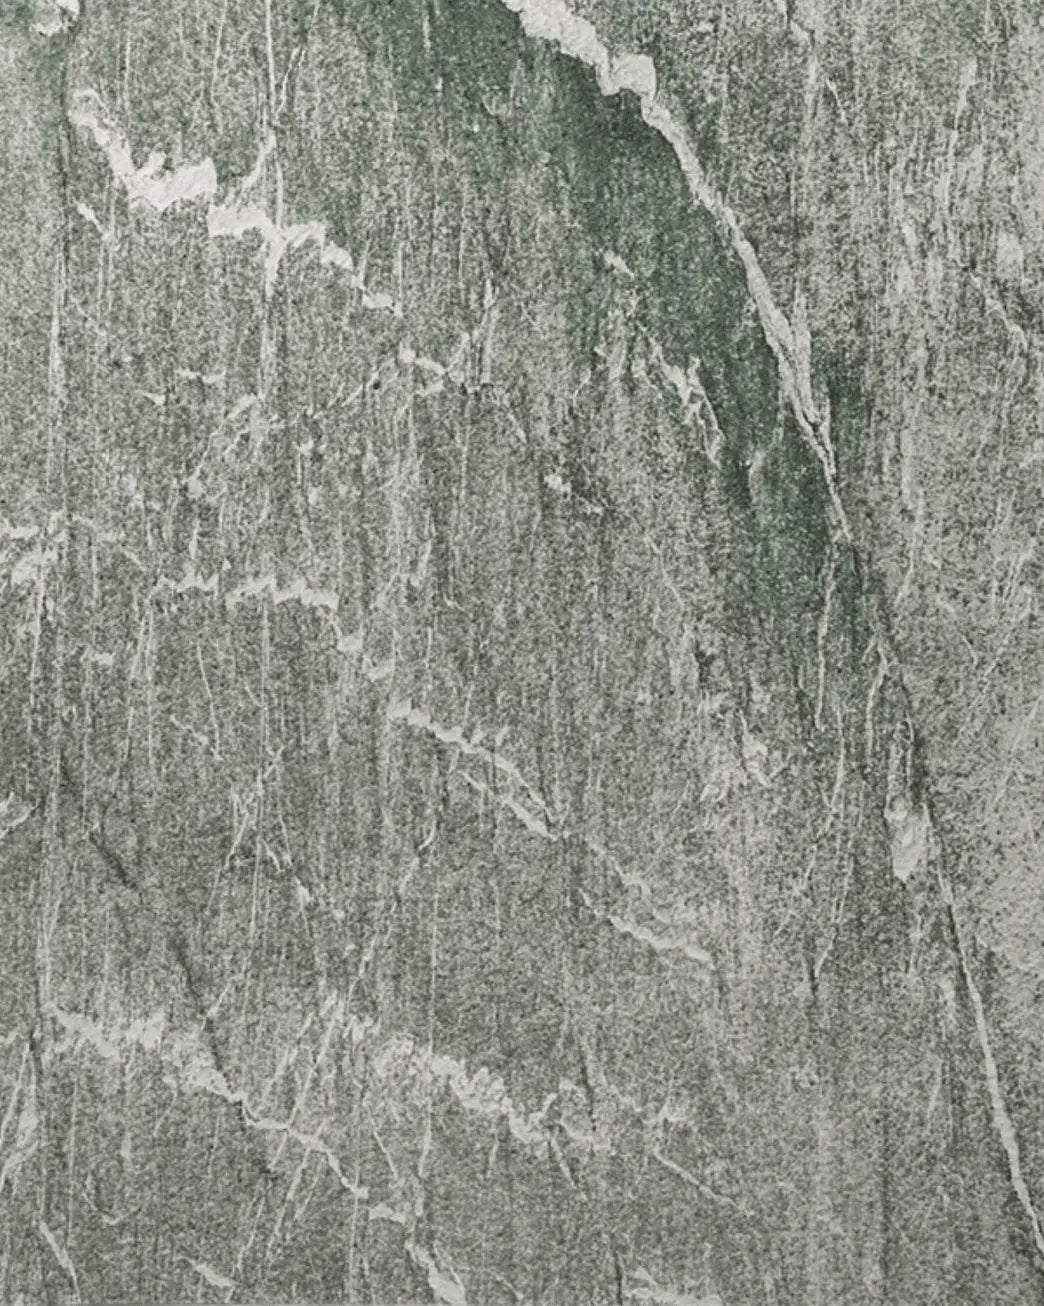
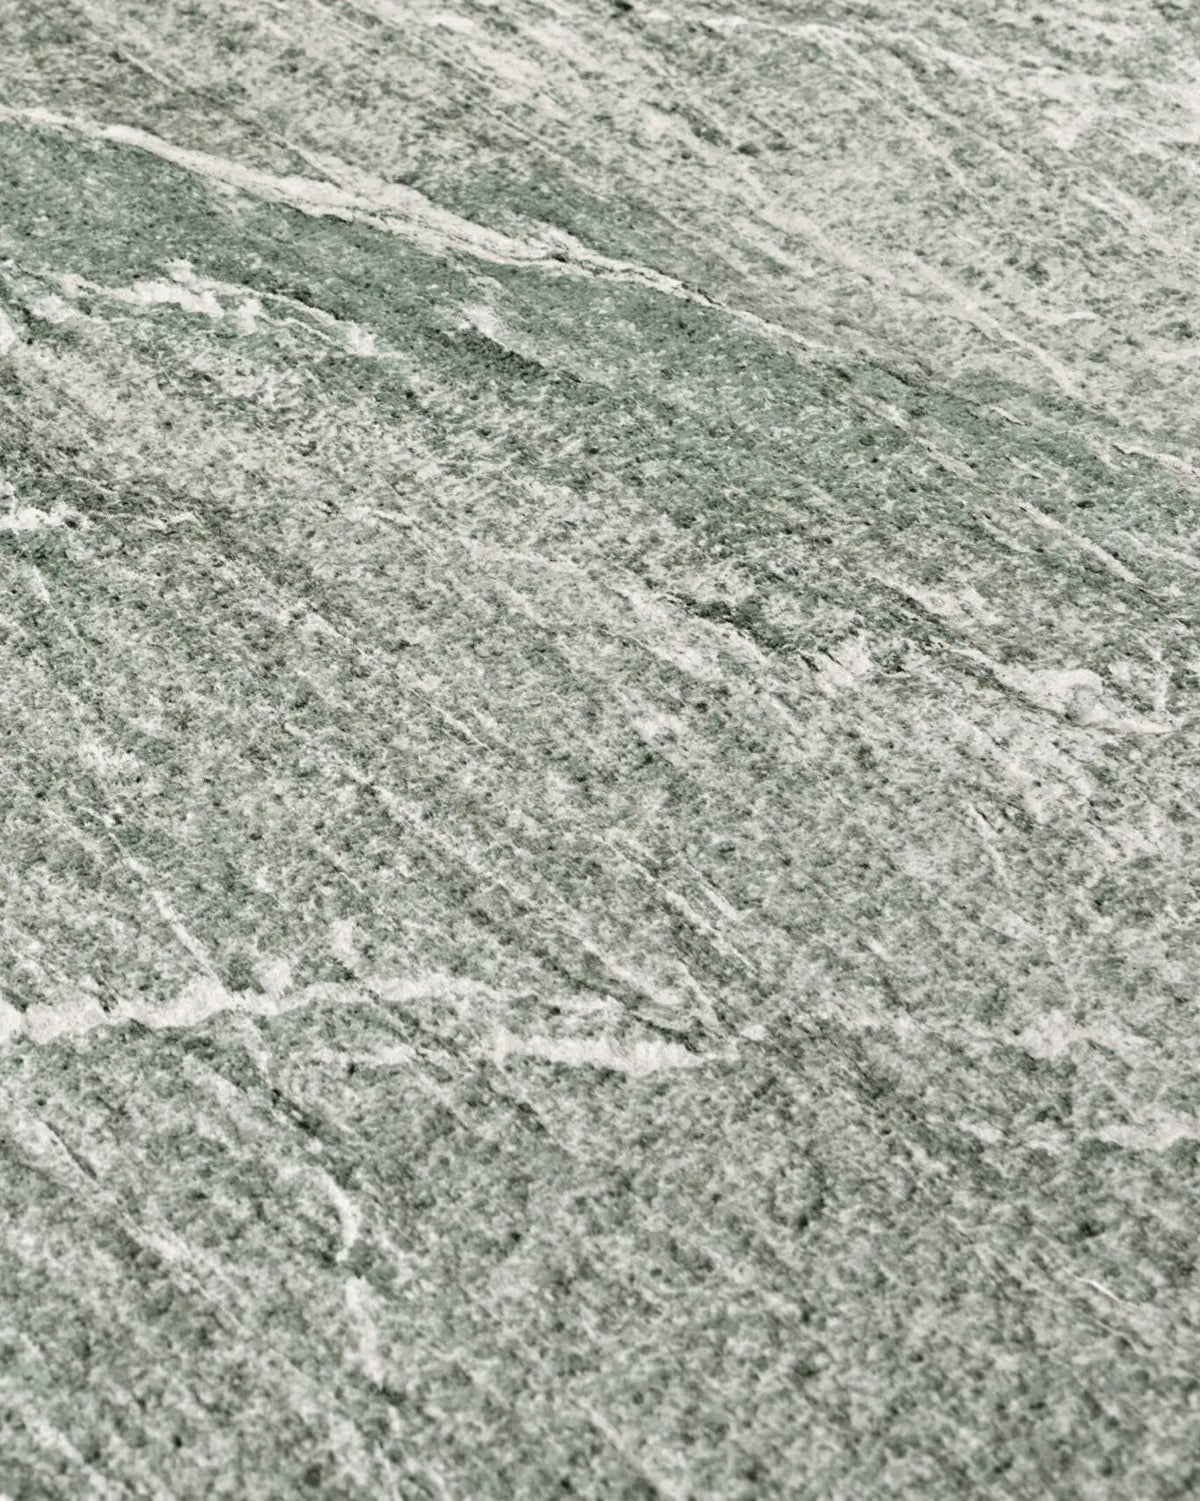
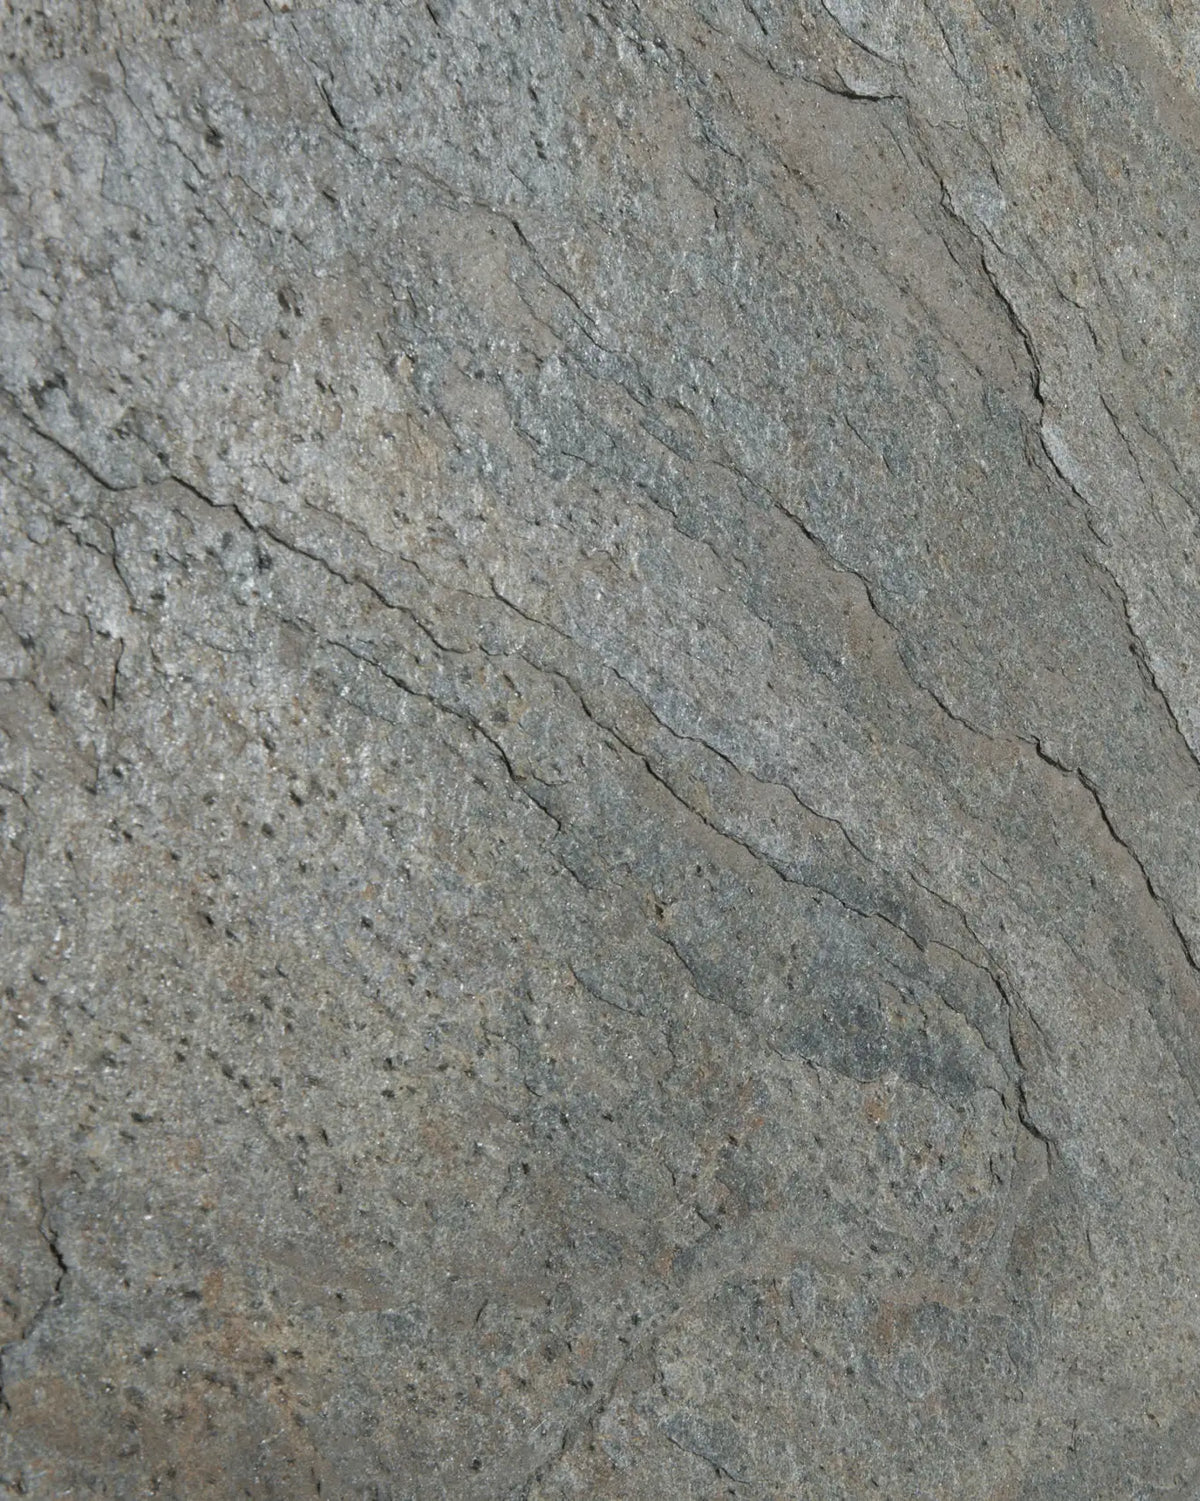
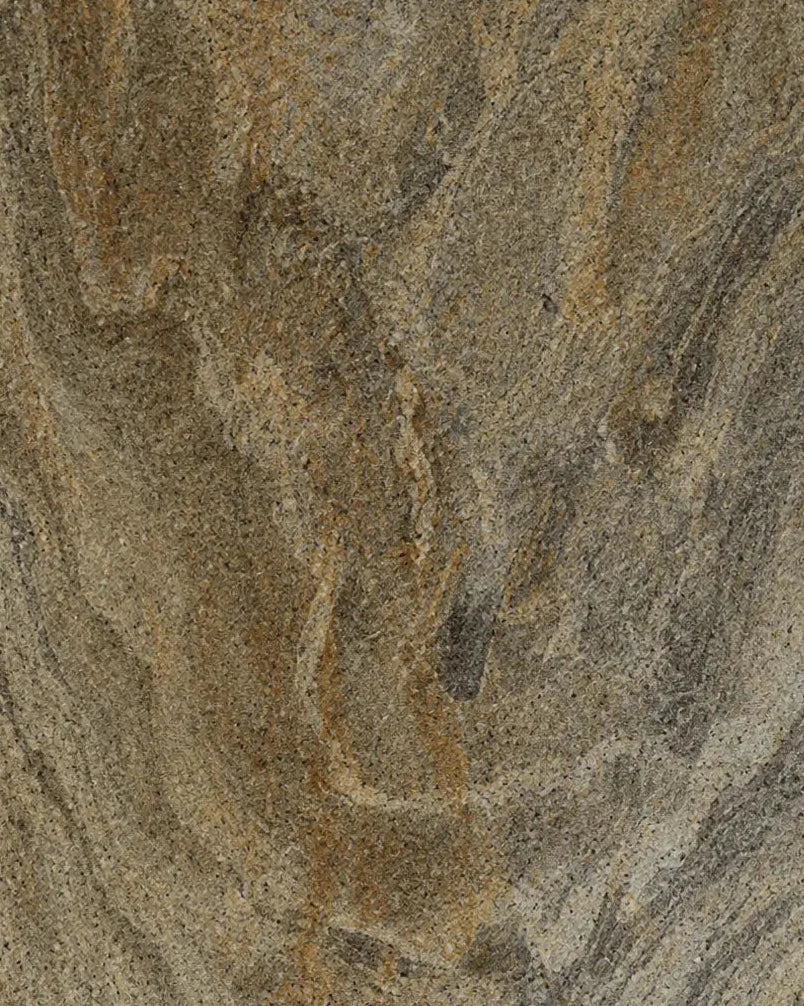
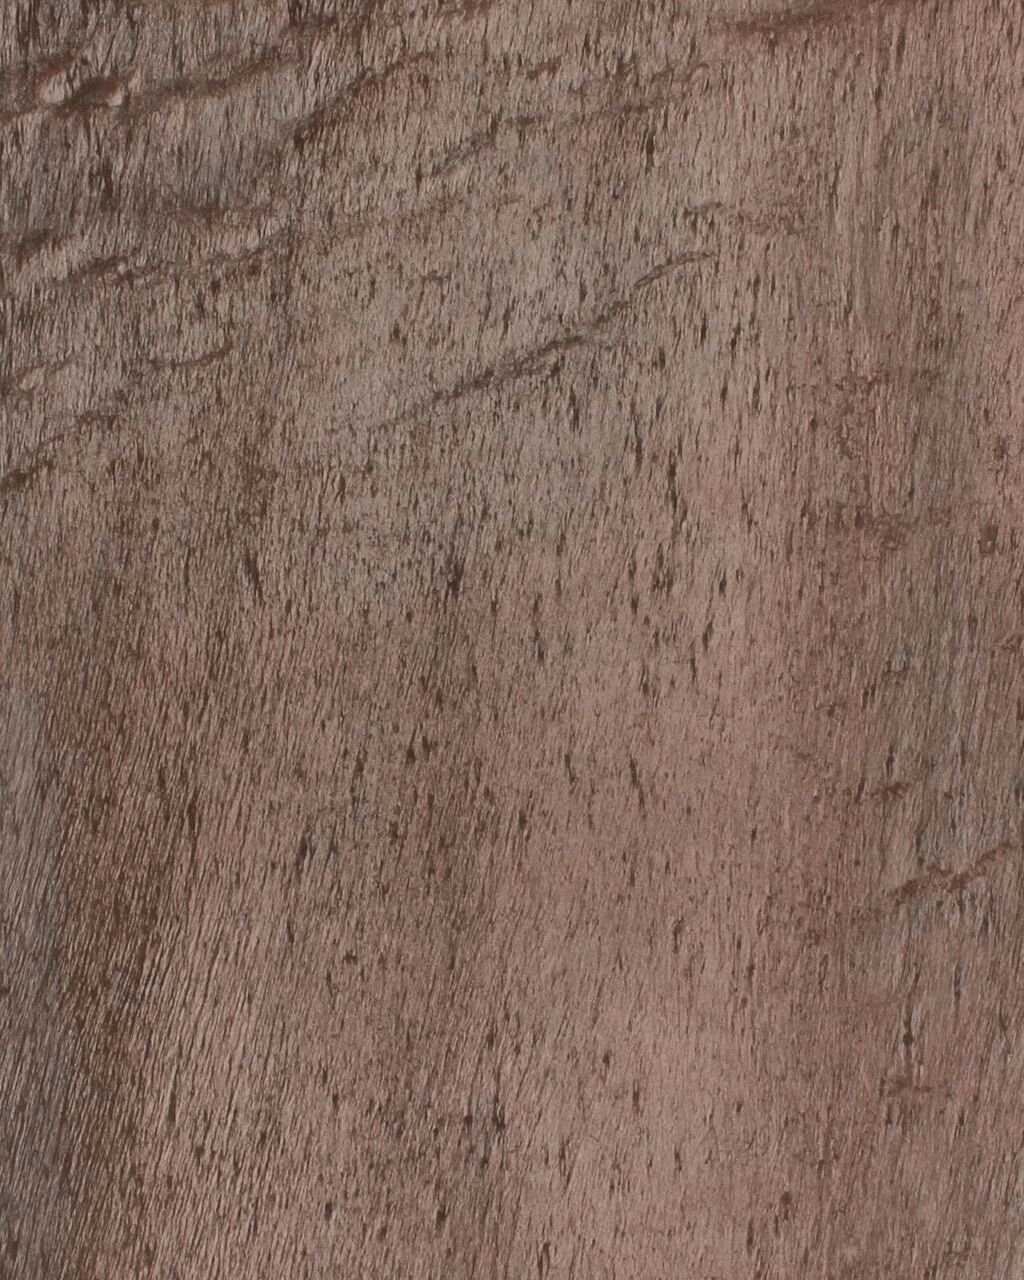
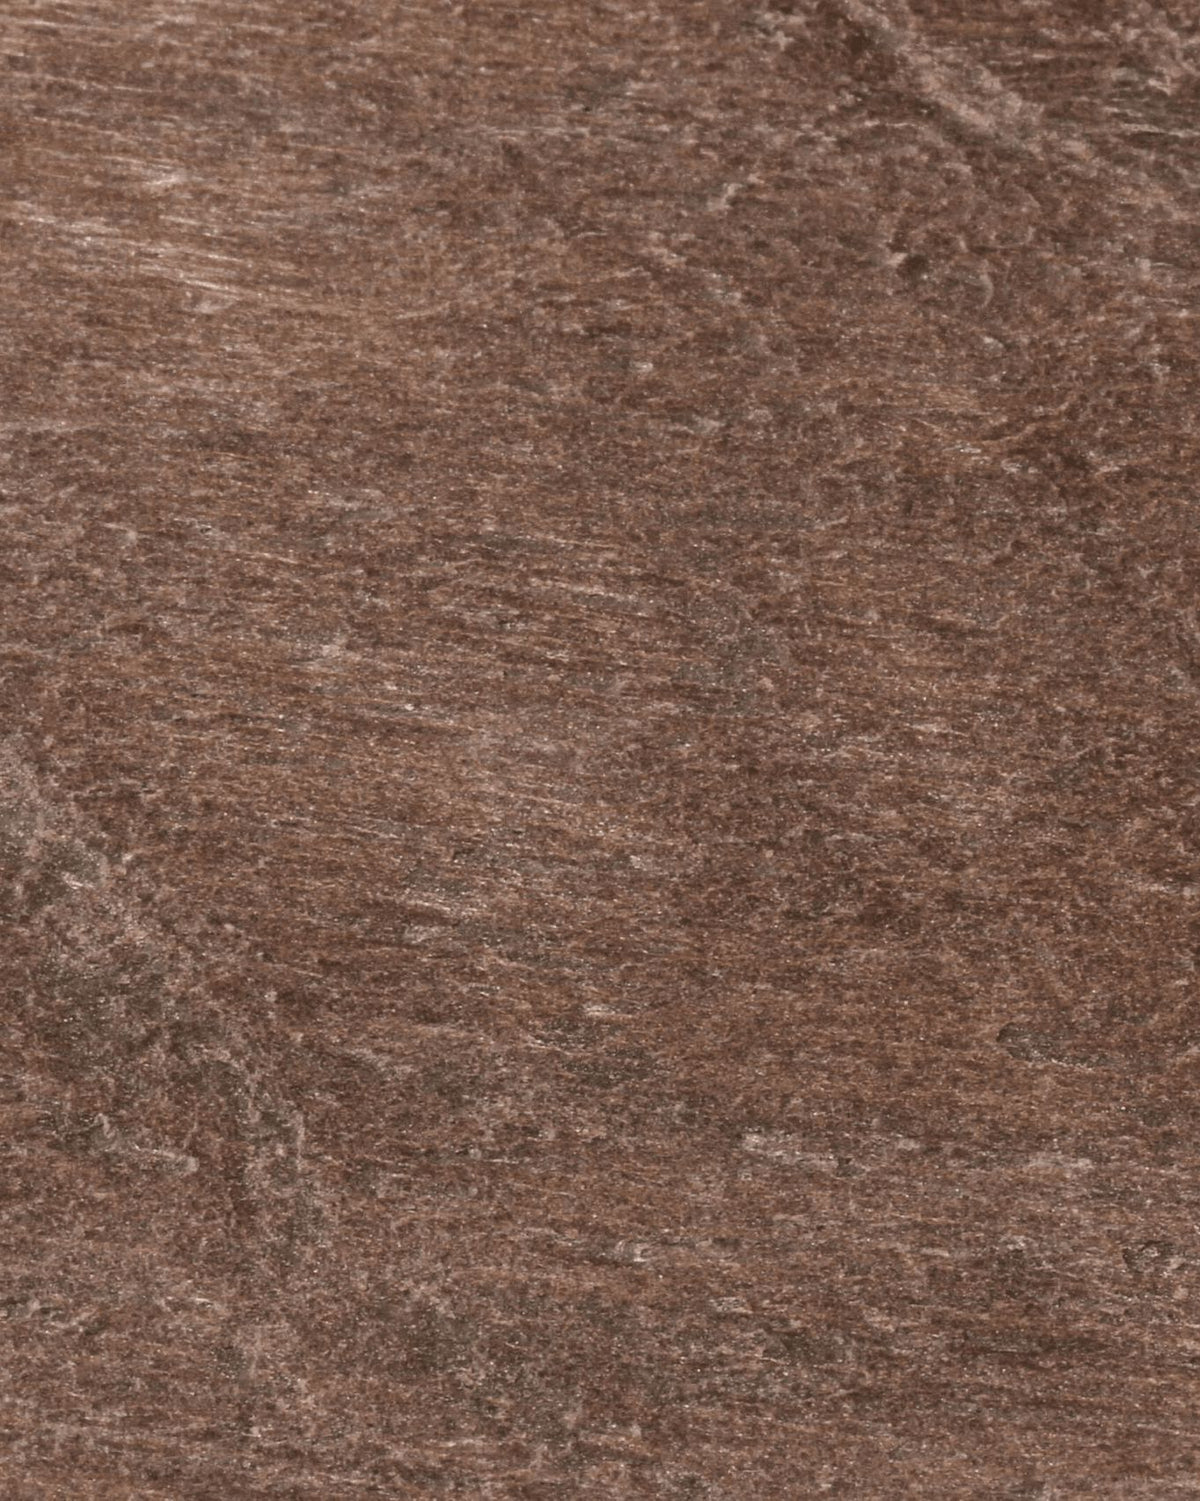
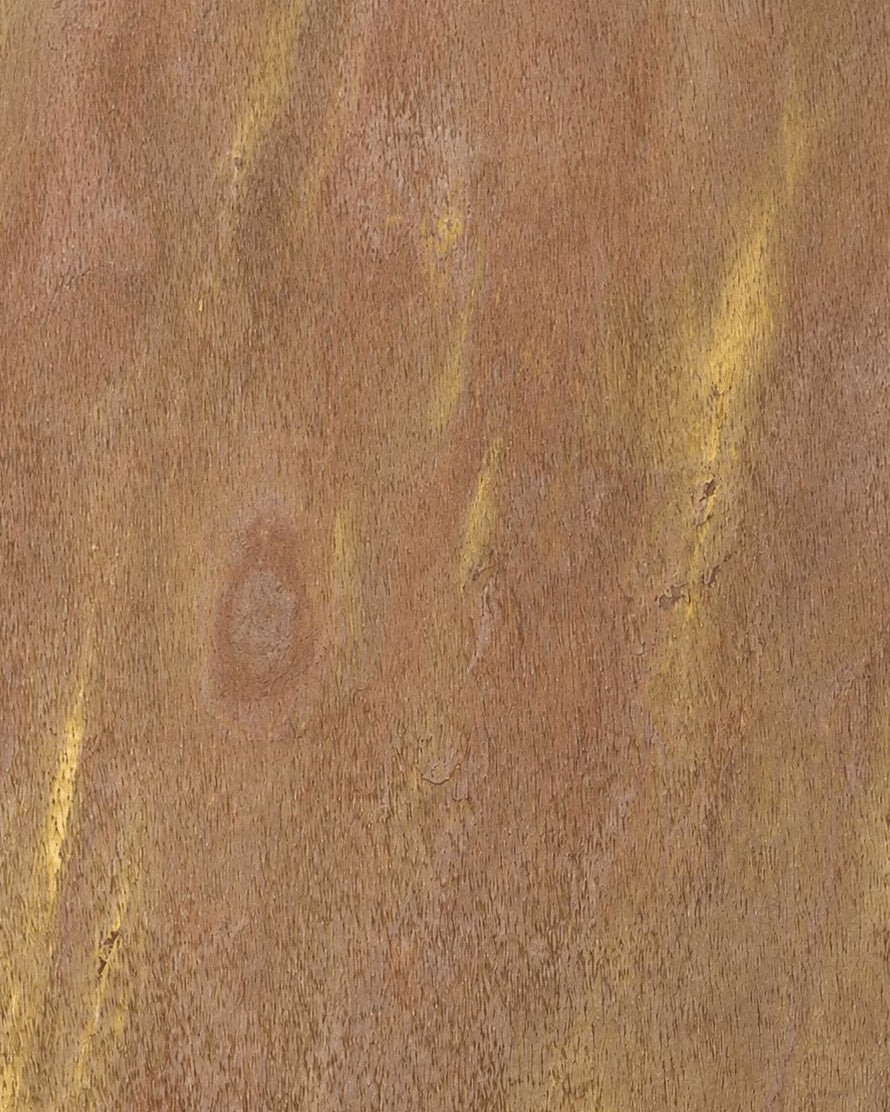
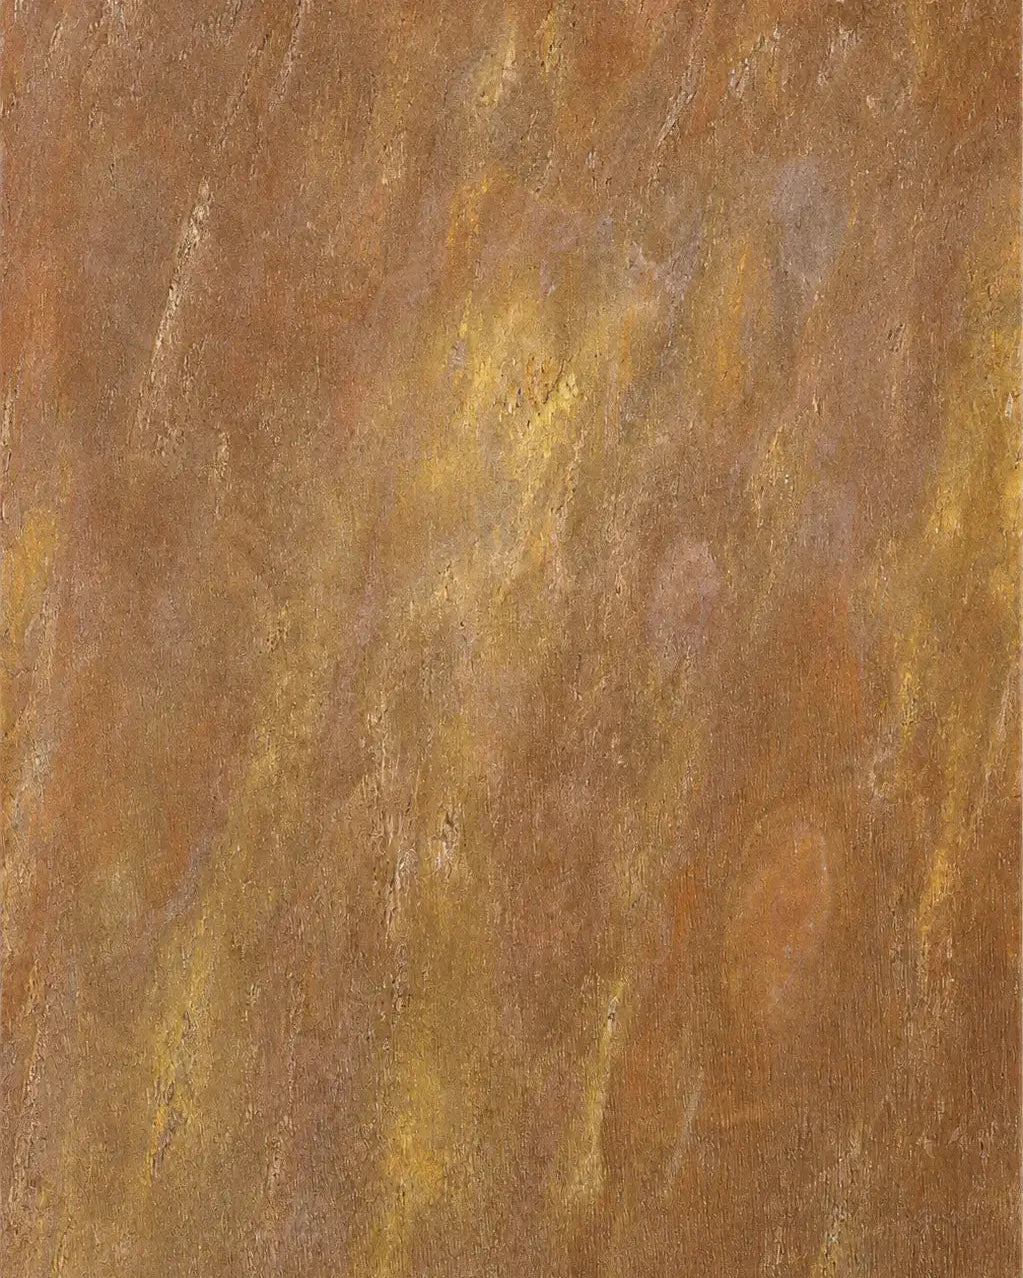
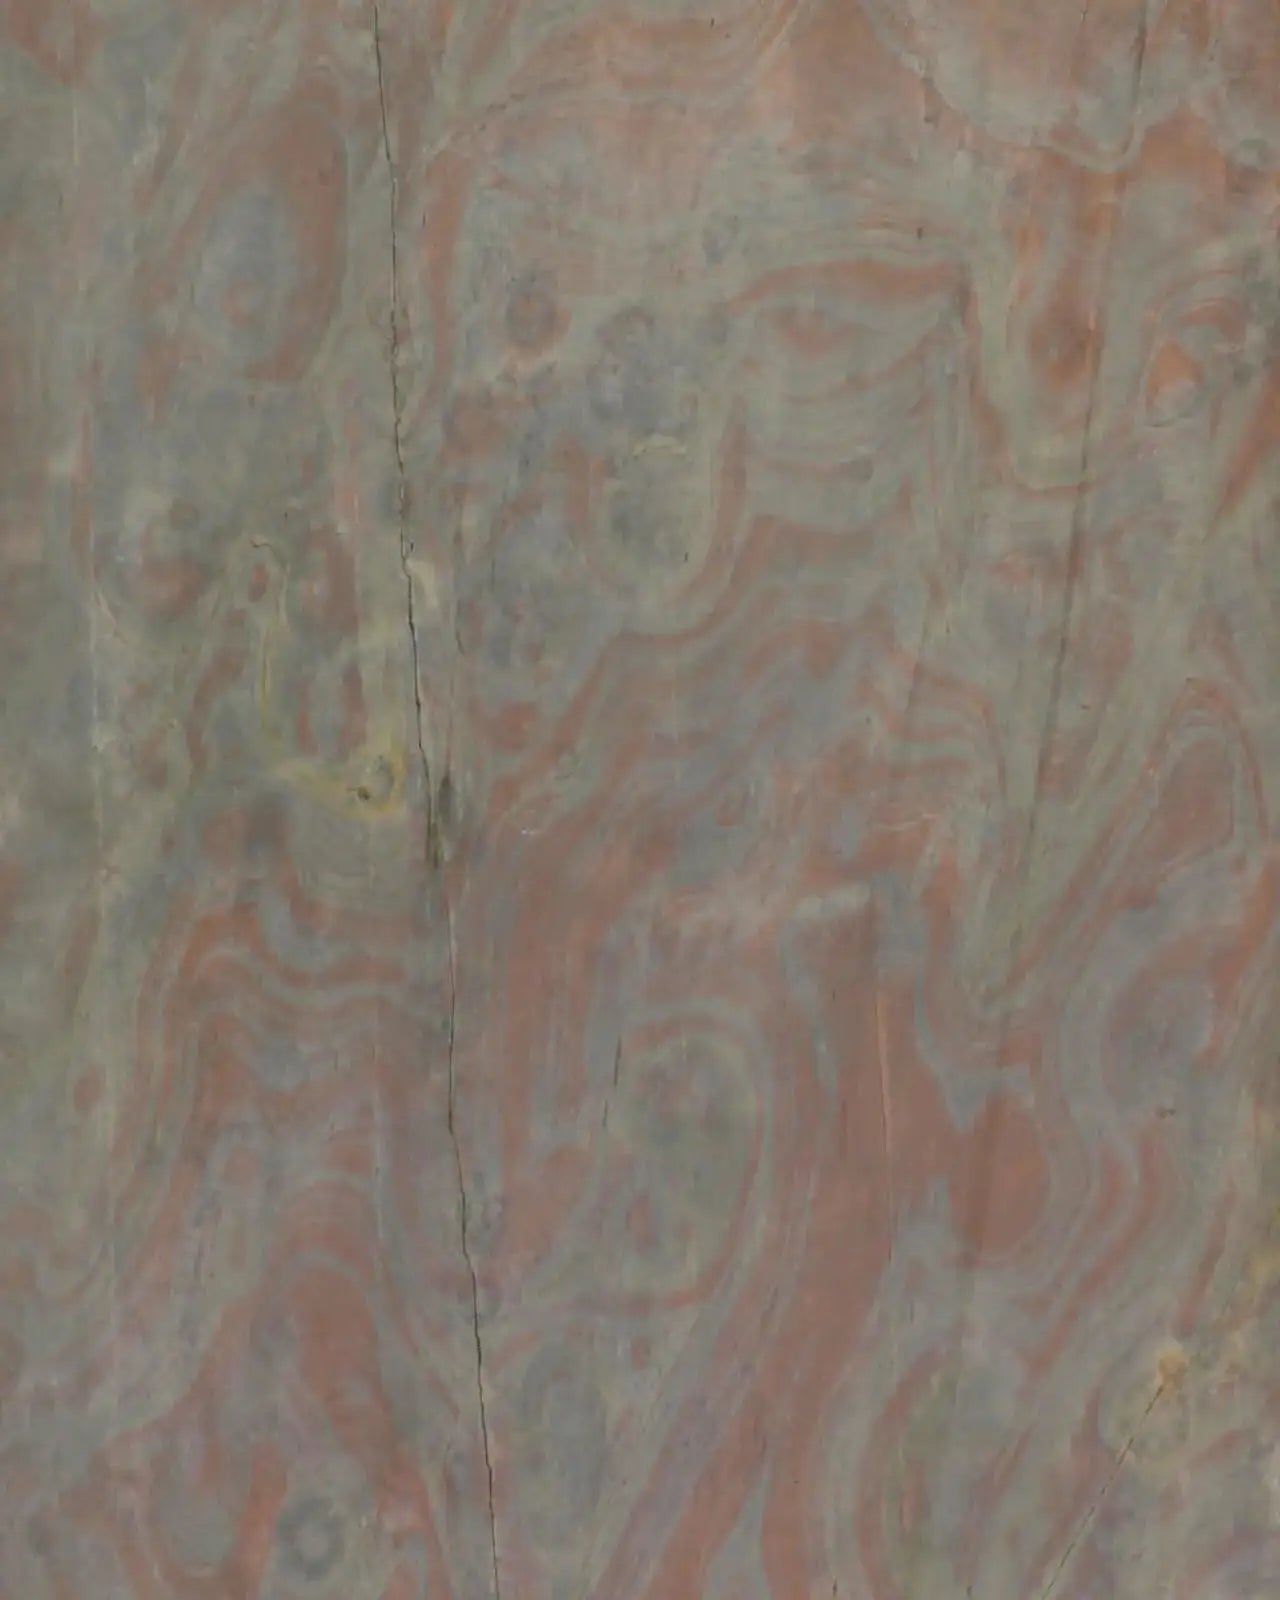
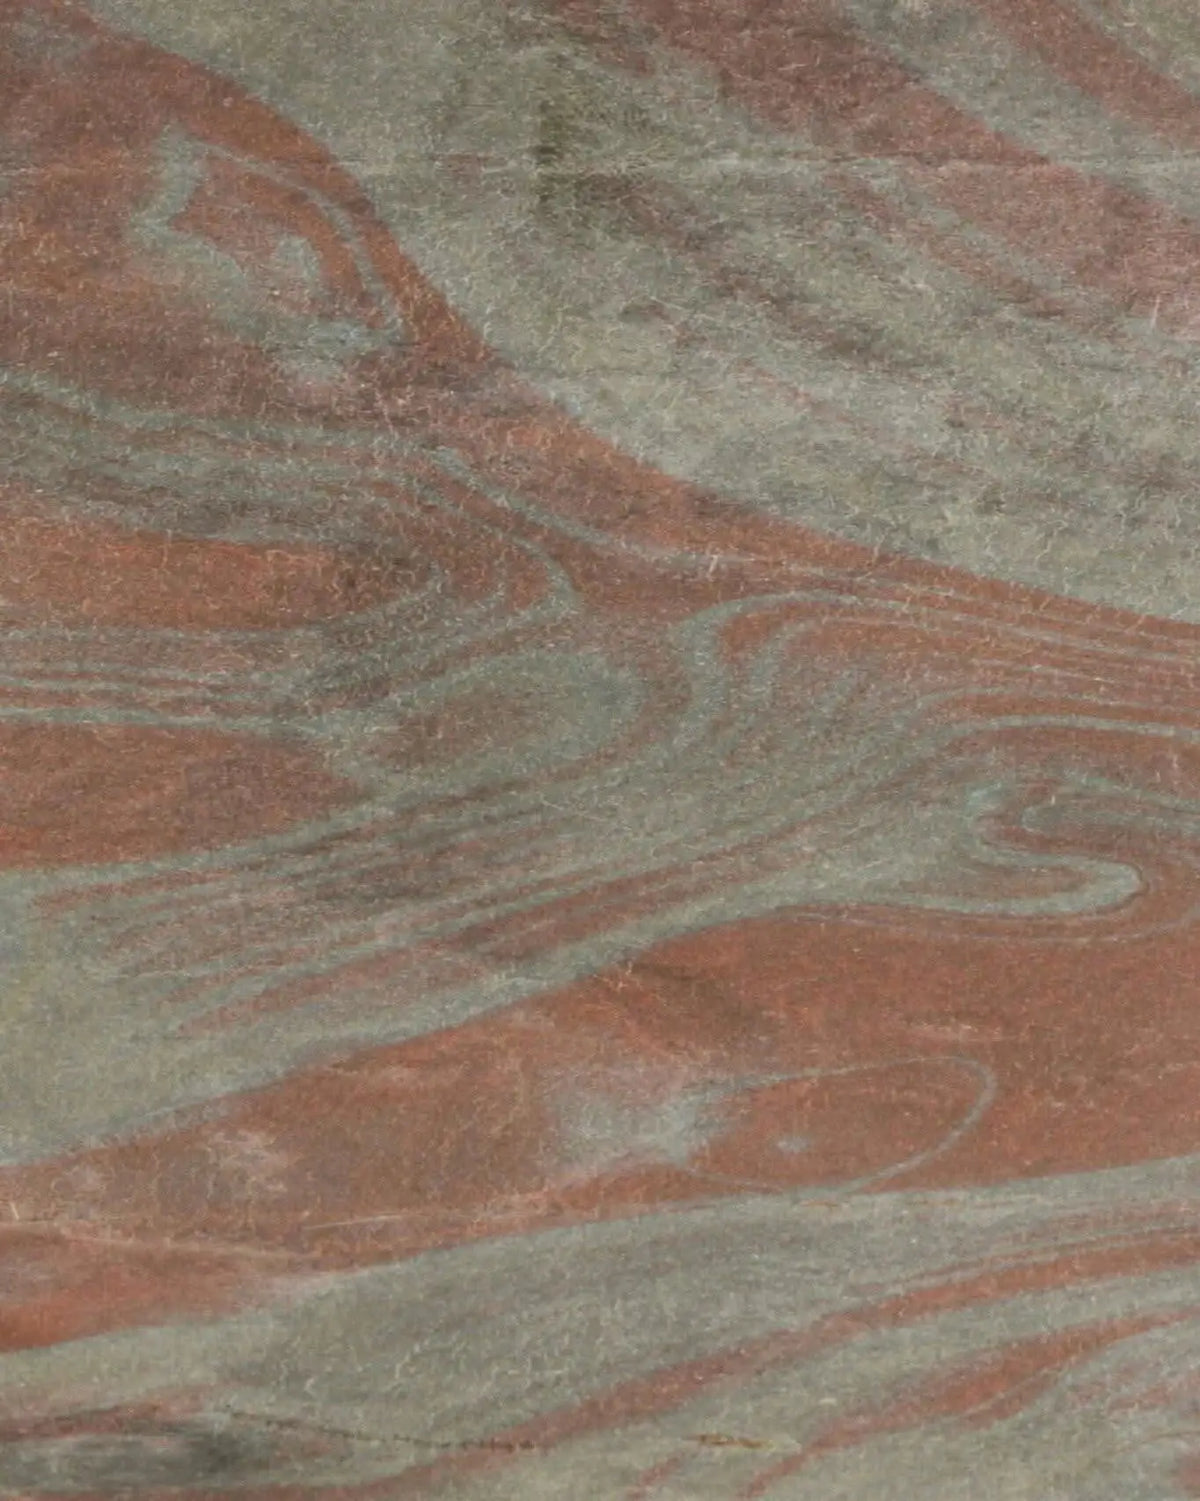
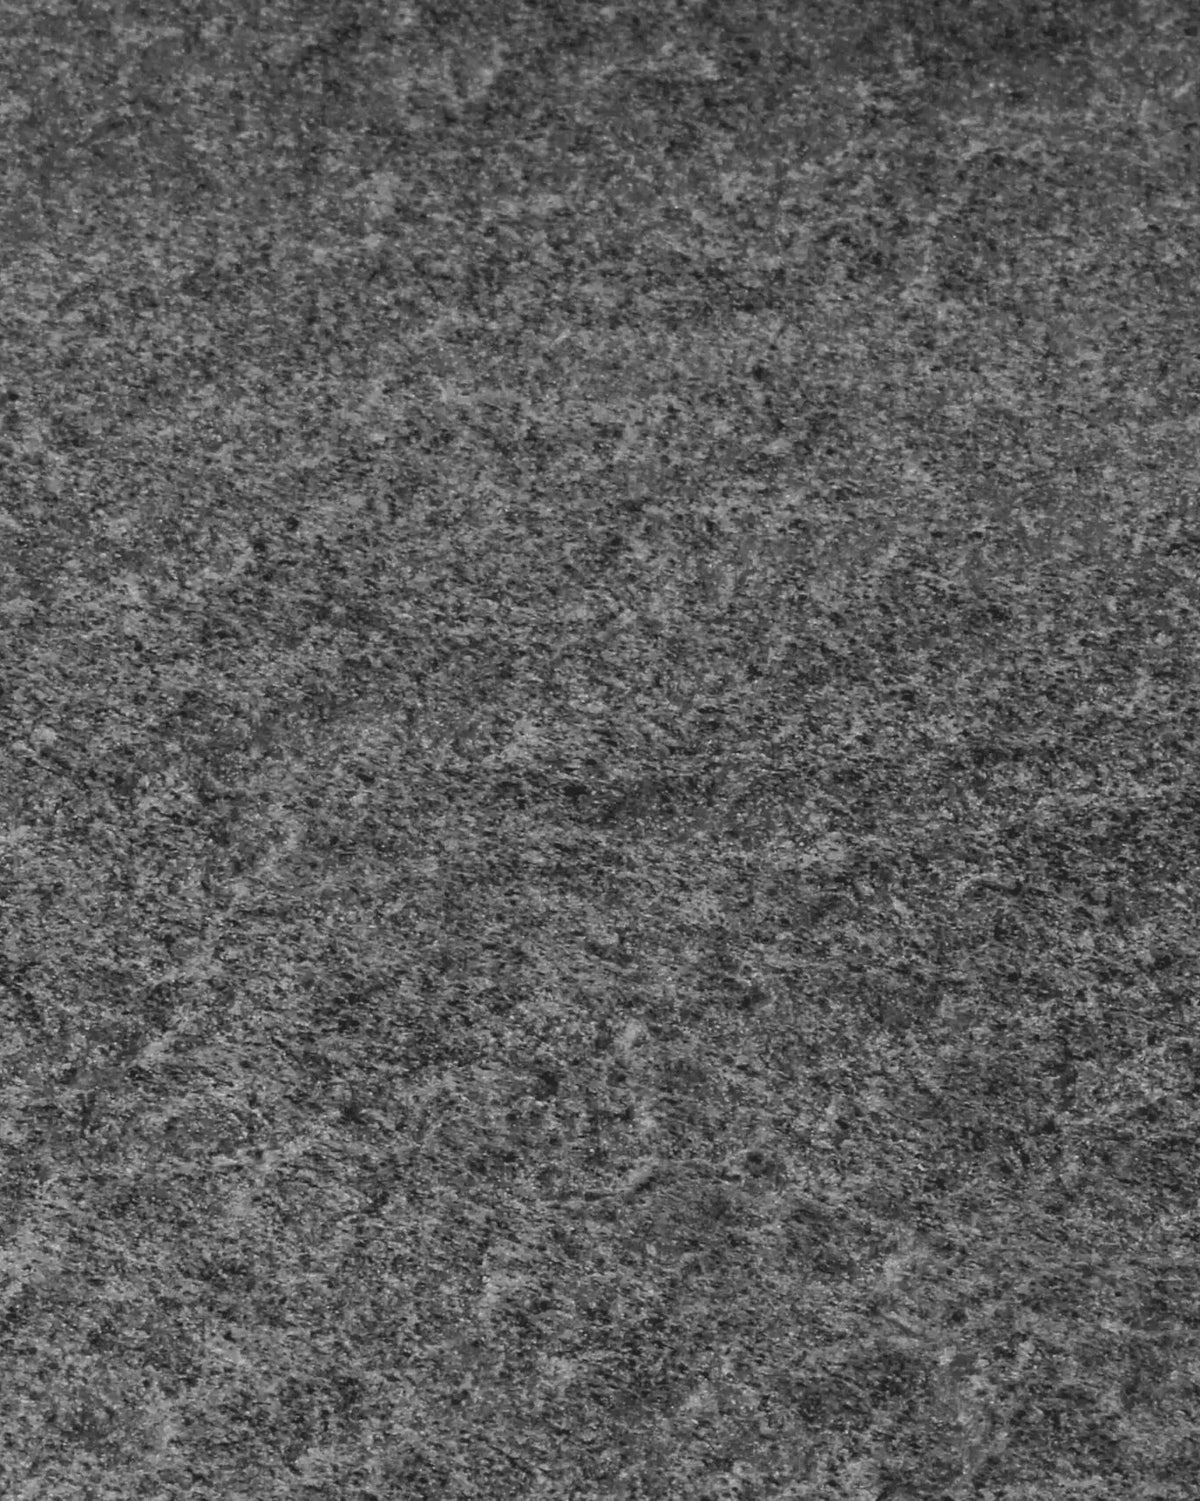
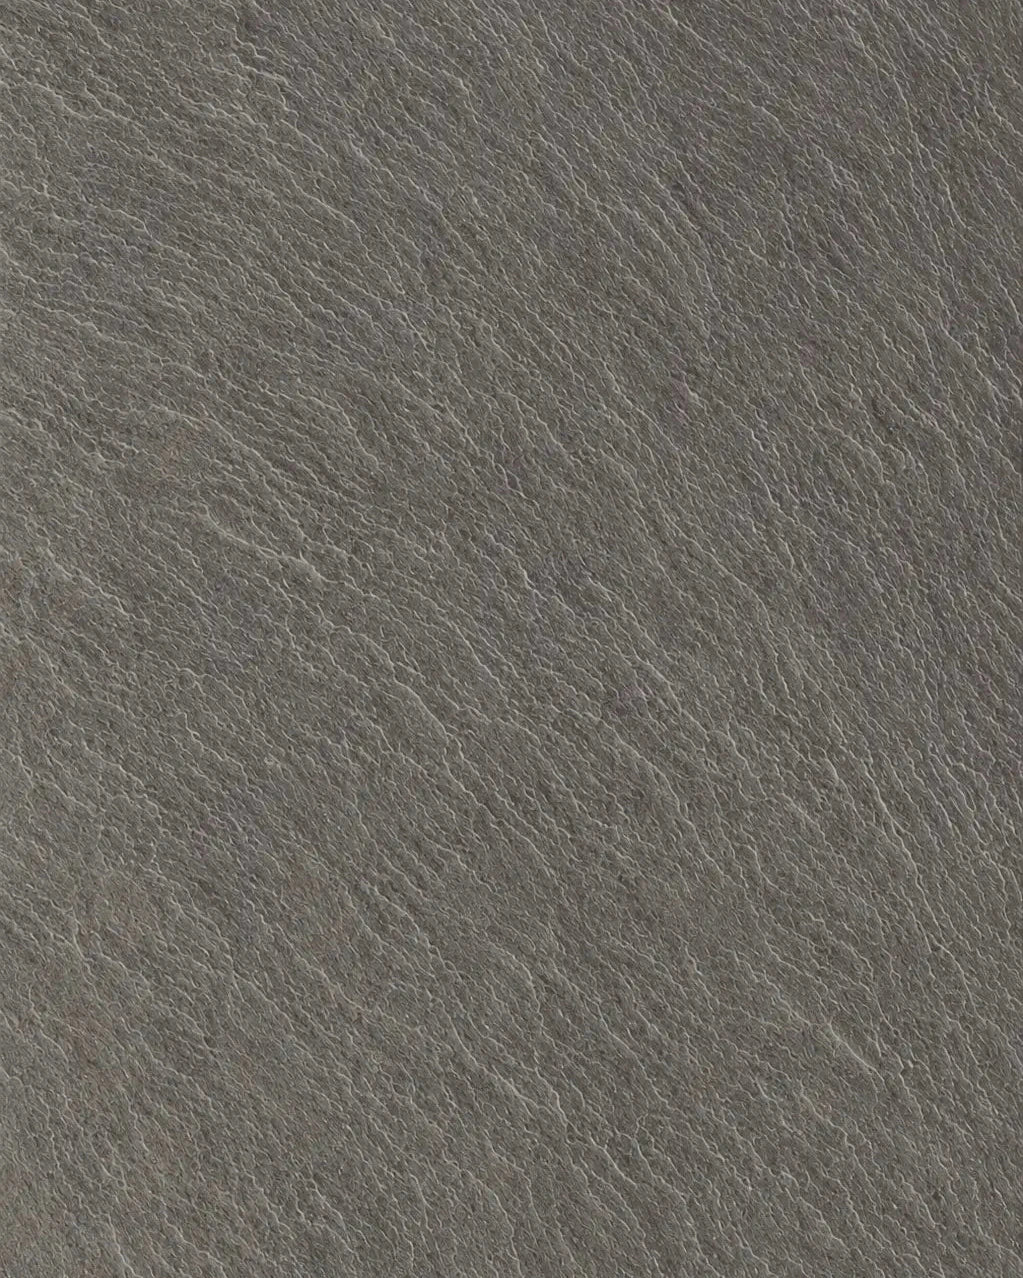
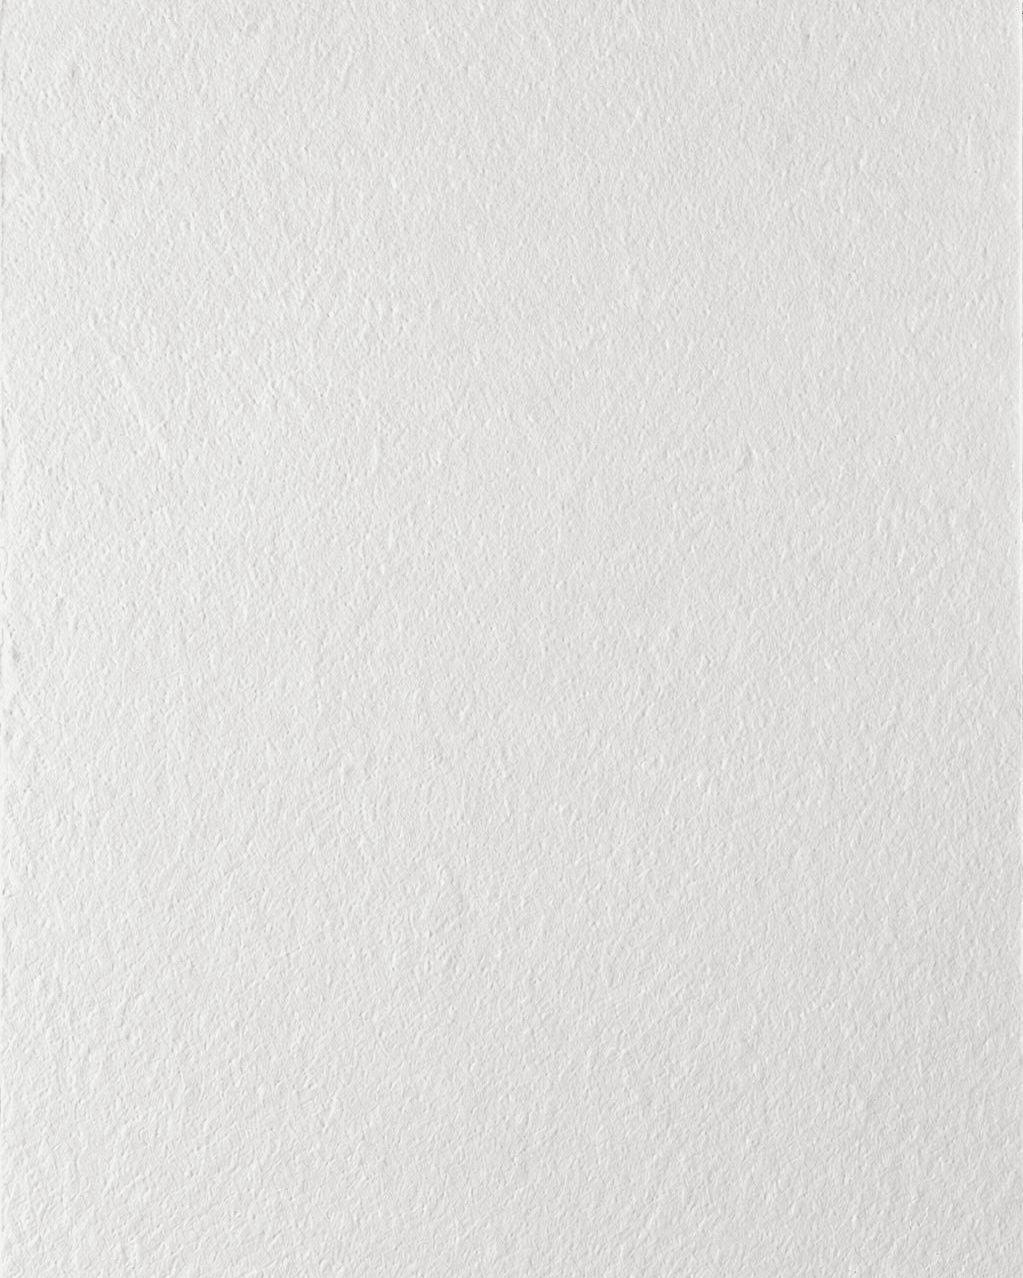
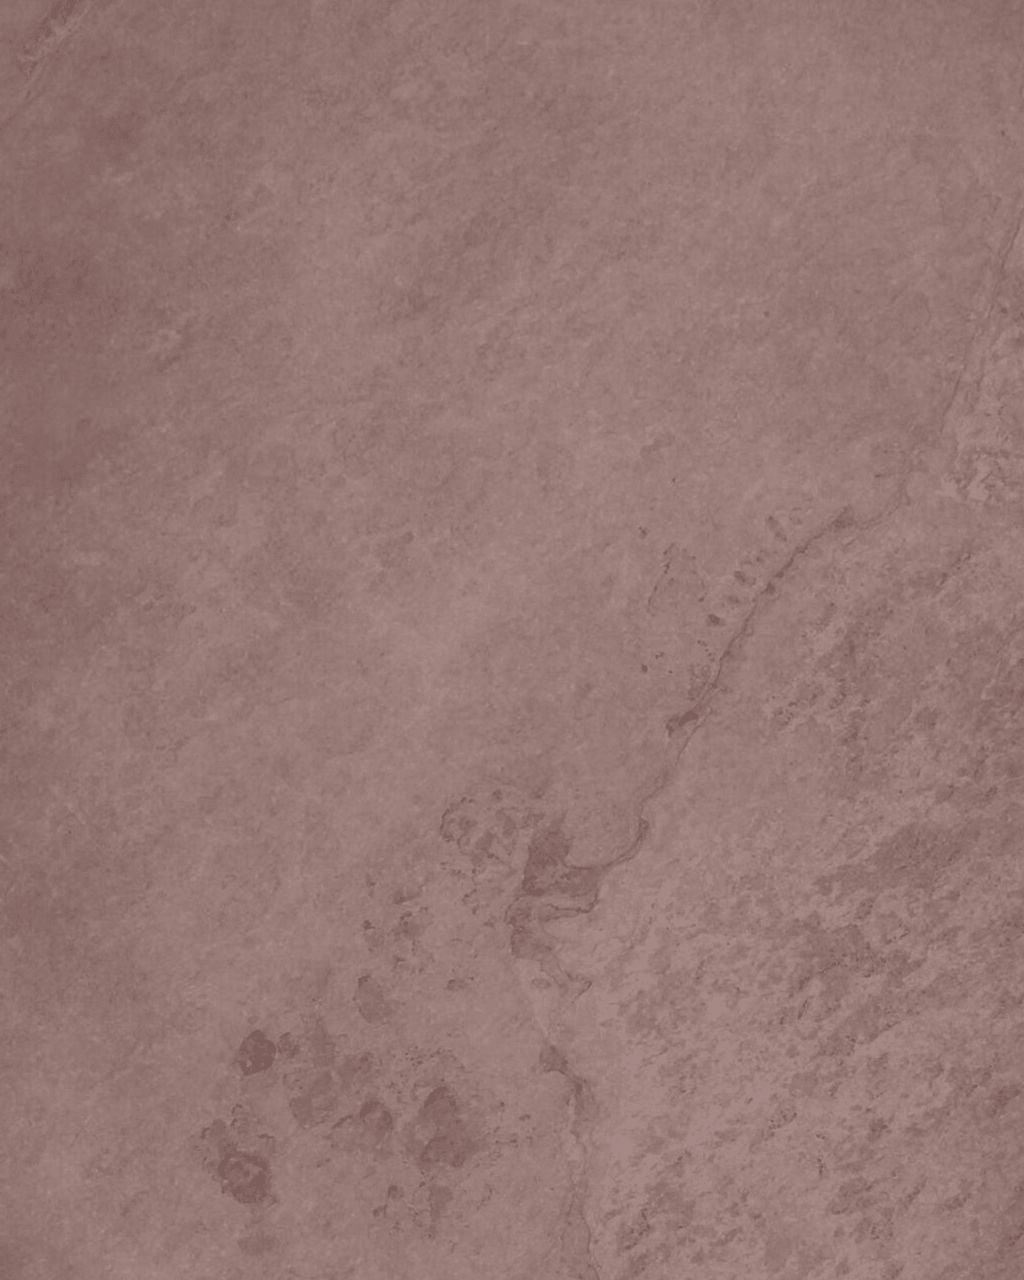
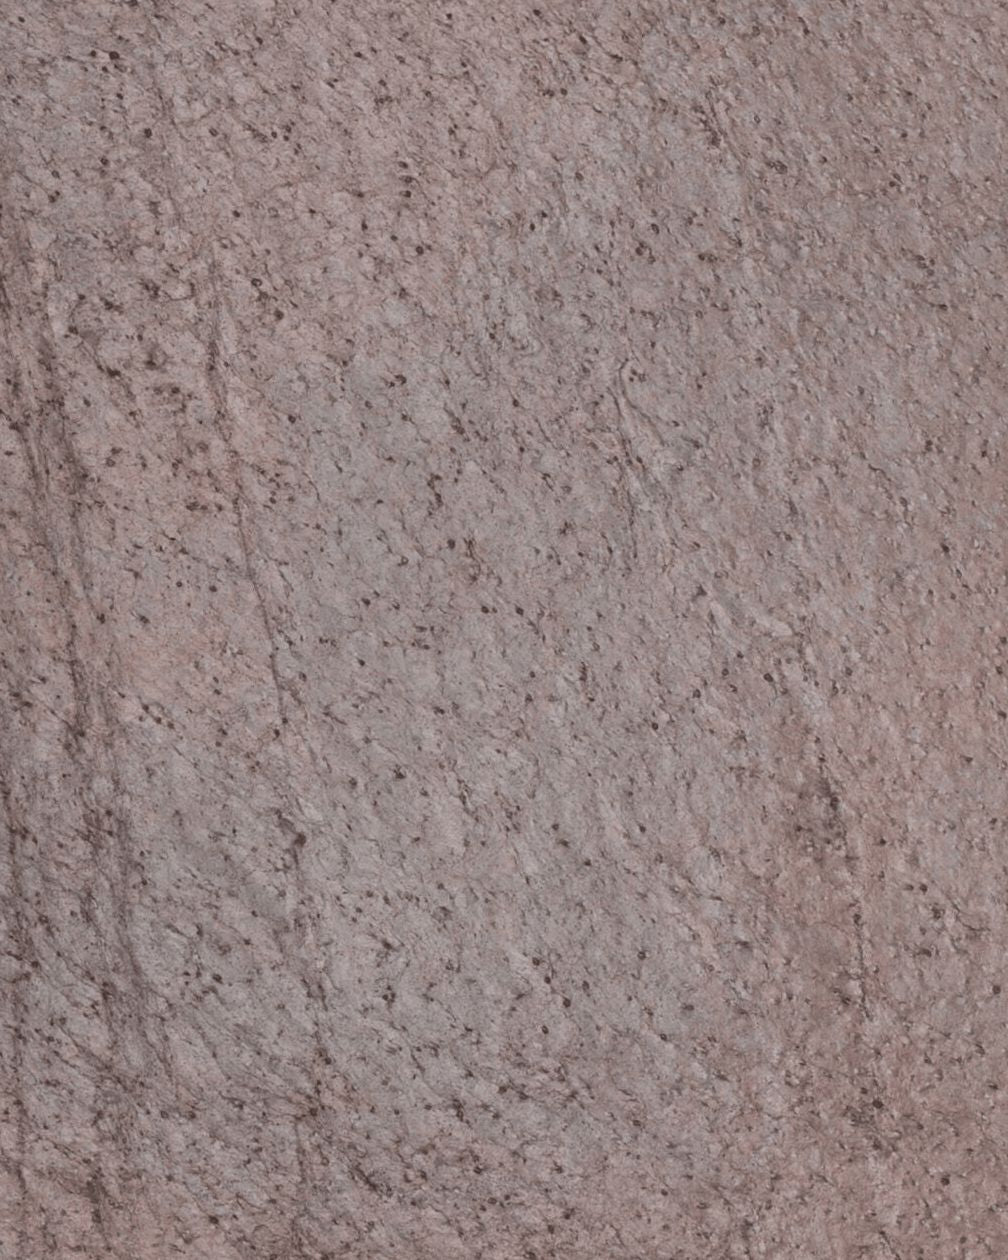
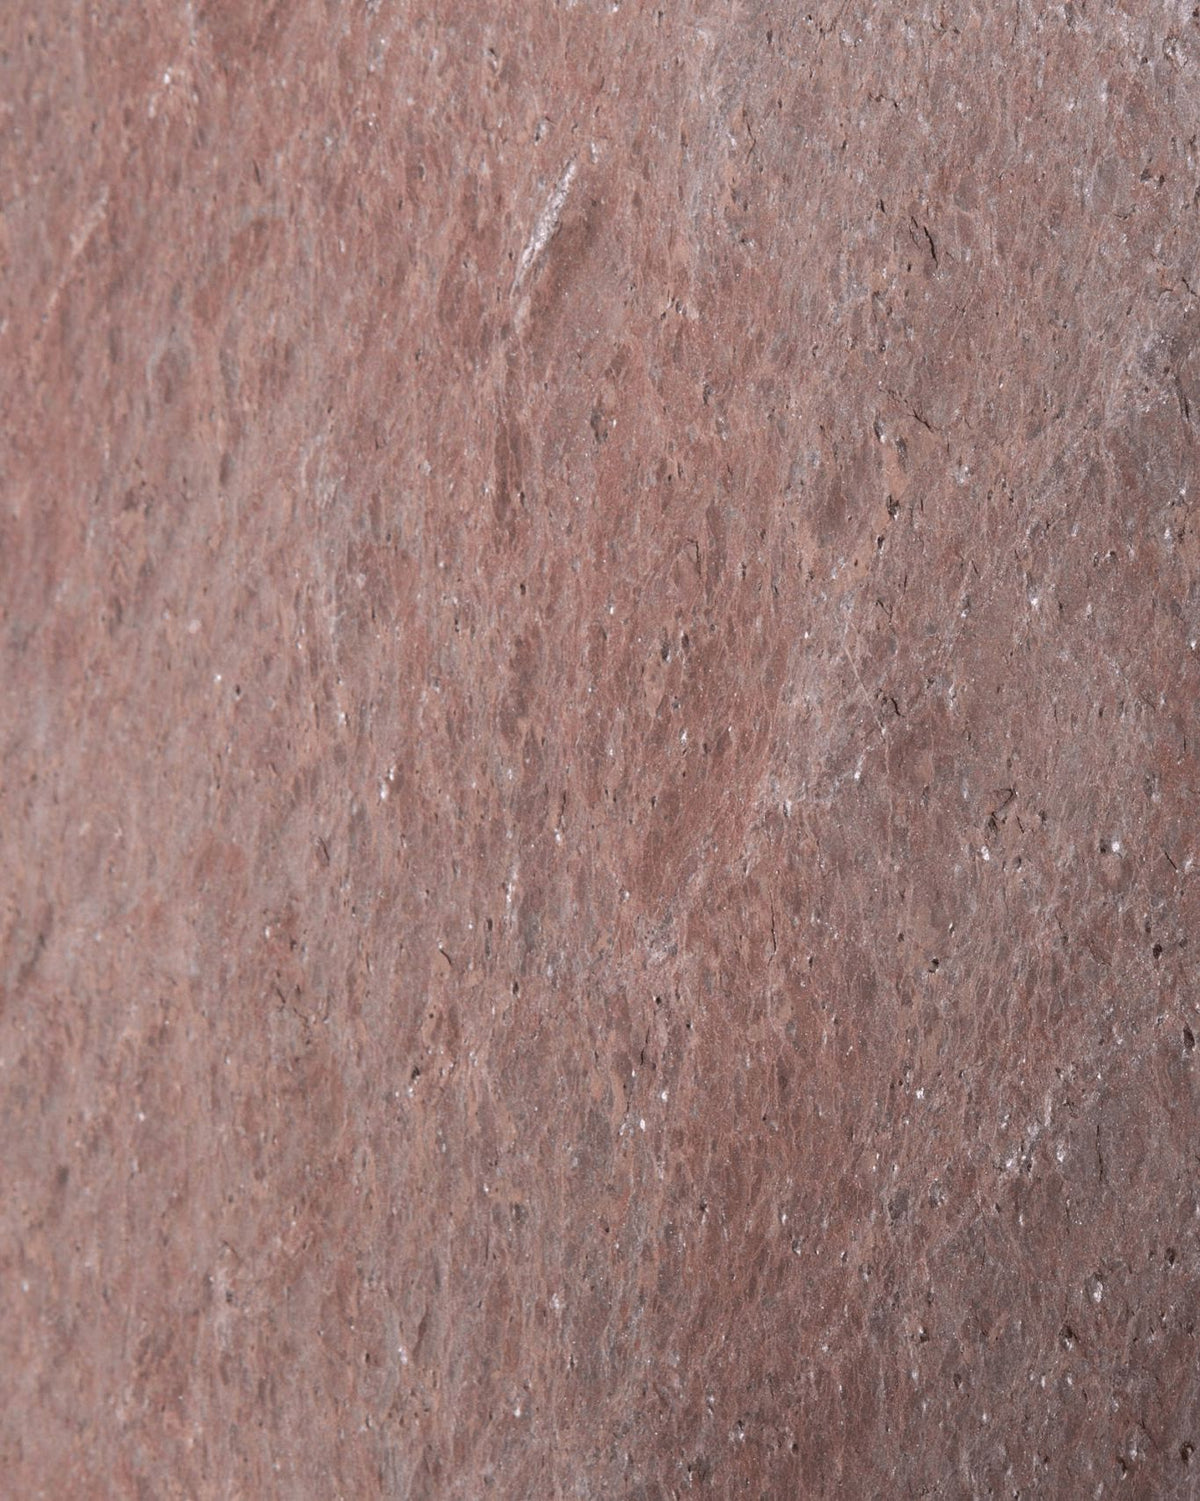
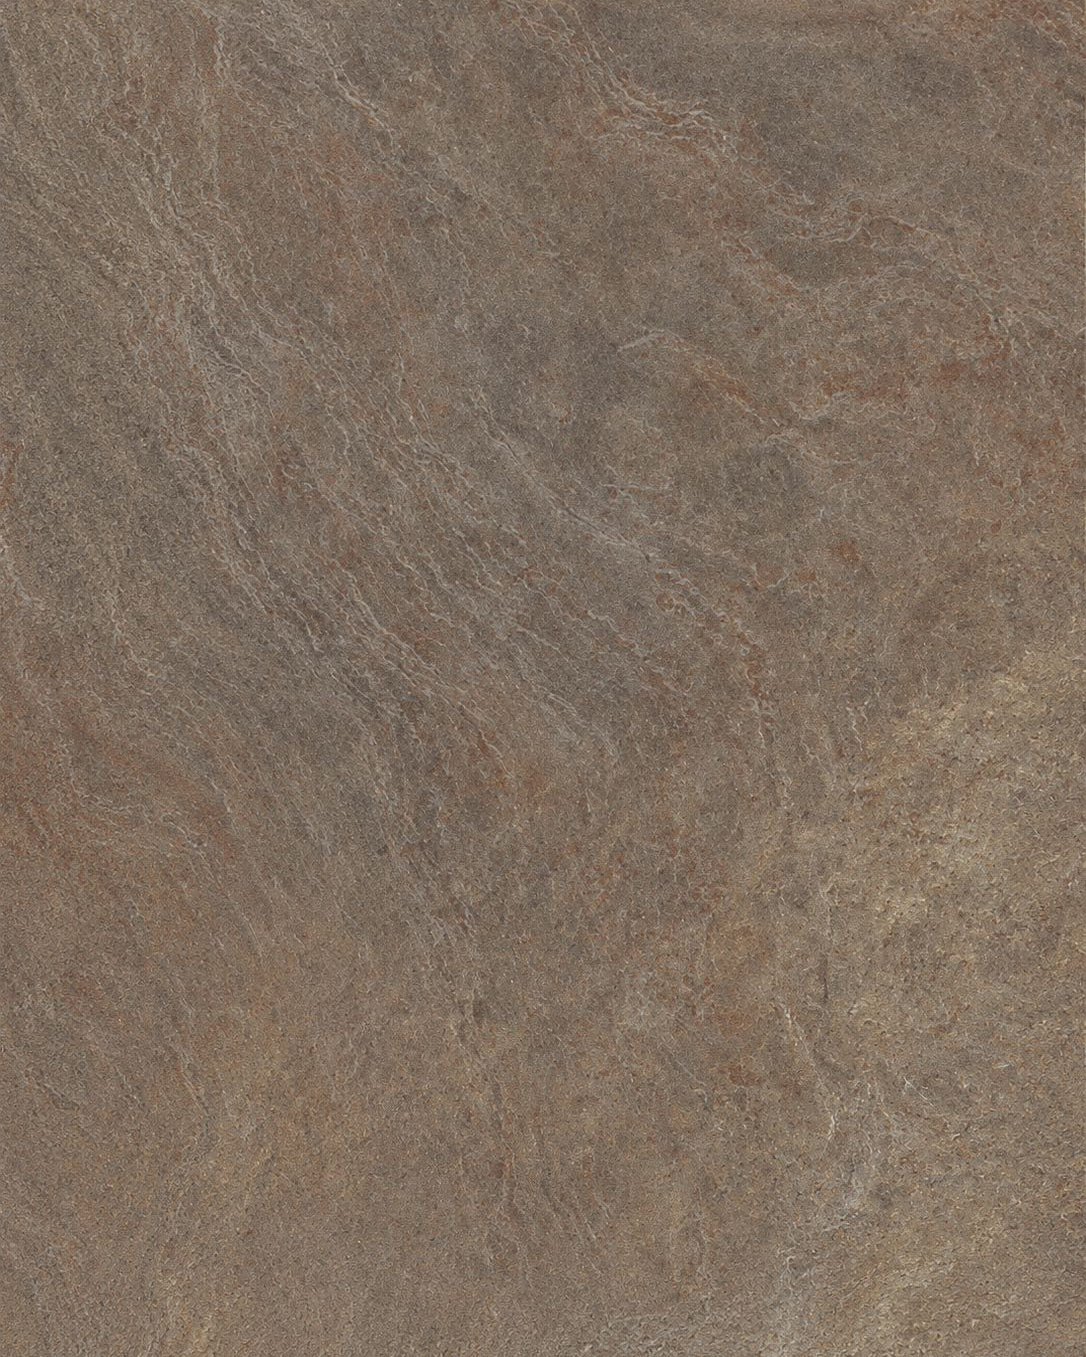
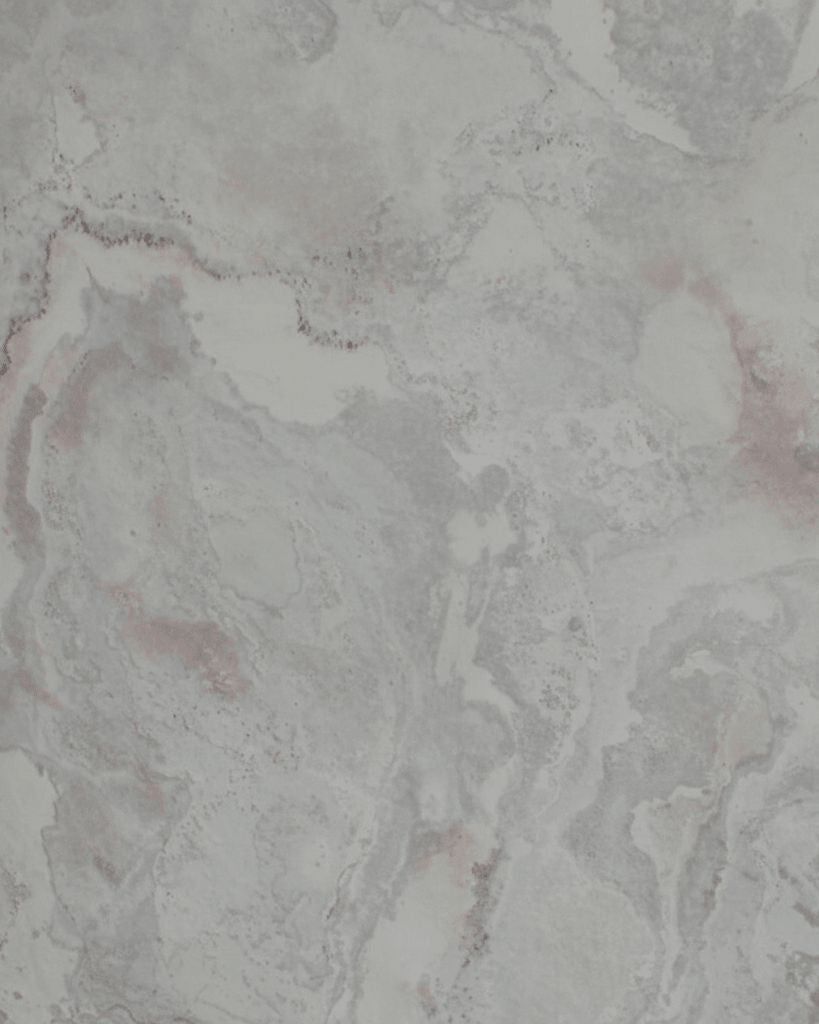
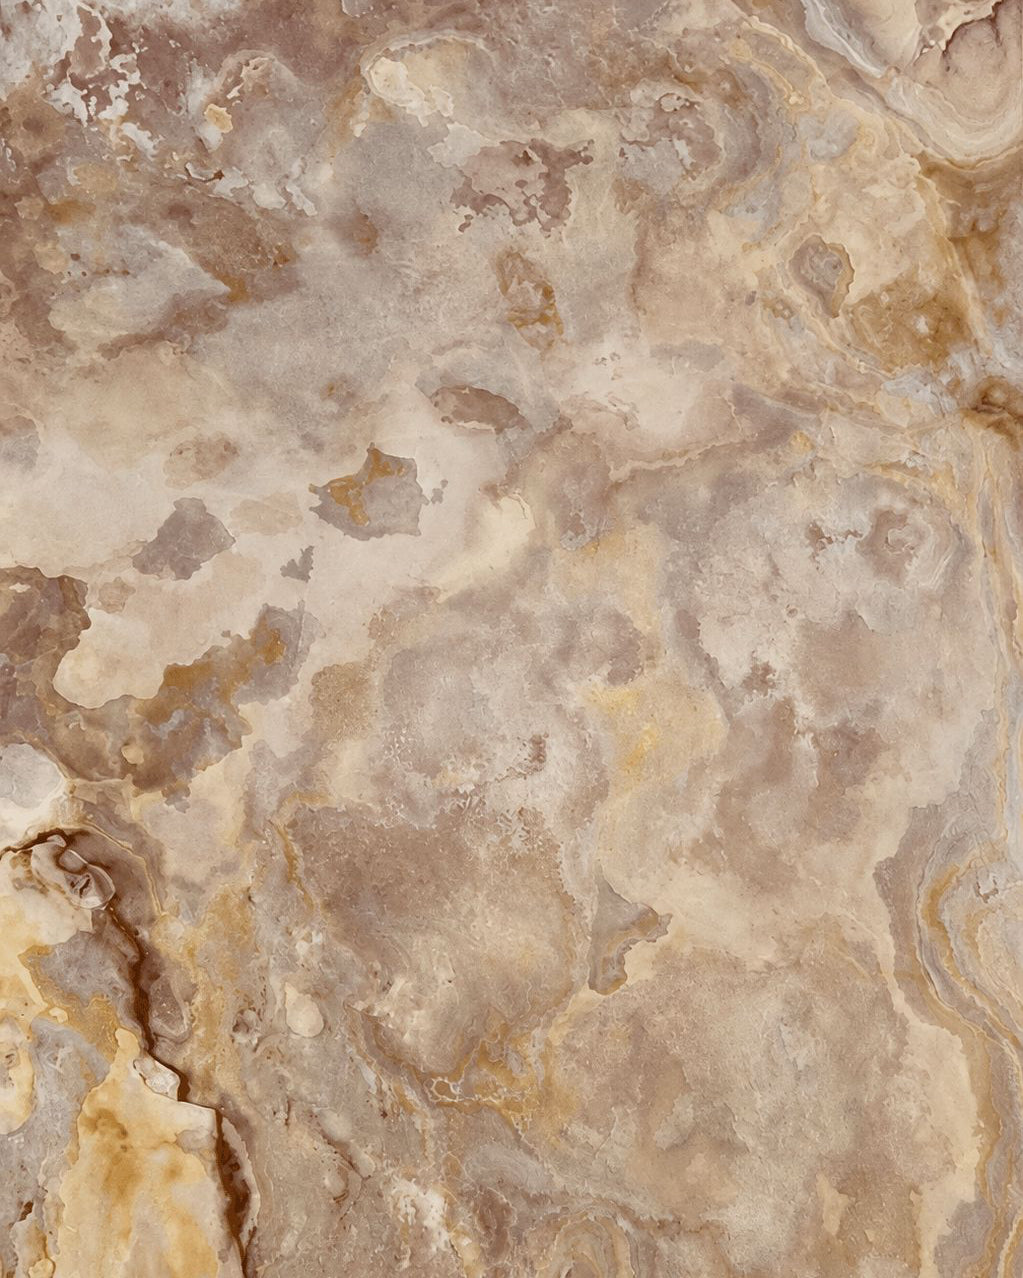
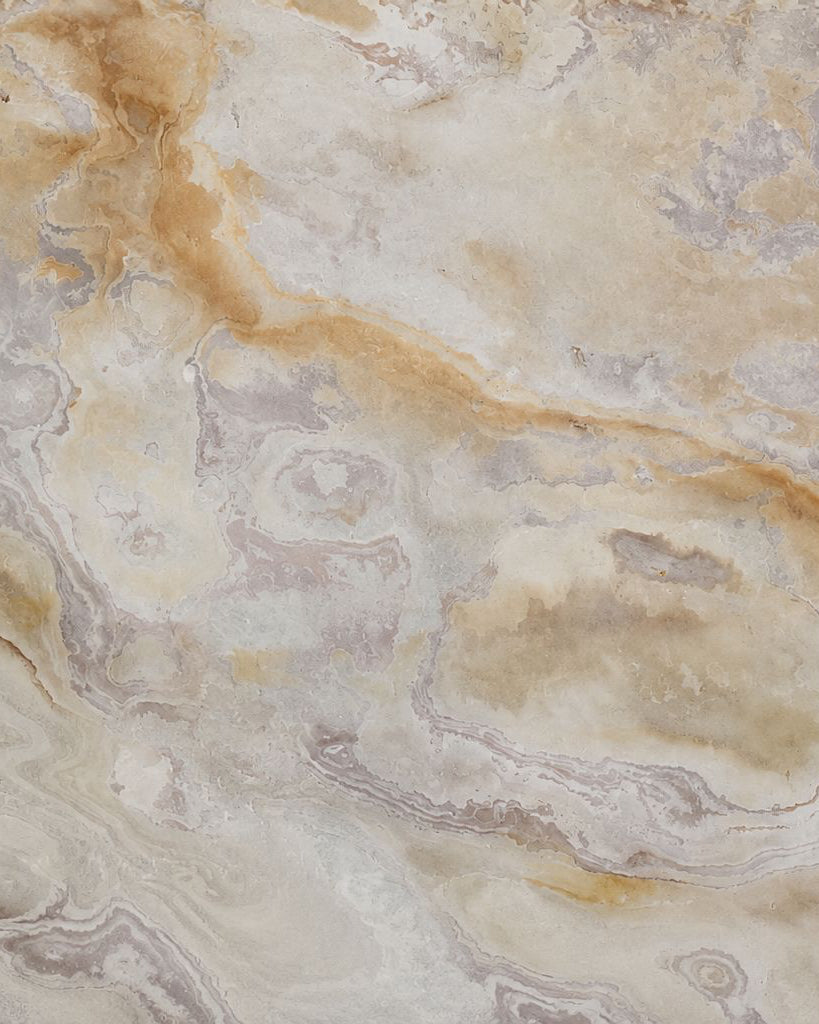
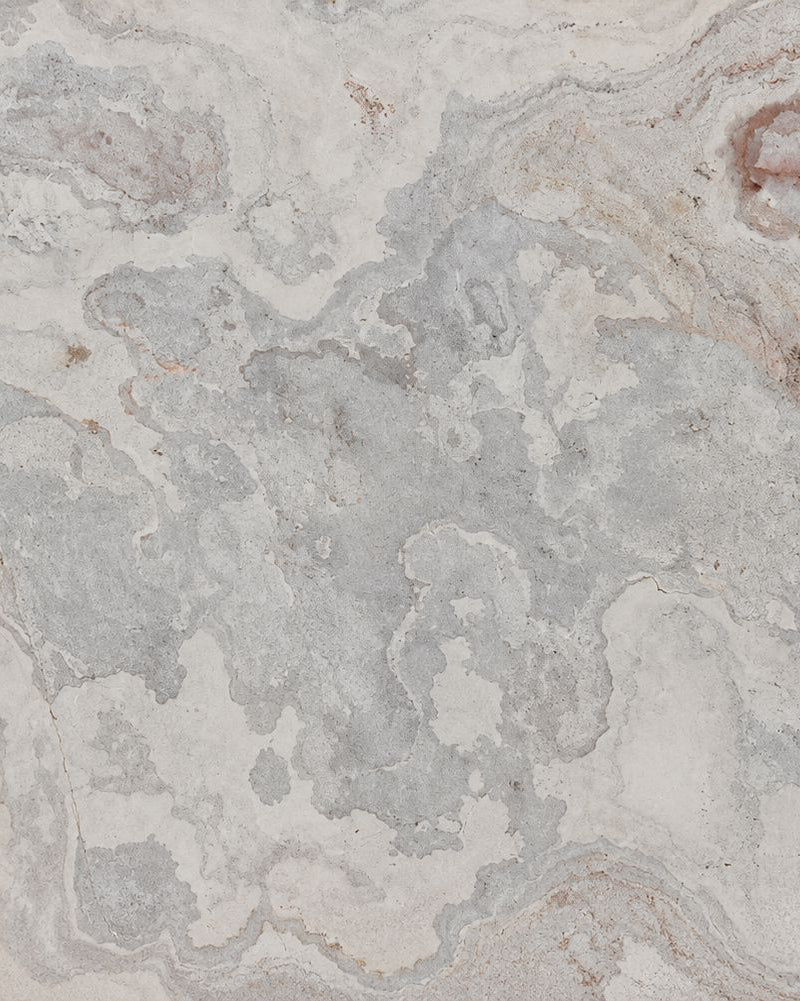
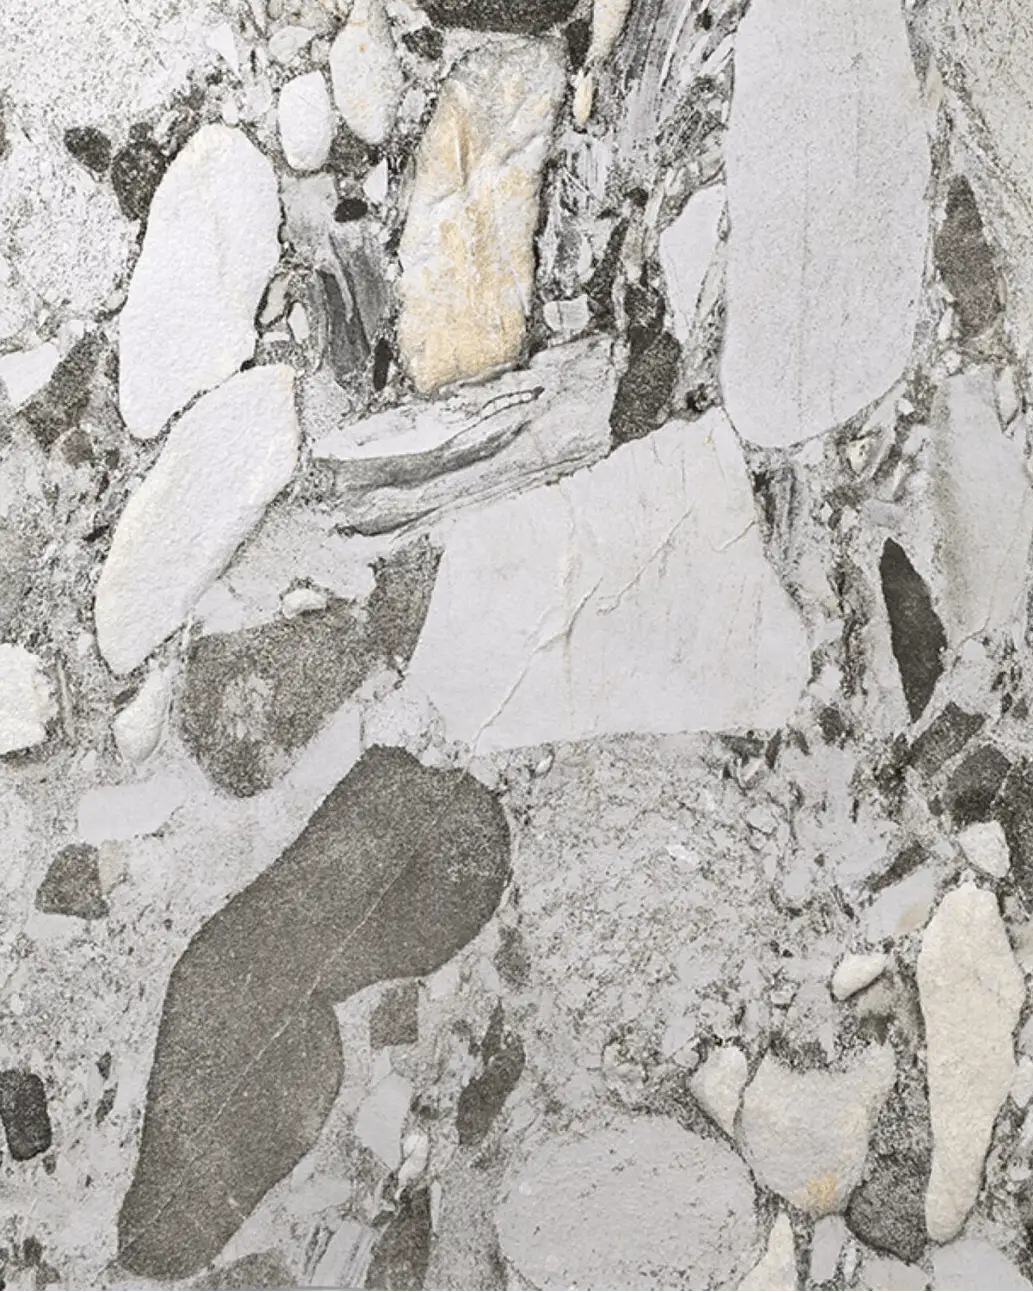
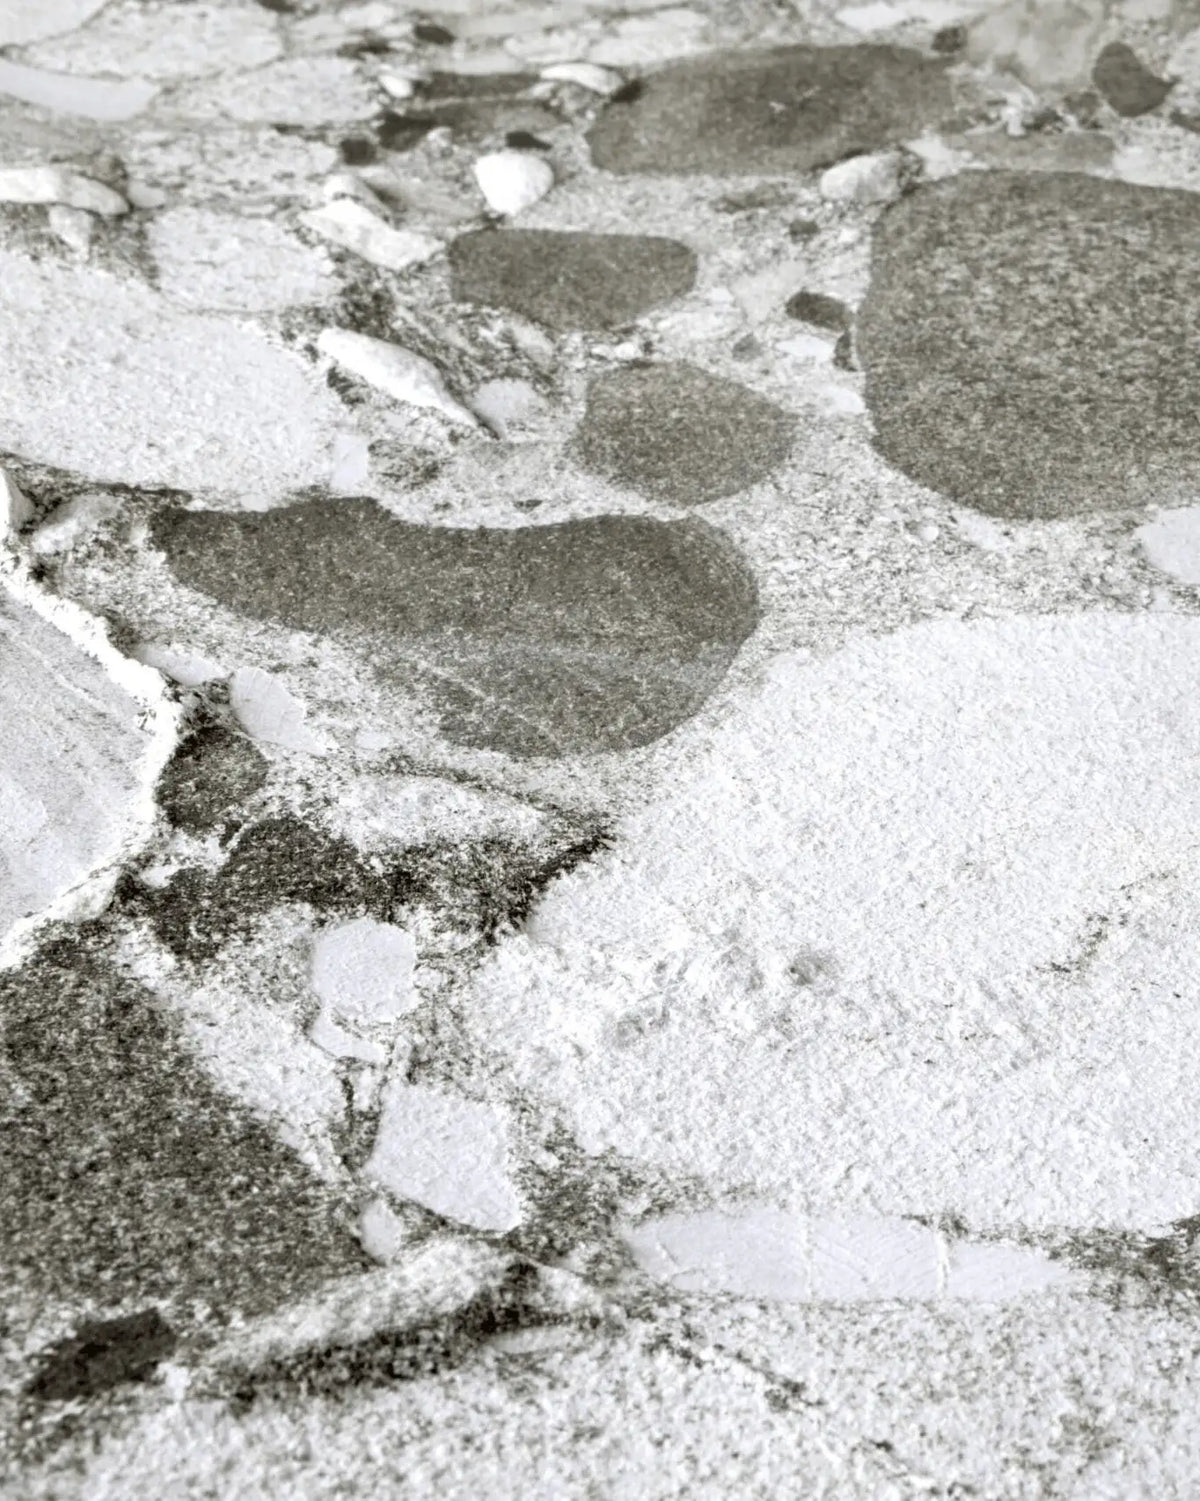
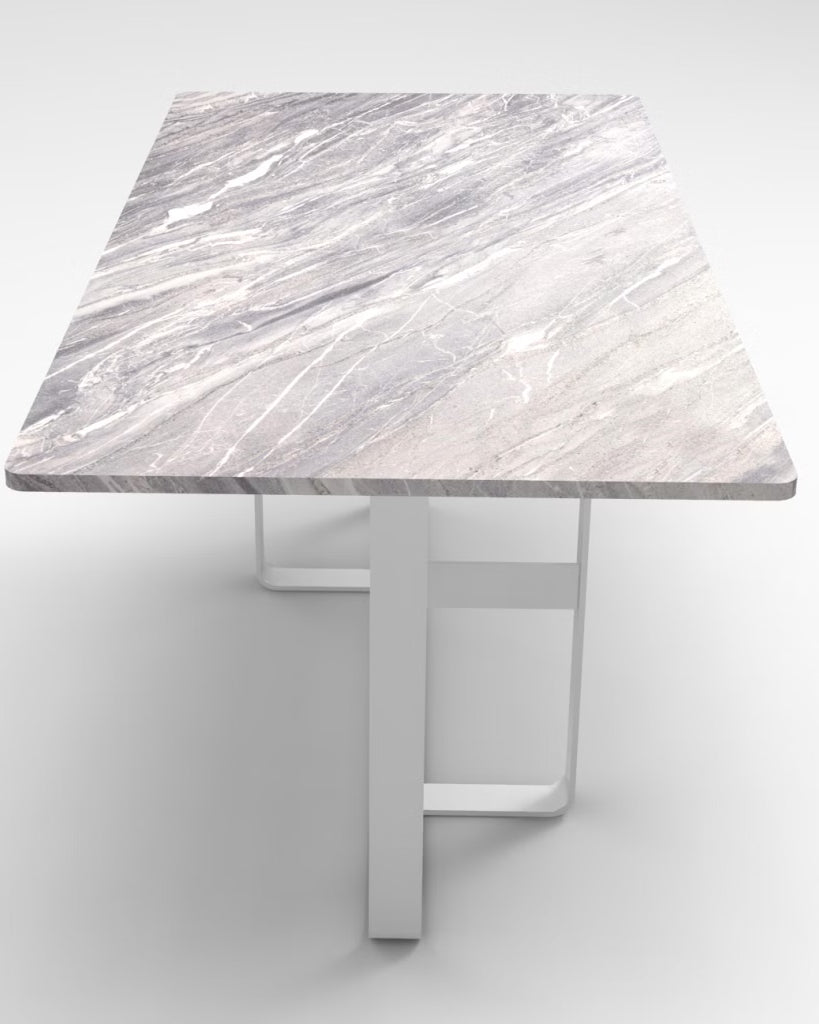
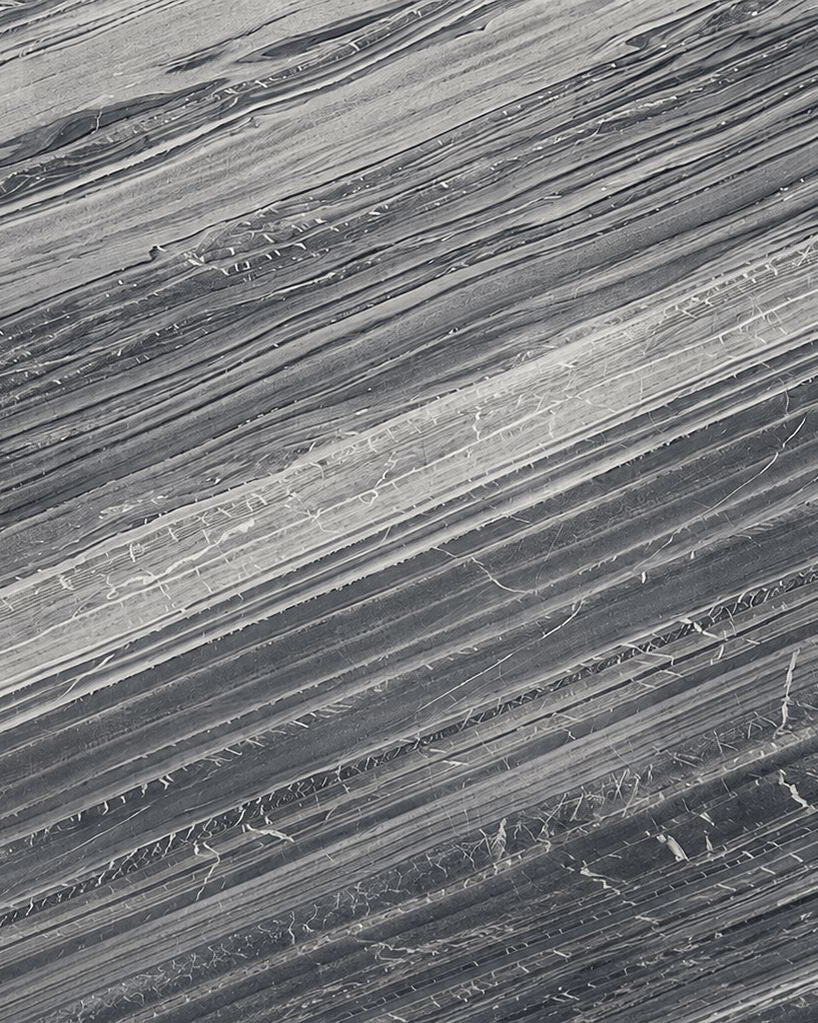
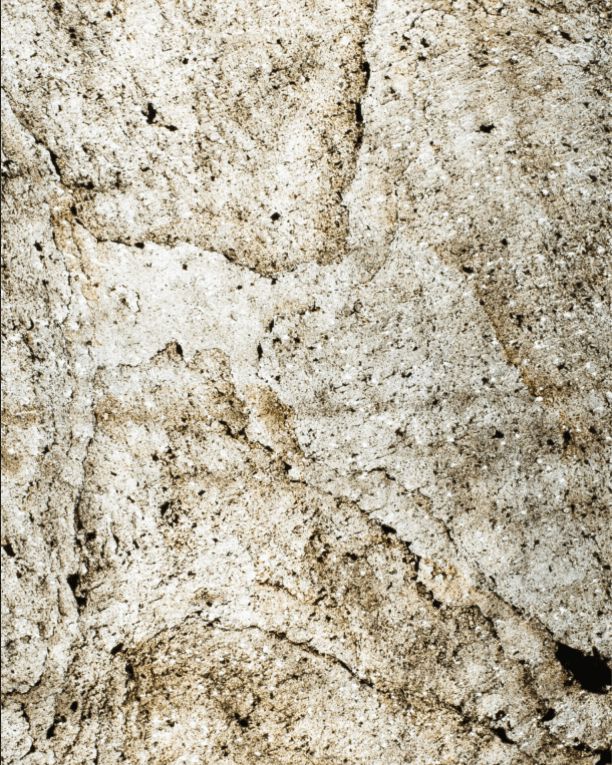
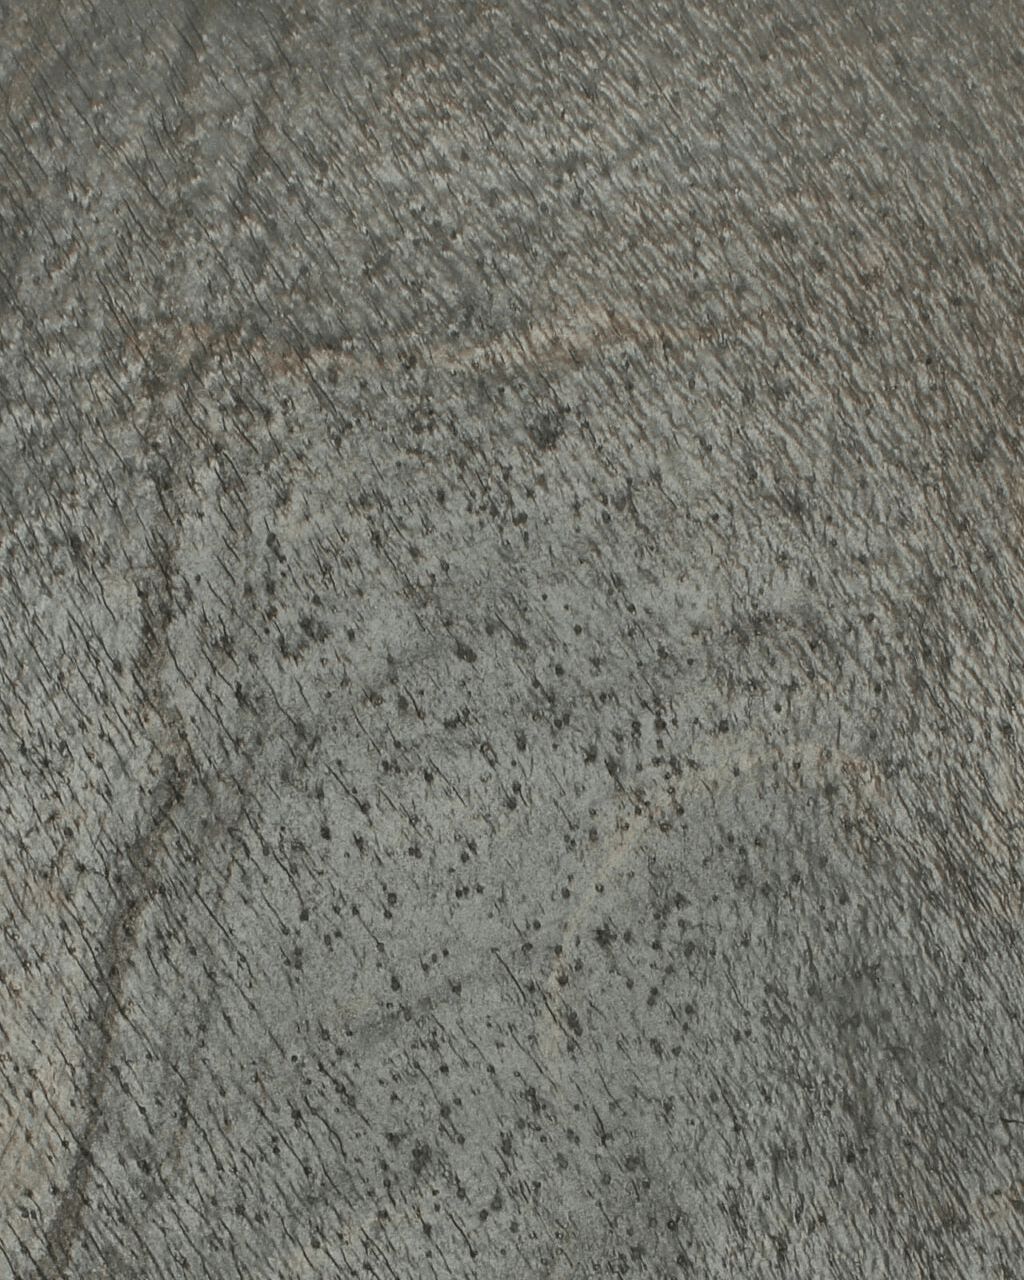
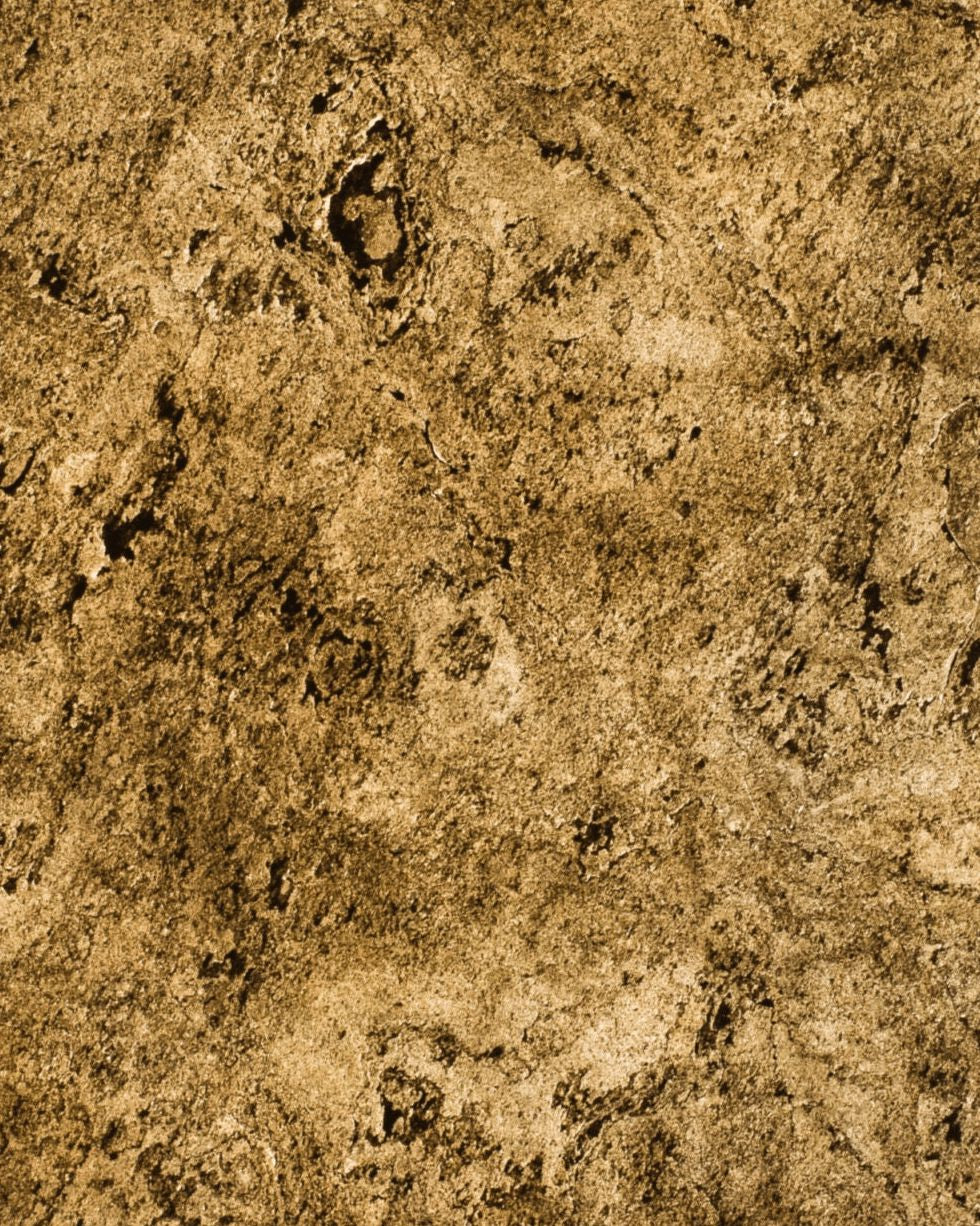
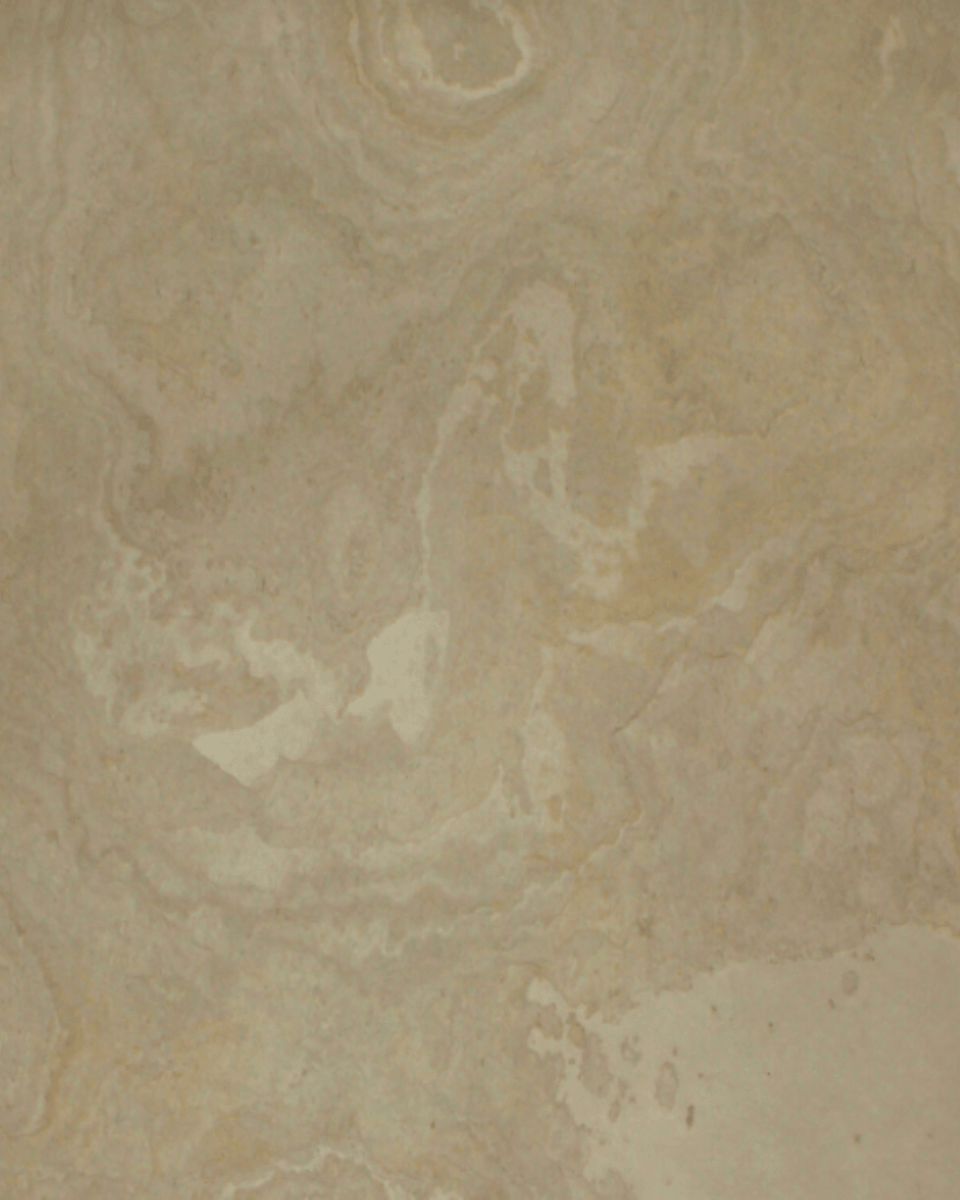
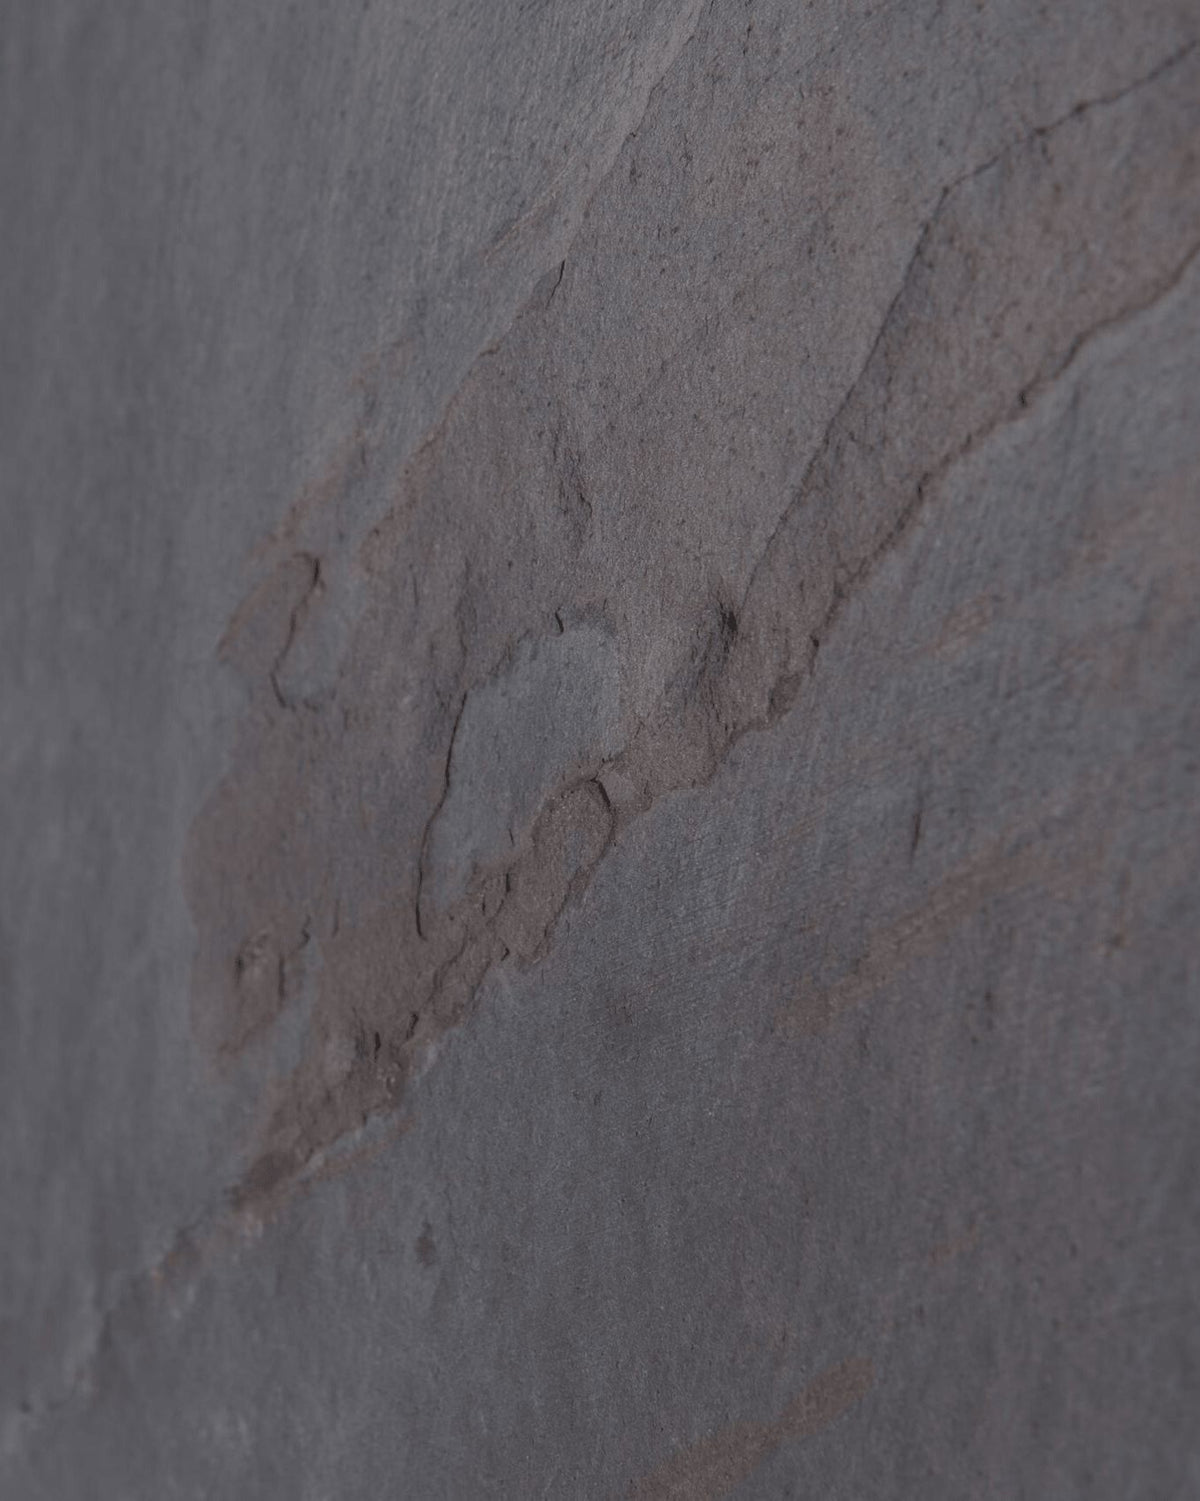
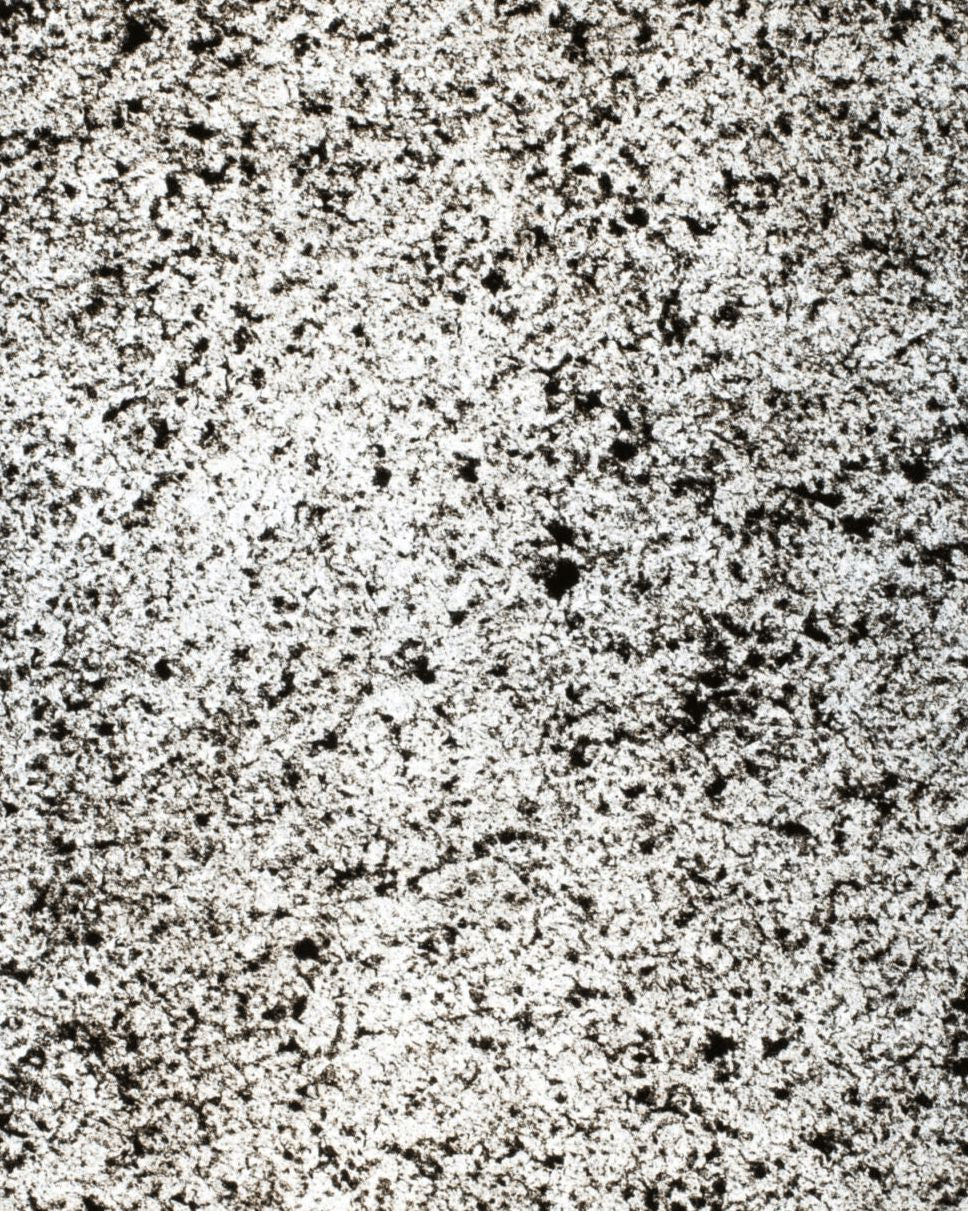
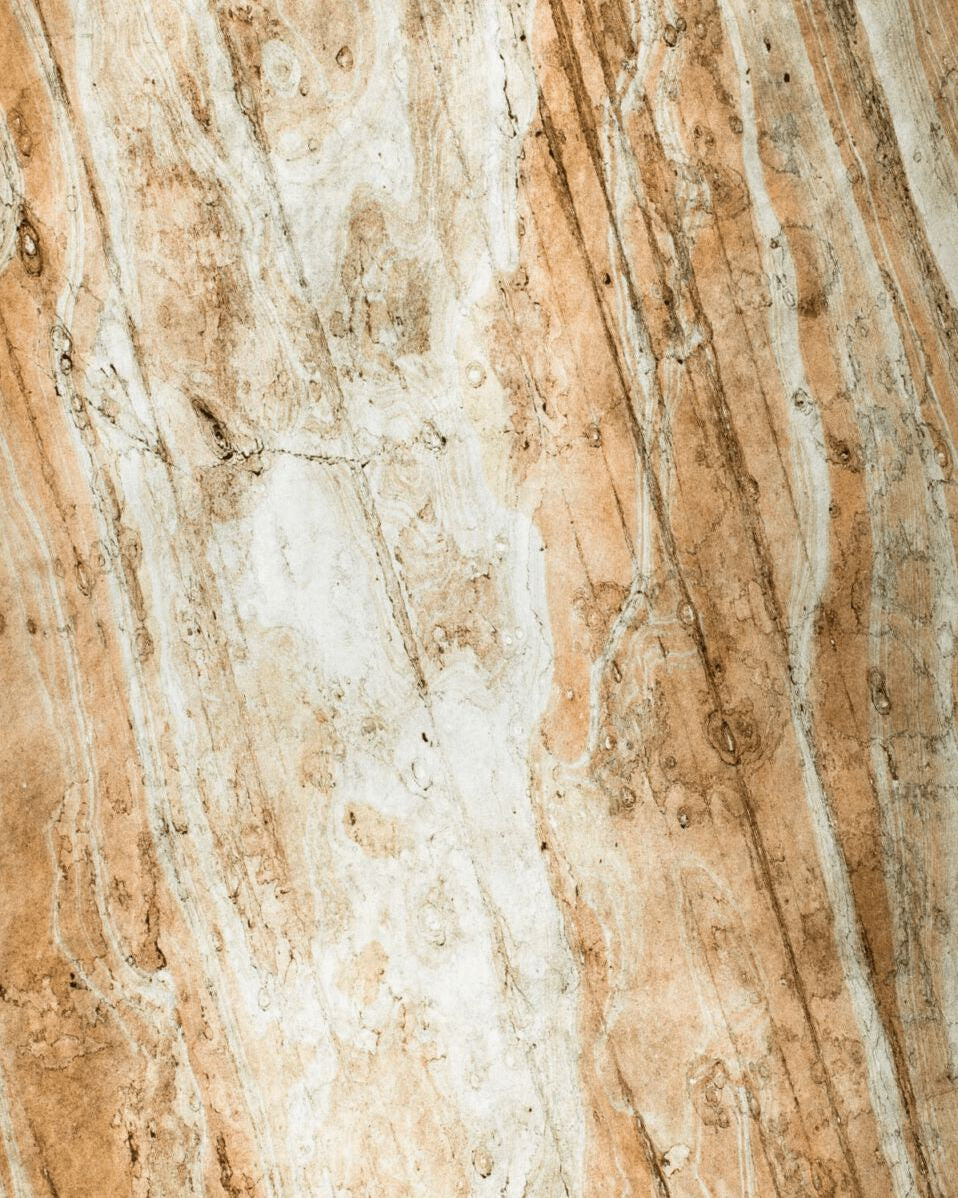
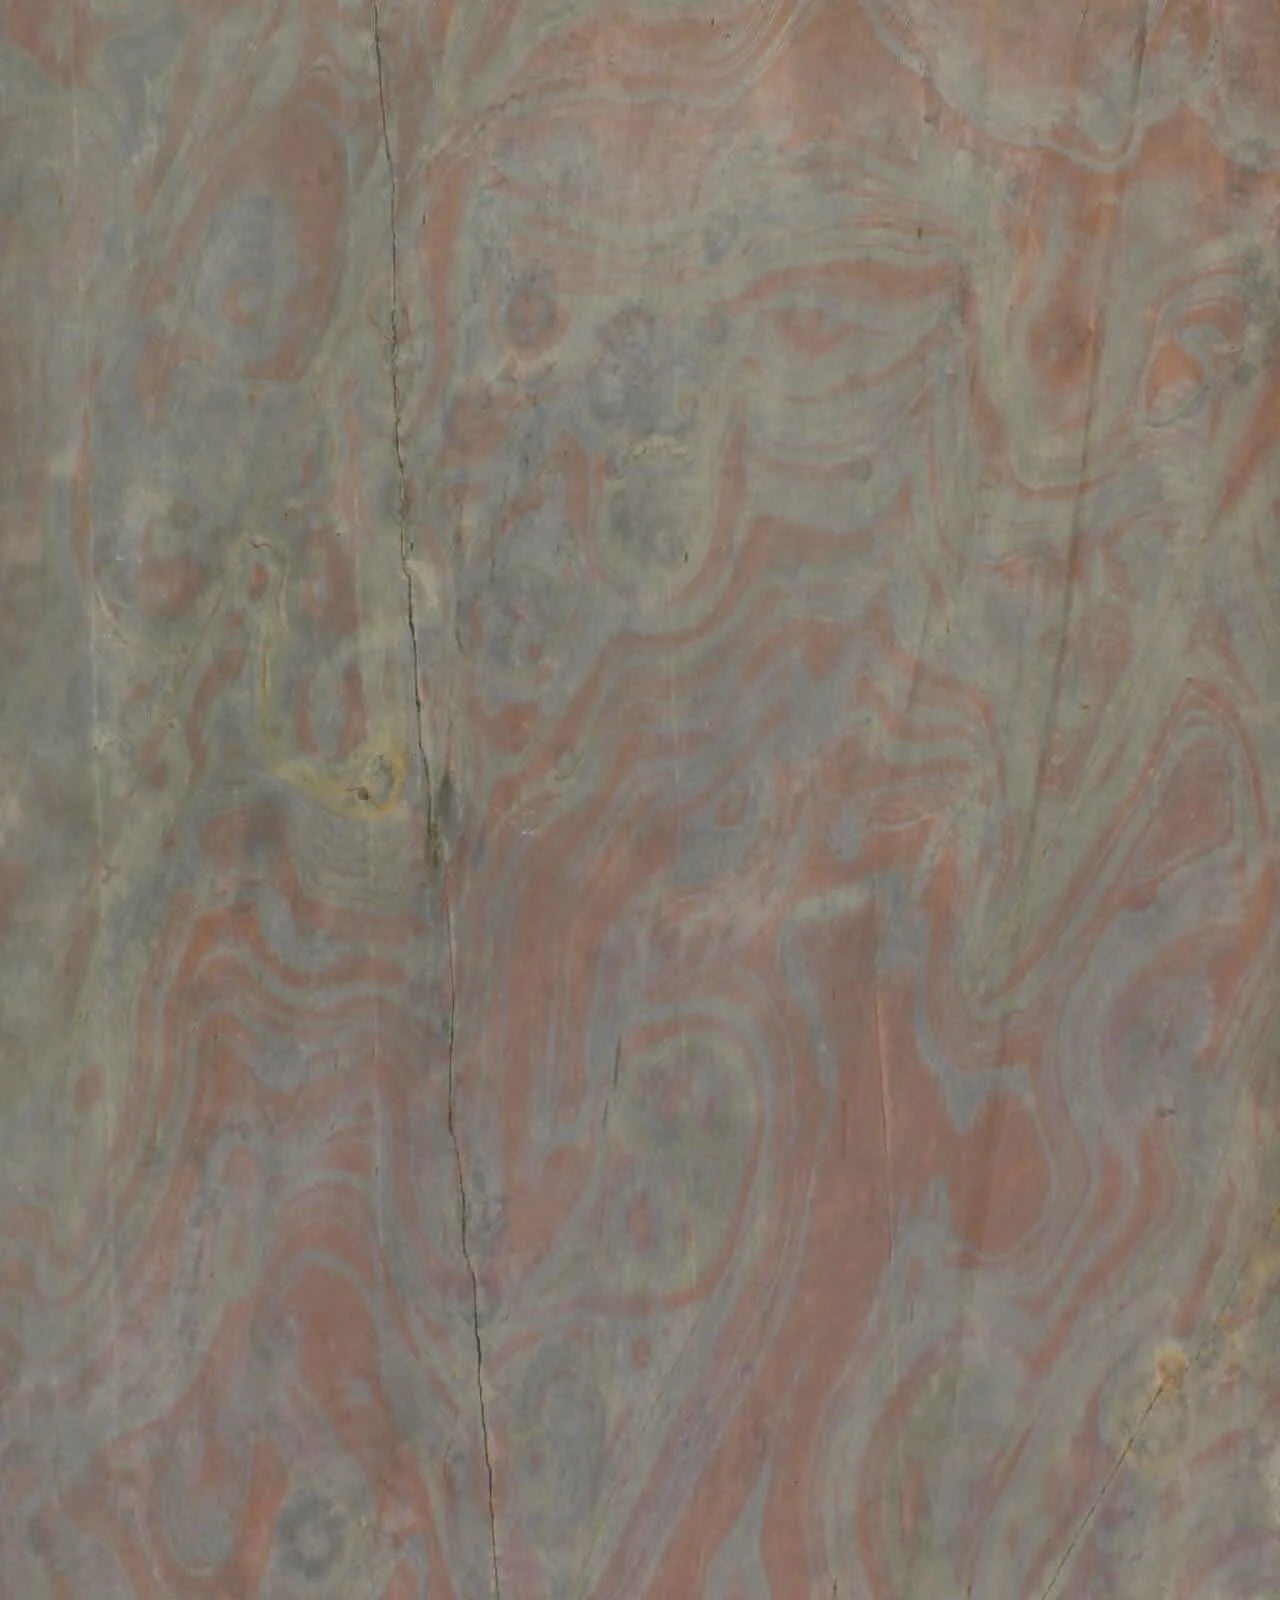
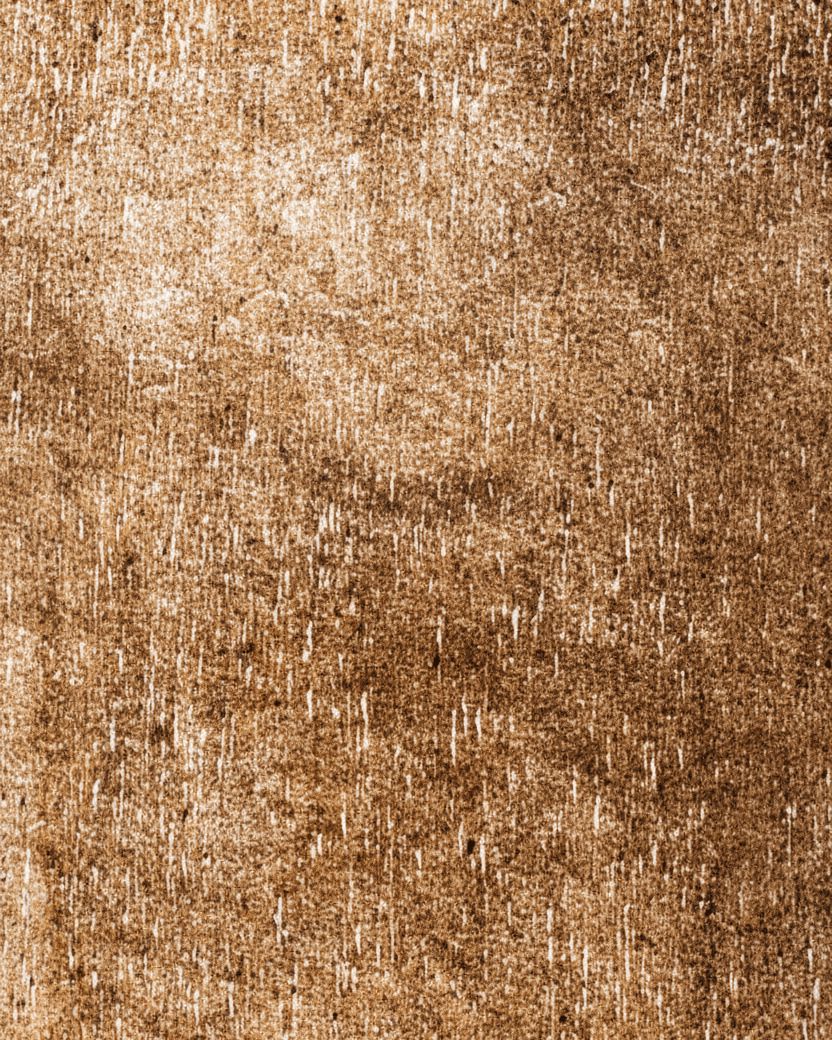
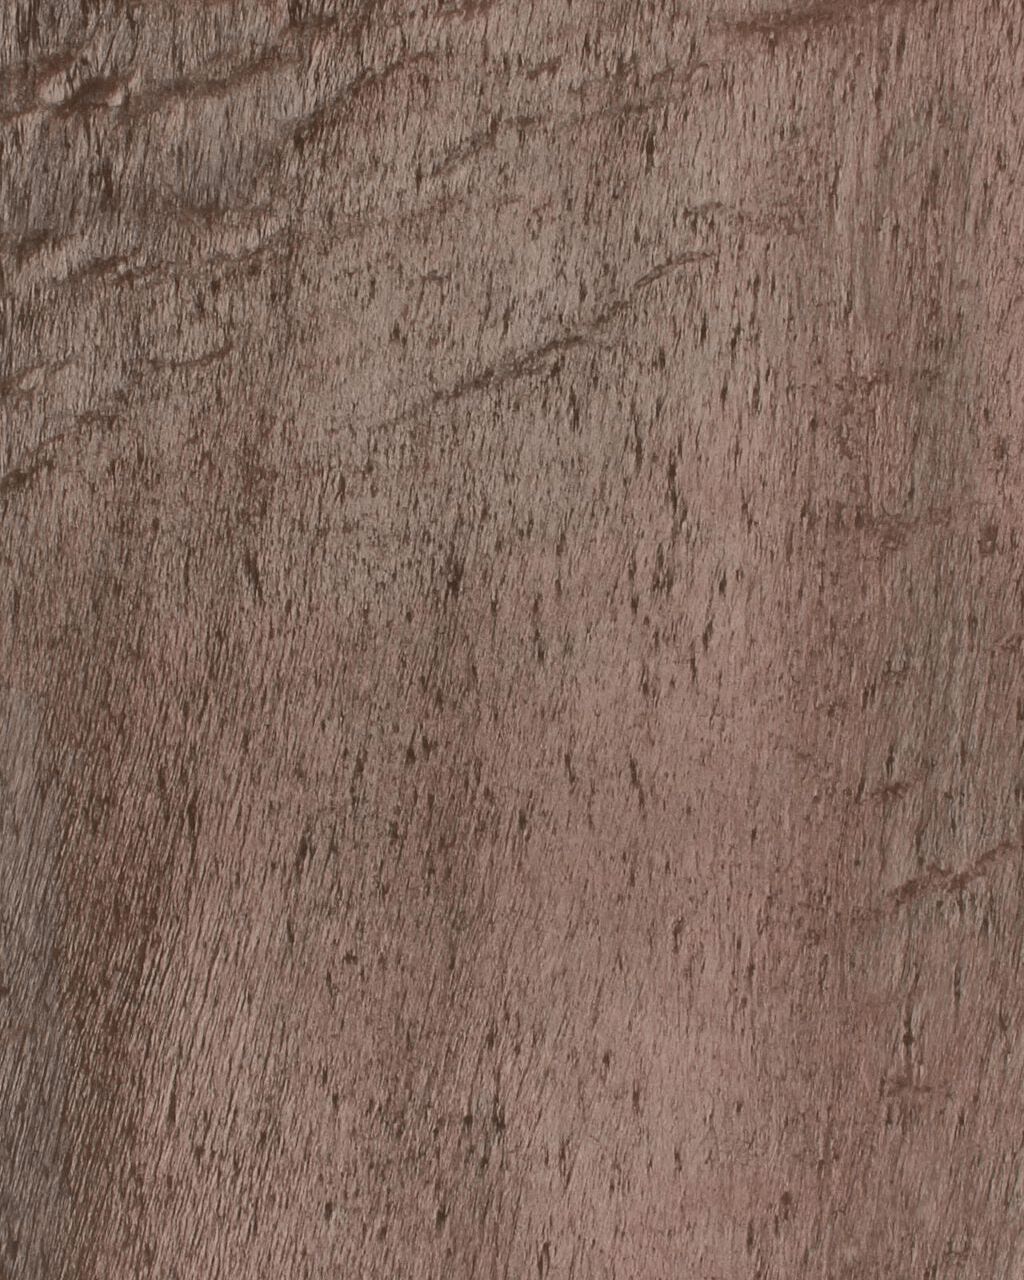
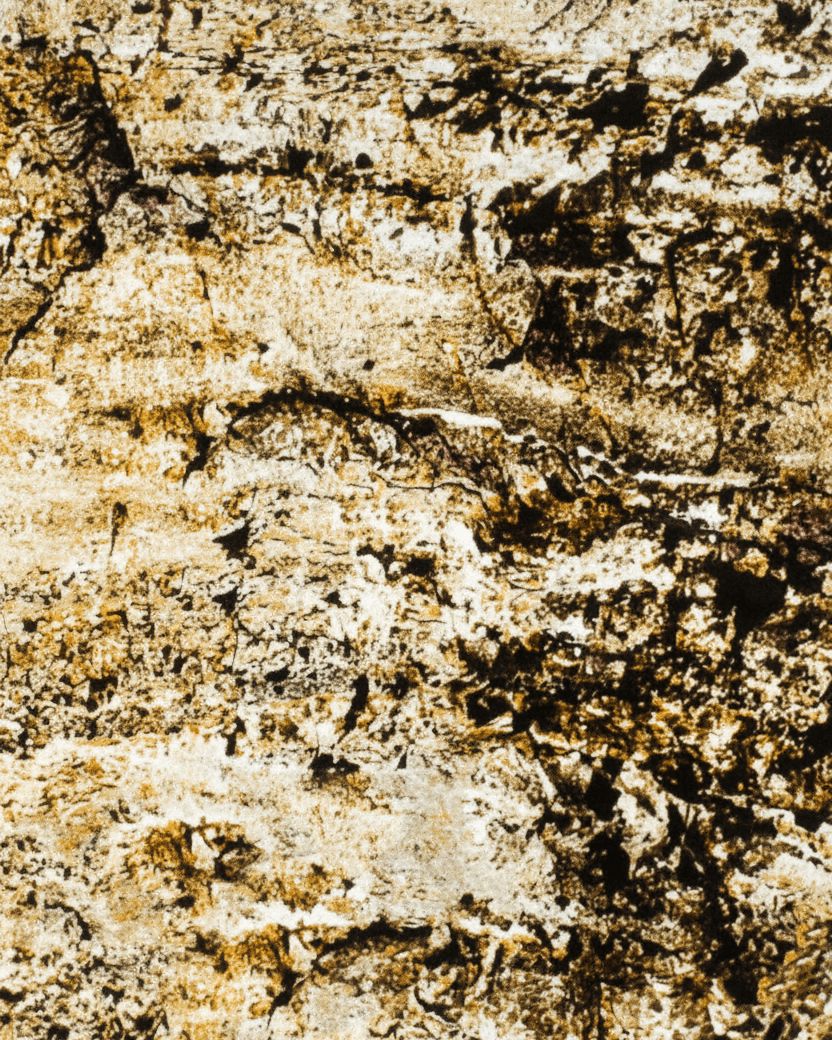
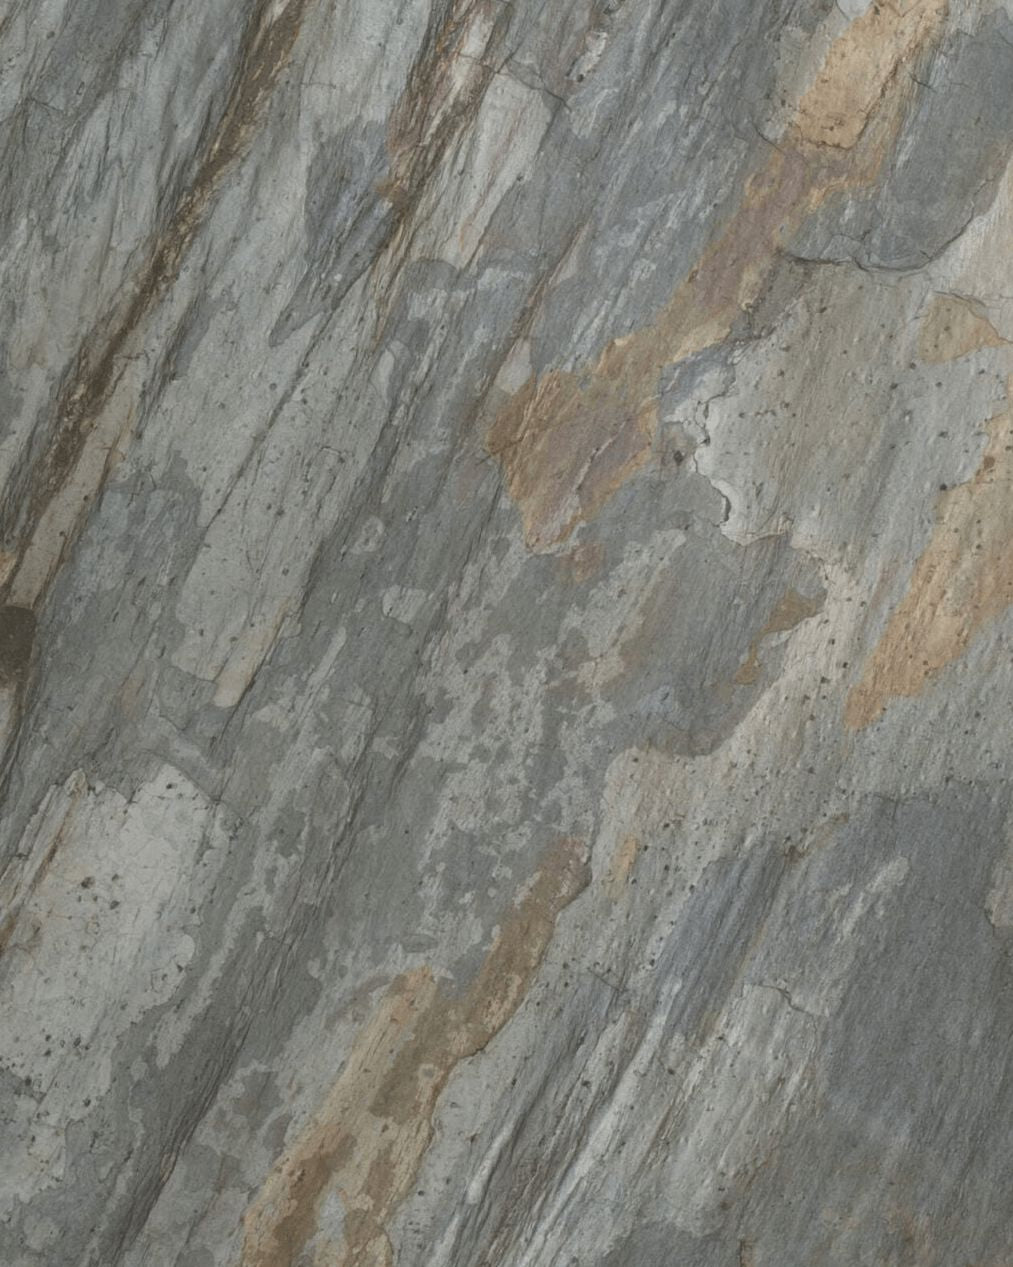
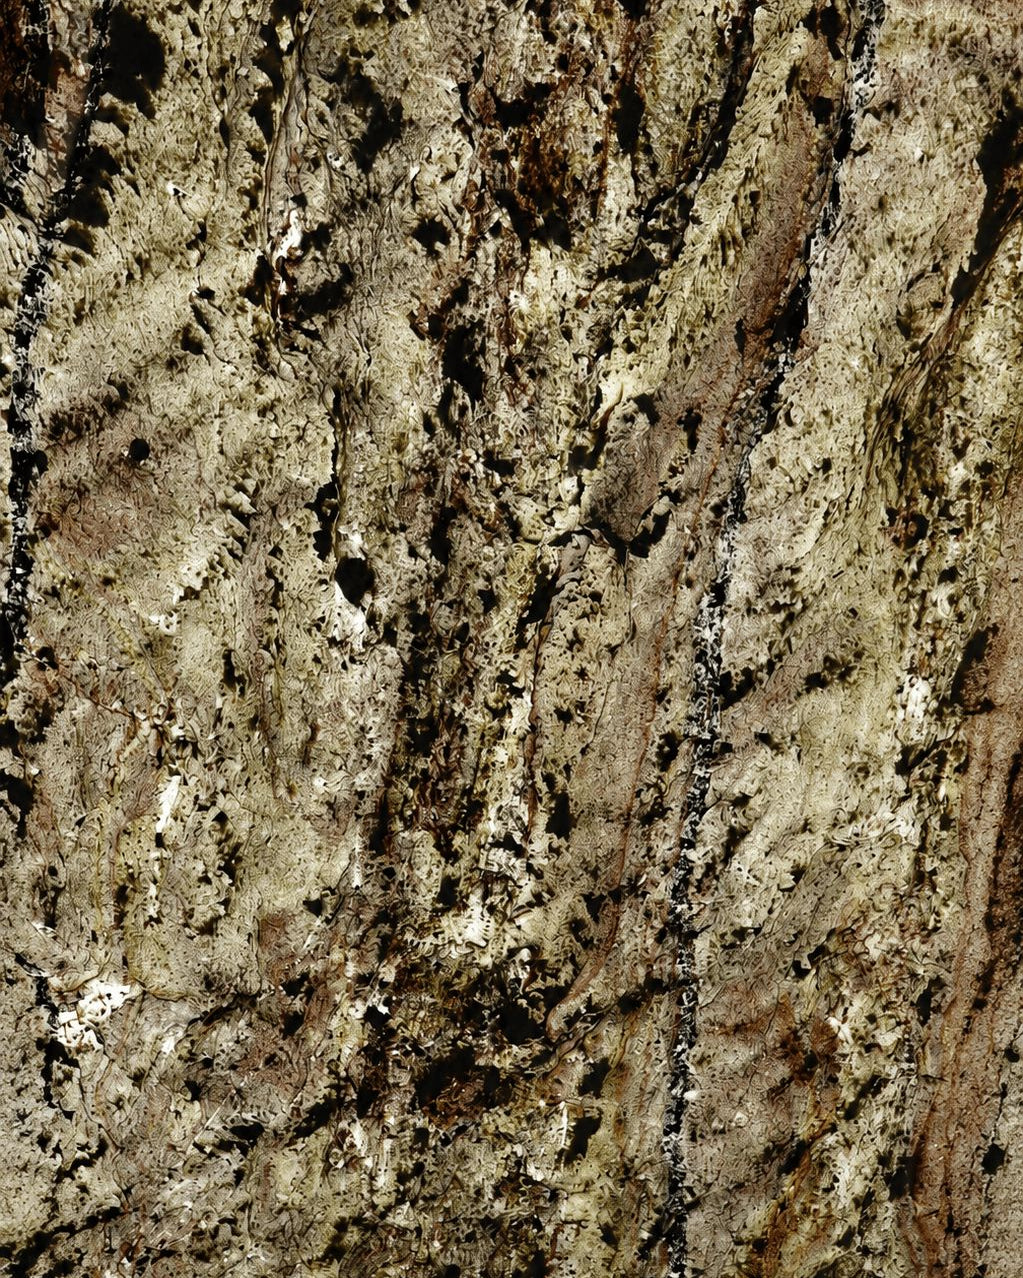
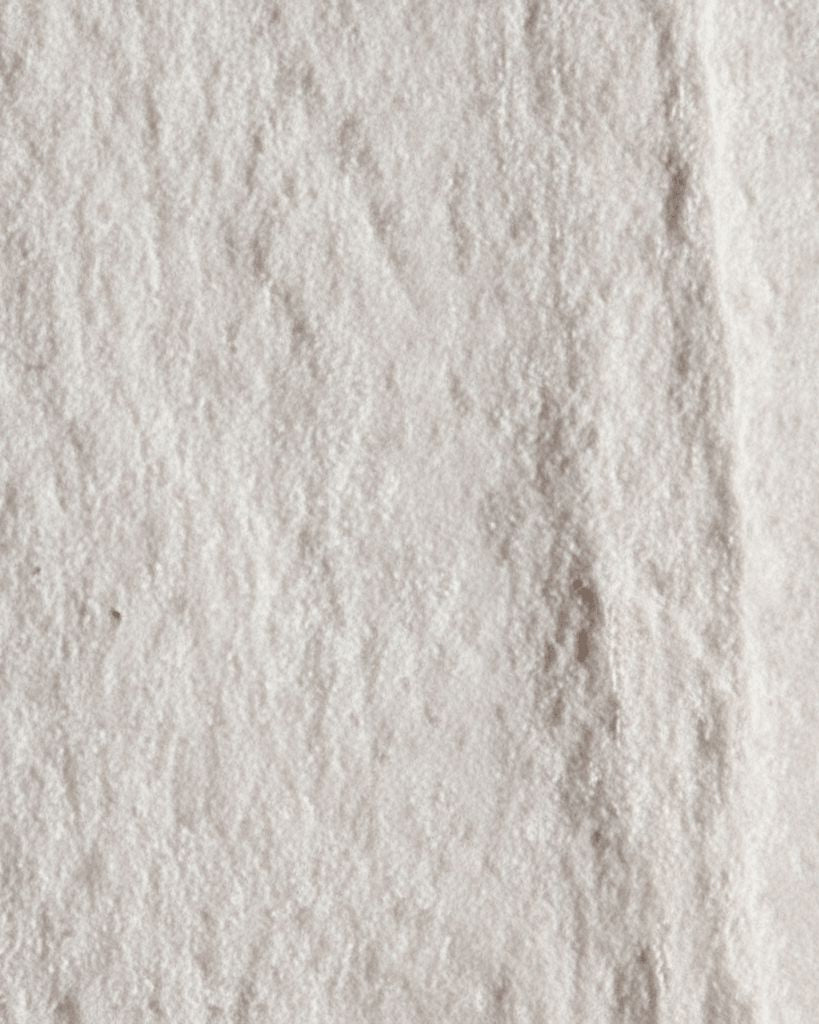
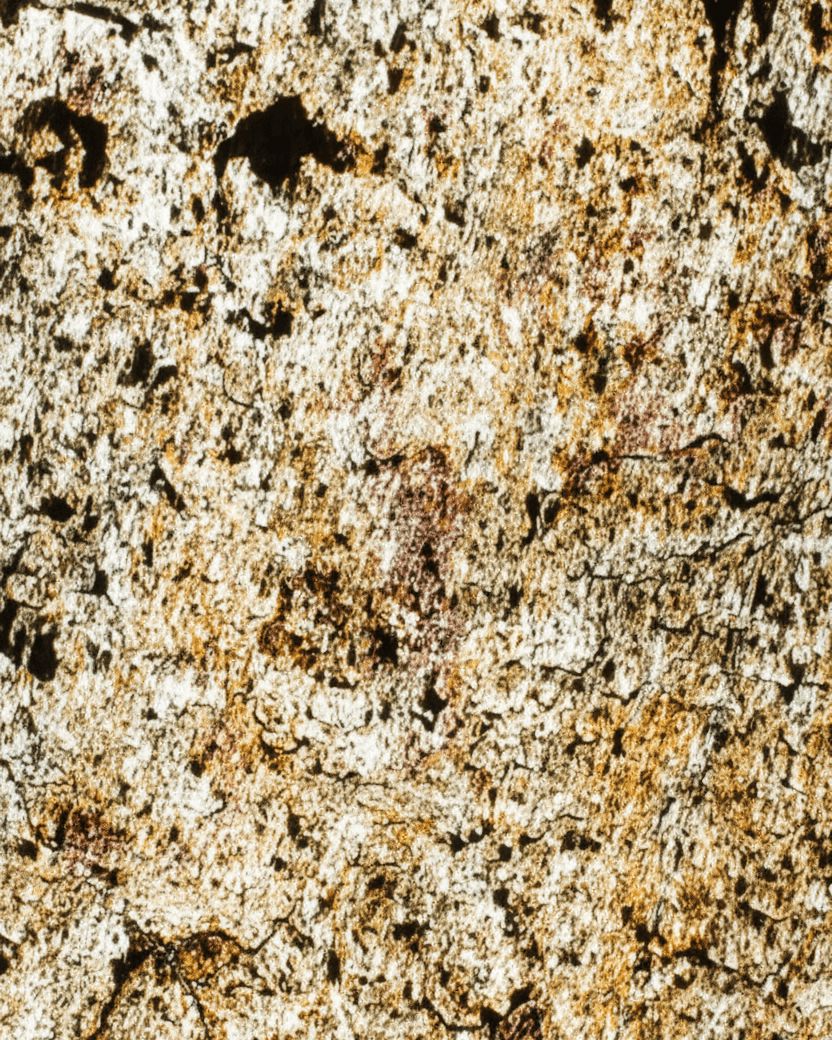
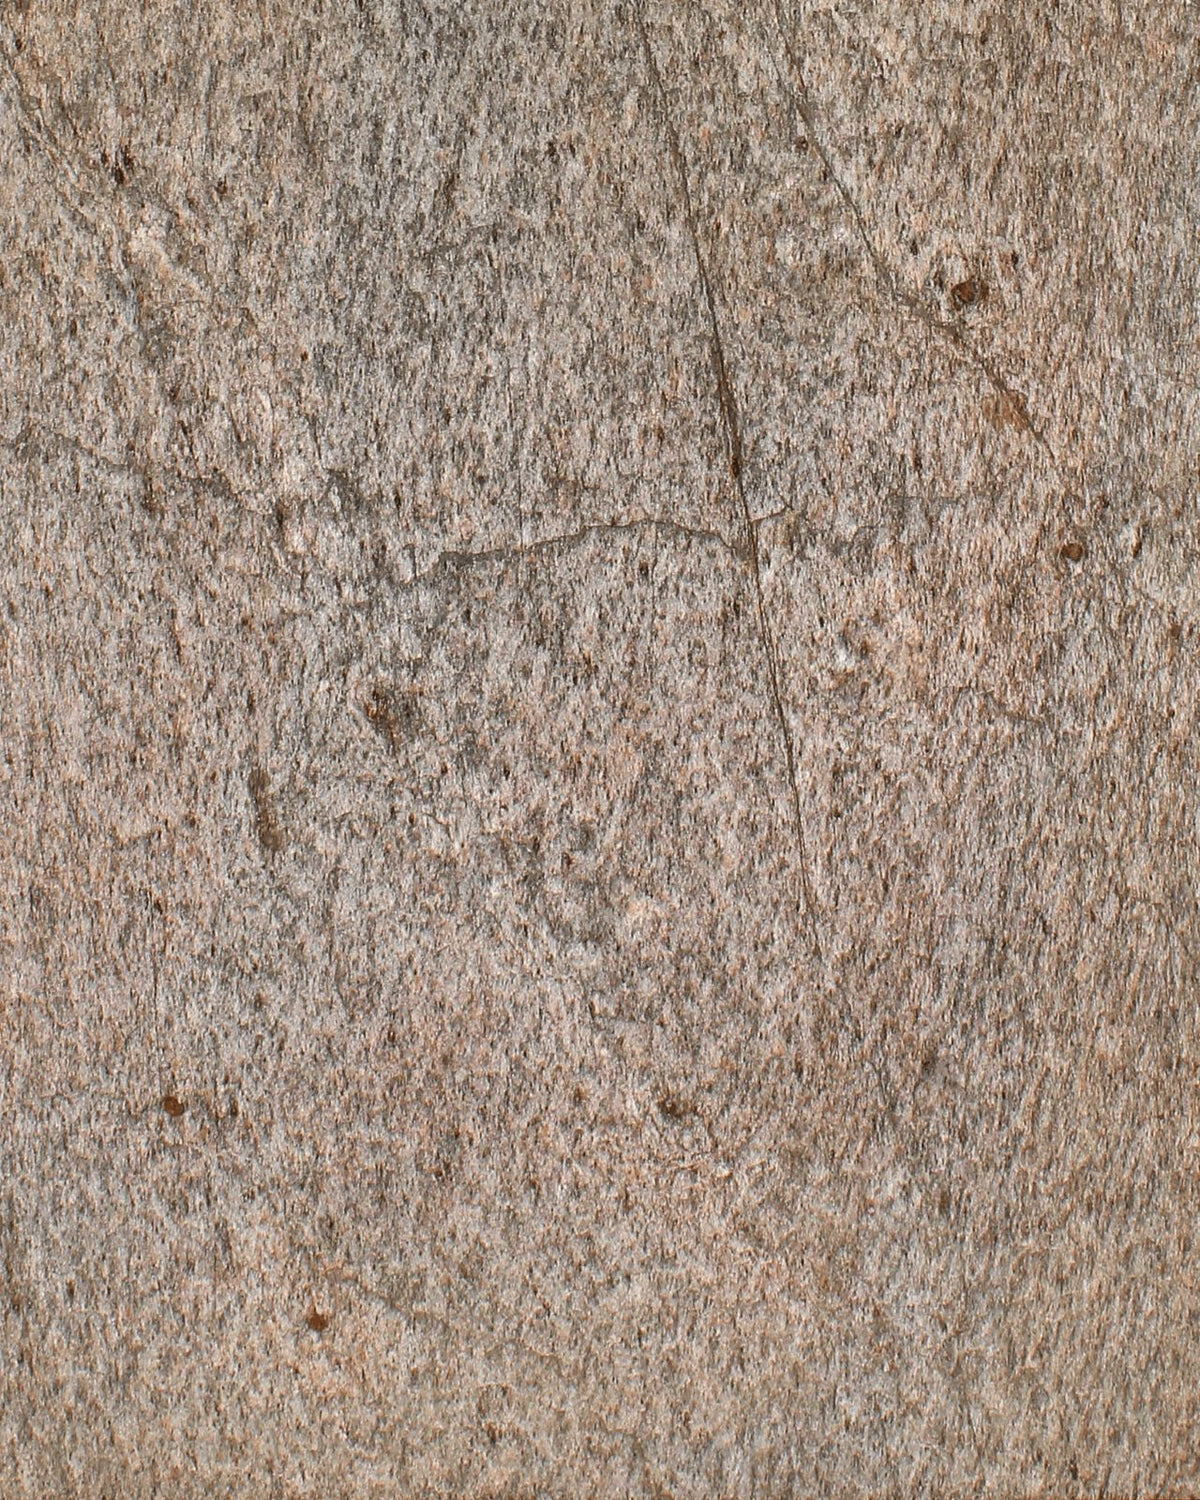
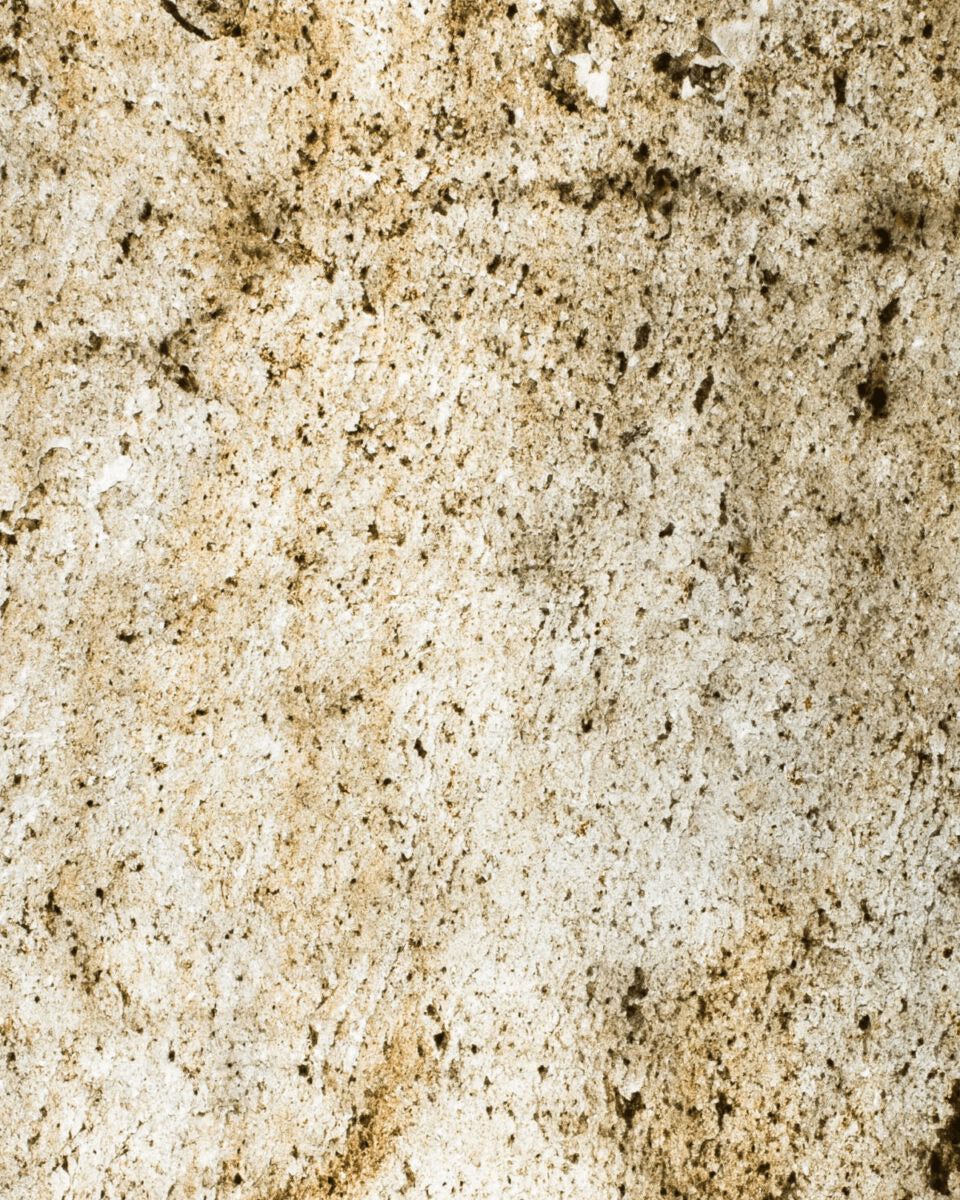
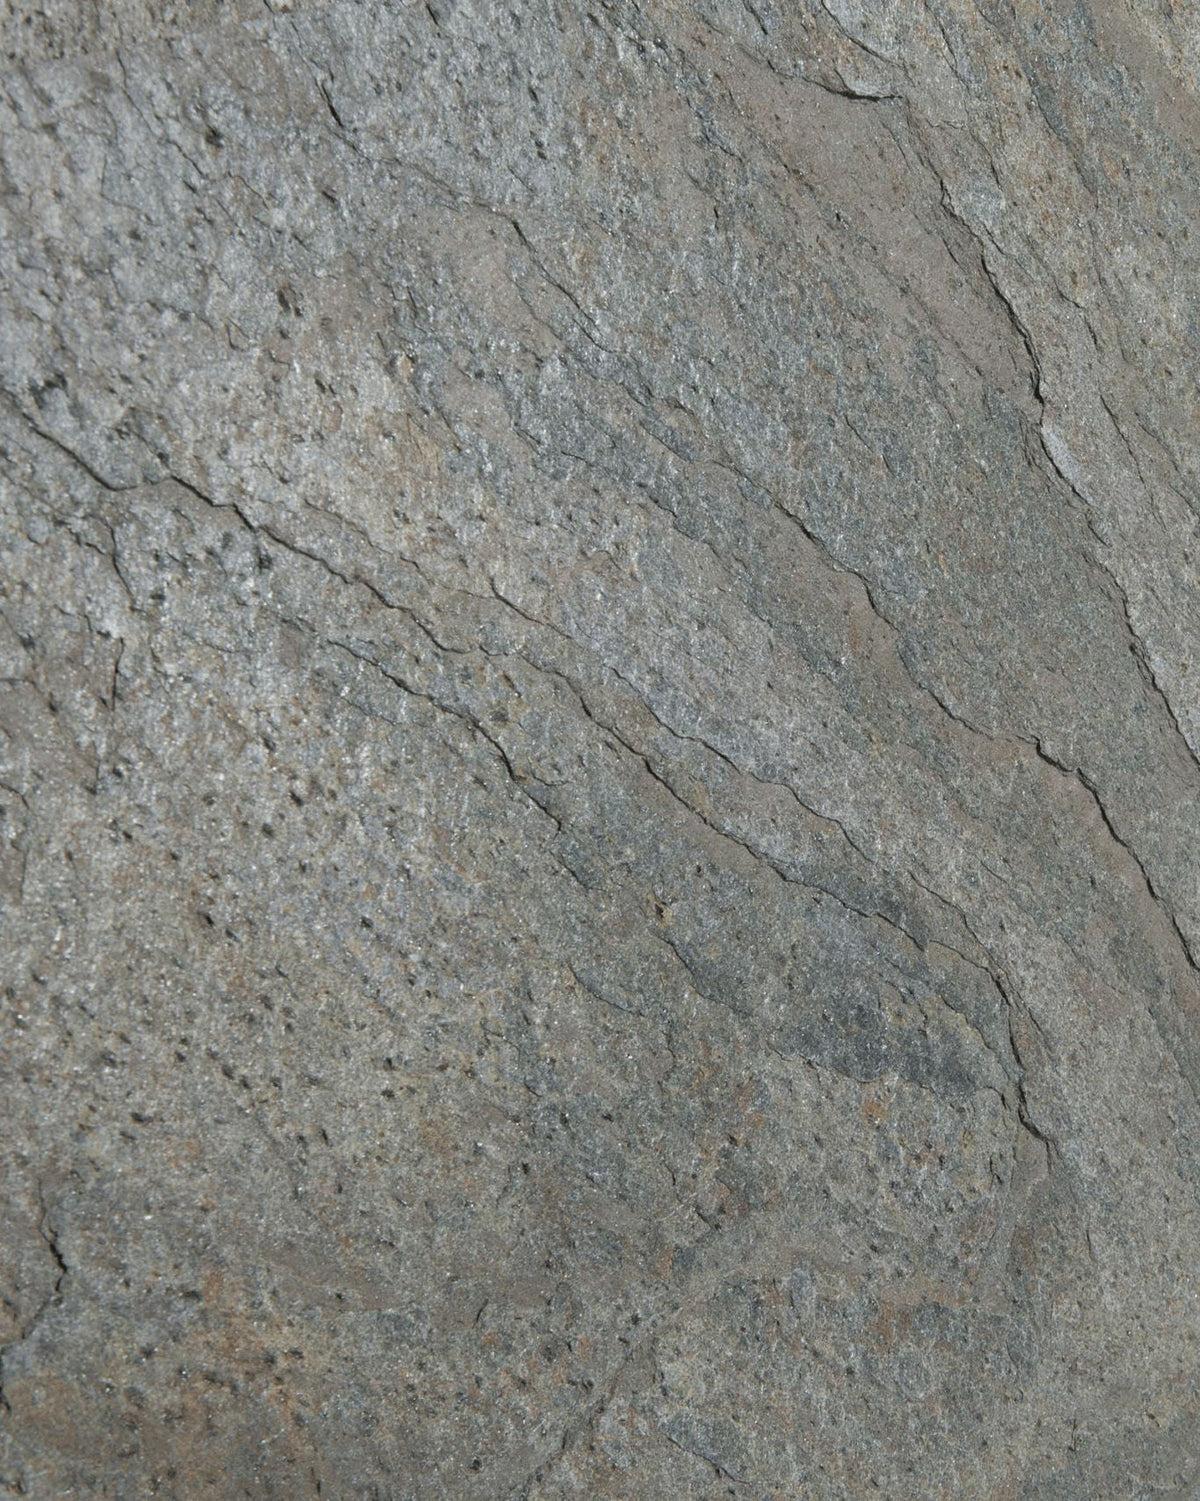
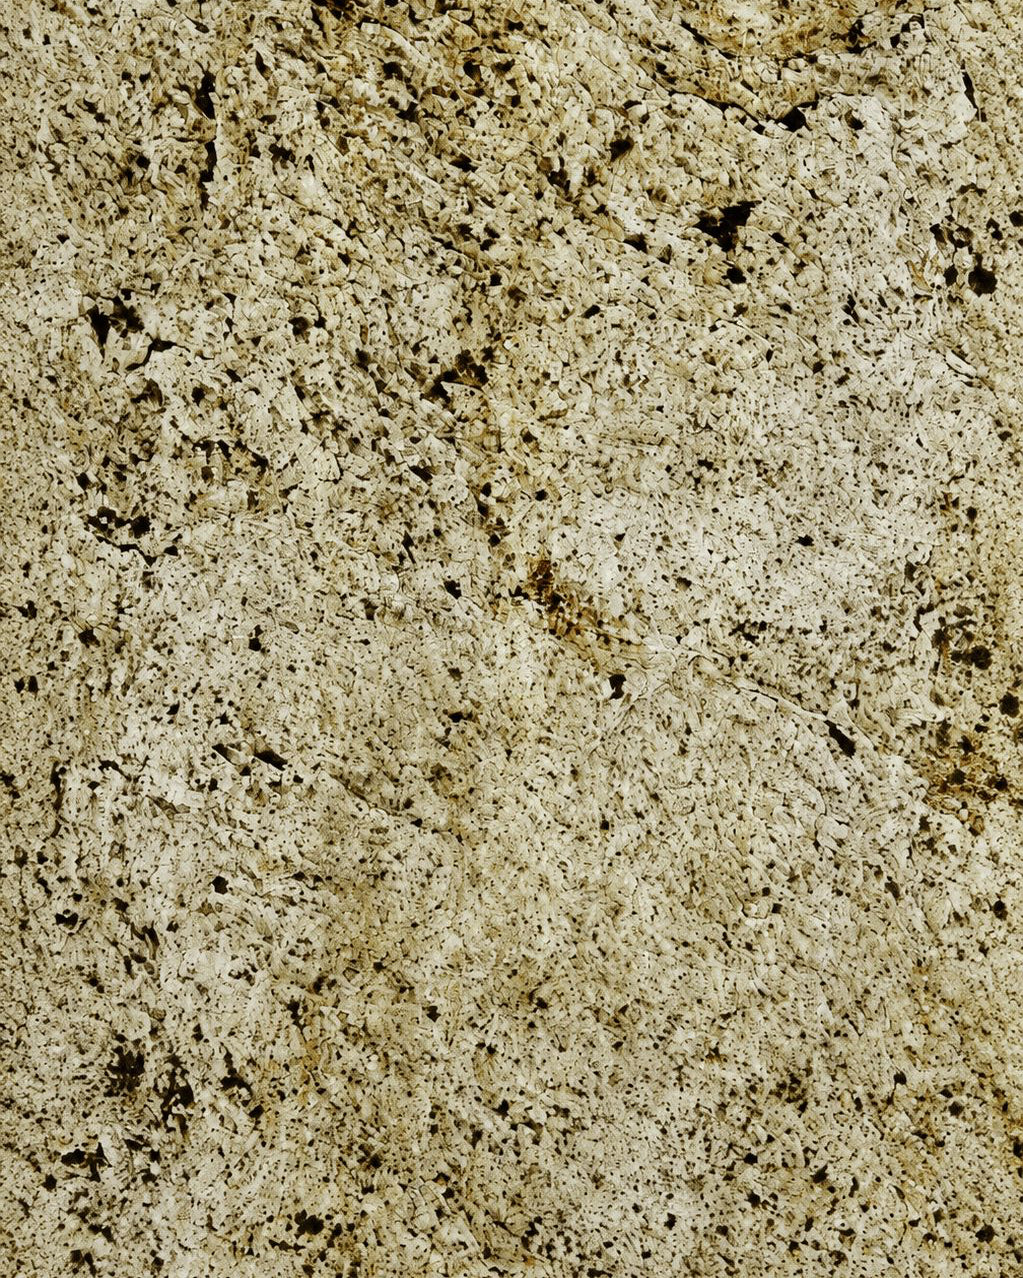
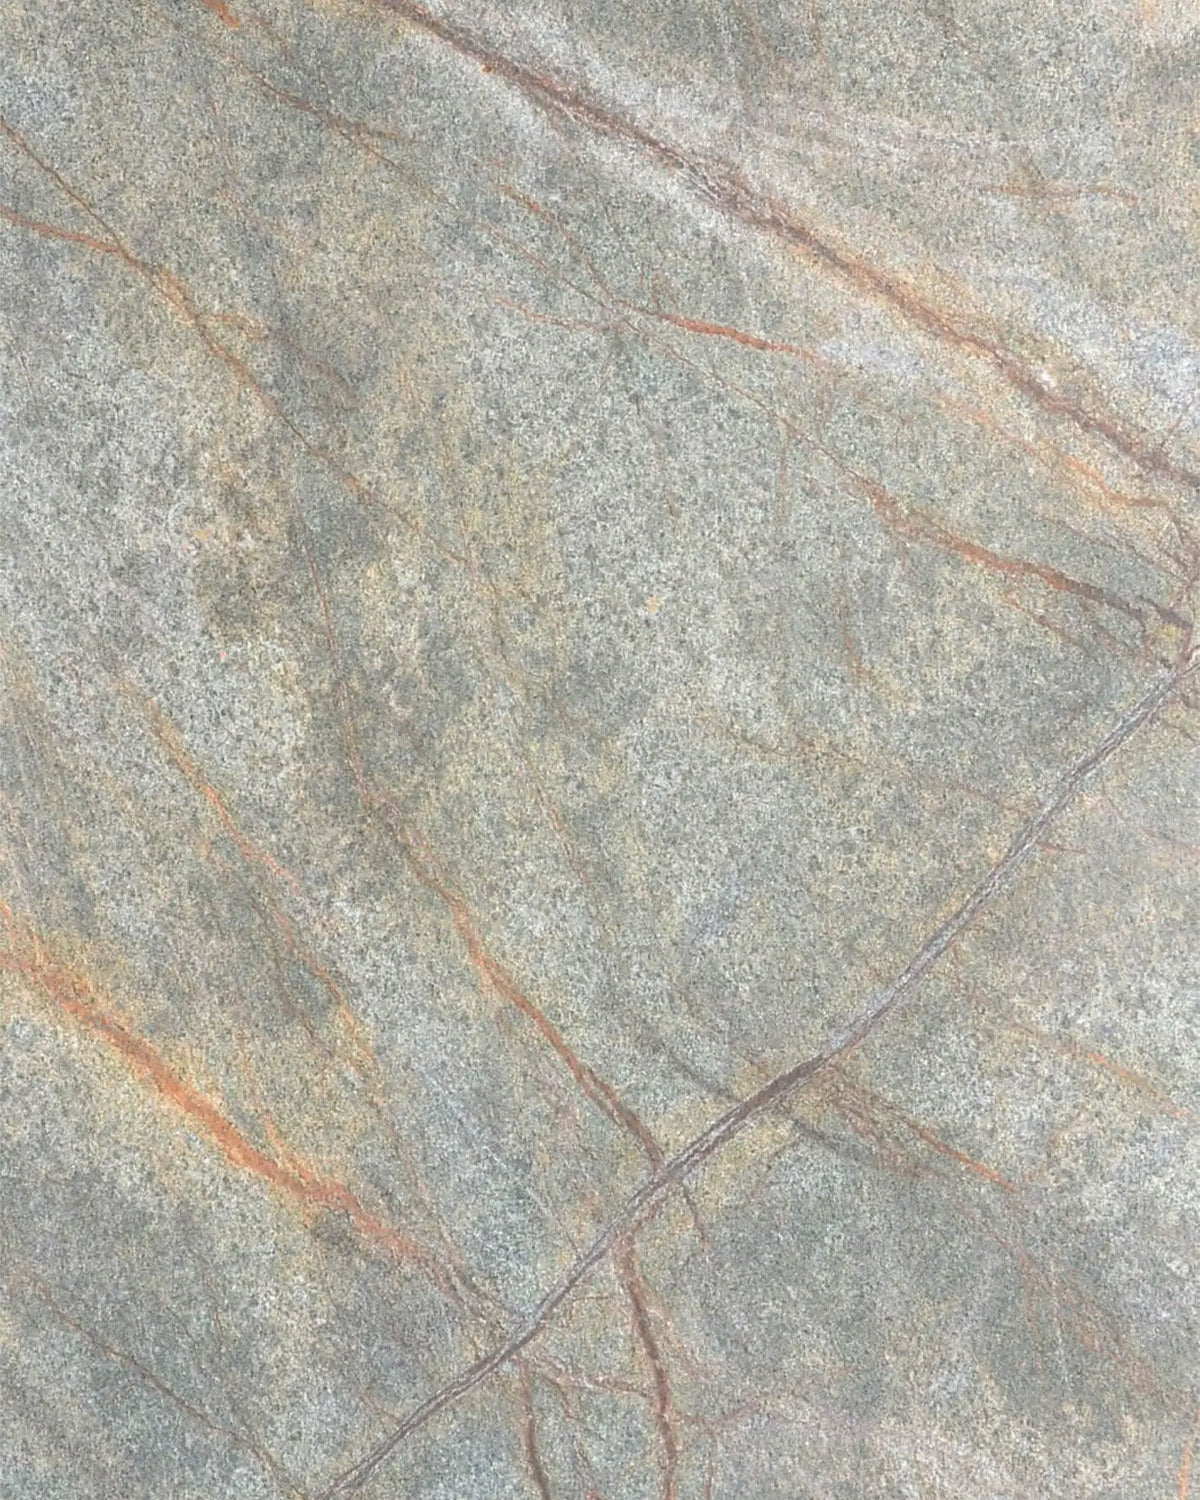
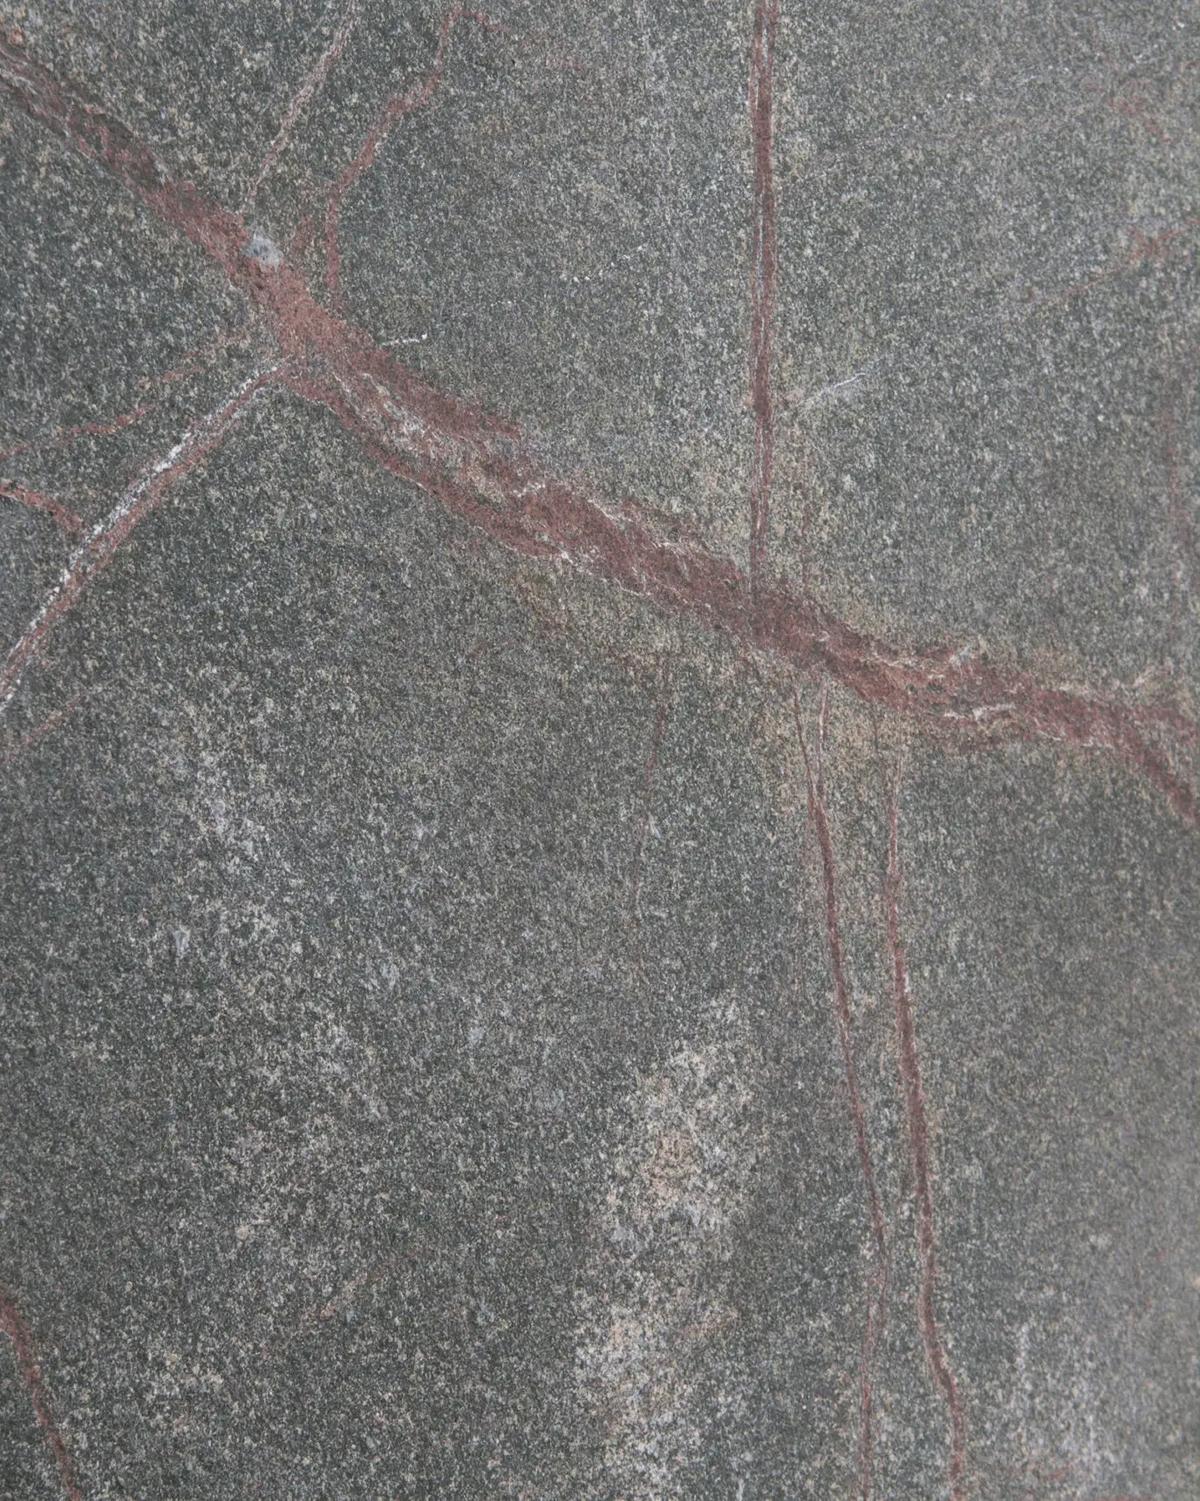
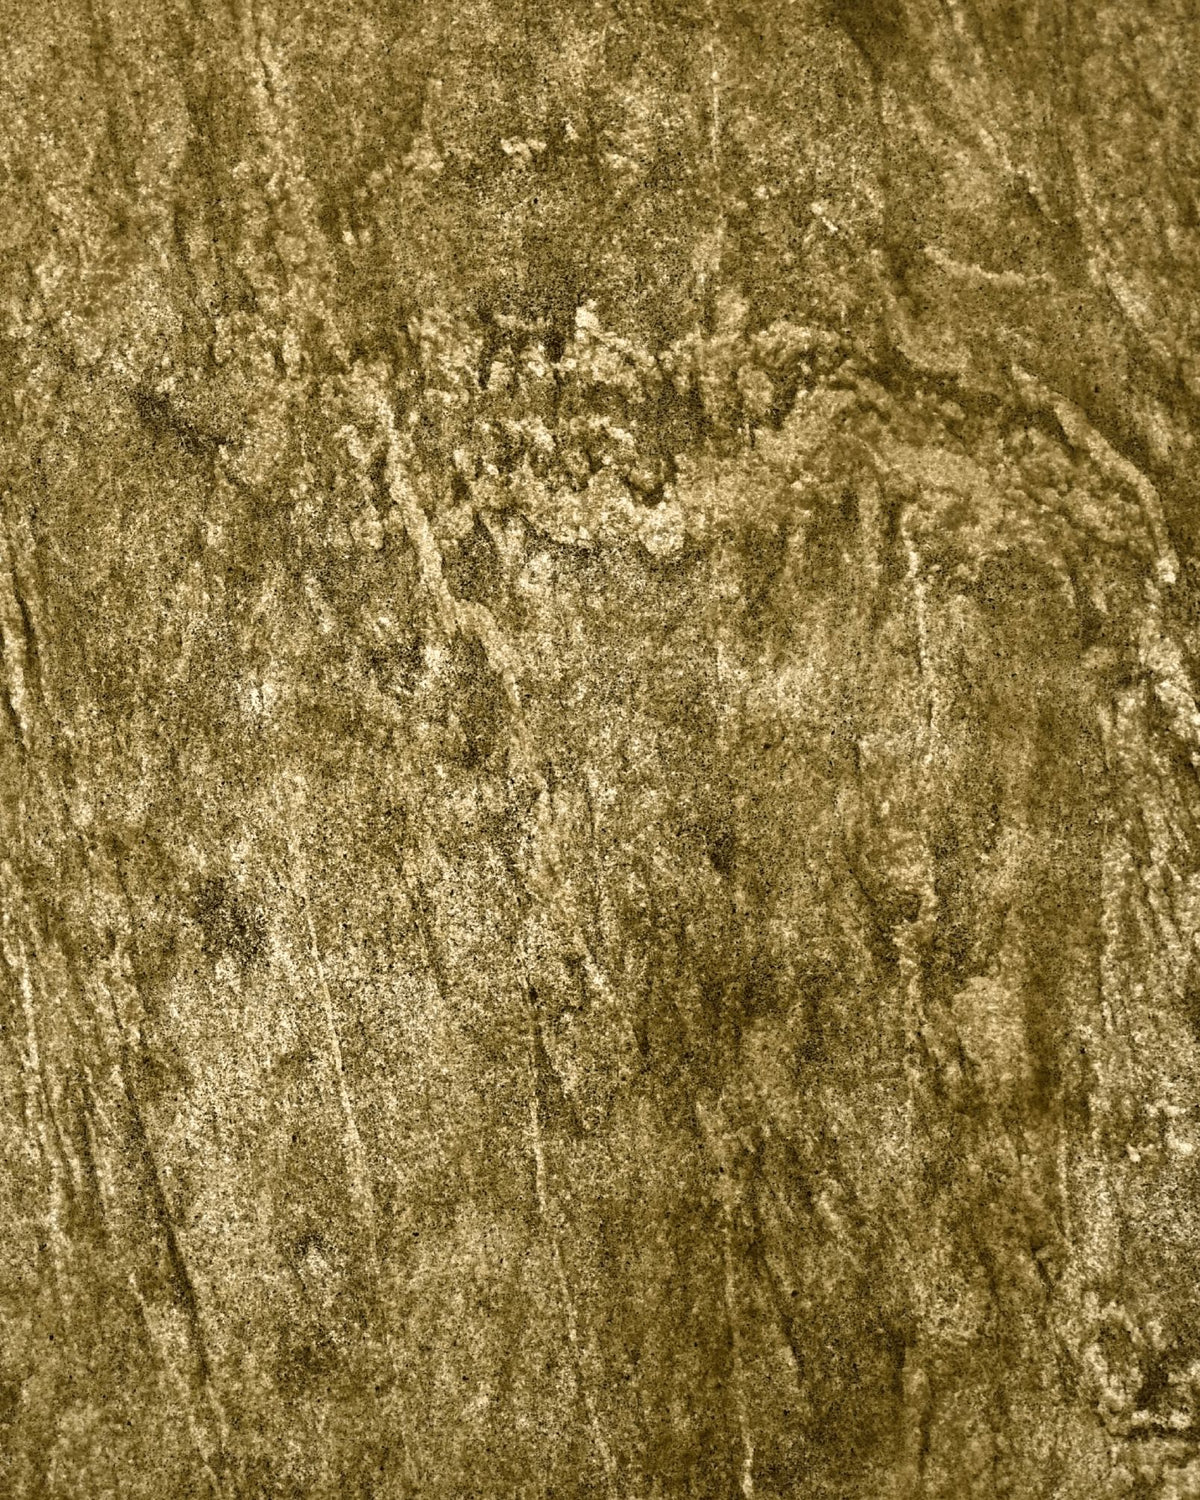
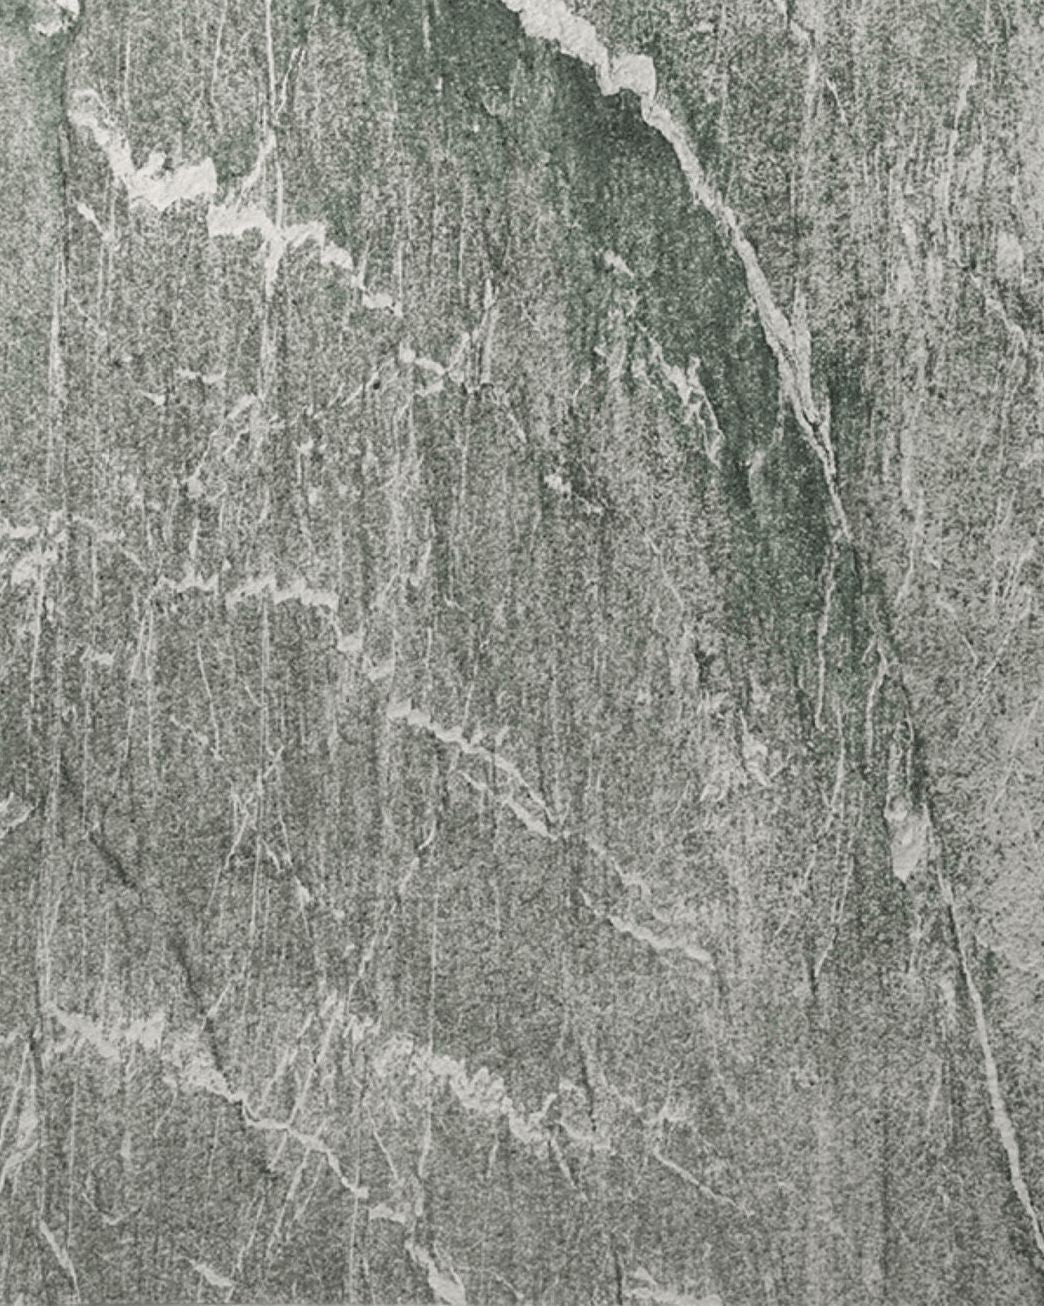
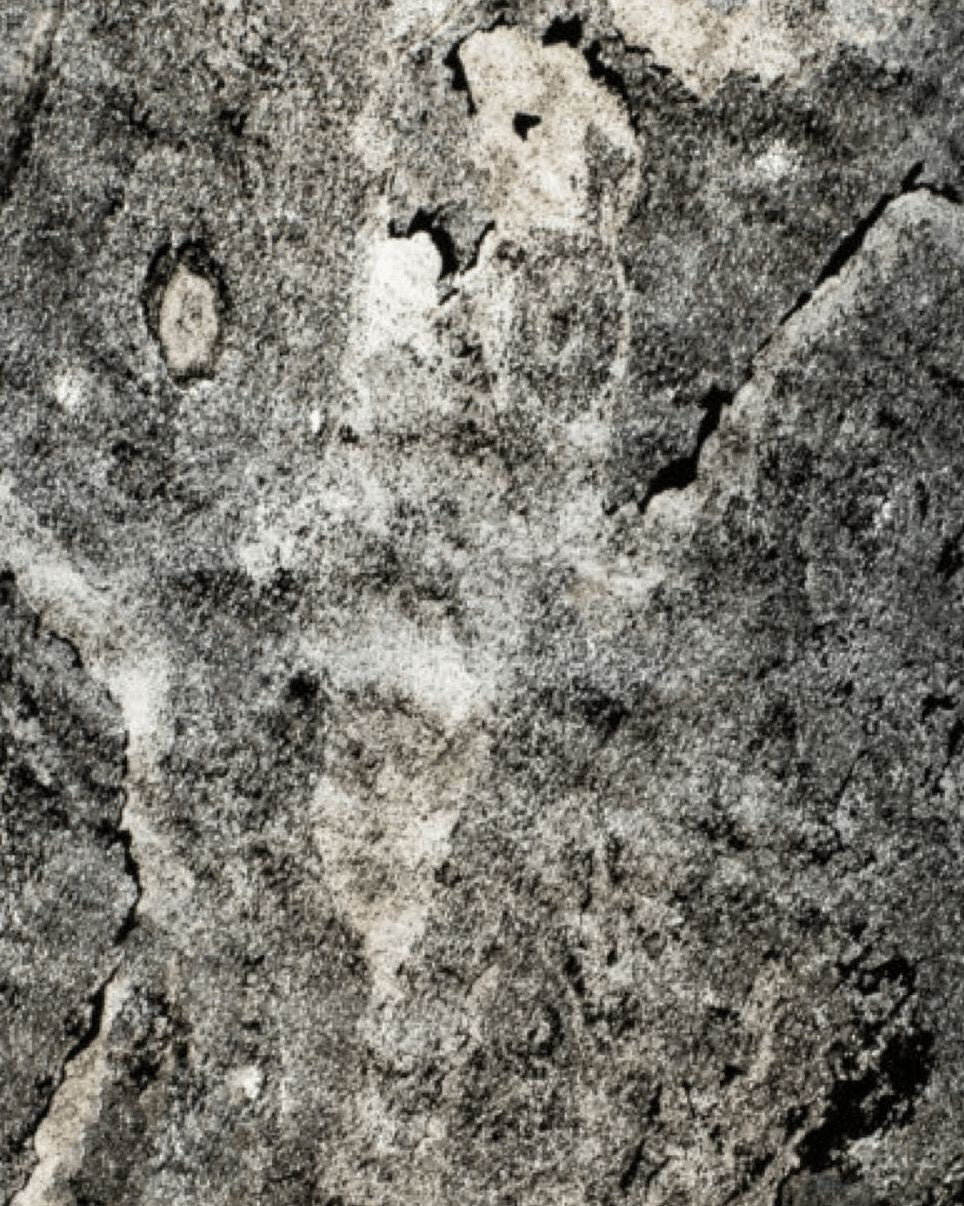
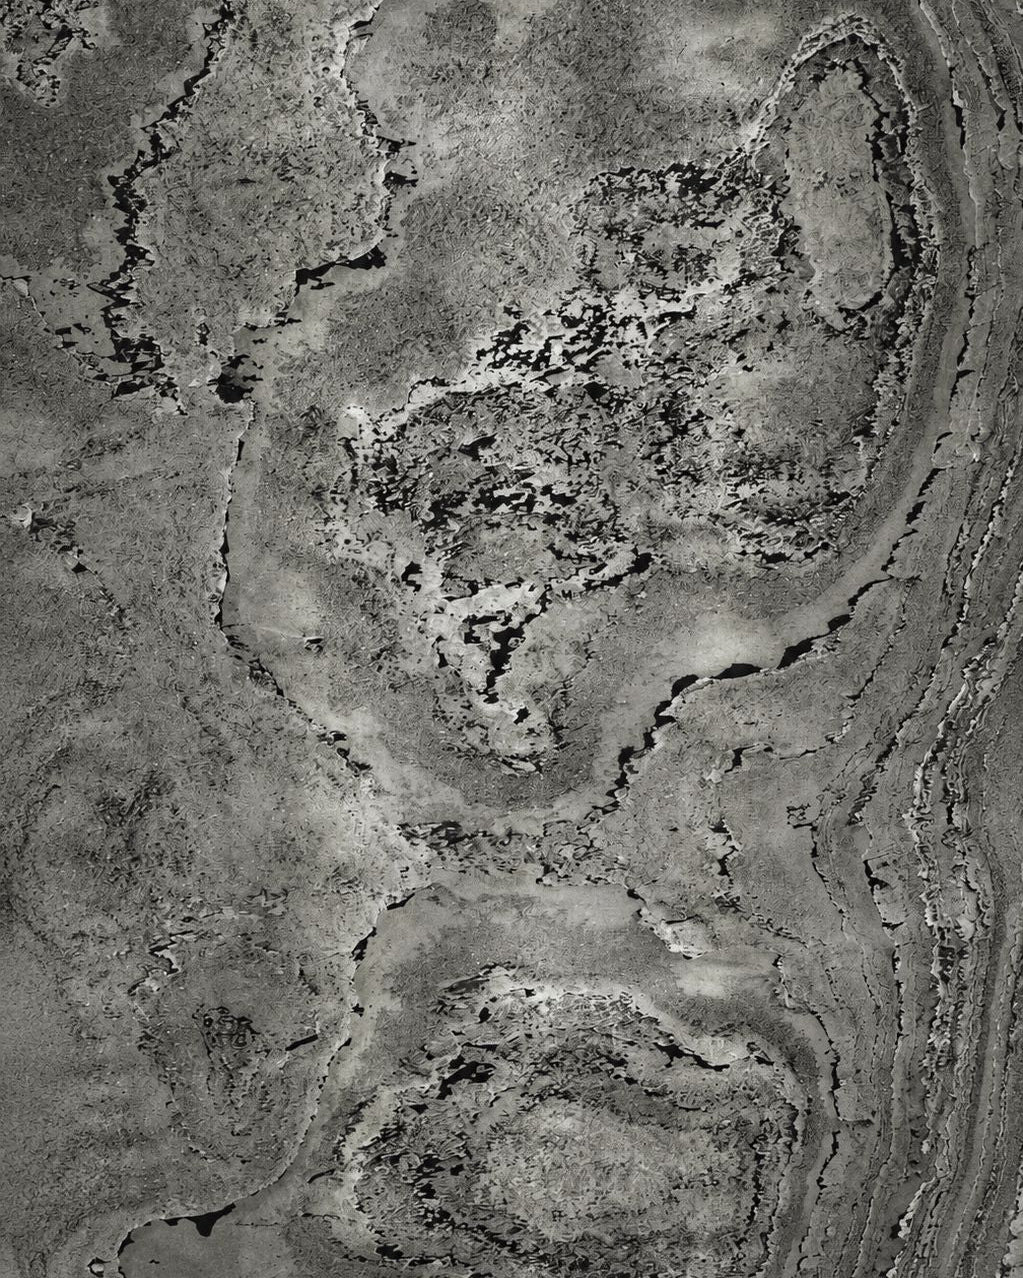
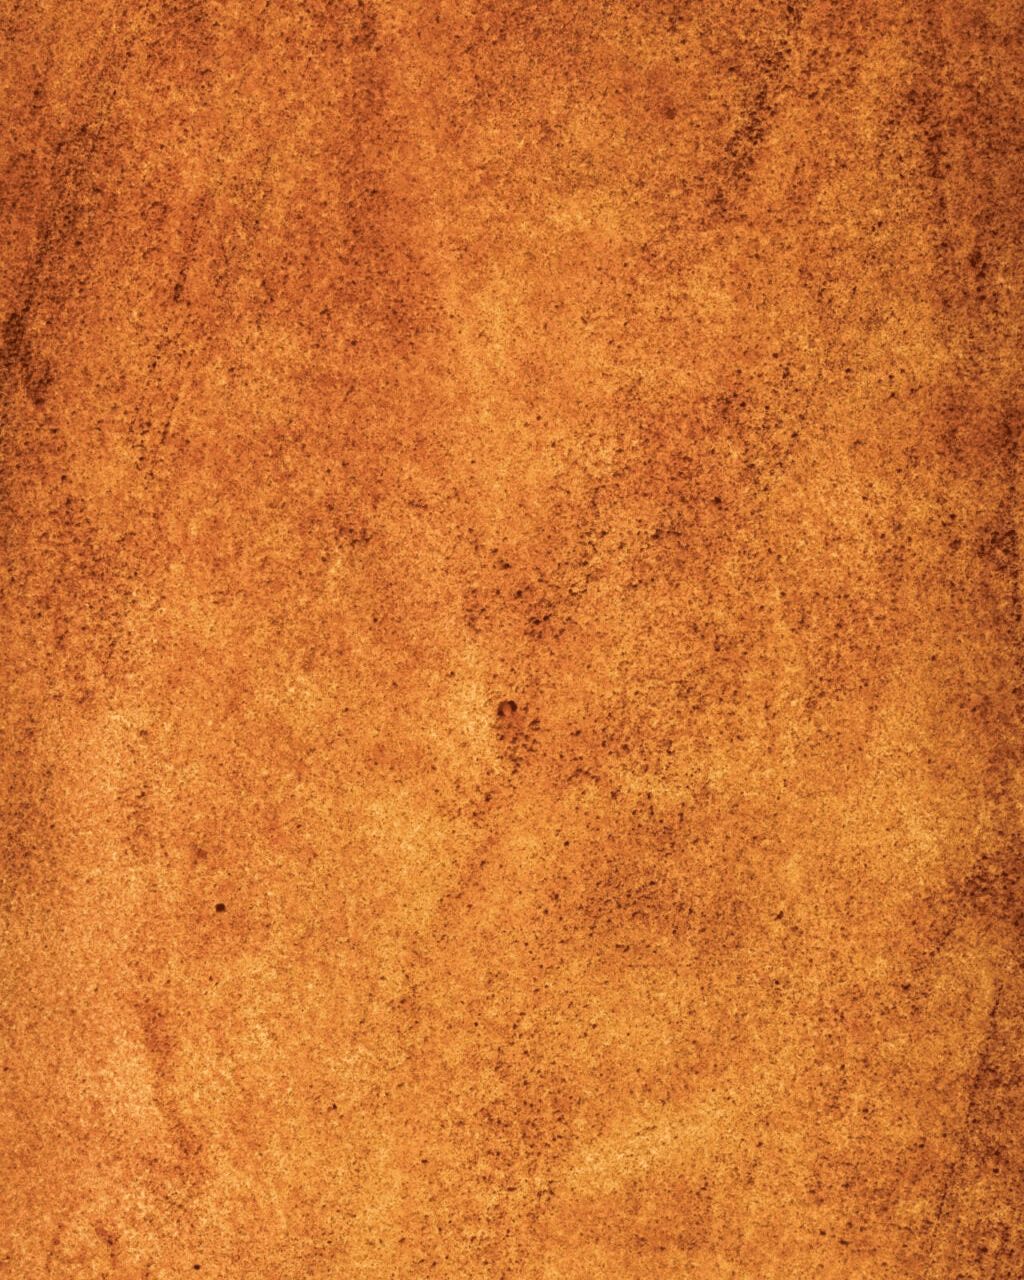
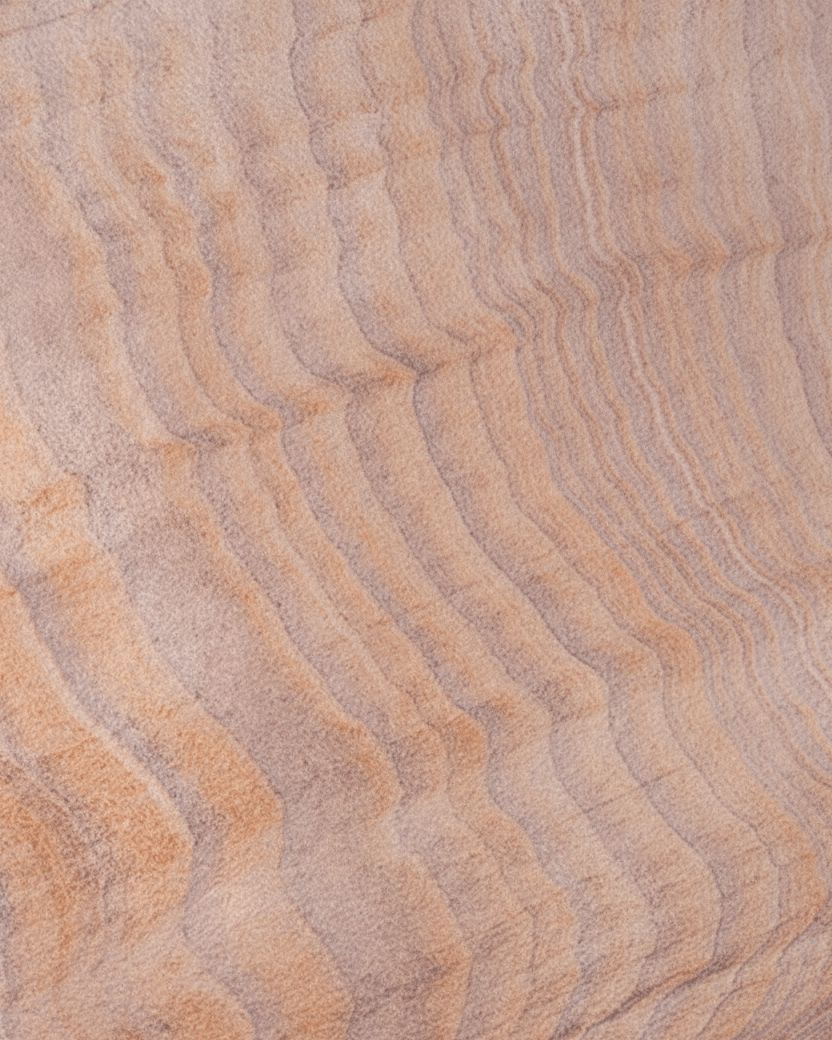
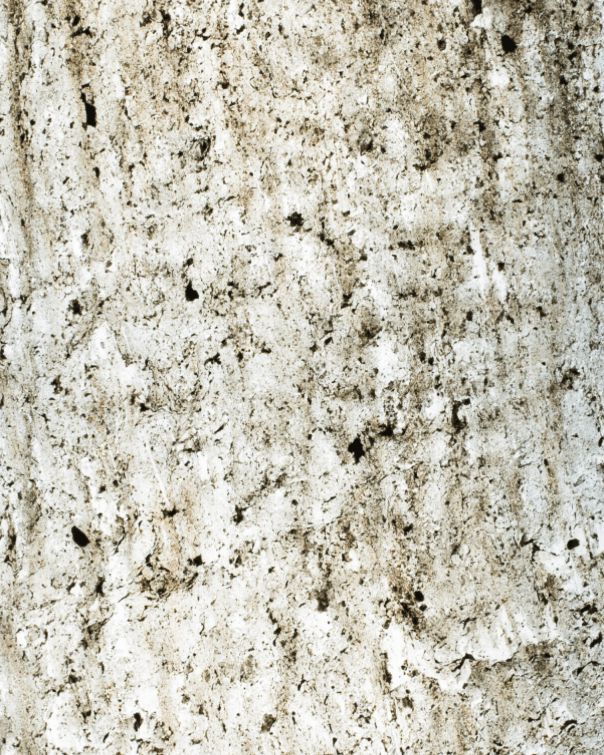
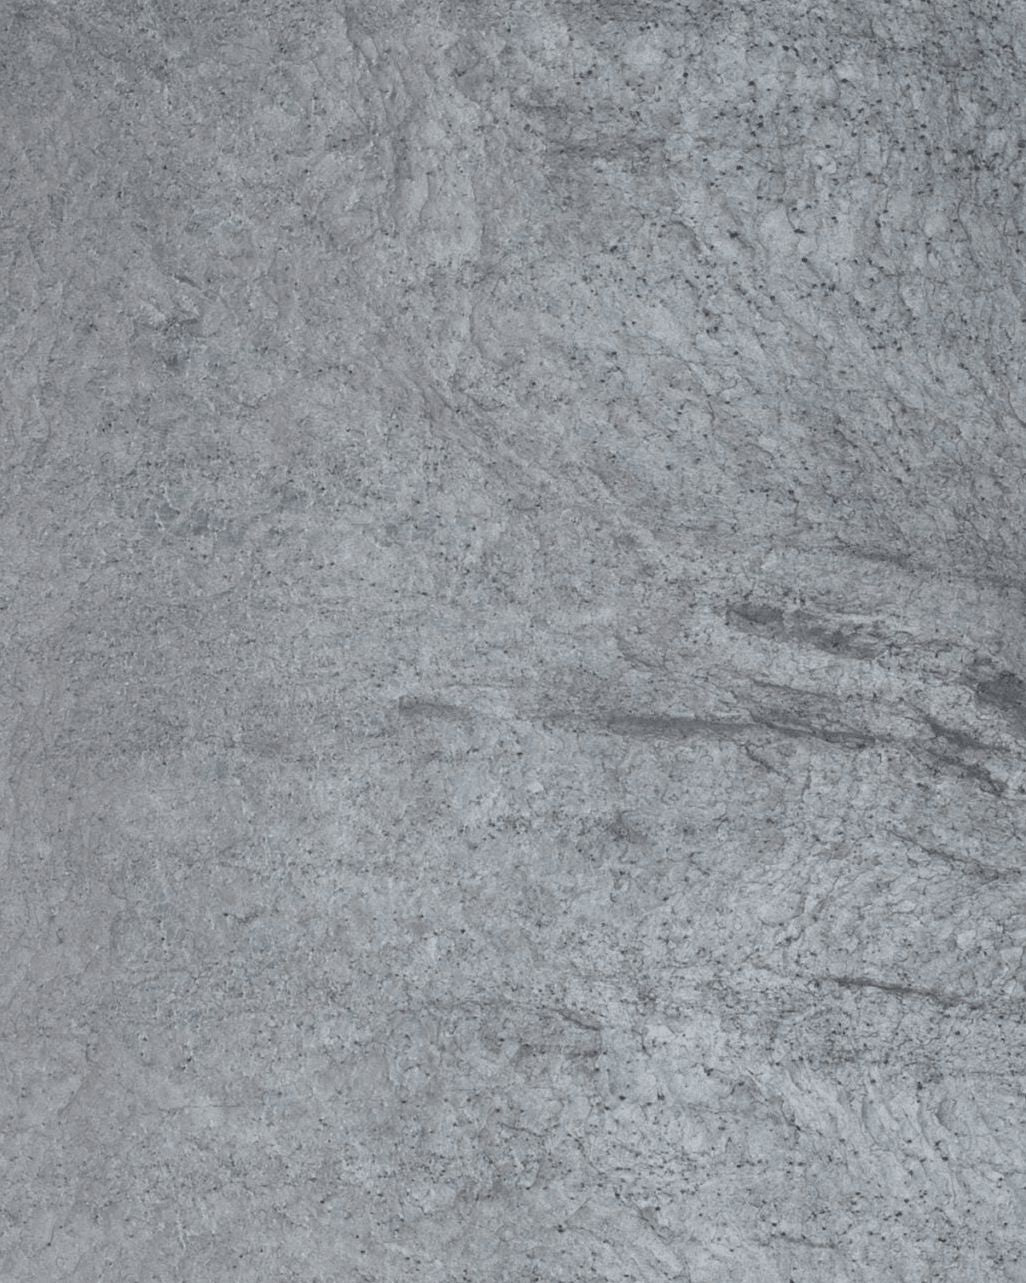
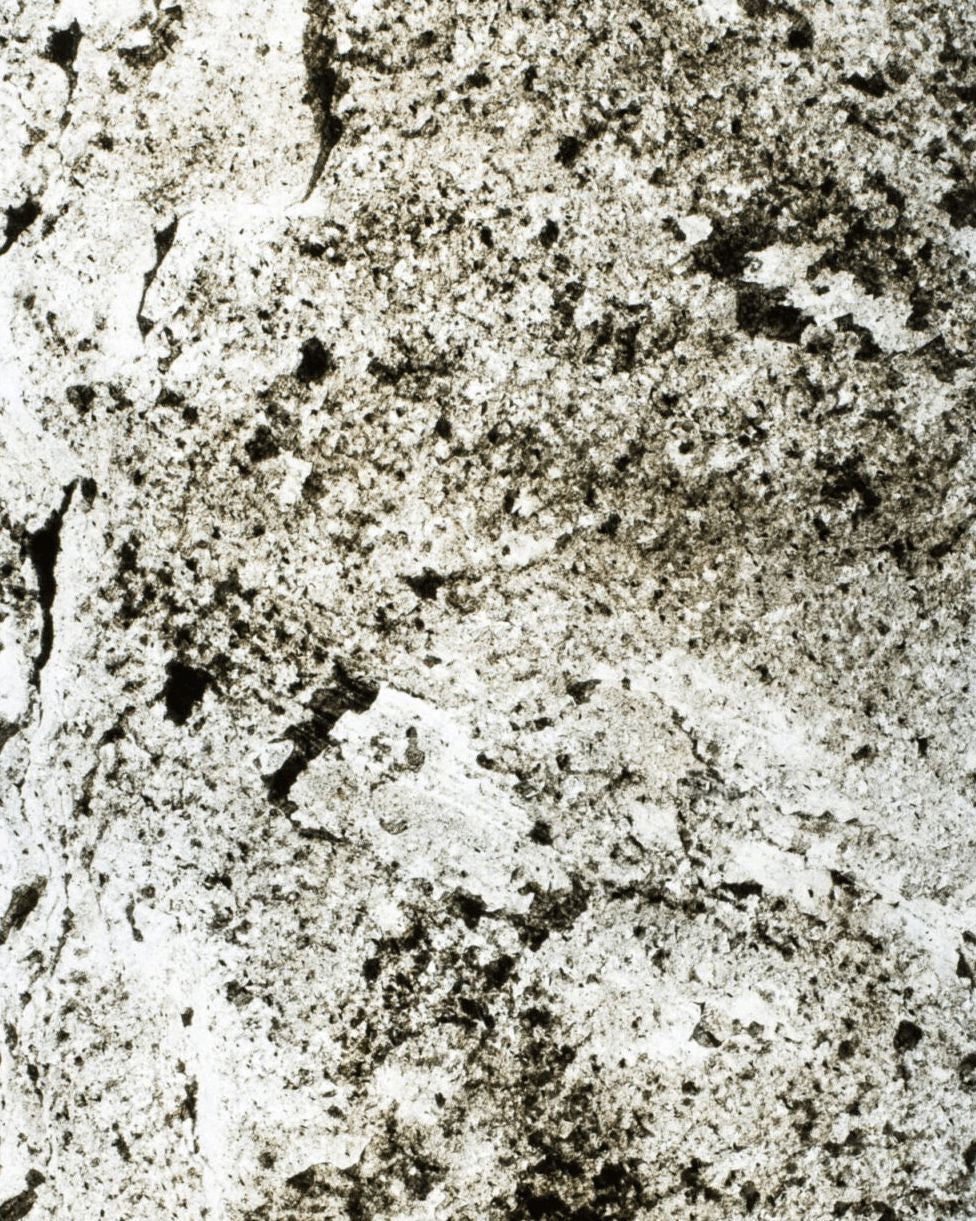
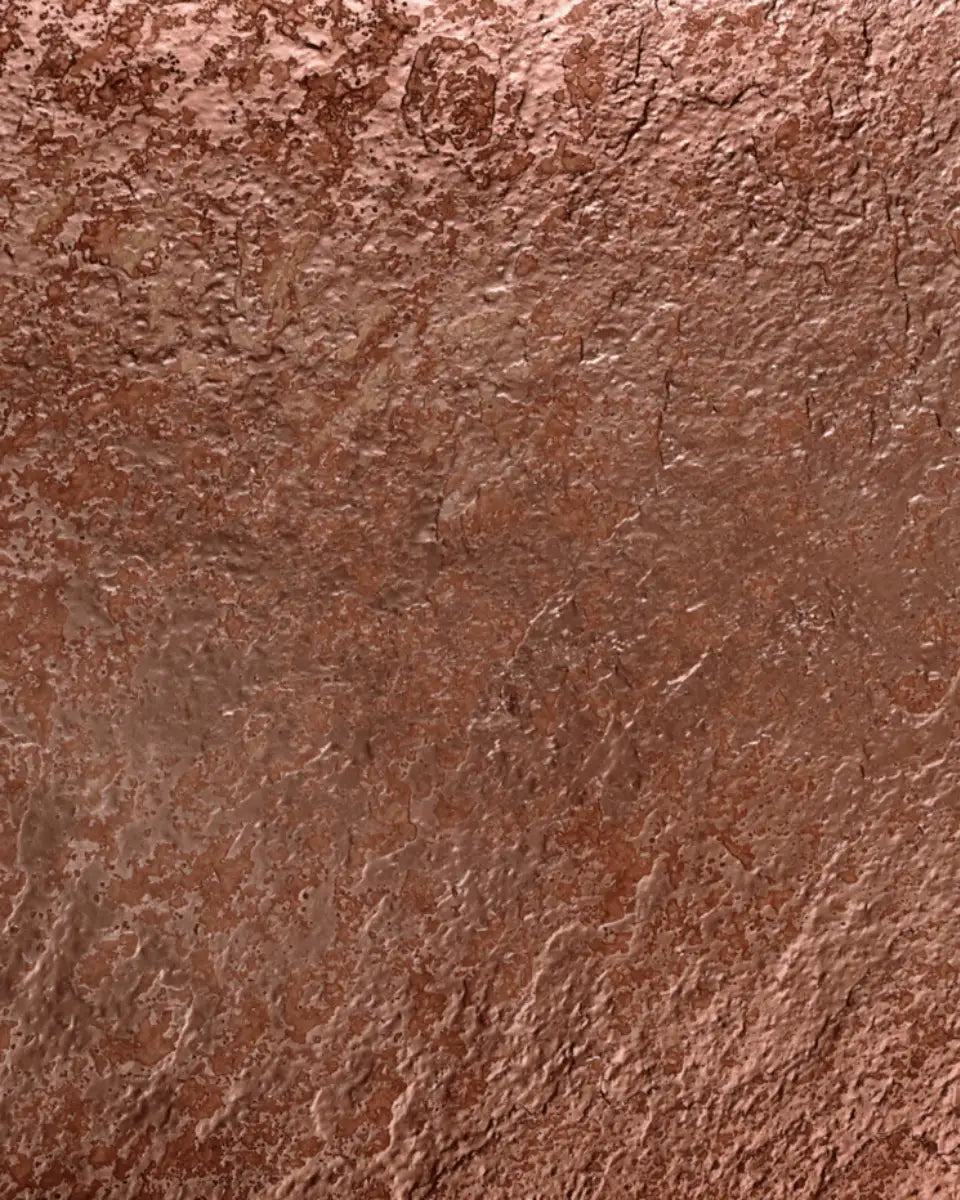
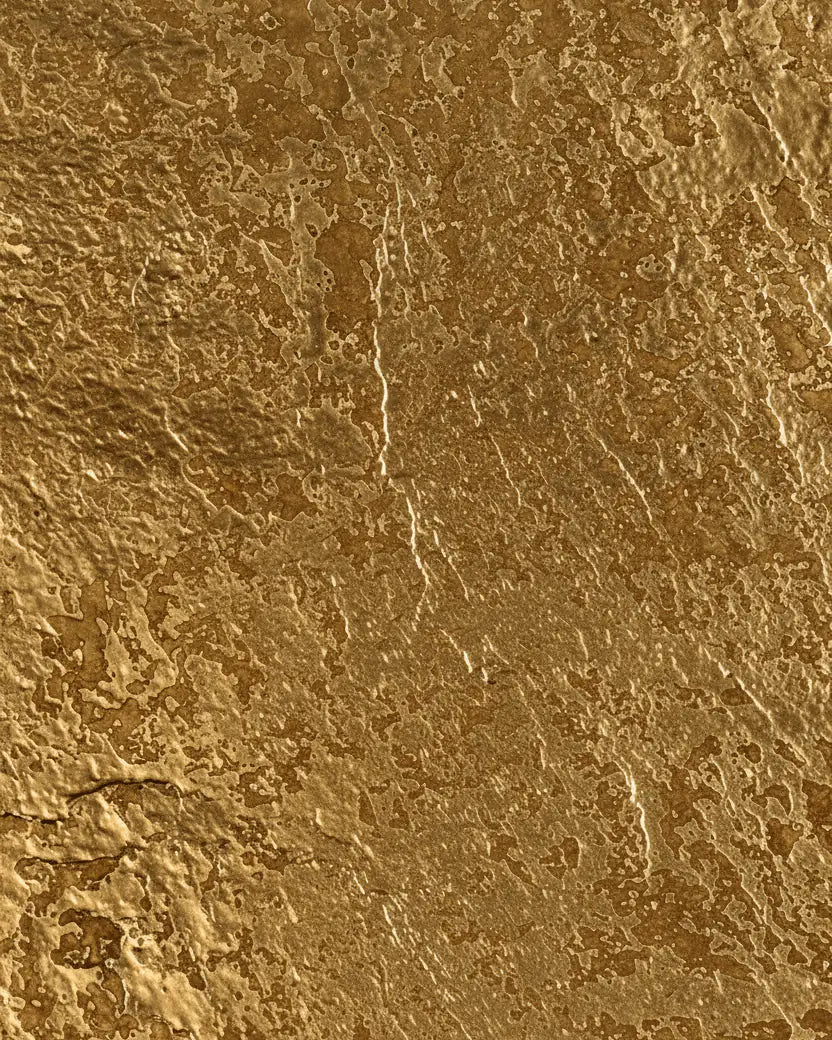
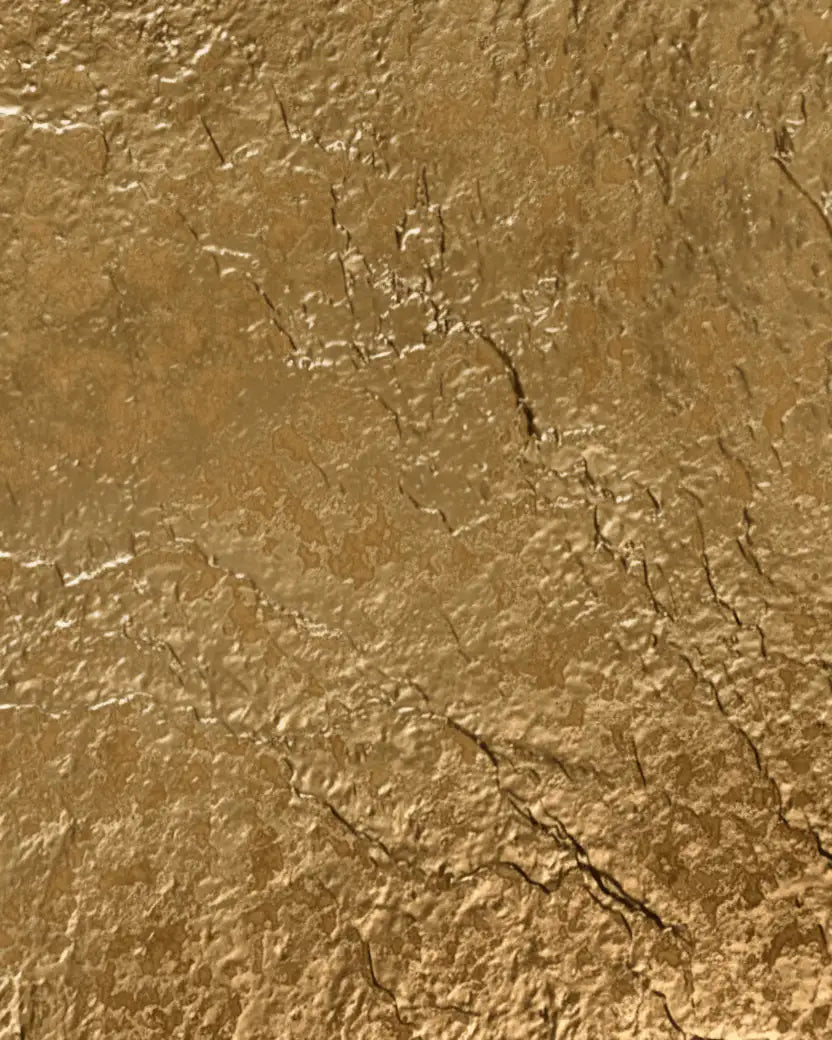
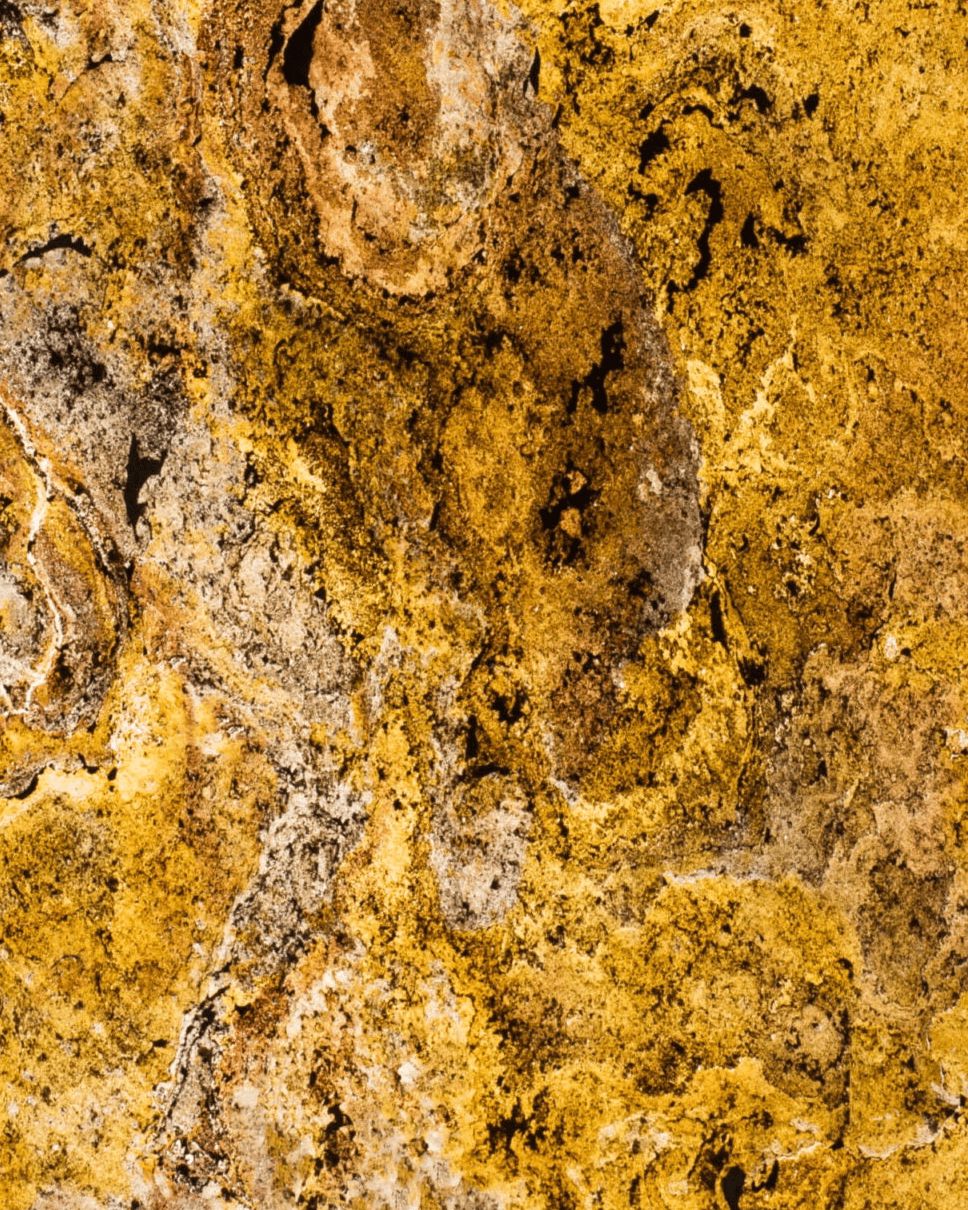
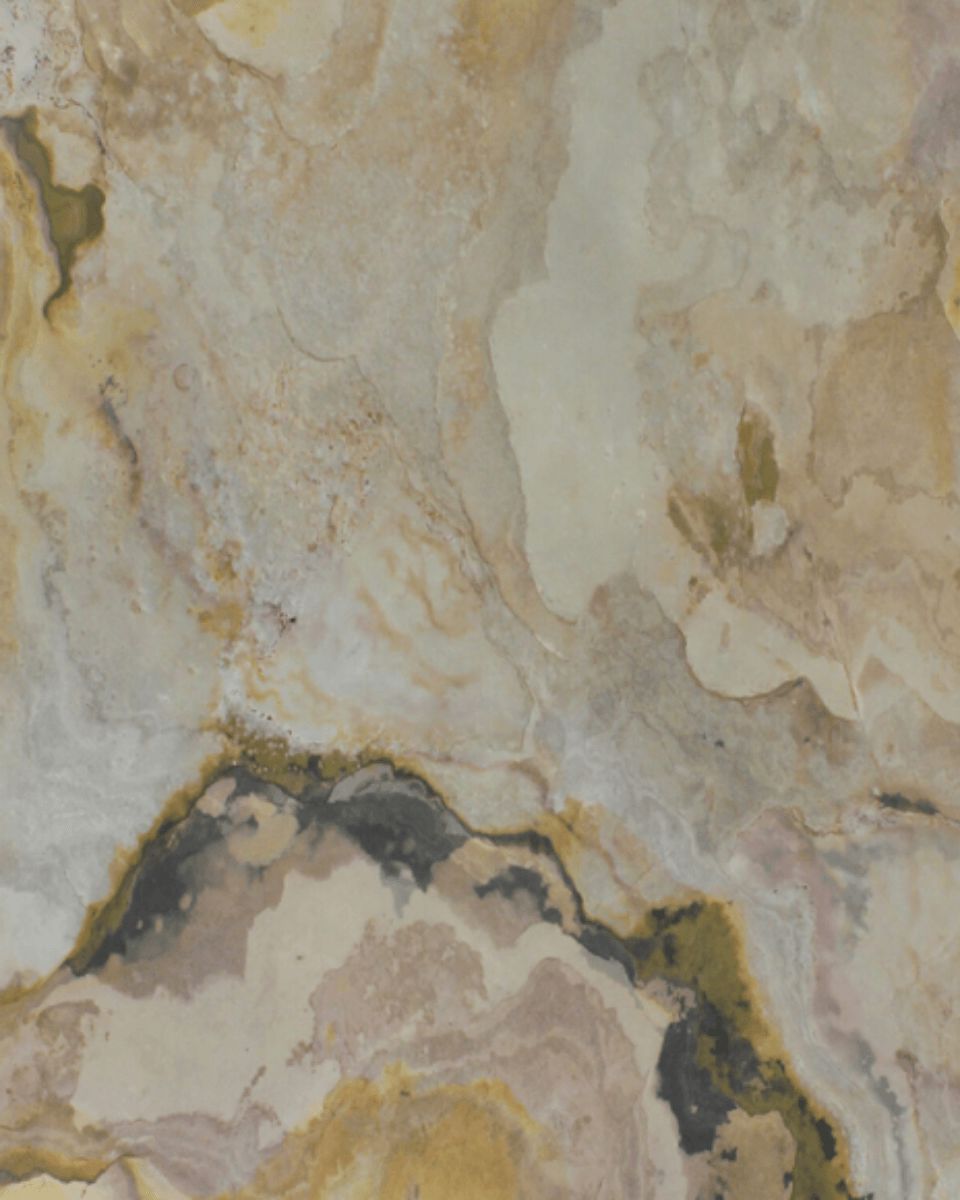
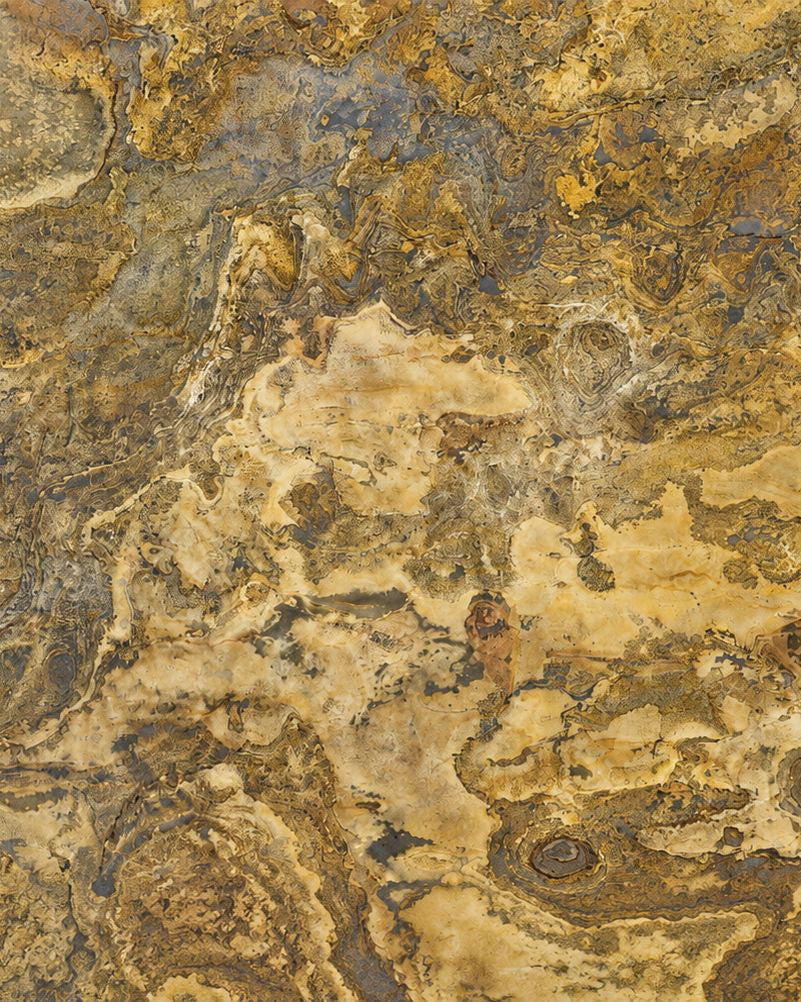
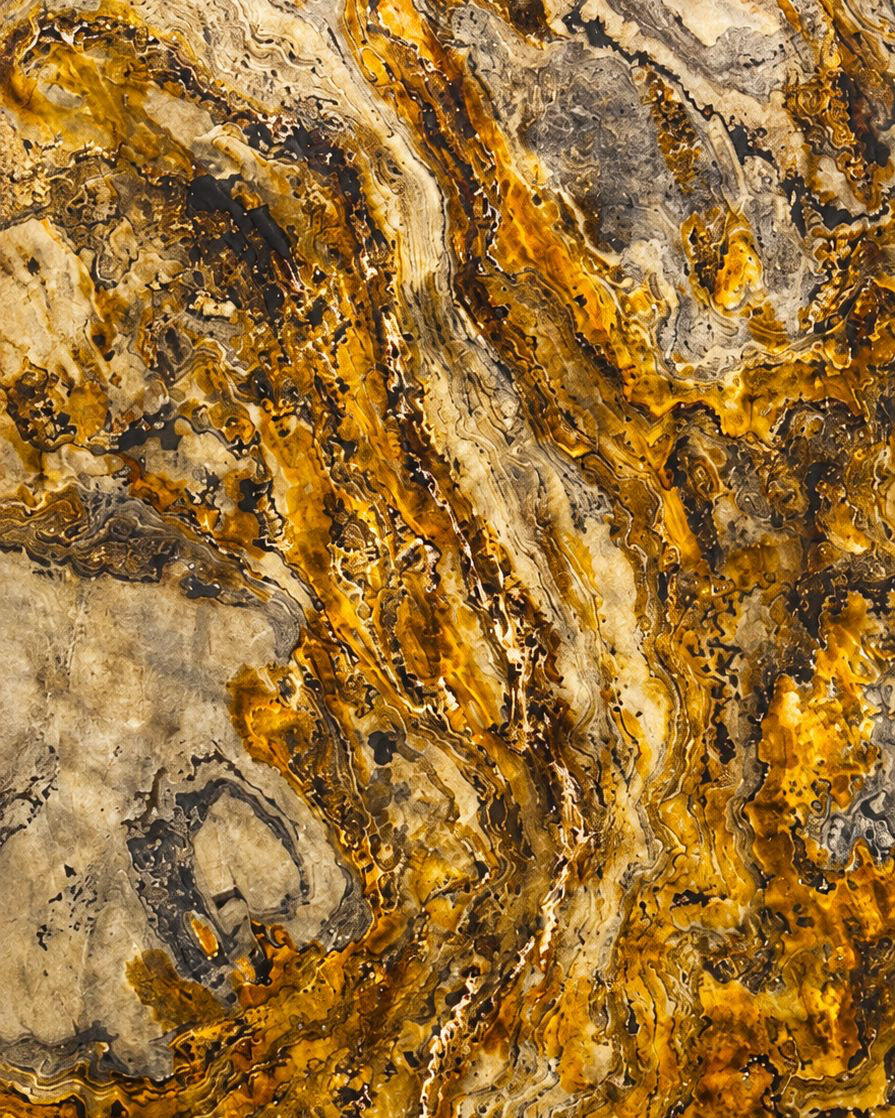
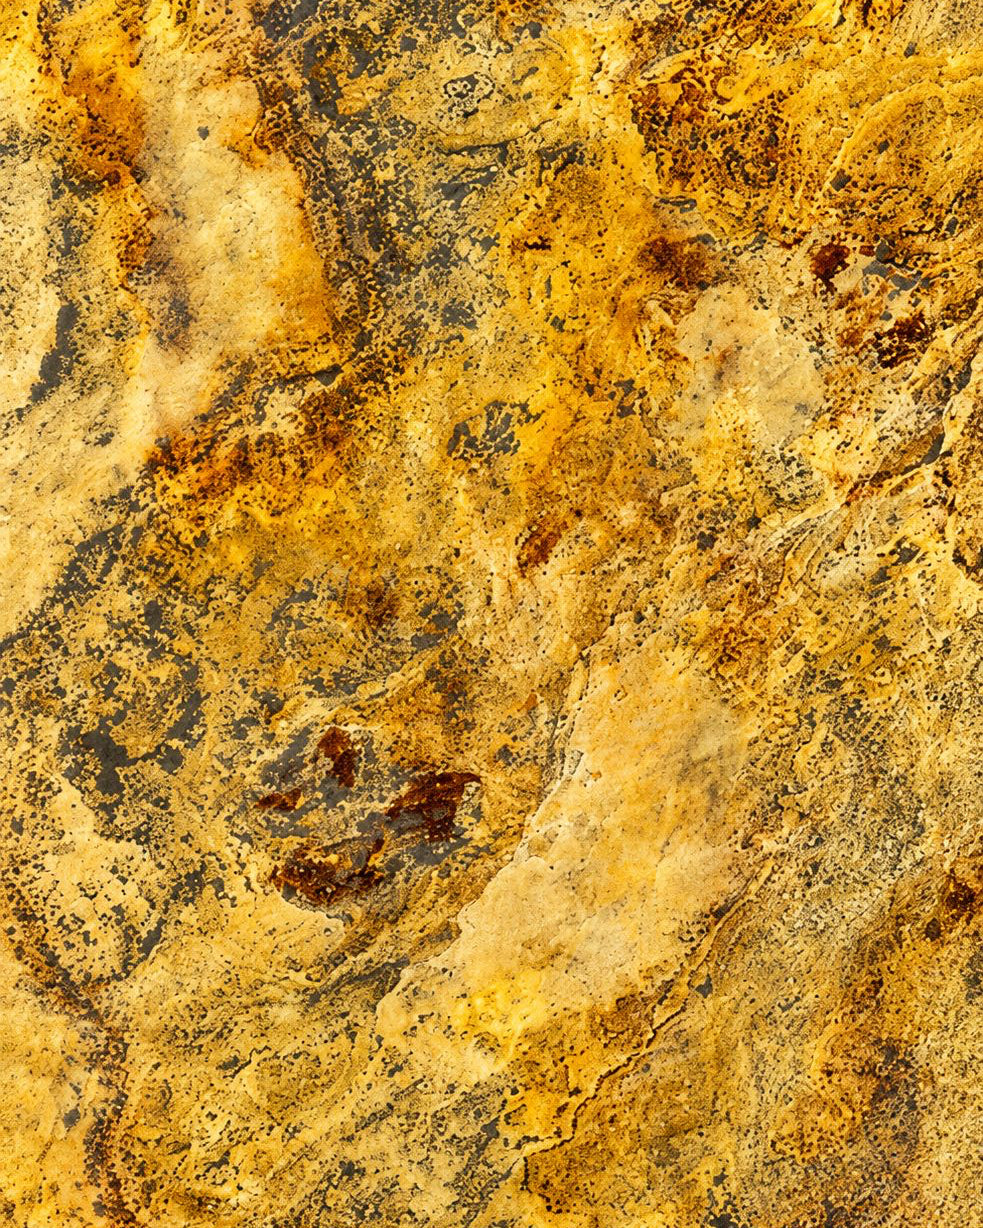
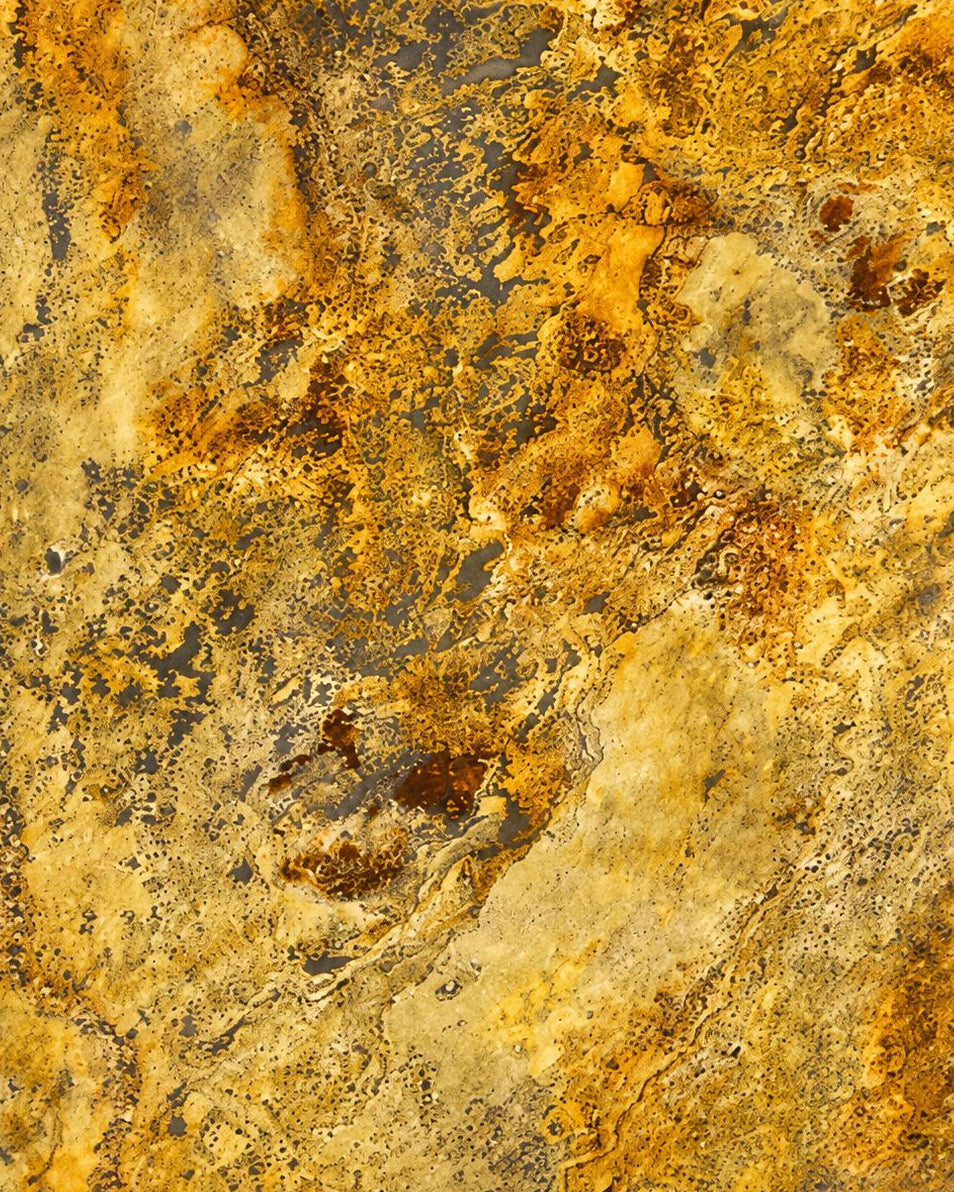
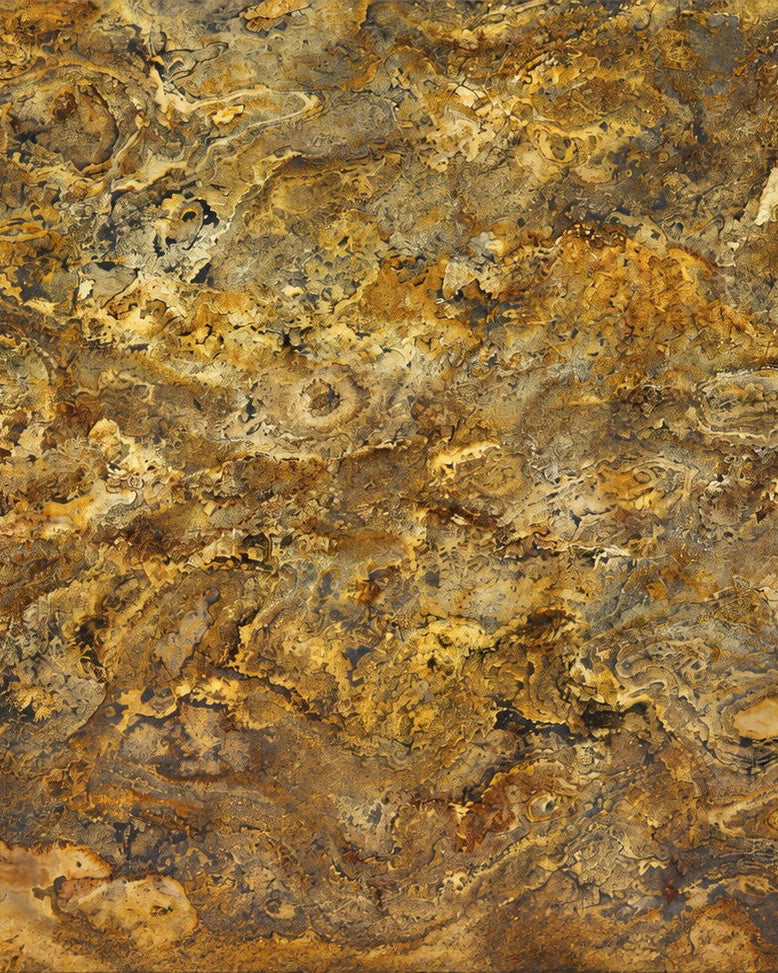
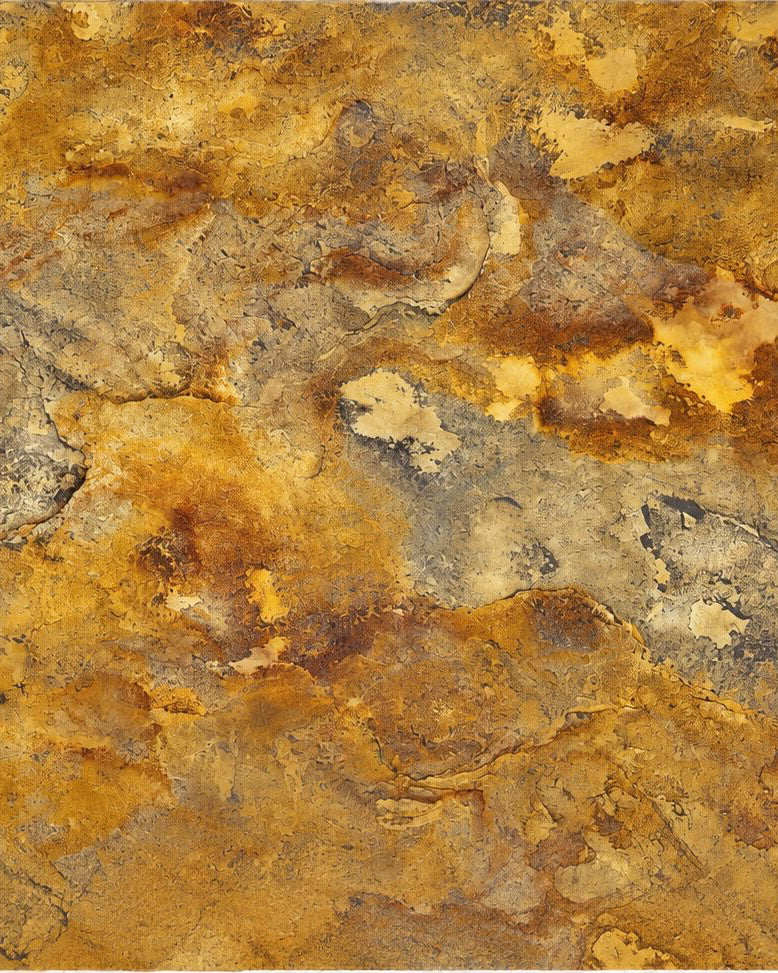
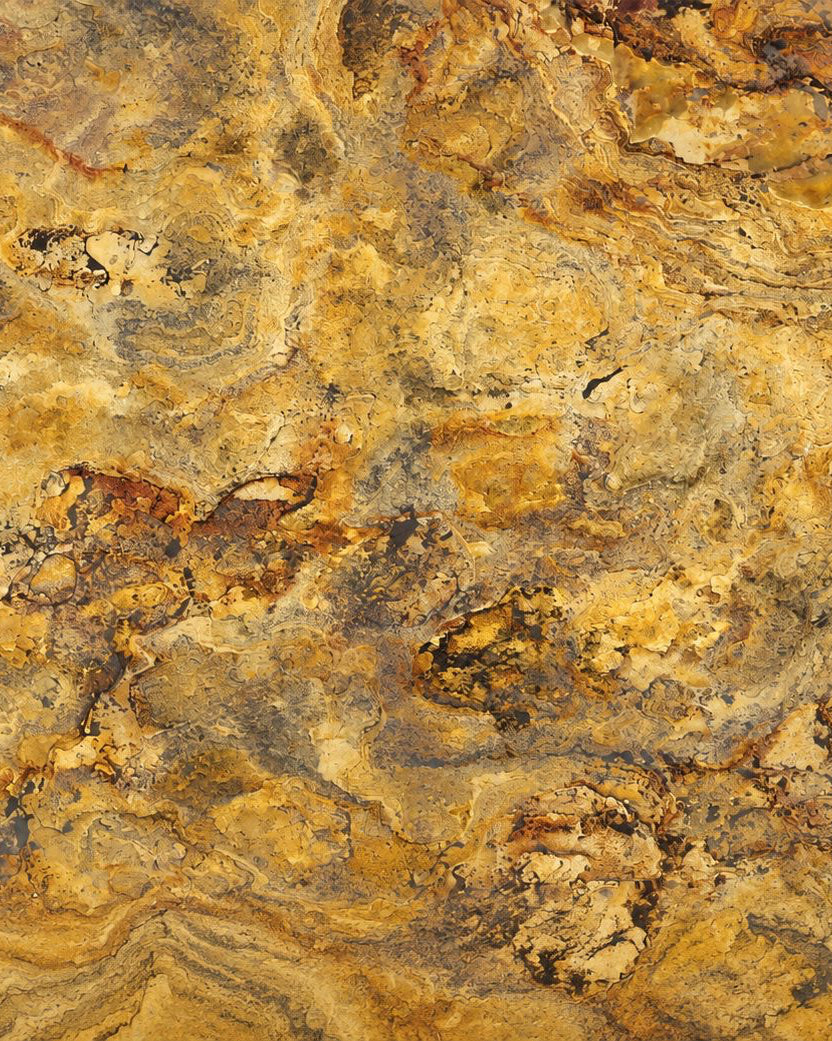
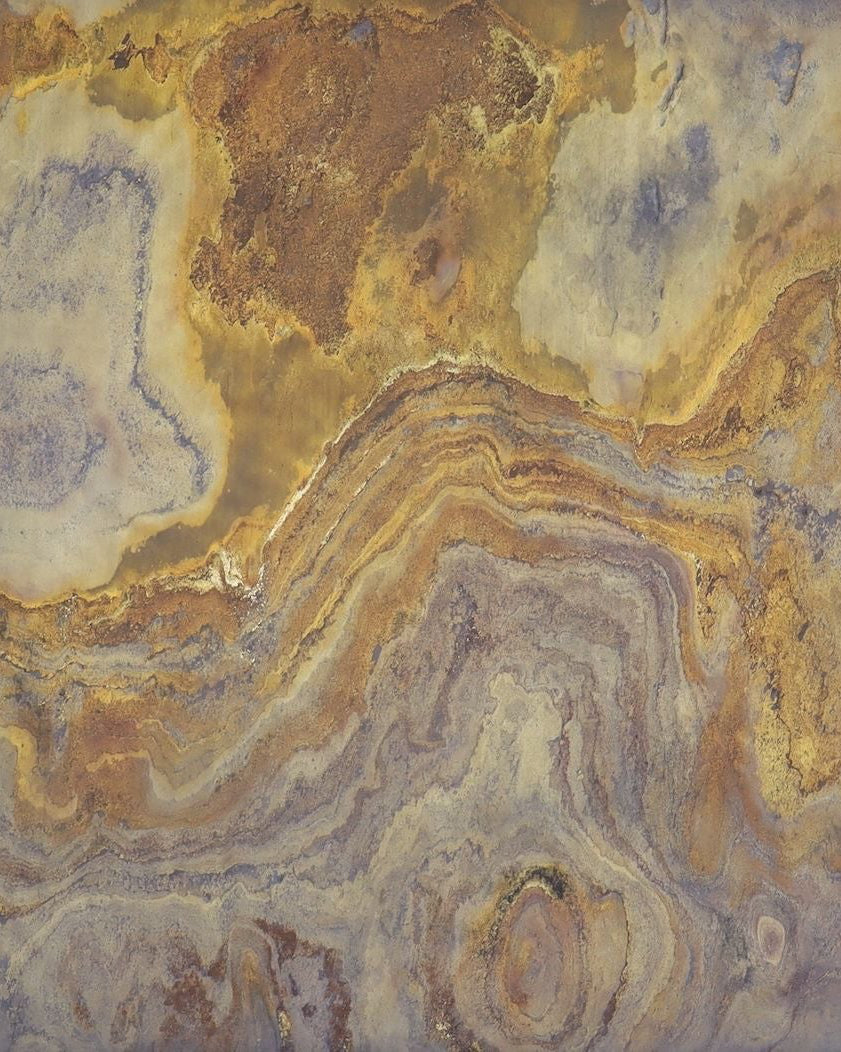
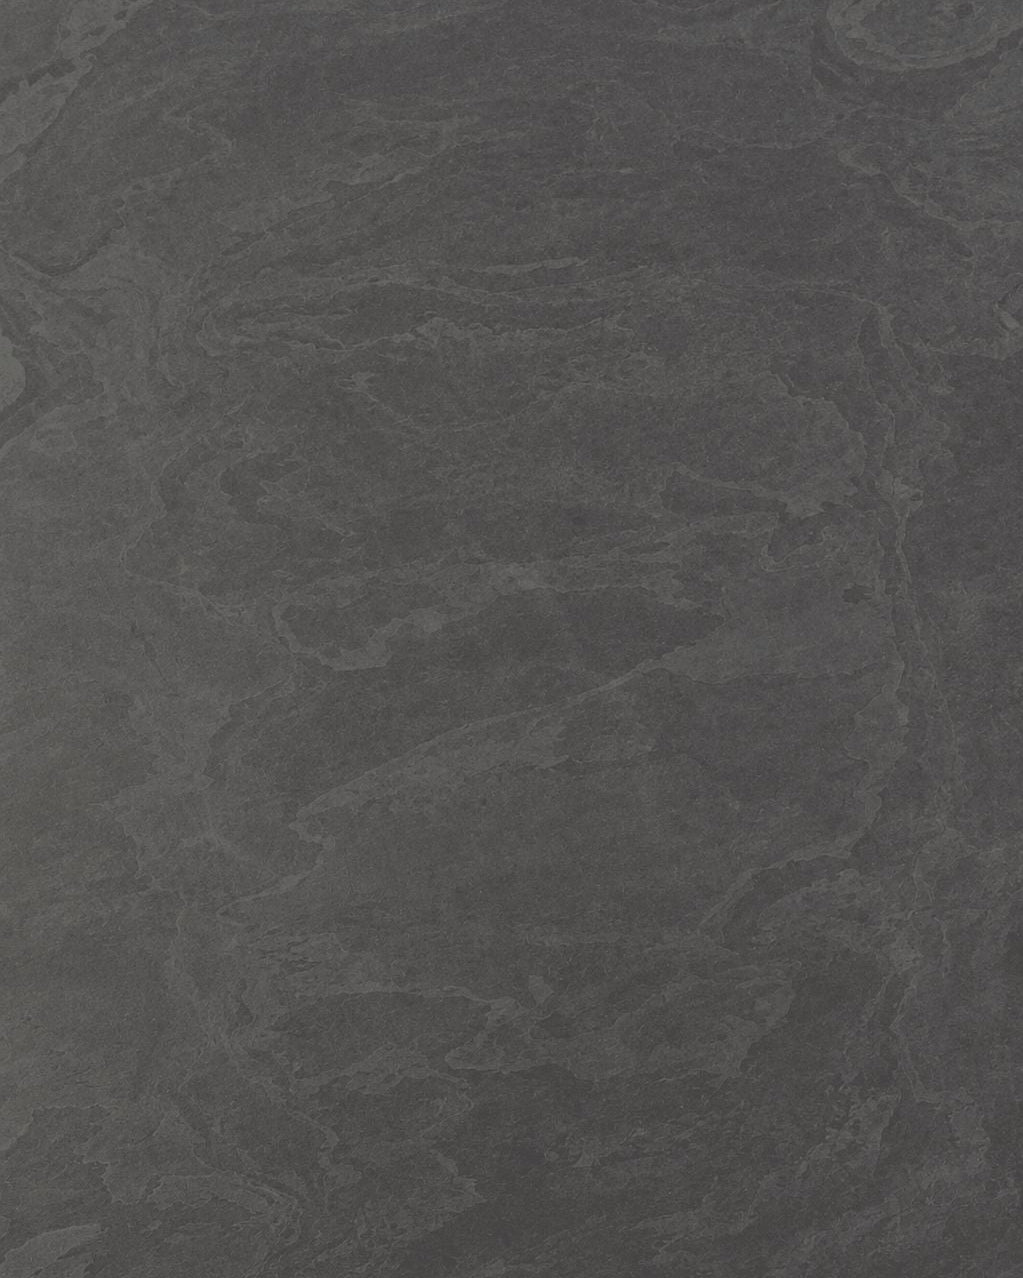
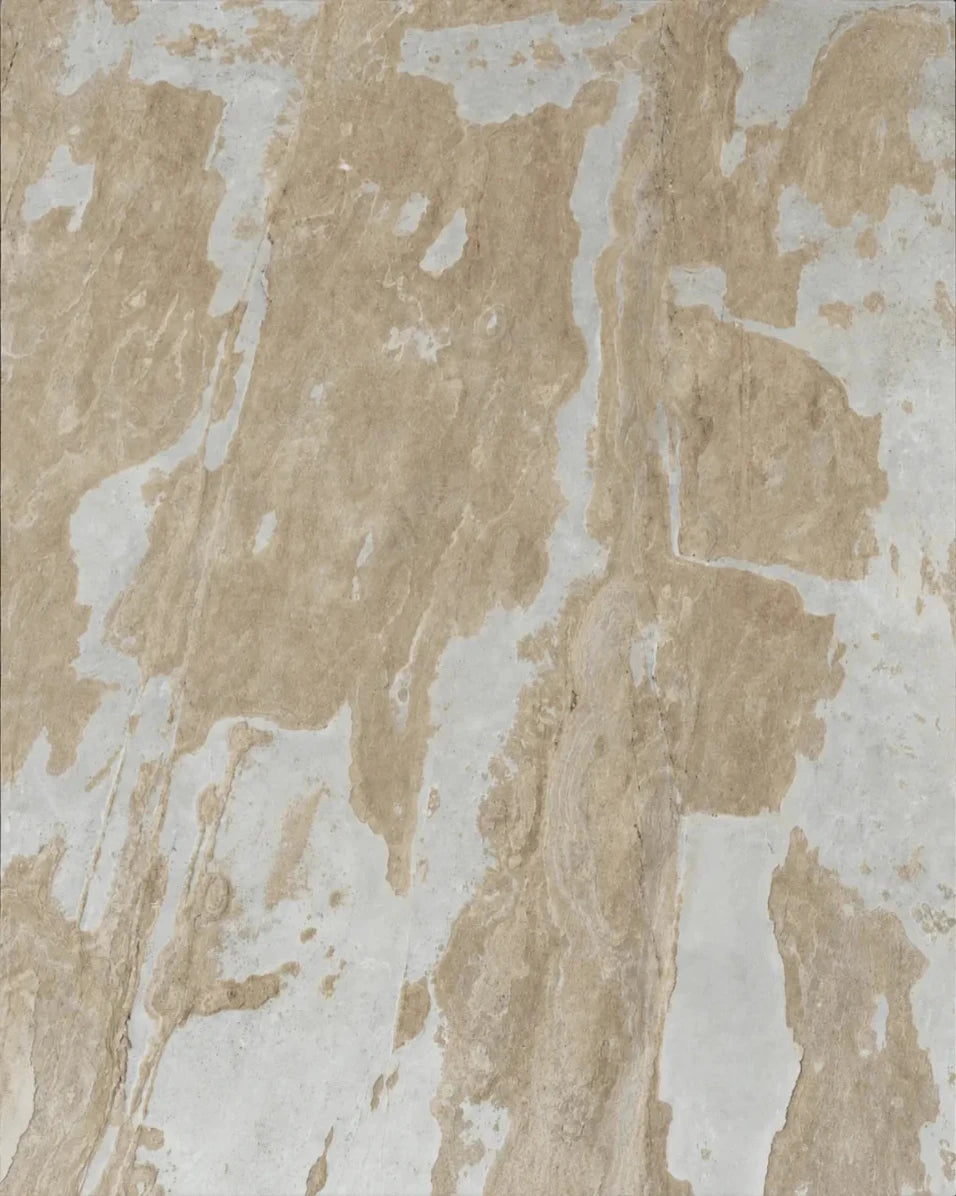
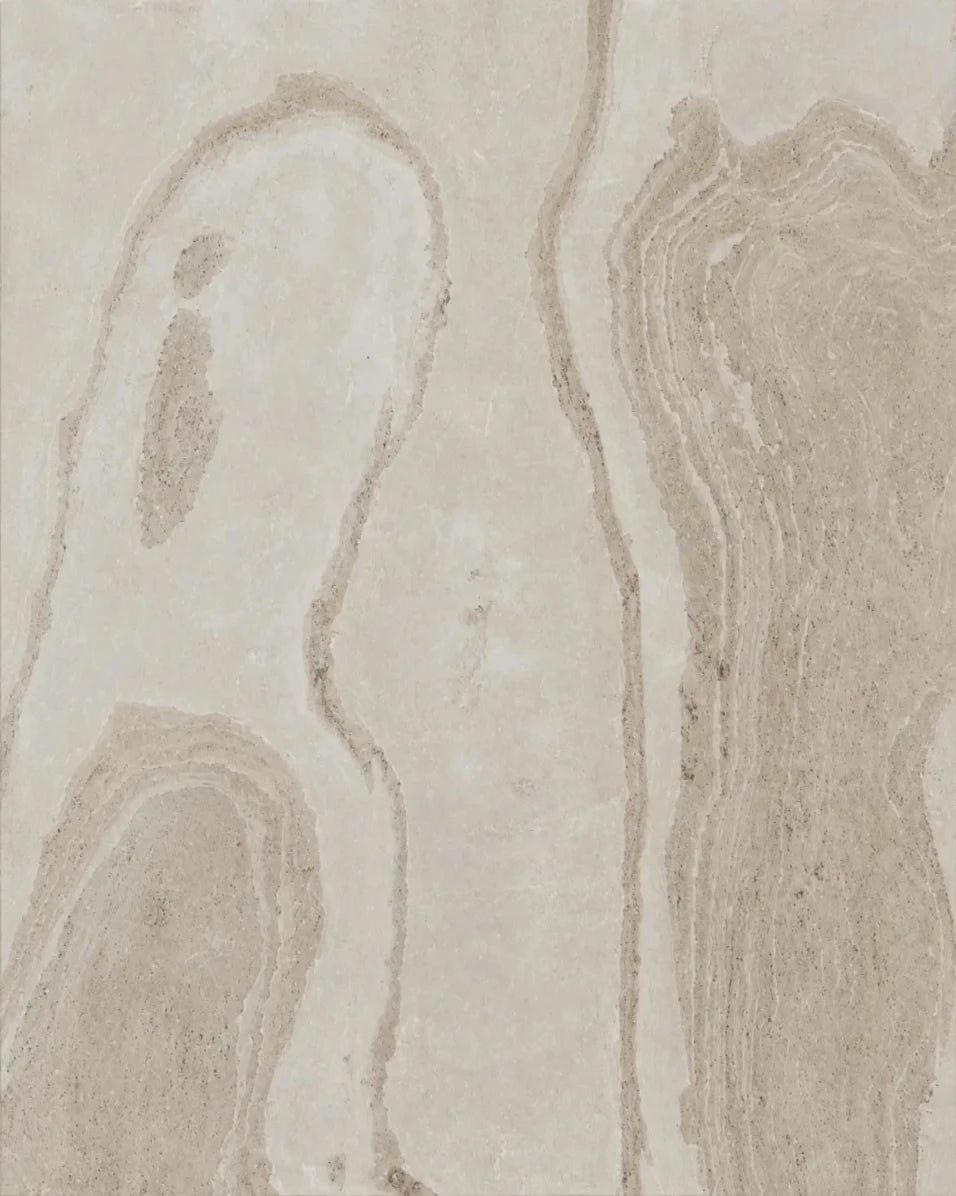
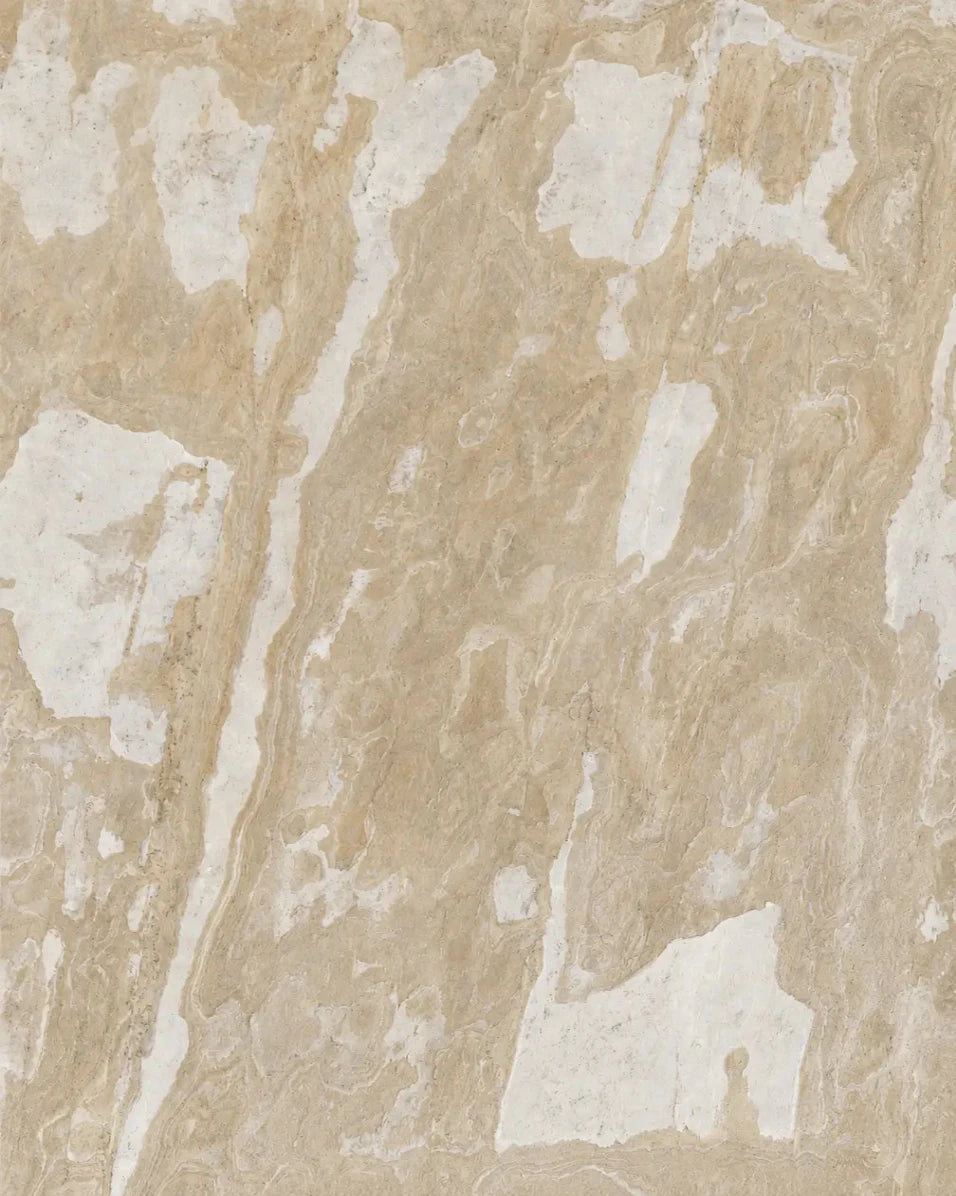
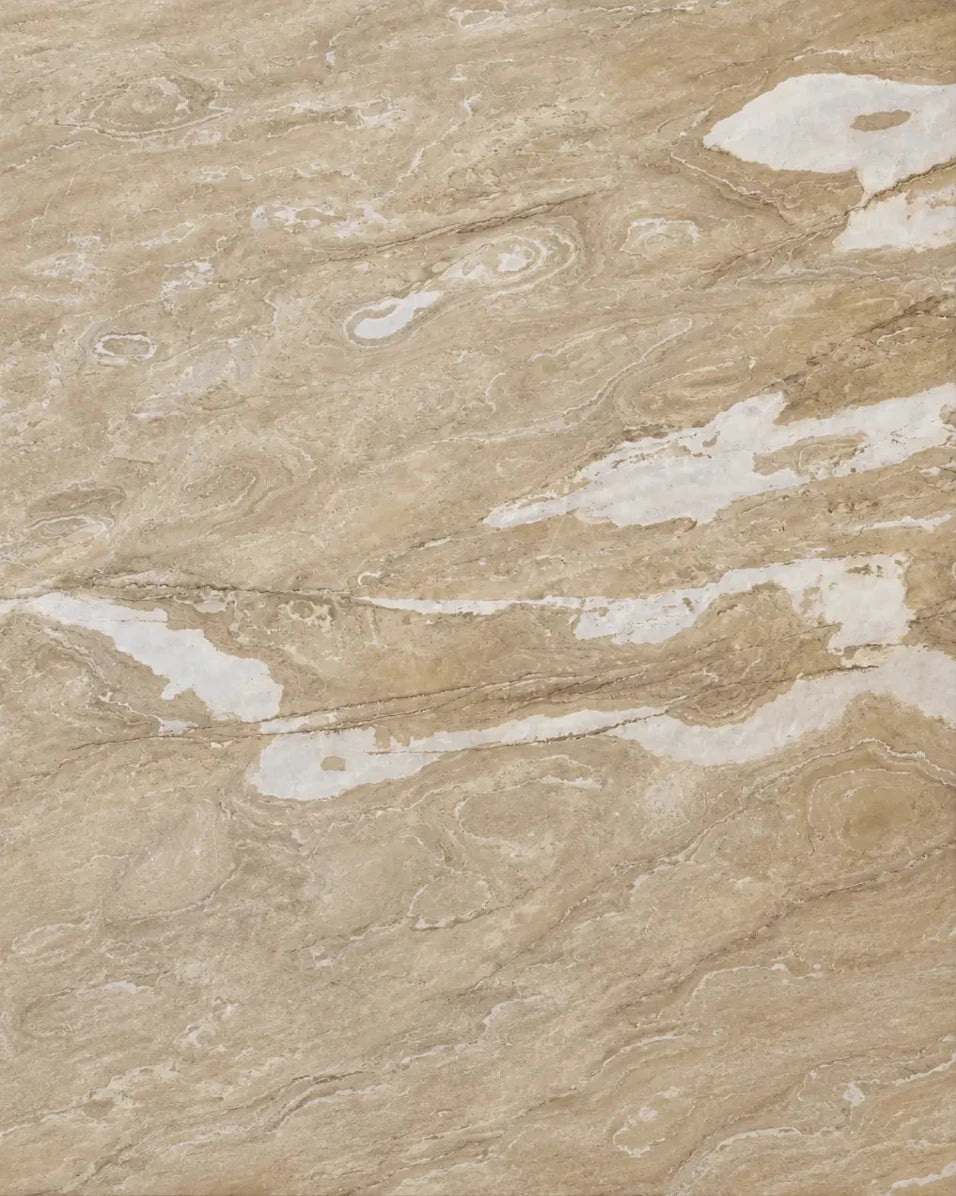
Various minerals are used: slate, mica, quartzite, sandstone, and raw marble.
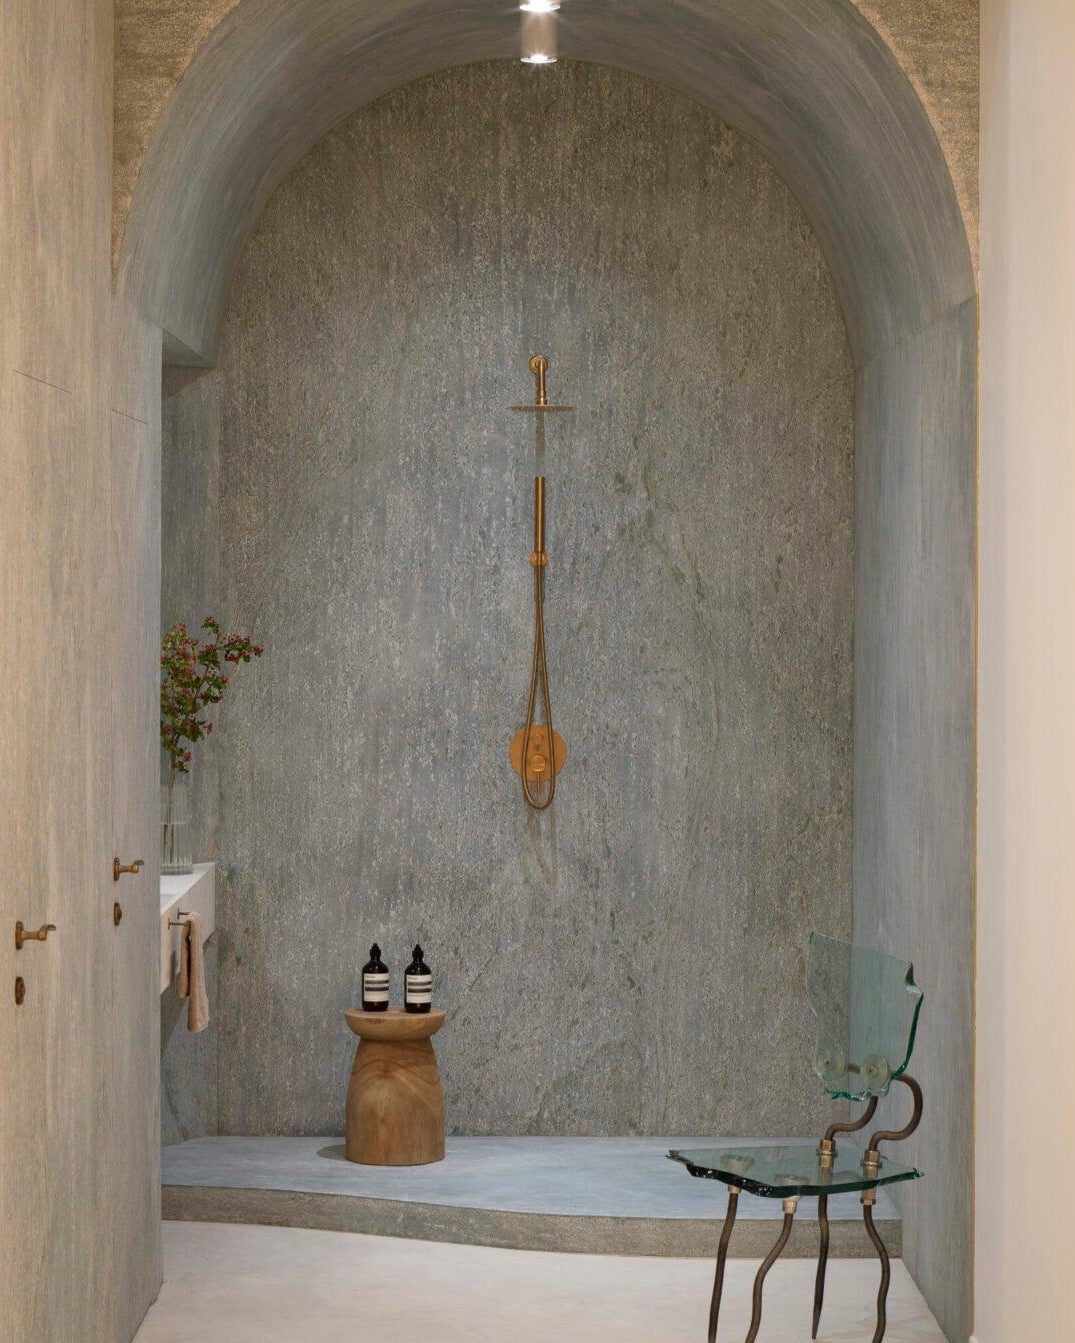
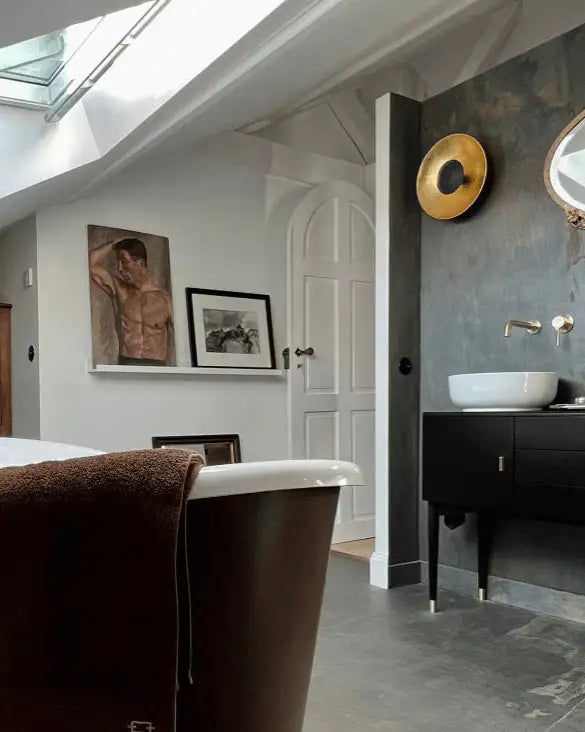
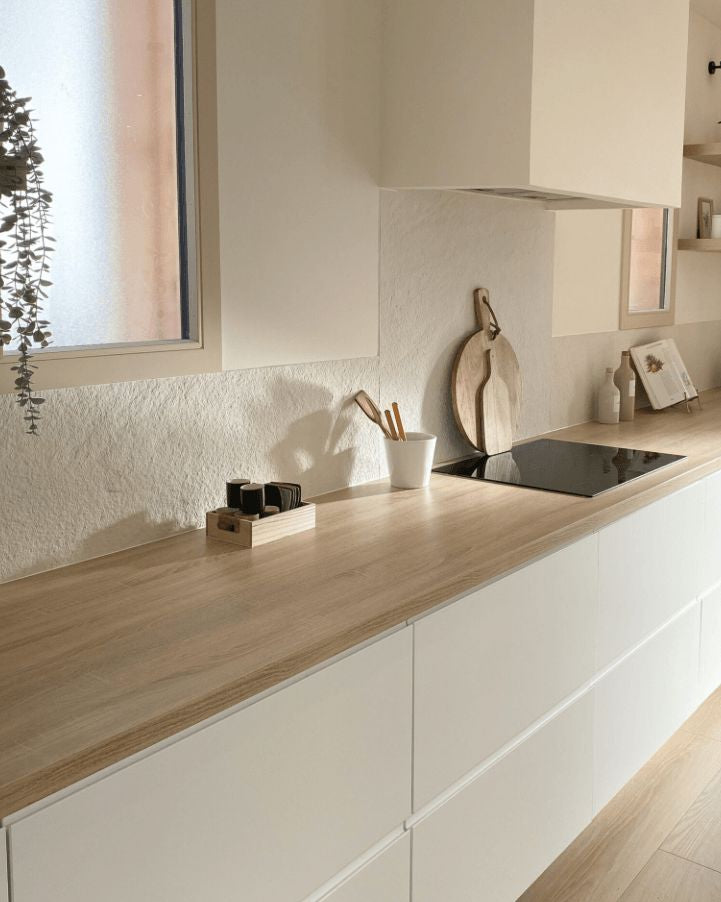
Unique stone flooring thanks to stone veneer
For a unique floor covering, stone veneer is the ideal material. Economical and accessible to all, its installation is also made easier thanks to its lightness, thinness, and perfect finish. Indeed, straight cuts provide a smooth, flawless covering, guaranteeing a flat stone floor.
Highly resistant and waterproof, particularly thanks to the resin layer, this material can be used in all wet rooms and even outdoors, on a terrace or driveway.
Its weight (1.5 to 2 kg/m²) allows it to be used in all rooms, including attics and light floors.
Its reduced thickness (1.5 to 2 mm) makes it possible to apply it over an existing floor, without altering door thresholds.
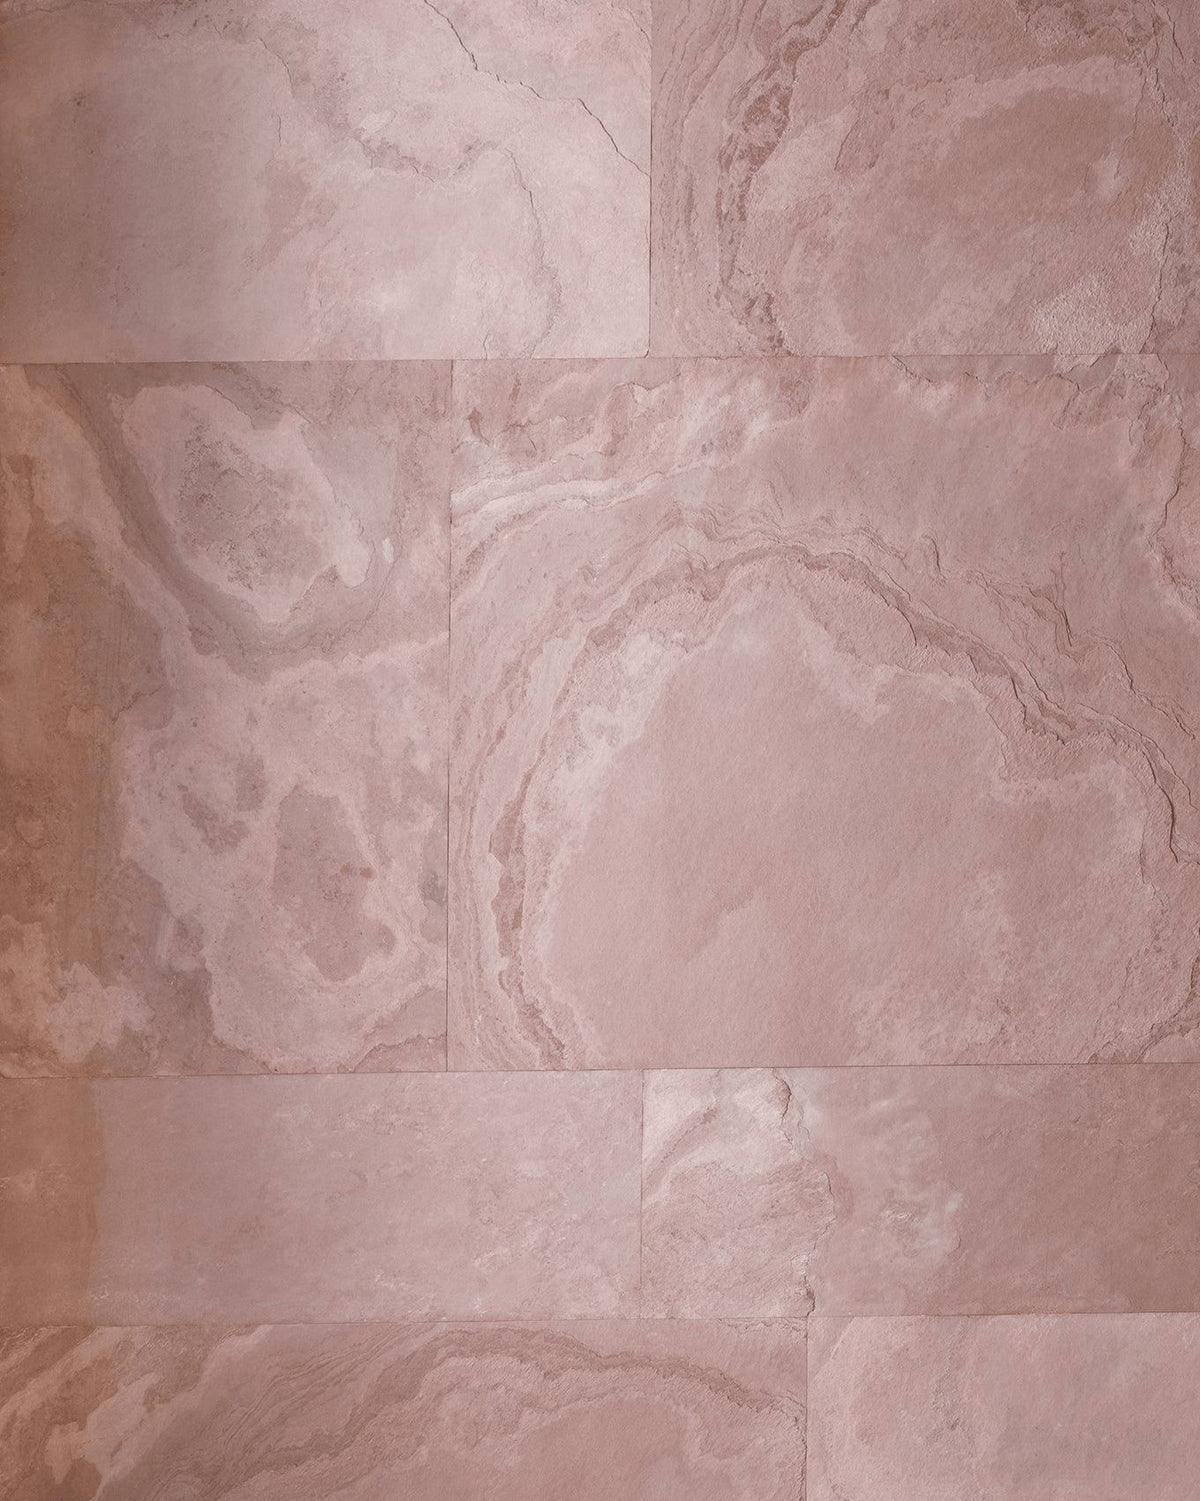
Its large slabs also add elegance to your interior, giving it a certain standing.
This product gives your floor covering all the advantages of natural stone without the drawbacks: weight, thickness, and cost.
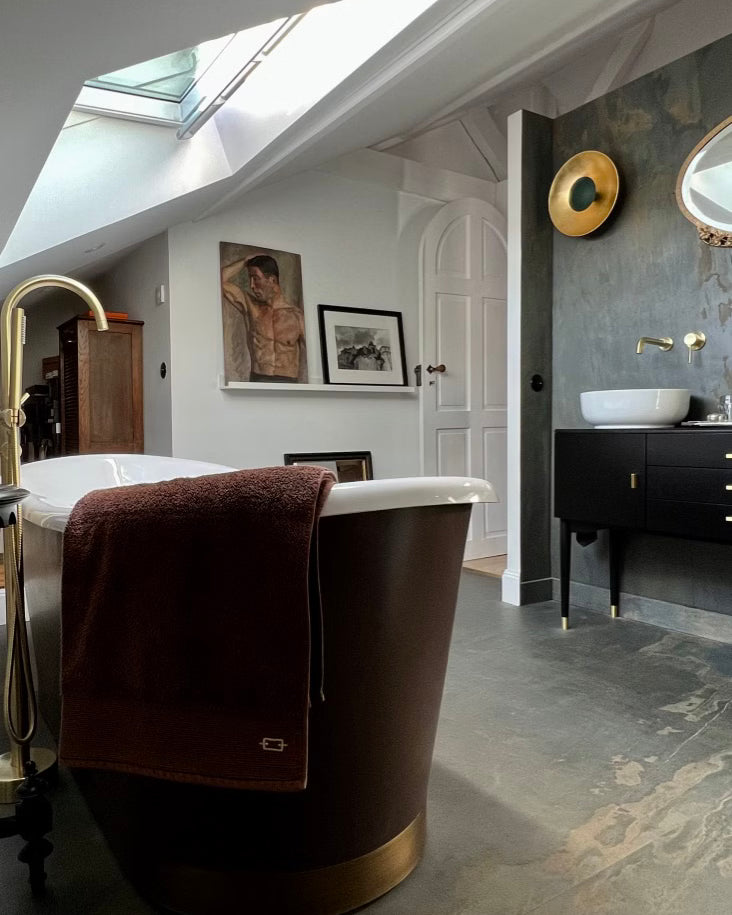
Installation of natural stone veneer on the floor?
In addition to being lightweight, natural stone veneer is easy to install. It saves valuable time on job sites. It can be applied to all surfaces: paint, wood, plaster, tile, etc.
Installation is similar to that of laminate flooring:
1. Surface preparation: the surface must be sound, clean, dry, and smooth. Fill holes with spackle, sand, and dry.
2. Before installation, position the stone sheets to organize them and determine where to make cuts.
3. Position the first stone sheet in a corner and draw a line to serve as a guide for subsequent sheets.
4. For bonding, there are two options: either the sheets have an adhesive film that simply needs to be removed to bond the stone in place, or the sheets require a hybrid polymer adhesive. In this case, installation will be similar to that of laminate flooring. We recommend applying adhesive in beads with a cartridge adhesive: a first bead 2 mm from the edge all around the frame, then very tight beads 15 mm apart over the entire back surface. Press firmly onto the surface and smooth to spread the adhesive over the entire sheet surface.
5. Adjust the sheet position if necessary.
6. Smooth to remove air bubbles.
Drying time is three to four hours.
What is stone veneer for flooring?
This is a flexible material composed of a stone layer or sheet (0.3 mm to 0.8 mm thick) attached to a resin and fiberglass backing for a total thickness of 1.5 to 2 mm. The sheet is delaminated from large massive blocks using a unique and innovative process.
There are two types of products:
- The natural sheet, originating from quarries where blocks are extracted in pieces and then delaminated to obtain a 100% natural stone sheet.
- The reconstituted sheet, where "the stone" is formed from several fragments glued onto the resin. It proves to be less durable, less solid, and less aesthetic.
The rendering is completely different.
Various minerals are used: slate, mica, quartzite, sandstone, and raw marble.
Unique stone flooring thanks to stone veneer
For a unique floor covering, stone veneer is the ideal material. Economical and accessible to all, its installation is also made easier thanks to its lightness, thinness, and perfect finish. Indeed, straight cuts provide a smooth, flawless covering, guaranteeing a flat stone floor.
Highly resistant and waterproof, particularly thanks to the resin layer, this material can be used in all wet rooms and even outdoors, on a terrace or driveway.
Its weight (1.5 to 2 kg/m²) allows it to be used in all rooms, including attics and light floors.
Its reduced thickness (1.5 to 2 mm) makes it possible to apply it over an existing floor, without altering door thresholds.
Its large slabs also add elegance to your interior, giving it a certain standing.
This product gives your floor covering all the advantages of natural stone without the drawbacks: weight, thickness, and cost.
Installation of natural stone veneer on the floor?
In addition to being lightweight, natural stone veneer is easy to install. It saves valuable time on job sites. It can be applied to all surfaces: paint, wood, plaster, tile, etc.
Installation is similar to that of laminate flooring:
1. Surface preparation: the surface must be sound, clean, dry, and smooth. Fill holes with spackle, sand, and dry.
2. Before installation, position the stone sheets to organize them and determine where to make cuts.
3. Position the first stone sheet in a corner and draw a line to serve as a guide for subsequent sheets.
4. For bonding, there are two options: either the sheets have an adhesive film that simply needs to be removed to bond the stone in place, or the sheets require a hybrid polymer adhesive. In this case, installation will be similar to that of laminate flooring. We recommend applying adhesive in beads with a cartridge adhesive: a first bead 2 mm from the edge all around the frame, then very tight beads 15 mm apart over the entire back surface. Press firmly onto the surface and smooth to spread the adhesive over the entire sheet surface.
5. Adjust the sheet position if necessary.
6. Smooth to remove air bubbles.
Drying time is three to four hours.